2018-2019-2 20175215 实验四《Android程序设计》实验报告
一、实验内容与步骤
1.任务一:Android Studio的安装测试。
任务要求:参考《Java和Android开发学习指南(第二版)(EPUBIT,Java for Android 2nd)》第二十四章:
- 参考http://www.cnblogs.com/rocedu/p/6371315.html#SECANDROID,安装 Android Stuidio
- 完成Hello World, 要求修改res目录中的内容,Hello World后要显示自己的学号,自己学号前后一名同学的学号,提交代码运行截图和码云Git链接,截图没有学号要扣分
- 学习Android Stuidio调试应用程序
任务过程:
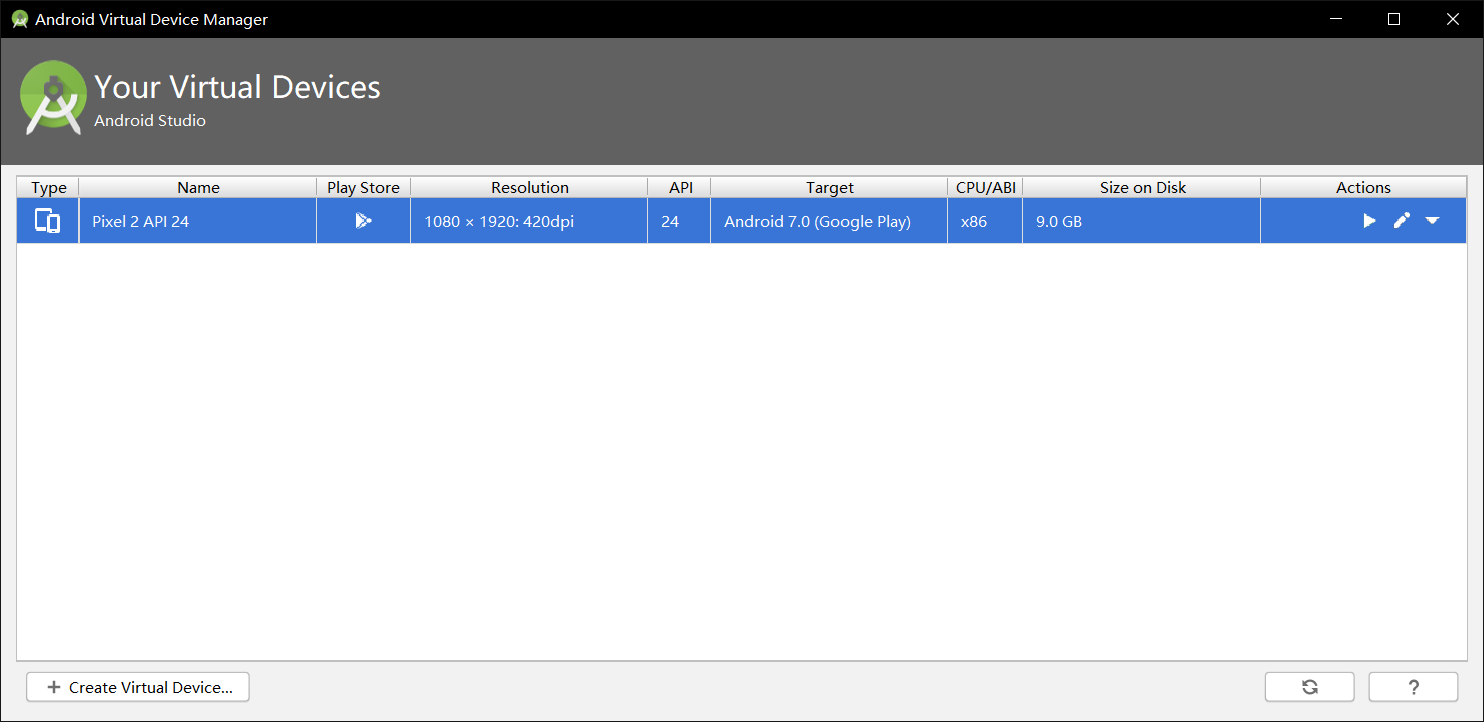
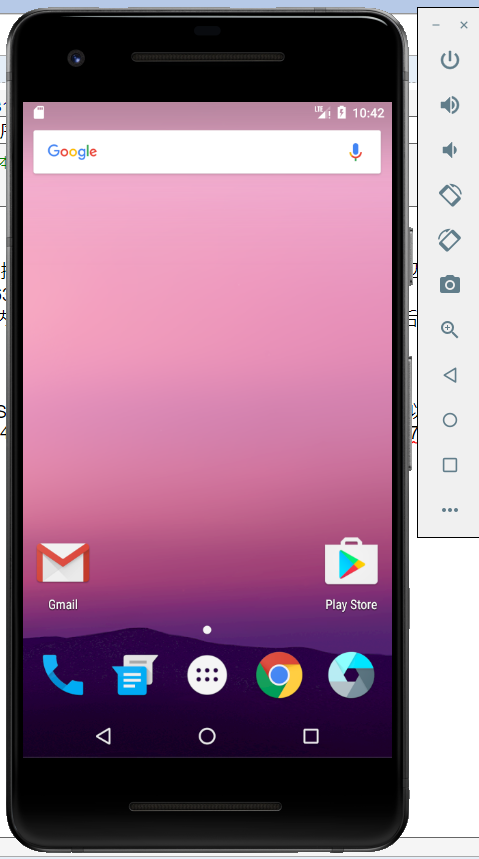
- 按照题目所给链接中内容安装好Android Studio后,安装搭载系统为Android7.0的谷歌Pixel2虚拟机
- 修改
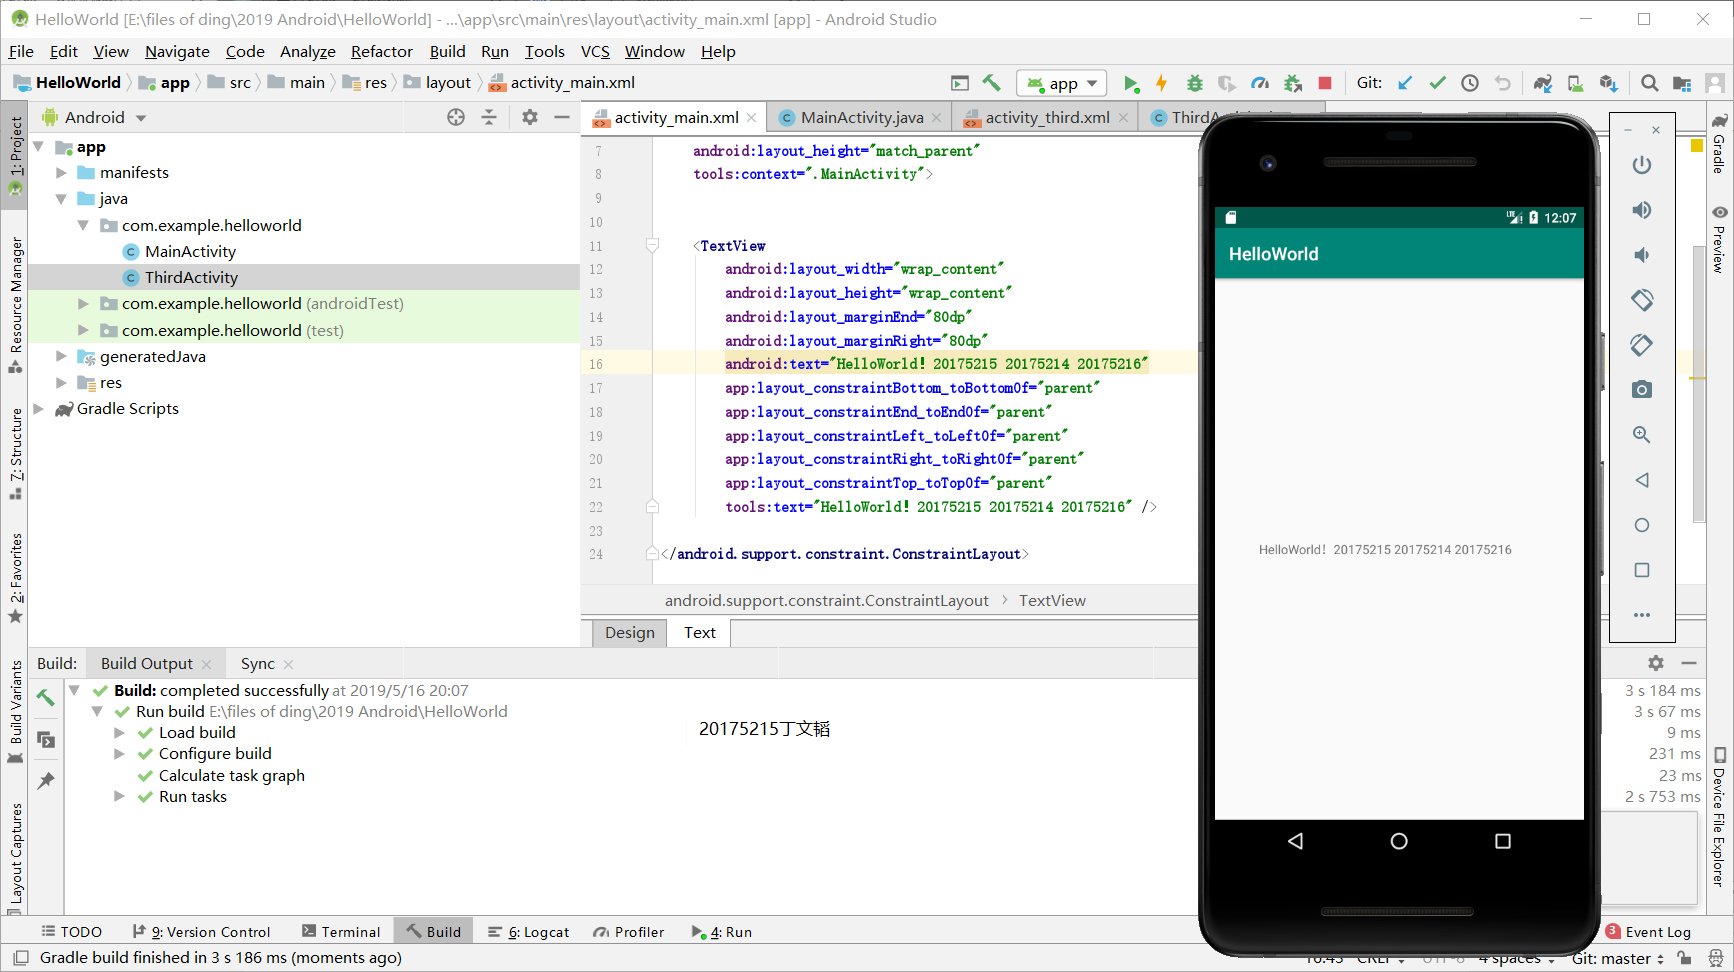
app/res/layout中的activity_main.xml文件的内容为如下内容:
- 按照题目所给链接中内容安装好Android Studio后,安装搭载系统为Android7.0的谷歌Pixel2虚拟机
<?xml version="1.0" encoding="utf-8"?>

<android.support.constraint.ConstraintLayout

    xmlns:android="http://schemas.android.com/apk/res/android"

    xmlns:app="http://schemas.android.com/apk/res-auto"

    xmlns:tools="http://schemas.android.com/tools"

    android:layout_width="match_parent"

    android:layout_height="match_parent"

    tools:context=".MainActivity">

    <TextView

        android:layout_width="wrap_content"

        android:layout_height="wrap_content"

        android:layout_marginEnd="80dp"

        android:layout_marginRight="80dp"

        android:text="HelloWorld!20175215 20175214 20175216"

        app:layout_constraintBottom_toBottomOf="parent"

        app:layout_constraintEnd_toEndOf="parent"

        app:layout_constraintLeft_toLeftOf="parent"

        app:layout_constraintRight_toRightOf="parent"

        app:layout_constraintTop_toTopOf="parent"

        tools:text="HelloWorld!20175215 20175214 20175216" />

</android.support.constraint.ConstraintLayout>
- 运行结果如下图所示
2.任务二:Activity测试。
任务要求:参考《Java和Android开发学习指南(第二版)(EPUBIT,Java for Android 2nd)》第二十五章:
- 构建项目,运行教材相关代码
- 创建 ThirdActivity, 在ThirdActivity中显示自己的学号,修改代码让MainActivity启动ThirdActivity
- 提交代码运行截图和码云Git链接,截图要有学号水印,否则会扣分
任务过程:
- 创建ThirdActivity后,在
MainActivity.class中新加代码创建intent对象:
- 创建ThirdActivity后,在
package com.example.helloworld;

import android.content.Intent;

import android.support.v7.app.AppCompatActivity;

import android.os.Bundle;

public class MainActivity extends AppCompatActivity {

    @Override

    protected void onCreate(Bundle savedInstanceState) {

        super.onCreate(savedInstanceState);

        setContentView(R.layout.activity_main);

        Intent intent = new Intent(this,ThirdActivity.class);

        startActivity(intent);

    }

}
activity_third.xml的内容如下:
<?xml version="1.0" encoding="utf-8"?>

<android.support.constraint.ConstraintLayout

    xmlns:android="http://schemas.android.com/apk/res/android"

    xmlns:app="http://schemas.android.com/apk/res-auto"

    xmlns:tools="http://schemas.android.com/tools"

    android:layout_width="match_parent"

    android:layout_height="match_parent"

    tools:context=".ThirdActivity">

    <TextView

        android:layout_width="wrap_content"

        android:layout_height="wrap_content"

        android:layout_marginEnd="80dp"

        android:layout_marginRight="80dp"

        android:text="20175215丁文韬"

        app:layout_constraintBottom_toBottomOf="parent"

        app:layout_constraintEnd_toEndOf="parent"

        app:layout_constraintLeft_toLeftOf="parent"

        app:layout_constraintRight_toRightOf="parent"

        app:layout_constraintTop_toTopOf="parent"

        tools:text="20175215丁文韬" />

</android.support.constraint.ConstraintLayout>
- 运行结果截图:

3.任务三:UI测试。
任务要求:参考《Java和Android开发学习指南(第二版)(EPUBIT,Java for Android 2nd)》第二十六章:
- 构建项目,运行教材相关代码
- 修改代码让Toast消息中显示自己的学号信息
- 提交代码运行截图和码云Git链接,截图要有学号水印,否则会扣分
任务过程
- 在
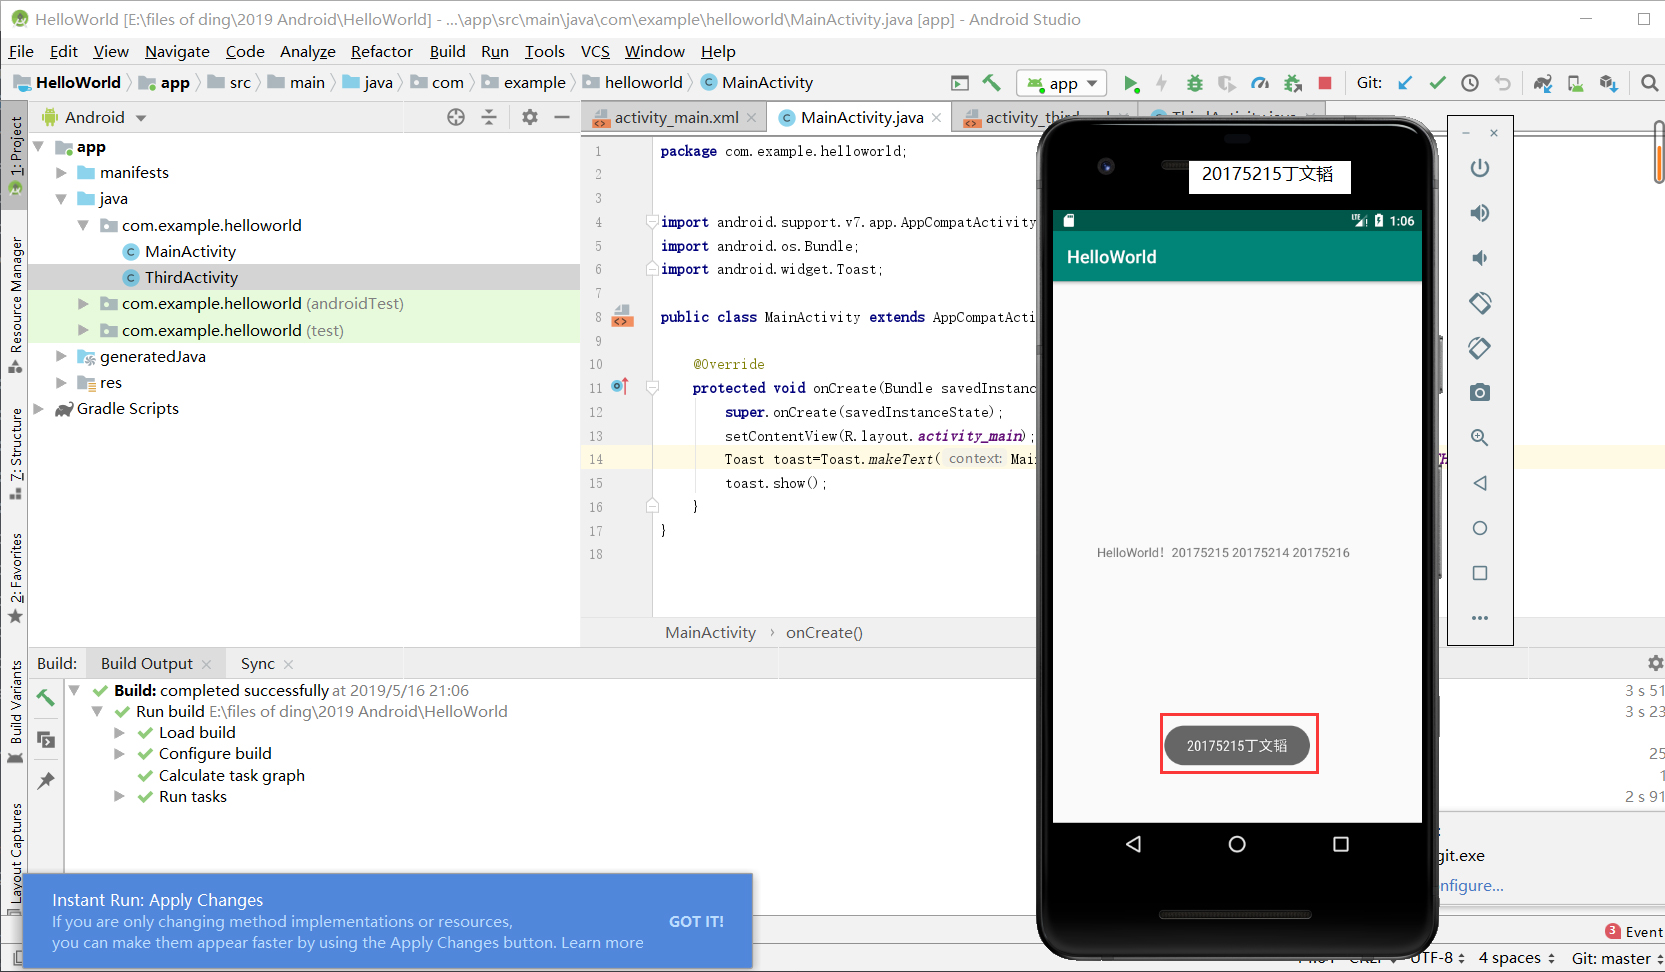
MainActivity.class中新加代码后:
- 在
package com.example.helloworld;

import android.support.v7.app.AppCompatActivity;

import android.os.Bundle;

import android.widget.Toast;

public class MainActivity extends AppCompatActivity {

    @Override

    protected void onCreate(Bundle savedInstanceState) {

        super.onCreate(savedInstanceState);

        setContentView(R.layout.activity_main);

        Toast toast=Toast.makeText(MainActivity.this, "20175227丁文韬", Toast.LENGTH_LONG);

        toast.show();

    }

}
- 运行结果截图
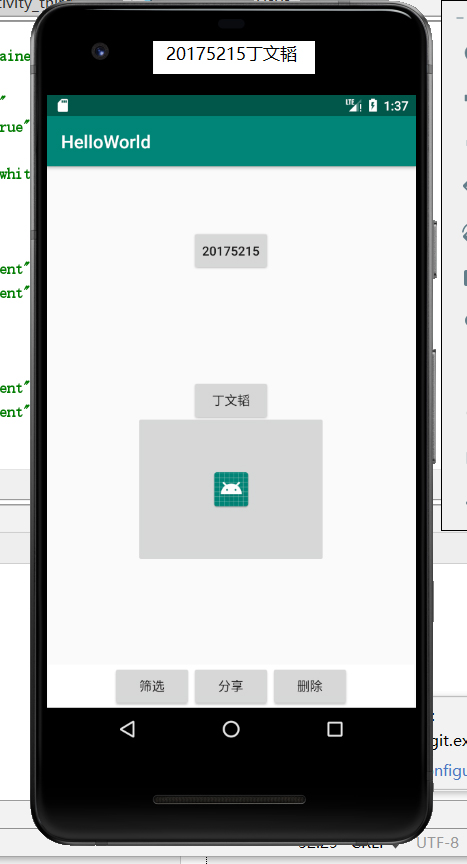
4.任务四:布局测试。
- 任务要求:参考《Java和Android开发学习指南(第二版)(EPUBIT,Java for Android 2nd)》第二十七章:
- 构建项目,运行教材相关代码
- 修改布局让P290页的界面与教材不同
- 提交代码运行截图和码云Git链接,截图要有学号水印,否则会扣分
参考资料
布局的类型
- 线性布局LinearLayout:线性布局是一个视图组(ViewGroup),能在水平或者垂直的单一方向上将所有子元素排成一行
- 相对布局RelativeLayout:相对布局是一个将子视图显示在相对的位置上的布局
- 表格布局TableLayout:表格布局是在行、列中组合子元素的视图
- 绝对布局AbsoluteLayout:绝对布局能让你指定子元素的精确位置
- 帧布局FrameLayout:帧布局是一个屏幕上的占位符,你可以用它来显示单一视图
- 列表视图ListView:列表布局是可以滚动的,是用于显示子元素列表的视图组
- 网格视图GridView:网格视图是在二维可滚动的网格中显示子元素的视图组
- 任务过程:
activity_main.xml代码:
<RelativeLayout

    xmlns:android="http://schemas.android.com/apk/res/android"

    xmlns:app="http://schemas.android.com/apk/res-auto"

    xmlns:tools="http://schemas.android.com/tools"

    android:layout_width="match_parent"

    android:layout_height="match_parent"

    android:paddingLeft="2dp"

    android:paddingRight="2dp">

    <Button

        android:id="@+id/cancelButton"

        android:layout_width="wrap_content"

        android:layout_height="wrap_content"

        android:text="20175215"

        android:layout_marginTop="70dp"

        android:layout_alignParentTop="true"

        android:layout_centerHorizontal="true" />

    <Button

        android:id="@+id/saveButton"

        android:layout_width="wrap_content"

        android:layout_height="wrap_content"

        android:layout_below="@+id/cancelButton"

        android:layout_alignStart="@+id/cancelButton"

        android:layout_alignLeft="@+id/cancelButton"

        android:layout_marginStart="0dp"

        android:layout_marginLeft="0dp"

        android:layout_marginTop="119dp"

        android:text="丁文韬" />

    <LinearLayout

        android:id="@+id/filter_button_container"

        android:layout_width="match_parent"

        android:layout_height="wrap_content"

        android:layout_alignParentBottom="true"

        android:gravity="center|bottom"

        android:background="@android:color/white"

        android:orientation="horizontal" >

        <Button

            android:id="@+id/filterButton"

            android:layout_width="wrap_content"

            android:layout_height="fill_parent"

            android:text="筛选" />

        <Button

            android:id="@+id/shareButton"

            android:layout_width="wrap_content"

            android:layout_height="fill_parent"

            android:text="分享" />

        <Button

            android:id="@+id/deleteButton"

            android:layout_width="wrap_content"

            android:layout_height="fill_parent"

            android:text="删除" />

    </LinearLayout>

    <ImageButton

        android:id="@+id/imageButton"

        android:layout_width="212dp"

        android:layout_height="167dp"

        android:layout_alignParentBottom="true"

        android:layout_centerHorizontal="true"

        android:layout_marginBottom="160dp"

        app:srcCompat="@mipmap/ic_launcher" />

</RelativeLayout>
- 运行截图
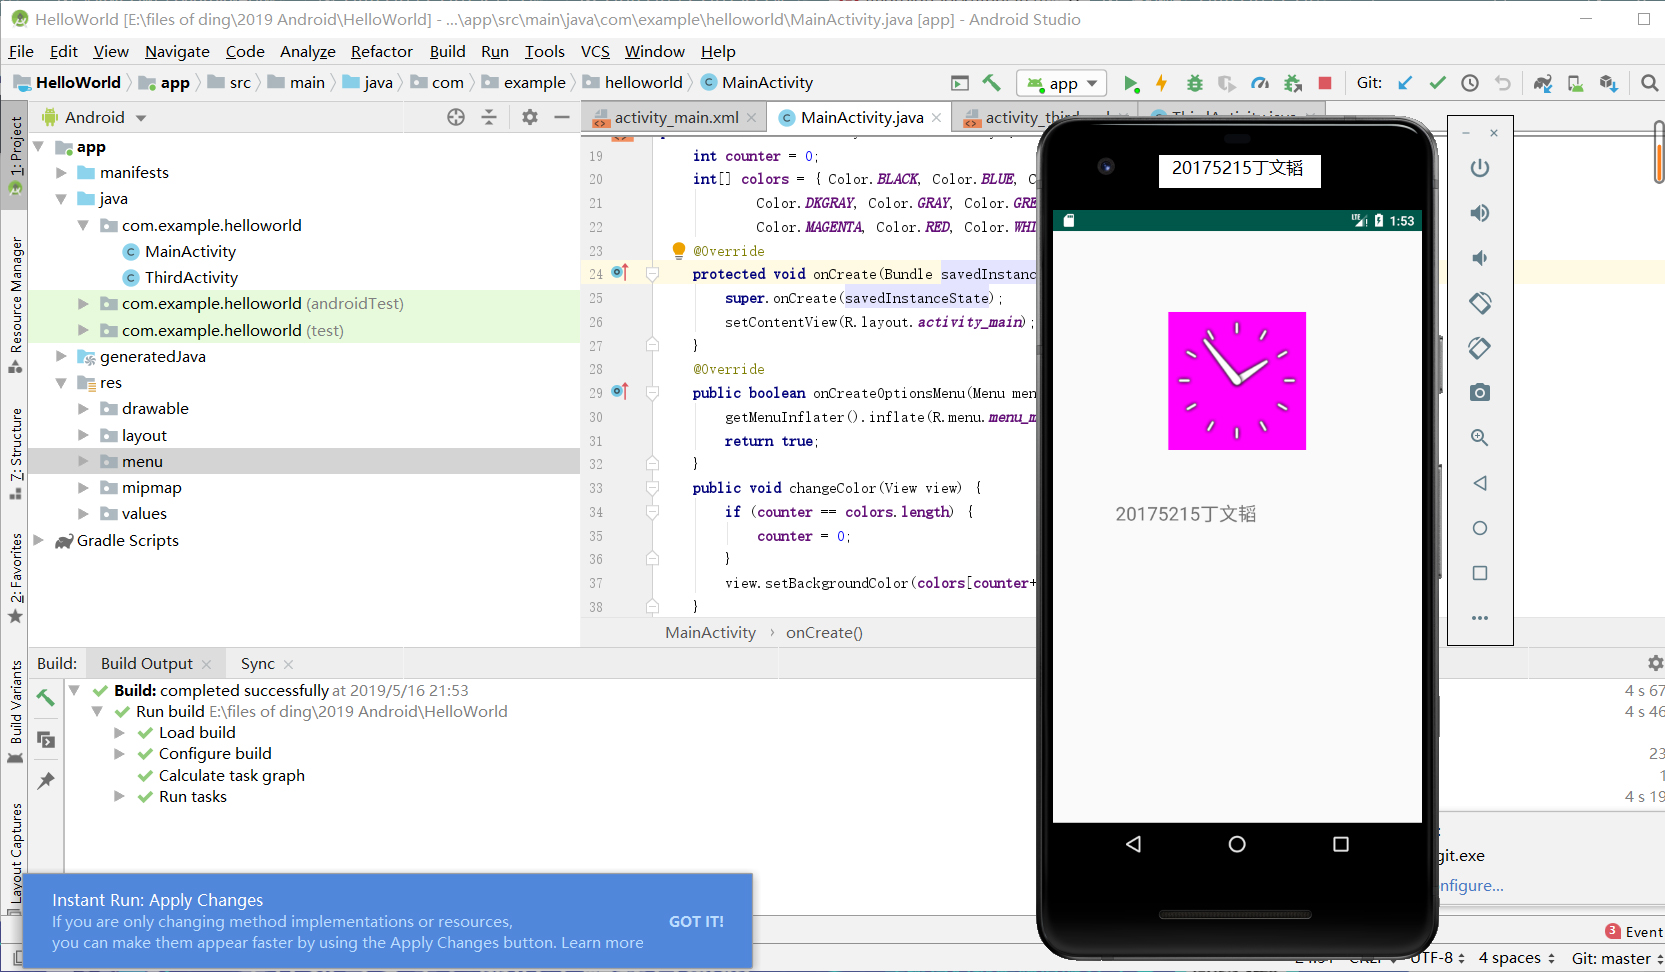
5.任务五:事件处理测试。
任务要求:参考《Java和Android开发学习指南(第二版)(EPUBIT,Java for Android 2nd)》第二十八章:
- 构建项目,运行教材相关代码
- 提交代码运行截图和码云Git链接,截图要有学号水印,否则会扣分
任务过程:
- MainActivity.java代码
package com.example.helloworld;

import android.support.v7.app.AppCompatActivity;

import android.os.Bundle;

import android.app.Activity;

import android.graphics.Color;

import android.os.Bundle;

import android.view.Menu;

import android.view.View;

import android.widget.AnalogClock;

import android.app.Activity;

import android.graphics.Color;

import android.os.Bundle;

import android.view.Menu;

import android.view.View;

import android.widget.AnalogClock;

public class MainActivity extends Activity {

    int counter = 0;

    int[] colors = { Color.BLACK, Color.BLUE, Color.CYAN,

            Color.DKGRAY, Color.GRAY, Color.GREEN, Color.LTGRAY,

            Color.MAGENTA, Color.RED, Color.WHITE, Color.YELLOW };

    @Override

    protected void onCreate(Bundle savedInstanceState) {

        super.onCreate(savedInstanceState);

        setContentView(R.layout.activity_main);

    }

    @Override

    public boolean onCreateOptionsMenu(Menu menu) {

        getMenuInflater().inflate(R.menu.menu_main, menu);

        return true;

    }

    public void changeColor(View view) {

        if (counter == colors.length) {

            counter = 0;

        }

        view.setBackgroundColor(colors[counter++]);

    }

}
- activity_main.xml代码
<?xml version="1.0" encoding="utf-8"?>

<RelativeLayout

    xmlns:android="http://schemas.android.com/apk/res/android"

    xmlns:tools="http://schemas.android.com/tools"

    android:layout_width="match_parent"

    android:layout_height="match_parent"

    tools:context=".MainActivity">

    <AnalogClock

        android:layout_width="wrap_content"

        android:layout_height="wrap_content"

        android:layout_alignParentTop="true"

        android:layout_centerHorizontal="true"

        android:layout_marginTop="90dp"

        android:id="@+id/analogClock1"

        android:onClick="changeColor" />

    <TextView

        android:layout_width="match_parent"

        android:layout_height="match_parent"

        android:text="20175215丁文韬"

        android:layout_marginLeft="70dp"

        android:layout_marginTop="300dp"

        android:textSize="21dp"/>

</RelativeLayout>
- 任务截图:
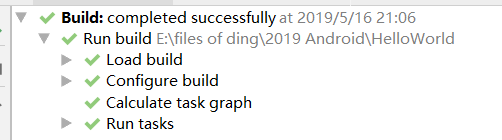
SP.实验中碰到的问题
1.无法运行java文件
未等到下图部分加载完成,误认为是sdk等文件安装错误
2018-2019-2 20175215 实验四《Android程序设计》实验报告的更多相关文章
- 20165230 《Java程序设计》实验四 Android程序设计实验报告
20165230 <Java程序设计>实验四 Android程序设计实验报告 一.实验报告封面 课程:Java程序设计 班级:1652班 姓名:田坤烨 学号:20165230 成绩: 指导 ...
- 实验四 Android程序设计 实验报告
实验四 Android程序设计 实验报告 目录 代码托管地址 Android程序设计-1 Android程序设计-2 Android程序设计-3 Android程序设计-4 Android程序设计-5 ...
- 20155326 实验四 Android程序设计实验报告
20155326 实验四 Android程序设计实验报告 实验内容 1.基于Android Studio开发简单的Android应用并部署测试; 2.了解Android.组件.布局管理器的使用: 3. ...
- 20162325金立清 实验四 Android程序设计 实验报告
实验四 Android程序设计 实验报告 代码托管地址 码云链接 实验内容 安装使用Android Stuidio Activity测试 UI测试 布局测试 事件处理测试 Android程序设计-1 ...
- 实验四 Android程序设计 实验报告 20162305李昱兴
实验四 Android程序设计 实验报告 20162305李昱兴 一.Android Studio的安装测试 1.有关该软件 Android Studio,是基于Itellij IDEA的一款流行的I ...
- 20172302《程序设计与数据结构》实验四Android程序设计实验报告
课程:<程序设计与数据结构> 班级: 1723 姓名: 侯泽洋 学号:20172302 实验教师:王志强老师 实验日期:2018年5月30日 必修/选修: 必修 1.实验内容 (1)And ...
- 20155328 实验四 Android程序设计 实验报告
20155328 实验四 Android程序设计 第24章 初识Android 提交点1:完成HelloWorld并显示自己的学号 安装Android Studio后,创建了属于自己的Project( ...
- 2016-2017-2 20155312 实验四Android程序设计实验报告
遇到的问题及解决过程 「问题1」Android Studio-R文件出错 解决:参考Android Studio-R文件错误的解决办法步骤如下: 第一步:检查xml文件,R文件错误通常是由于我们的xm ...
- 20165235实验四 Android程序设计
20165235实验四 Android程序设计 实验课程:JAVA编程设计 实验名称:Android开发 姓名:祁瑛 学号:20165235 实验时间:2018.05.16 指导老师:娄家鹏 Andr ...
- 实验四 Android程序设计
20155224 实验四 Android程序设计 实验报告 实验报告封面: 课程:Java程序设计 班级:1652班 姓名:王高源 学号:20165225 指导教师:娄嘉鹏 实验日期:2018年5月1 ...
随机推荐
- 【原创】大叔问题定位分享(36)openresty(nginx+lua)中获取不到post数据,ngx.req.get_body_data返回nil
openresty(nginx+lua)中获取不到post数据,ngx.req.get_body_data返回nil This function returns nil if the request ...
- webpack4快速上手
1.在项目根目录cnpm init -y初始化.生成package.json文件 2.在项目里面使用cnpm安装webpack 3.需要在根目录下新建webpack.config.js文件(在其里面配 ...
- shell脚本——作业二(循环作业)
1.通过位置变量创建linux系统账户及密码 $1 是执行脚本的第一个参数,$2 是执行脚本的第二个参数 #!/bin/bash #创建用户与密码 declare -i c=0 if [ -z $1 ...
- Spring Boot Start 打包方式装B指南
项目结构如下: test包:实际的代码 spring-boot-start-test包:start 配置包 代码详细配置如下 https://github.com/fqybzhangji/spring ...
- 《设计模式之美》 <02>评判代码质量好坏的维度
如何评价代码质量的高低? 实际上,咱们平时嘴中常说的“好”和“烂”,是对代码质量的一种描述.“好”笼统地表示代码质量高,“烂”笼统地表示代码质量低.对于代码质量的描述,除了“好”“烂”这样比较简单粗暴 ...
- 关于POI操作Excel
公共接口Workbook http://poi.apache.org/apidocs/dev/org/apache/poi/ss/usermodel/Workbook.html
- eclipse新建jsp模版设置
第一步:找到JSP模板 eclipse -- >perferences - >Web -> jsp files -Editor ->templates: 第二步:准备编辑JSP ...
- ACM-ICPC 2019南昌网络赛F题 Megumi With String
ACM-ICPC 南昌网络赛F题 Megumi With String 题目描述 给一个长度为\(l\)的字符串\(S\),和关于\(x\)的\(k\)次多项式\(G[x]\).当一个字符串\(str ...
- 手摸手教你让Laravel开发Api更得心应手
https://www.guaosi.com/2019/02/26/laravel-api-initialization-preparation/ 1. 起因 随着前后端完全分离,PHP也基本告别了v ...
- Mac OS 系统开发环境的一些坑
最近换 Mac OS 系统开发,运行项目时遇到各种报错,记录下: 1.拉取项目后,需要安装依赖 npm install ,提示需要安装 xcode,报错如下. 从官网下载 xcode 时提示要更新最新 ...