How to Install Tomcat 8.0.27 on CentOS/RHEL and Ubuntu【转】
https://tecadmin.net/install-tomcat-8-on-centos-rhel-and-ubuntu/
Apache Tomcat is an opensource web hosting server for Java based web application. Tomcat is licensed under Apache License version 2. Apache has released stable version of Tomcat 8 on June 25, 2014. Which is available for download on its official site. Apache tomcat 8 has upgraded some features. Below are few details about Tomcat 8.
- Tomcat 8 requires JAVA 7 or Higher to work.
- Tomcat 8 supports Java Servlet 3.1
- Tomcat 8 supports JavaServer Pages 2.3
- Tomcat 8 supports Java Unified Expression Language 3.0
- Tomcat 8 supports Java WebSocket 1.0
This article will help you to Install Tomcat 8 on your CentOS/RHEL and Ubuntu systems. Tomcat 8 stable release is available for download. To install other version of tomcat visit Install Tomcat 7 on CentOS/RHEL or Install Tomcat 7 on Ubuntu as per your operating system used.
Step 1 – Verify JAVA
JAVA is the first requirement of Tomcat installation. Use following command to check if you have java installed already on your system.
# java -version

java version "1.8.0_60"

Java(TM) SE Runtime Environment (build 1.8.0_60-b27)

Java HotSpot(TM) 64-Bit Server VM (build 25.60-b23, mixed mode)
Tomcat 8 is designed to run on Java SE 7 and later. So make sure you have installed correct version on your system. If you don’t have Java installed on your system or installed lower version, use one of following link to install Java first.
Step 2 – Downloading Tomcat Archive
Download Apache Tomcat 8 archive file using following commands or you can visit Tomcat 8official download page for download most recent available version. After downloading extract archive file in /opt directory. You may change this location as per your setup.
# cd /opt

# wget http://www.us.apache.org/dist/tomcat/tomcat-8/v8.0.27/bin/apache-tomcat-8.0.27.tar.gz

# tar xzf apache-tomcat-8.0.27.tar.gz
Step 3 – Configure Environment Variables
Before starting Tomcat, configure CATALINA_HOME environment variable in your system using following commands.
# echo "export CATALINA_HOME="/opt/apache-tomcat-8.0.27"" >> ~/.bashrc

# source ~/.bashrc
Step 4 – Starting Tomcat
Tomcat is very easy to use, There are no need to compile its source. You simple extract the archive and start the tomcat server. Tomcat by default start on port 8080, So make sure no other application using the same port.
# cd /opt/apache-tomcat-8.0.27

# ./bin/startup.sh
[Sample Output]
Using CATALINA_BASE:   /opt/apache-tomcat-8.0.27

Using CATALINA_HOME:   /opt/apache-tomcat-8.0.27

Using CATALINA_TMPDIR: /opt/apache-tomcat-8.0.27/temp

Using JRE_HOME:        /opt/jdk1.8.0_60

Using CLASSPATH:       /opt/apache-tomcat-8.0.27/bin/bootstrap.jar:/opt/apache-tomcat-8.0.27/bin/tomcat-juli.jar

Tomcat started.
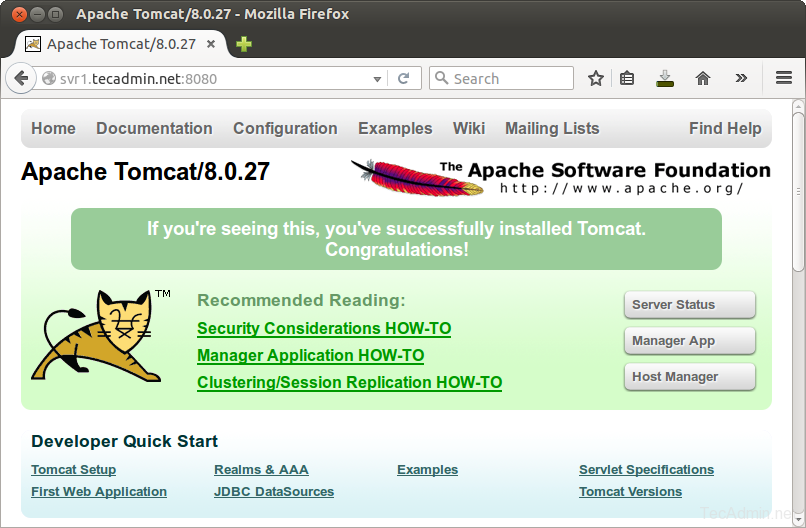
Step 5 – Access Tomcat in Browser
Tomcat server works on port 8080 default. Access tomcat on web browser by connecting your server on port 8080.
http://svr1.tecadmin.net:8080
Step 6 – Setup User Accounts
Finally we need to create user accounts to secure and access admin/manager pages. Editconf/tomcat-users.xml file in your editor and paste inside <tomcat-users> </tomcat-users> tags.
<!-- user manager can access only manager section -->

<role rolename="manager-gui" />

<user username="manager" password="_SECRET_PASSWORD_" roles="manager-gui" />

<!-- user admin can access manager and admin section both -->

<role rolename="admin-gui" />

<user username="admin" password="_SECRET_PASSWORD_" roles="manager-gui,admin-gui" />
How to Install Tomcat 8.0.27 on CentOS/RHEL and Ubuntu【转】的更多相关文章
- Install OpenCV 3.0 and Python 2.7+ on Ubuntu
为了防止原文消失或者被墙,转载留个底,最好还是去看原贴,因为随着版本变化,原贴是有人维护升级的 http://www.pyimagesearch.com/2015/06/22/install-Open ...
- Adobe Flash Player 27 on Fedora 27/26, CentOS/RHEL 7.4/6.9
This is guide, howto install Adobe Flash Player Plugin version 27 (32-bit and 64-bit) with YUM/DNF o ...
- Install Tomcat 6 on CentOS or RHEL --转载
source:http://www.davidghedini.com/pg/entry/install_tomcat_6_on_centos This post will cover installa ...
- 转: How to Install MongoDB 3.2 on CentOS/RHEL & Fedora (简单易懂)
from: http://tecadmin.net/install-mongodb-on-centos-rhel-and-fedora/ MongoDB (named from “huMONGOus ...
- Eclipse配置tomcat8.5.7报错:The Apache Tomcat installation at this directory is version 8.5.27. A Tomcat 8.0 installation is...
Eclipse配置tomcat8.5.7报错:The Apache Tomcat installation at this directory is version 8.5.27. A Tomcat ...
- Linux Tomcat 6.0安装配置实践总结
系统环境: Red Hat Enterprise Linux Server release 5.7 (Tikanga) 64位 Tomcat下载 从官方网站 http://tomcat.apache ...
- Tomcat 9.0安装配置
本文转自:http://blog.sina.com.cn/s/blog_15126e2170102w5o8.html 一.JDK的安装与配置 1.从官网下载jdk,注意是jdk不是jre.最好从官网下 ...
- tomcat之 Tomcat 7.0.78 单机多实例配置
前言:JDK(JavaDevelopment Kit)是Sun Microsystems针对Java开发员的产品.自从Java推出以来,JDK已经成为使用最广泛的javaSDK. JDK是整个Java ...
- 创建Dynamic Web Project时 显示最新Apache Tomcat 8.0 的方法
创建Dynamic Web Project时 显示最新Apache Tomcat 8.0 等的方法 解决办法如下: 第一步:eclipse菜单help->eclipse marketplac ...
随机推荐
- 腾讯云centos7.2安装jdk1.7 tomcat7.0部署项目示例
说实话win server的性能并不好,所以程序员必须会在Linux上安装环境,部署项目. 第一步,官网下载tomcat和jdk压缩文件*.tar.gz 下载路径如下: jdk:http://www ...
- Java基础学习-注释的概述和分类
/* 注释:用于解释说明程序的文字 分类: 单行:// 多行:/**/ 作用:解释说明程序,提高程序的阅读性 */ ...
- Intellij IDEA的下载安装与破解
一,下载与安装 1.官网下载:https://www.jetbrains.com/idea/ 2.选择Windows对应版本安装 二,破解 1.下载破解补丁:http://idea.lanyus.co ...
- 委托&&异步
private void ShowMessage(string message) { this.BeginInvoke(new MethodInvoker(delegate { txtSysMessa ...
- HDU4745--区间DP+回文串
这题的题意为,给你一个环状的字符串,有两只兔子分别从某任意的石头上开始跳跃.一只顺时针跳.一只逆时针跳.两只兔子每一次落脚处石头的质量都相同.兔子要一步一步的跳,且不能跳到之前跳到过的地方.总的来说, ...
- ARM内核版本号和SOC版本号
原博:https://blog.csdn.net/wxywxywxy110/article/details/78764988 内核版本号 SoC版本号 ...
- 2017 Russian Code Cup (RCC 17), Final Round
2017 Russian Code Cup (RCC 17), Final Round A Set Theory 思路:原题转换一下就是找一个b数组,使得b数组任意两个数的差值都和a数组任意两个数的差 ...
- 由装饰者模式来深入理解Java I/O整体框架
前言 Java里面的I/O这一部分看过很多遍,每次看完之后特别混乱,又是输入流,又是输出流,又是字符流,又是字节流,还有什么过滤流,缓冲流.每次看得我如入云里雾里,直到后面看了设计模式这一块,才算真正 ...
- 微信支付---H5支付
这里说的H5支付是指在微信外的浏览器打开H5商家的支付,切勿与公众号微信内支付混淆, 1.H5支付的开通流程 登陆微信商户平台页面:https://pay.weixin.qq.com/wiki/doc ...
- systemctl用法及其语法
1.确定是否安装systemd及其版本 # systemctl –version 2.确定systemd和systemctl的二进制文件和库文件的安装位置 # whereis systemd # wh ...