Android 换肤功能的实现(Apk插件方式)
一、概述
由于Android 没有提供一套统一的换肤机制,我猜可能是因为国外更注重功能和体验的原因
所以国内如果要做一个漂亮的换肤方案,需要自己去实现。
目前换肤的方法大概有三种方案:
(1)把皮肤资源文件内置于应用程序Apk的资源目录下,这种方案最简单,但是导致apk安装包比会比比较大,而且不好管理
(2)将皮肤资源文件打包成zip的资源文件方式提供,该方法也比较多被采用。
(3)将皮肤图片资源以独立的Apk安装包的方式提供,做成插件化的方式。便于管理。
本文主要讨论第三种实现。
二、效果演示
首先看看实现的效果吧:

三、换肤功能的实现
现在把 皮肤资源apk叫做皮肤Apk,把需要换肤的应用程序叫做主程序APK吧。
基本原理主要是:
(1)新建一个Android项目-MySkin,把皮肤资源文件放在把项目的资源目录下,改包名为:com.czm.myskin
(2)新建一个主程序Apk应用Android项目-MySkinDemo,通过皮肤Apk的包名,获取其Context:
方法如下:
mSkinContext= this.getApplicationContext().createPackageContext("com.czm.myskin",

                    Context.CONTEXT_IGNORE_SECURITY | Context.CONTEXT_INCLUDE_CODE);
为什么要用 Context.CONTEXT_IGNORE_SECURITY,且看api文档吧:
public static final int CONTEXT_IGNORE_SECURITY

Added in API level 1

Flag for use with createPackageContext(String, int): ignore any security restrictions on the Context being requested, allowing it to always be loaded. For use with CONTEXT_INCLUDE_CODE to allow code to be loaded into a process even when it isn't safe to do so. Use with extreme care!

Constant Value: 2 (0x00000002)

public static final int CONTEXT_INCLUDE_CODE

Added in API level 1

Flag for use with createPackageContext(String, int): include the application code with the context. This means loading code into the caller's process, so that getClassLoader() can be used to instantiate the application's classes. Setting this flags imposes security restrictions on what application context you can access; if the requested application can not be safely loaded into your process, java.lang.SecurityException will be thrown. If this flag is not set, there will be no restrictions on the packages that can be loaded, but getClassLoader() will always return the default system class loader.

Constant Value: 1 (0x00000001)
拿到皮肤Apk的context后,我们就可以拿到里面的皮肤资源文件和图片了
当然了,这里为了实现运行在同一个进程,需要将皮肤Apk-MySkin 的 android:sharedUserId 这个属性配置为 主程序MySkinDemo的包名:即:
<manifest xmlns:android="http://schemas.android.com/apk/res/android"

    package="com.czm.myskin"

    android:sharedUserId="com.czm.myskindemo"

    >
至于android:sharedUserId 这个的作用和意义,还是看官方api文档吧:
android:sharedUserId

The name of a Linux user ID that will be shared with other applications. By default, Android assigns each application its own unique user ID. However, if this attribute is set to the same value for two or more applications, they will all share the same ID — provided that they are also signed by the same certificate. Application with the same user ID can access each other's data and, if desired, run in the same process.
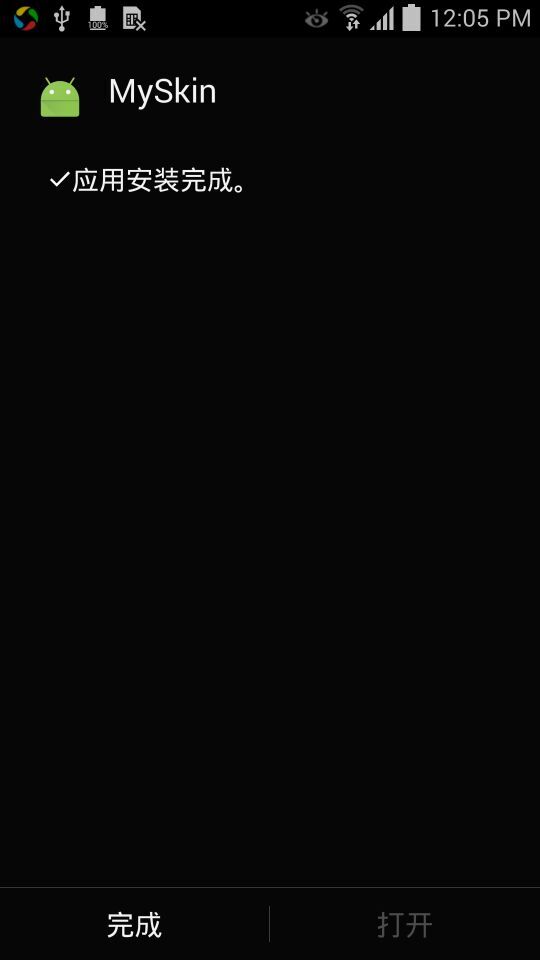
(3)为了让用户无感知,需要安装后皮肤APk后,让自己不可以打开,且不生成桌面图标,
如下图:

其实这里有个小窍门就是 不设置其
category的 Launcher : 即 把
<intent-filter>

                <action android:name="android.intent.action.MAIN" />

                <category android:name="android.intent.category.LAUNCHER" />

            </intent-filter>
这个过滤器去掉即可
如下:
<?xml version="1.0" encoding="utf-8"?>

<manifest xmlns:android="http://schemas.android.com/apk/res/android"

    package="com.czm.myskin"

    android:sharedUserId="com.czm.myskindemo"

    >

    <application

        android:icon="@mipmap/ic_launcher"

        android:label="@string/app_name"

        android:theme="@style/AppTheme">

        <activity

            android:name=".MainActivity"

            android:label="@string/app_name"

           >

        </activity>

    </application>

</manifest>
到此为止,Apk插件换肤功能方案已经完成实现。
下面是主程序的完整实例代码:(这里以换 2张背景图片为例)
package com.czm.myskindemo;

import android.app.Activity;

import android.content.Context;

import android.content.pm.PackageManager;

import android.graphics.drawable.Drawable;

import android.os.Bundle;

import android.view.View;

import android.widget.Button;

import java.util.List;

public class MainActivity extends Activity {

    private Button mButton;

    private Context mSkinContext;

    private int[] mResId;

    private int mCount = 0;

    private View mTopbar;

    private View mBottomBar;

    private List<View> mSkinWidgetList;

    @Override

    protected void onCreate(Bundle savedInstanceState) {

        super.onCreate(savedInstanceState);

        setContentView(R.layout.activity_main);

        initSkinContext();

        setListener();

    }

    private void initSkinContext() {

        mResId = new int[]{

                R.drawable.bg_topbar0,

                R.drawable.bg_topbar1,

                R.drawable.bg_topbar2,

        };

        try {

            mSkinContext= this.getApplicationContext().createPackageContext("com.czm.myskin",

                    Context.CONTEXT_IGNORE_SECURITY | Context.CONTEXT_INCLUDE_CODE);

        } catch (PackageManager.NameNotFoundException e) {

            e.printStackTrace();

        }

        mTopbar = findViewById(R.id.tv_topbar);

        mBottomBar = findViewById(R.id.tv_bottombar);

    }

    private void setListener() {

        mButton = (Button)findViewById(R.id.btn_install_skin);

        mButton.setOnClickListener(new View.OnClickListener() {

            @Override

            public void onClick(View view) {

                Drawable drawable = mSkinContext.getResources().getDrawable(mResId[mCount]);

                mTopbar.setBackground(drawable);

                mBottomBar.setBackground(drawable);

                mCount++;

                if(mCount >2){

                    mCount = 0;

                }

            }

        });

    }

}
其对于的布局文件:
<?xml version="1.0" encoding="utf-8"?>

<RelativeLayout

    xmlns:android="http://schemas.android.com/apk/res/android"

    xmlns:app="http://schemas.android.com/apk/res-auto"

    xmlns:tools="http://schemas.android.com/tools"

    android:layout_width="match_parent"

    android:layout_height="match_parent"

    tools:context="com.czm.myskindemo.MainActivity"

    tools:showIn="@layout/activity_main">

    <TextView

        android:id="@+id/tv_topbar"

        android:layout_width="match_parent"

        android:layout_height="50dp"

        android:layout_alignParentTop="true"

        android:background="#000"

        android:gravity="center"

        android:textColor="#FFF"

        android:text="Top Bar" />

    <TextView

        android:id="@+id/tv_bottombar"

        android:layout_width="match_parent"

        android:layout_height="50dp"

        android:layout_alignParentBottom="true"

        android:textColor="#FFF"

        android:gravity="center"

        android:background="#000"

        android:text="Bottom Bar" />

    <Button

        android:id="@+id/btn_install_skin"

        android:layout_width="wrap_content"

        android:layout_height="wrap_content"

        android:layout_centerInParent="true"

        android:text="Install Skin"/>

</RelativeLayout>
四、源码下载:
源码下载:http://www.demodashi.com/demo/14679.html
真题园网:http://www.zhentiyuan.com
Android 换肤功能的实现(Apk插件方式)的更多相关文章
- Android QMUI实战:实现APP换肤功能,并自动适配手机深色模式
Android换肤功能已不是什么新鲜事了,市面上有很多第三方的换肤库和实现方案. 之所以选择腾讯的QMUI库来演示APP的换肤功能,主要原因: 1.换肤功能的实现过程较简单.容易理解: 2.能轻松适配 ...
- Android实现apk插件方式换肤
换肤思路: 1.什么时候换肤? xml加载前换肤,如果xml加载后换肤,用户将会看见换肤之前的色彩,用户体验不好. 2.皮肤是什么? 皮肤就是apk,是一个资源包,包含了颜色.图片等. 3.什么样的控 ...
- Flex AIR应用换肤功能(Android和IOS)
说明 换肤功能,即将整个应用的皮肤都进行更换,其实质,是动态加载swf文件的过程,而这些swf文件则有css文件编译而来. 关于换肤功能,在android和ios系统的实现方式是不同的.主要原因,是因 ...
- 一种简单的实现:Android一键换肤功能
现在的APP开发,通常会提供APP的换肤功能,网上流传的换肤代码和实现手段过于复杂,我把原作者的代码重新整理抽取出来,转换成Eclipse项目,重新整理成正确.可直接运行的项目. 代码运行结果如图. ...
- Android一键换肤功能:一种简单的实现
Android一键换肤功能:一种简单的实现 现在的APP开发,通常会提供APP的换肤功能,网上流传的换肤代码和实现手段过于复杂,这里有一个开源实现,我找了一大堆,发现这个项目相对较为简洁:htt ...
- .NET vs2010中使用IrisSkin2.dll轻松实现winForm窗体换肤功能
IrisSkin2.dll是一款很不错的免费皮肤控件,利用它可以轻松的实现winForm窗体换肤! 网上很多朋友说在VS2010中不能使用IrisSkin2.dll,我这里提供一个取巧的办法. Iri ...
- 利用CSS预处理技术实现项目换肤功能(less css + asp.net mvc4.0 bundle)
一.背景 在越来越重视用户体验的今天,换肤功能也慢慢被重视起来.一个web系统用户可以选择一个自己喜欢的系统主题,在用户眼里还是会多少加点分的.我们很开心的是easyui v1.3.4有自带defau ...
- 【转】Javascript+css 实现网页换肤功能
来源:http://www.php100.com/html/webkaifa/DIV_CSS/2008/1014/2326.html Html代码部分: 1.要有一个带id的样式表链接,我们要通过操作 ...
- 用js来实现页面的换肤功能(带cookie记忆)
用js来实现页面的换肤功能 js实现换肤功能的实现主要是通过利用js控制CSS来实现的.大致的实现原理是这样的, 1.先定义一个页面基本样式style.css来确定div的宽高等属性,使得整个页面的D ...
随机推荐
- DbHelper and OracleHelper
1 连接Sql Server的ConnectionString: Data Source=.;Initial Catalog=ViewVideo;User ID=sa;Password=XXXXXX; ...
- 查询Table name, Column name, 拼接执行sql文本, 游标, 存储过程, 临时表
018_Proc_UpdateTranslations.sql: SET ANSI_NULLS ON GO SET QUOTED_IDENTIFIER ON GO if (exists (select ...
- docker专题(2):docker常用管理命令(上)
http://segmentfault.com/a/1190000000751601 本文只记录docker命令在大部分情境下的使用,如果想了解每一个选项的细节,请参考官方文档,这里只作为自己以后的备 ...
- HDU 1520-Anniversary party(树形dp入门)
题意: n个人参加party,已知每人的欢乐值,给出n个人的工作关系树,一个人和他的顶头上司不能同时参加,party达到的最大欢乐值. 分析:dp[i][f],以i为根的子树,f=0,i不参加,f=1 ...
- FZU 2214 Knapsack dp (转化背包)
就是一个背包裸题,由于物品的重量太大,开不了这么大的数组 所以转化一下,由于价值总和不大于5000,所以把价值看作重量,重量看作价值,那么就是同样的价值下,求一个最轻的重量 #include<c ...
- e2e 自动化集成测试 架构 实例 WebStorm Node.js Mocha WebDriverIO Selenium Step by step (二) 图片验证码的识别
上一篇文章讲了“e2e 自动化集成测试 架构 京东 商品搜索 实例 WebStorm Node.js Mocha WebDriverIO Selenium Step by step 一 京东 商品搜索 ...
- C#递归遍历指定目录下文件和文件夹
#region 使用递归查询某路径中的文件结构 public static void CheckFilePath() { ReadFilePath(); } public static void Re ...
- POJ 1738 石子合并2 GarsiaWachs算法
石子合并(GarsiaWachs算法) 只能用该算法过!!! 详解看代码 //#pragma comment(linker, "/STACK:167772160")//手动扩栈~~ ...
- JSF2.0 タグ一覧 (h:panelGrid) 編
JSF の HTML (UIComponent) 系タグにはテーブルを作成するタグが2種類用意されています.これらのタグと固有機能系タグを組み合わせることでテーブルを使用した画面を作成可能です. 6. ...
- HW7.11
import java.util.Scanner; public class Solution { public static void main(String[] args) { Scanner i ...
