Ubuntu 安装LAMP
简要记录一下。
环境准备
虚拟机环境
lz@starnight:~$ sudo -i

[sudo] password for lz:

root@starnight:~# cat /etc/issue

Ubuntu 16.04. LTS \n \l
更新系统
root@starnight:~# sudo apt-get update
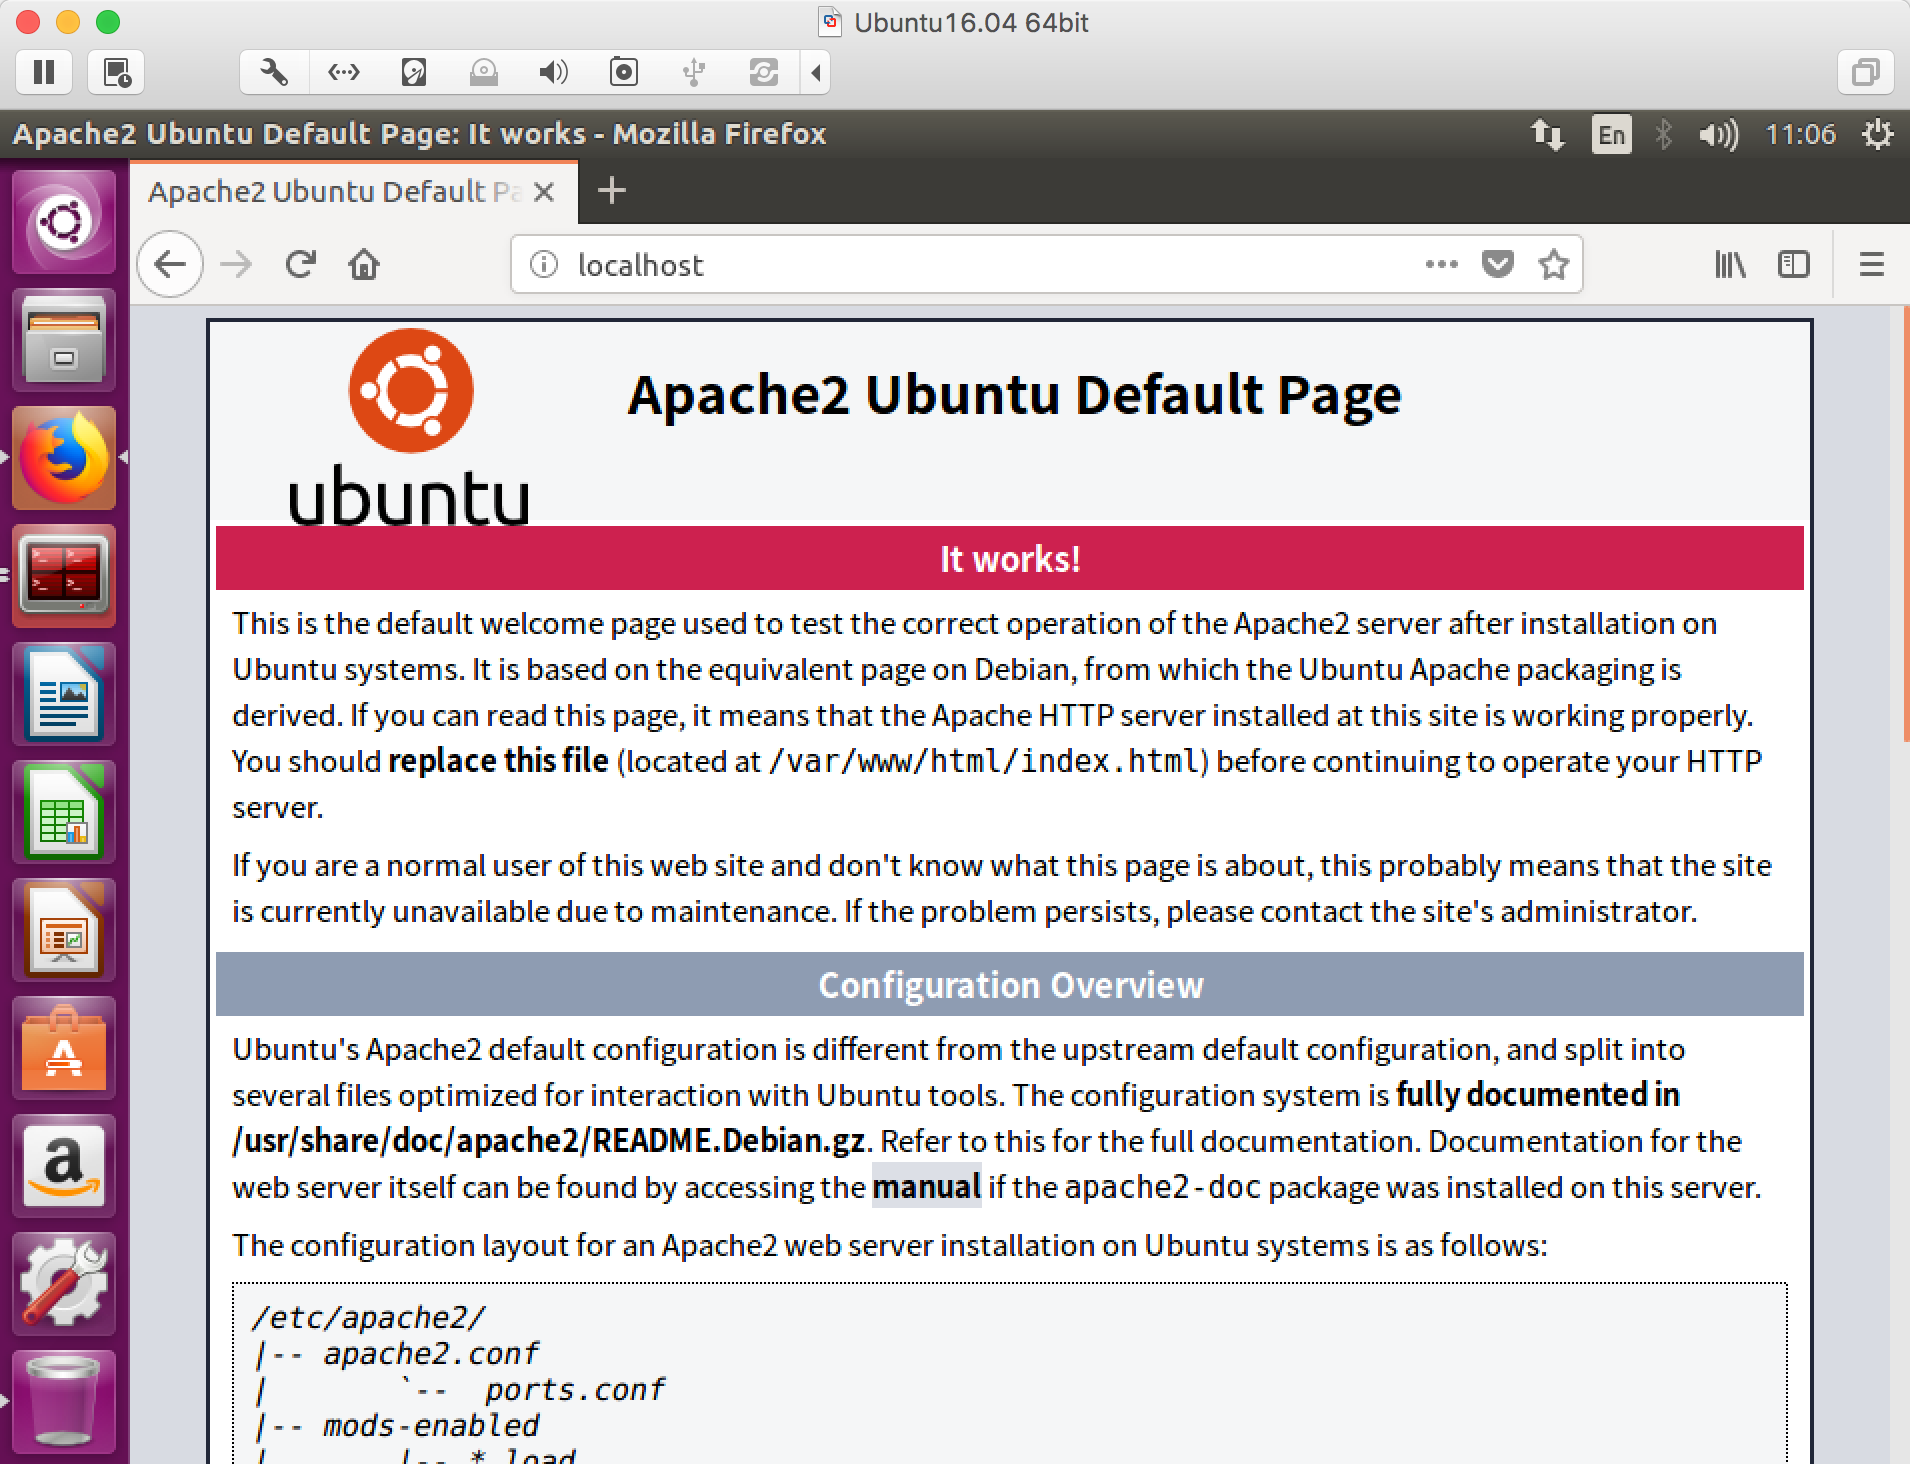
安装Apache
root@starnight:~# sudo apt-get install apache2
root@starnight:~# apache2 -v

Server version: Apache/2.4. (Ubuntu)

Server built:   --18T14::
默认的Web路径:/var/www/html
root@starnight:/var/www/html# pwd

/var/www/html

root@starnight:/var/www/html# ls

index.html
访问本地地址:localhost或127.0.0.1
安装PHP
root@starnight:~# sudo apt-get install php7.
root@starnight:~# php7. -v

PHP 7.0.-0ubuntu0.16.04. (cli) ( NTS )

Copyright (c) - The PHP Group

Zend Engine v3.0.0, Copyright (c) - Zend Technologies

    with Zend OPcache v7.0.28-0ubuntu0.16.04., Copyright (c) -, by Zend Technologies
root@starnight:~# sudo apt-get install libapache2-mod-php7.
安装MySQL
root@starnight:~# sudo apt-get install mysql-server
在安装过程中会提示输入/重复密码。
root@starnight:~# sudo apt-get install php7.-mysql
到这里LAMP环境就算是安装成功了。
虚拟目录
如果机器上要部署多个Web项目,可以通过不同端口进行指定。
例如:在Web Root下有个项目helo,我想直接通过ip:port的形式进行访问。
root@starnight:/var/www/html/helo# pwd

/var/www/html/helo

root@starnight:/var/www/html/helo# ls

index.php
这里可以通过配置虚拟目录来实现。
root@starnight:/var/www/html/helo# cat /etc/apache2/ports.conf
在Listen 80添加你想设置的端口,如8080
root@starnight:/var/www/html/helo# cat /etc/apache2/ports.conf

# If you just change the port or add more ports here, you will likely also

# have to change the VirtualHost statement in

# /etc/apache2/sites-enabled/-default.conf

Listen

Listen

<IfModule ssl_module>

    Listen

</IfModule>

<IfModule mod_gnutls.c>

    Listen

</IfModule>

# vim: syntax=apache ts= sw= sts= sr noet
设置虚拟目录:
root@starnight:/var/www/html/helo# cat /etc/apache2/sites-available/-default.conf
copy 一份里面原有的内容,只需要更改port和DocumentRoot两项即可(本地环境,不涉及域名的问题,也可以进行相应的修改)
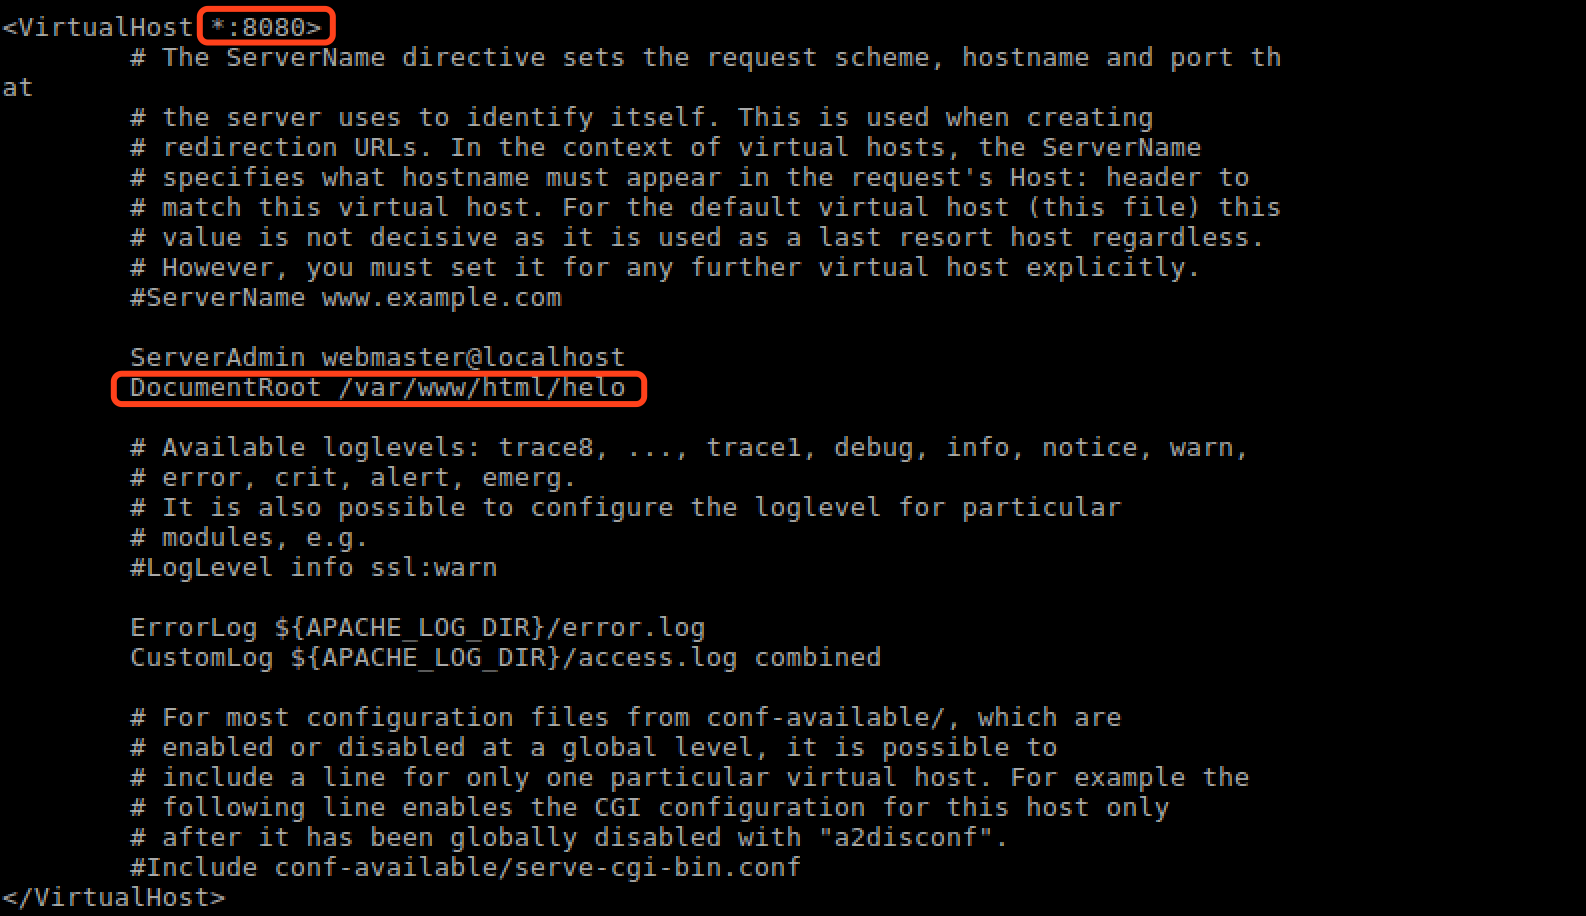
端口设置:8080,路径:/var/www/html/helo
重启apache2服务:
root@starnight:/var/www/html/helo# sudo /etc/init.d/apache2 restart
访问本地ip:port
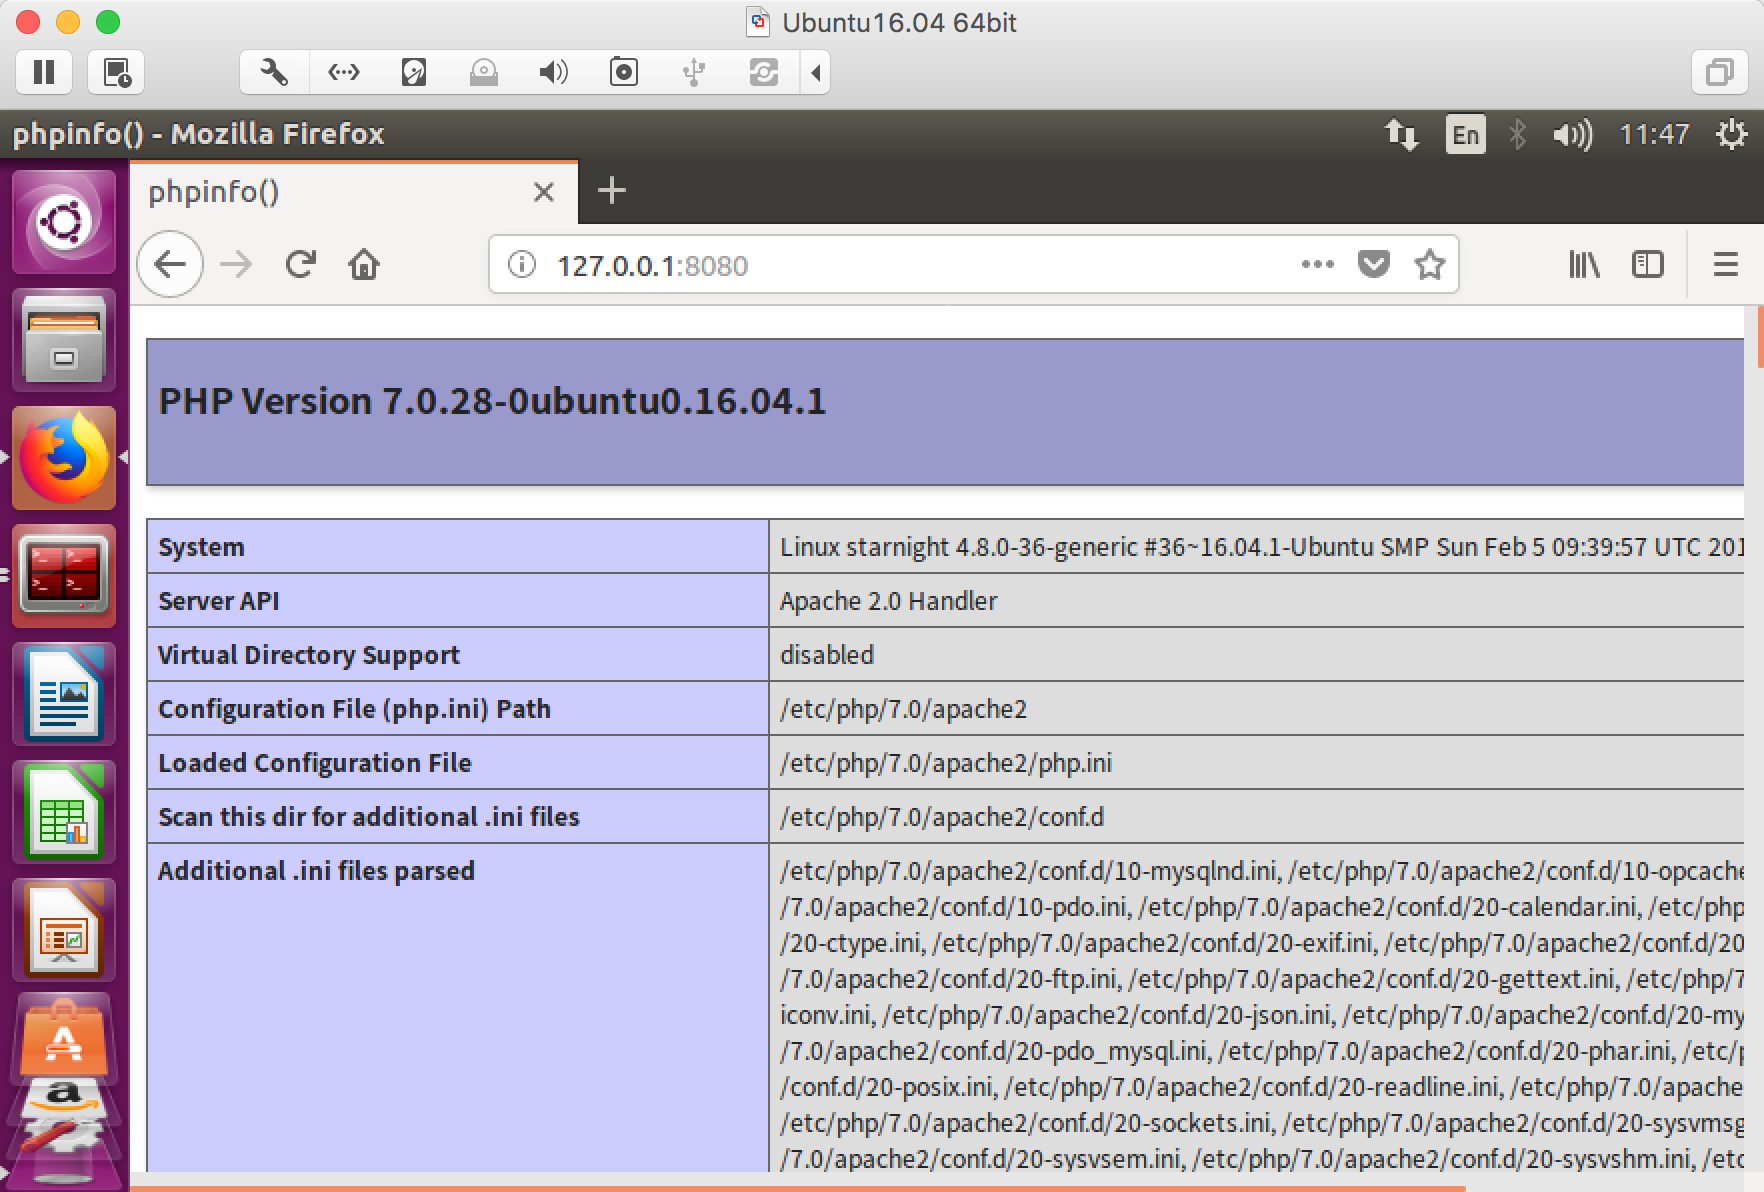
对,index.php的内容就是那个经典的phpinfo()。
Ubuntu 安装LAMP的更多相关文章
- 2019.9.17更换ubuntu的镜像源 ubuntu安装lamp iis安装网站和ftp站
更换ubuntu的镜像源 /etc/apt/sources.list cp /etc/apt/sources.list /etc/apt/sources.list.bak 备份这个文件 vim / ...
- ubuntu 安装 lamp 和配置虚拟机
1:sudo passwd root #设定root密码 su 切换 exit 退出 ,或者 普通用户下 加sudo 2:sudo apt-get update #更新软件列表 3:sudo ...
- Ubuntu安装LAMP环境(PHP5.6) 以及下载安装phpmyadmin
参考路径: http://blog.nciaer.com/?p=133 修改apache(2.4.18)的web路径时, 需要将 /etc/apache2/sites-available/000def ...
- ubuntu 安装LAMP web 服务器, phpmyadmin 安装后无法打开解决
安装方法: http://blog.chinaunix.net/uid-26495963-id-3173291.html 在上述文档中需要增加apache 支持mysql 功能. apt-get in ...
- ubuntu安装LAMP环境
1. LAMP 的安装 sudo apt-get install apache2 mysql-server mysql-client php5 php5-gd php5-mysql 由于LAMP大部分 ...
- 笔记:Ubuntu安装LAMP环境
一.更换Ubuntu的镜像源 镜像源路径:/etc/apt/sources.list 备份:cp /etc/apt/sources.list /etc/apt/souces.list.bak 使用阿里 ...
- Ubuntu安装LAMP
1.安装apache2 sudo apt-get install apache2 sudo apt-get install apache2 Apache安装成功后,/var/www/默认作为web的根 ...
- ubuntu 安装 lamp
链接: http://www.cnblogs.com/CheeseZH/p/4694135.html
- ubuntu 安装 LAMP环境
http://jingyan.baidu.com/article/a681b0de36ad683b18434691.html
随机推荐
- (NO.00003)iOS游戏简单的机器人投射游戏成形记(十六)
回到MainScene.m中添加selectRobot方法: -(void)selectRobot:(Robot *)robot{ LevelRestrict *lr = [LevelRestrict ...
- Python代码运行助手
将下述demo文件保存下来,比如存为learning.py 然后运行,如果出现: Ready for Python code on port 39093... 则说明成功了. demo #!/usr/ ...
- (五十五)iOS多线程之GCD
GCD的全称为Grand Central Dispatch,翻译为大中央调度,是Apple开发的一个多线程编程解决方法. 进程和线程的概念: 正在进行中的程序被称为进程,负责程序运行的内存分配,每一个 ...
- (NO.00001)iOS游戏SpeedBoy Lite成形记(十二)
如果选手能在加速的时候屁股产生推进器效果就跟好了,仿佛选手腾云驾雾的感觉.我们可以用Cocos2D中的CCMotionStreak类来轻松实现.下面在Player.h接口文件添加以下代码: @prop ...
- Android存储系统的架构与设计
一.概述 本文讲述Android存储系统的架构与设计,基于Android 6.0的源码,涉及到最为核心的便是MountService和Vold这两个模块以及之间的交互.为了缩减篇幅,只展示部分核心代码 ...
- Rust语言
Rust语言 https://doc.rust-lang.org/stable/book/ http://www.phperz.com/article/15/0717/141560.html Rust ...
- Flash Media Live Encoder 使用帮助
翻译了一下Flash Media Live Encoder的帮助内容. Flash Media Live Encoder包含两个工具: Flash Media Live Encoder GUI(图 ...
- JavaScript进阶(六)用JavaScript读取和保存文件
用JavaScript读取和保存文件 因为Google还不提供同步插件数据的功能,所以导入和导出插件配置就必须和文件打交道了.而出于安全原因,只有IE才提供访问文件的API:但随着HTML 5的到来, ...
- 【一天一道LeetCode】#14 Longest Common Prefix
一天一道LeetCode系列 (一)题目: Write a function to find the longest common prefix string amongst an array of ...
- Cursor类取出数据
重点是要调用 moveToFirst(); long id=intent.getLongExtra("id",0); Cursor cr =dbh.selectDataById(i ...