在 Linux 下搭建 Git 服务器
环境:

服务器 CentOS6.6 + git(version 1.7.1)
客户端 Windows10 + git(version 2.8.4.windows.1)
① 安装 Git
Linux 做为服务器端系统,Windows 作为客户端系统,分别安装 Git
服务器端:
#yum install -y git
安装完后,查看 Git 版本
[root@localhost ~]# git --version

git version 1.7.
客户端:
下载 Git for Windows,地址:https://git-for-windows.github.io/
安装完之后,可以使用 Git Bash 作为命令行客户端。
安装完之后,查看 Git 版本
$ git --version

git version 2.8..windows.
② 服务器端创建 git 用户,用来管理 Git 服务,并为 git 用户设置密码
[root@localhost home]# id git

id: git:无此用户

[root@localhost home]# useradd git

[root@localhost home]# passwd git
③ 服务器端创建 Git 仓库
设置 /home/data/git/gittest.git 为 Git 仓库
然后把 Git 仓库的 owner 修改为 git
[root@localhost home]# mkdir -p data/git/gittest.git

[root@localhost home]# git init --bare data/git/gittest.git

Initialized empty Git repository in /home/data/git/gittest.git/

[root@localhost home]# cd data/git/

[root@localhost git]# chown -R git:git gittest.git/
④ 客户端 clone 远程仓库
进入 Git Bash 命令行客户端,创建项目地址(设置在 d:/wamp64/www/gittest_gitbash)并进入:
dee@Lenovo-PC MINGW64 /d

$ cd wamp64/www

dee@Lenovo-PC MINGW64 /d/wamp64/www

$ mkdir gittest_gitbash

dee@Lenovo-PC MINGW64 /d/wamp64/www

$ cd gittest_gitbash

dee@Lenovo-PC MINGW64 /d/wamp64/www/gittest_gitbash

$
然后从 Linux Git 服务器上 clone 项目:
$ git clone git@192.168.56.101:/home/data/gittest.git
如果SSH用的不是默认的22端口,则需要使用以下的命令(假设SSH端口号是7700):
$ git clone ssh://git@192.168.56.101:7700/home/data/gittest.git
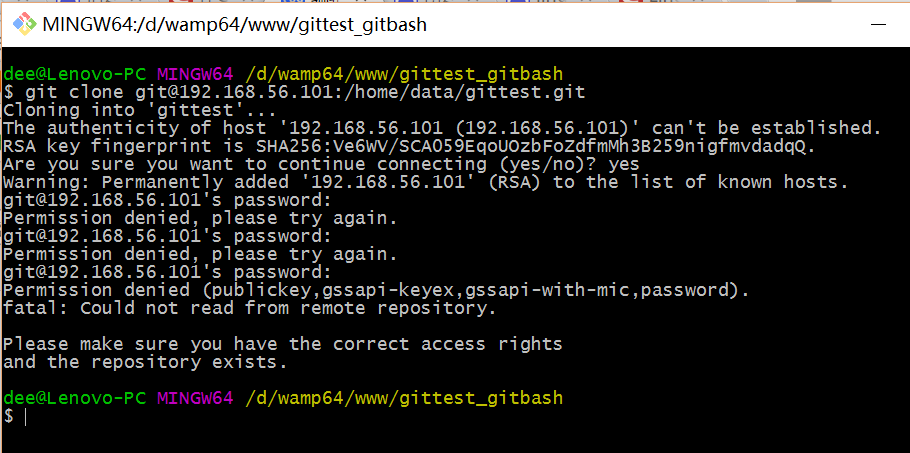
当第一次连接到目标 Git 服务器时会得到一个提示:
The authenticity of host '192.168.56.101 (192.168.56.101)' can't be established.

RSA key fingerprint is SHA256:Ve6WV/SCA059EqoUOzbFoZdfmMh3B259nigfmvdadqQ.

Are you sure you want to continue connecting (yes/no)?
选择 yes:
Warning: Permanently added '192.168.56.101' (RSA) to the list of known hosts.
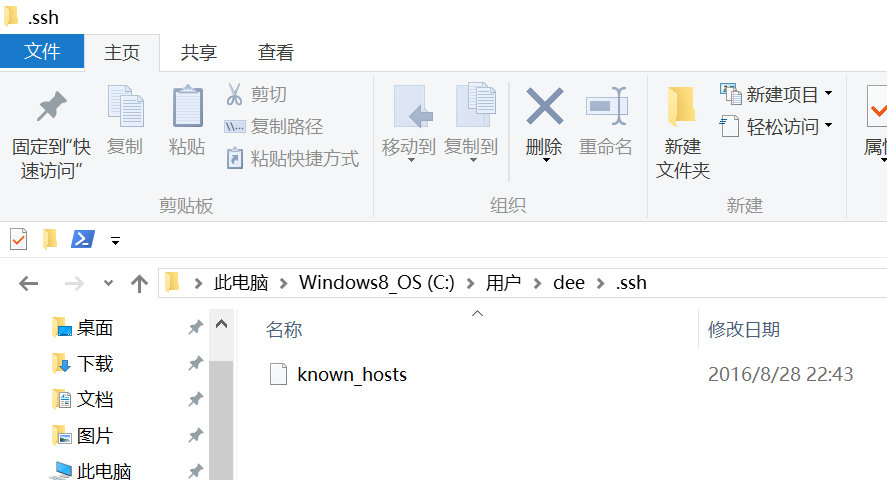
此时 C:\Users\用户名\.ssh 下会多出一个文件 known_hosts,以后在这台电脑上再次连接目标 Git 服务器时不会再提示上面的语句。
后面提示要输入密码,可以采用 SSH 公钥来进行验证。
⑤ 客户端创建 SSH 公钥和私钥
$ ssh-keygen -t rsa -C "472323087@qq.com"
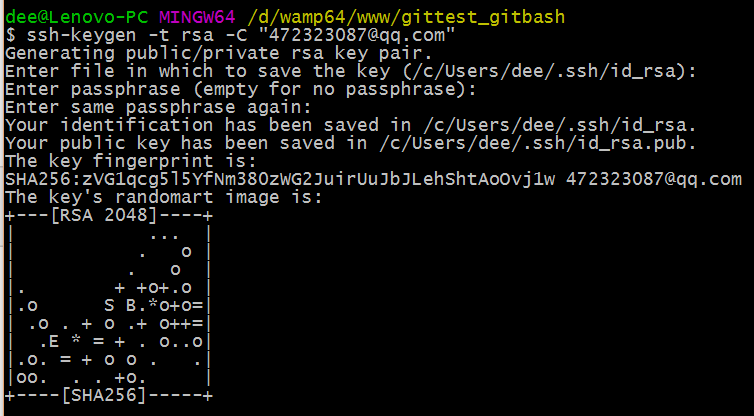
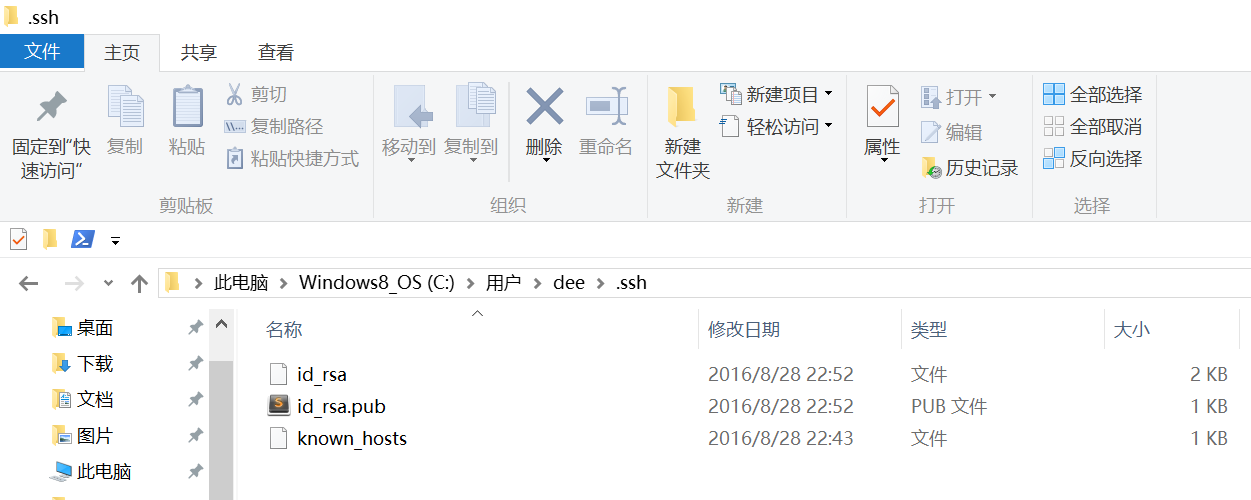
此时 C:\Users\用户名\.ssh 下会多出两个文件 id_rsa 和 id_rsa.pub
id_rsa 是私钥
id_rsa.pub 是公钥
⑥ 服务器端 Git 打开 RSA 认证
进入 /etc/ssh 目录,编辑 sshd_config,打开以下三个配置的注释:
RSAAuthentication yes

PubkeyAuthentication yes

AuthorizedKeysFile .ssh/authorized_keys
保存并重启 sshd 服务:
[root@localhost ssh]# /etc/rc.d/init.d/sshd restart
由 AuthorizedKeysFile 得知公钥的存放路径是 .ssh/authorized_keys,实际上是 $Home/.ssh/authorized_keys,由于管理 Git 服务的用户是 git,所以实际存放公钥的路径是 /home/git/.ssh/authorized_keys
在 /home/git/ 下创建目录 .ssh
[root@localhost git]# pwd

/home/git
[root@localhost git]# mkdir .ssh
[root@localhost git]# ls -a
. .. .bash_logout .bash_profile .bashrc .gnome2 .mozilla .ssh
然后把 .ssh 文件夹的 owner 修改为 git
[root@localhost git]# chown -R git:git .ssh

[root@localhost git]# ll -a

总用量

drwx------.  git  git   8月   : .

drwxr-xr-x.  root root  8月   : ..

-rw-r--r--.  git  git     10月   .bash_logout

-rw-r--r--.  git  git    10月   .bash_profile

-rw-r--r--.  git  git    10月   .bashrc

drwxr-xr-x.  git  git   11月   .gnome2

drwxr-xr-x.  git  git   5月    : .mozilla

drwxr-xr-x.  git  git   8月   : .ssh
⑦ 将客户端公钥导入服务器端 /home/git/.ssh/authorized_keys 文件
回到 Git Bash 下,导入文件:
$ ssh git@192.168.56.101 'cat >> .ssh/authorized_keys' < ~/.ssh/id_rsa.pub
需要输入服务器端 git 用户的密码

回到服务器端,查看 .ssh 下是否存在 authorized_keys 文件:
[root@localhost git]# cd .ssh

[root@localhost .ssh]# ll

总用量

-rw-rw-r--.  git git  8月   : authorized_keys
可以查看一下是否是客户端生成的公钥。
重要:
修改 .ssh 目录的权限为 700
修改 .ssh/authorized_keys 文件的权限为 600
[root@localhost git]# chmod  .ssh

[root@localhost git]# cd .ssh

[root@localhost .ssh]# chmod  authorized_keys
⑧ 客户端再次 clone 远程仓库
$ git clone git@192.168.56.101:/home/data/git/gittest.git

查看客户端项目目录:
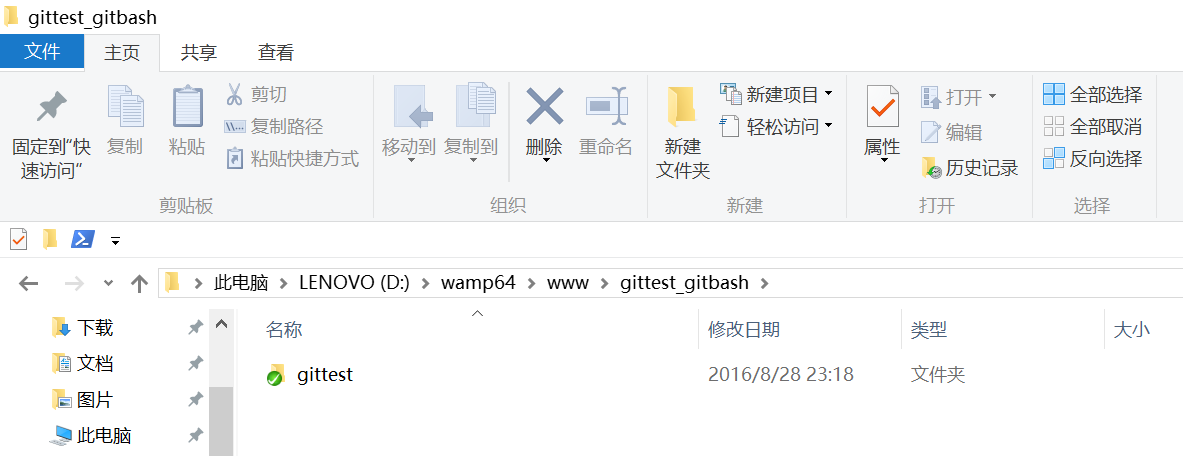
项目已经 clone 了。
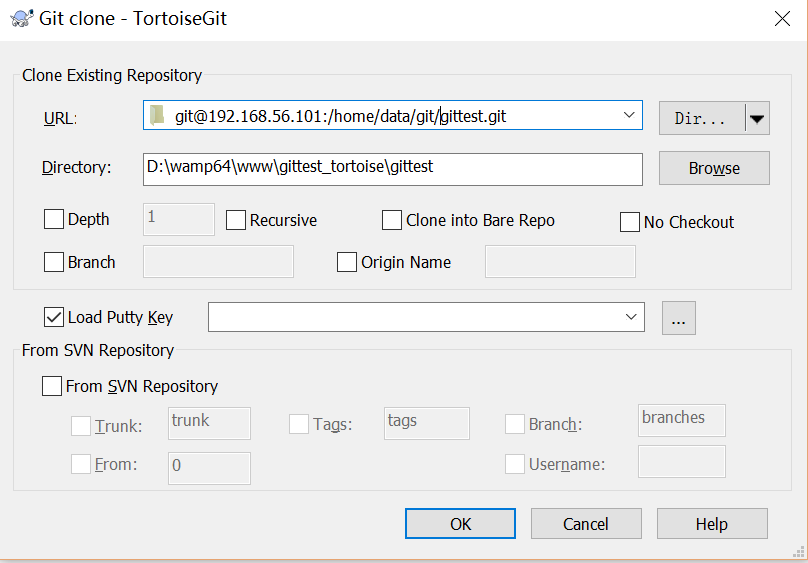
也可以使用 tortoiseGit 客户端来管理项目:
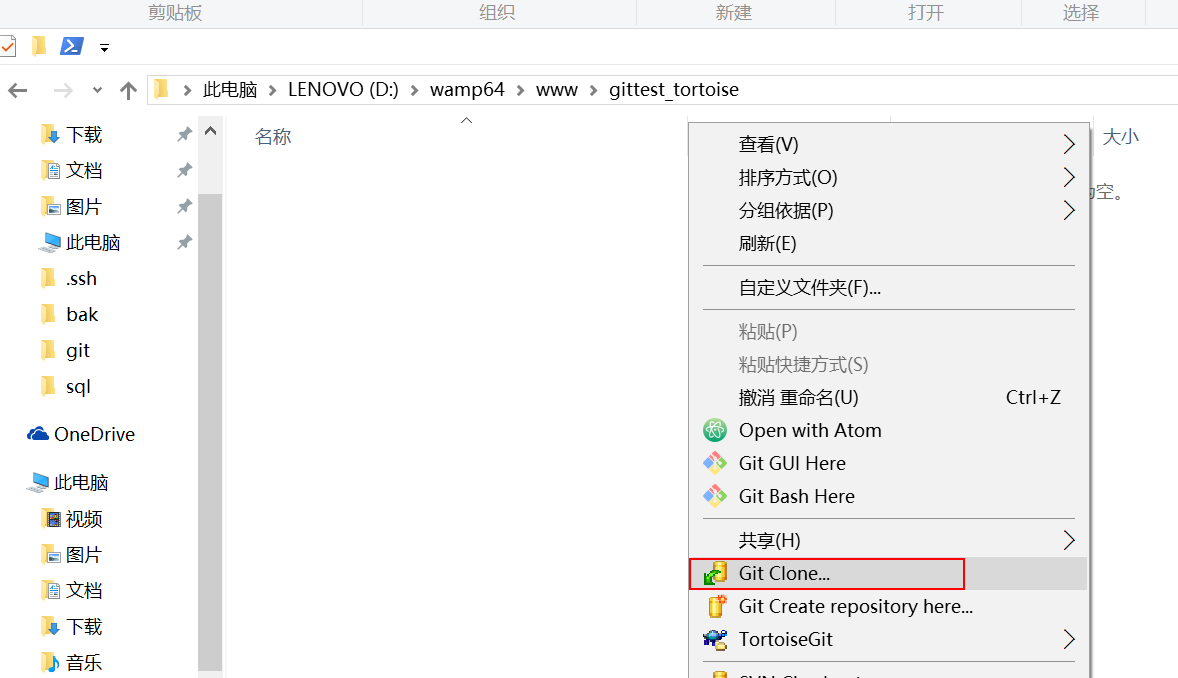
clone
⑨ 禁止 git 用户 ssh 登录服务器
之前在服务器端创建的 git 用户不允许 ssh 登录服务器
编辑 /etc/passwd
找到:
git:x::::/home/git:/bin/bash
修改为
git:x::::/home/git:/bin/git-shell
此时 git 用户可以正常通过 ssh 使用 git,但无法通过 ssh 登录系统。
在 Linux 下搭建 Git 服务器的更多相关文章
- 【转】在Linux下搭建Git服务器
在 Linux 下搭建 Git 服务器 环境: 服务器 CentOS6.6 + git(version 1.7.1)客户端 Windows10 + git(version 2.8.4.windows. ...
- 在Linux下搭建Git服务器的方法是什么样?
第一步 安装git:可以通过命令的方式快速安装,不同的linux的安装方法可能不一样,我的是采用的yum方法.ubuntu可以用apt-get命令.sudo yum install git 第二步 添 ...
- 在 Linux 下搭建 Git 服务器(yum安装)
服务端(linux): 1. 安装git [root@localhost ~]# yum -y install git 2. 增加一个git账户 为了管理的方便,在linux下面增添一个 " ...
- 在Linux下搭建Git服务器步骤
环境: 服务器 CentOS6.6 + git(version 1.7.1) 客户端 Windows10 + git(version 2.8.4.windows.1) ① 安装 Git Linux ...
- Linux下搭建Git服务器
1.安装Git 见 Jenkins持续集成环境部署 第四节 2.创建Git用户和用户组 groupadd git useradd git -g git 3.创建证书切换到git用户创建证书 su gi ...
- Linux 下搭建Git 服务器详细步骤
参考: https://www.cnblogs.com/dee0912/p/5815267.html#_label0 https://blog.csdn.net/carfge/article/deta ...
- kali linux 下搭建git服务器
参考:http://www.cnblogs.com/dee0912/p/5815267.html https://www.liaoxuefeng.com/wiki/001373951630592960 ...
- 在Linux下搭建git服务器
http://www.cnblogs.com/dee0912/p/5815267.html 步骤很详细,很受用
- Windows下搭建Git 服务器: BONOBO GIT SERVER + TortoiseGit
本文将介绍如何在Windows操作系统下搭建Git服务器和客户端.服务器端采用的是Bonobo Git Server,一款用ASP.NET MVC开发的Git源代码管理工具,界面简洁,基于Web方式配 ...
随机推荐
- Python函数讲解
Python函数
- 读书笔记<白帽子讲web安全>
2016年3月24日 09:34:32 星期四 ddos攻击: 一种: 随机生成ip, 去建立链接, 由于http/tcp握手协议原理, 发送应答报文时因为ip无效会导致等待重发, 这种行为可以通过电 ...
- js 的Location对象
Location对象 location用于获取或设置窗体的URL,并且可以用于解析URL. 语法: location.[属性|方法] location对象属性图示: location 对象属性: ha ...
- 改写js原装的alert样式
1.将下面的js代码单独到一个js文件中,然后在页面中引用 AlertDialog.js //改写js原装的alert样式 var t; var timeclose = 0; var showBack ...
- php多进程
增加 pcntl扩展pcntl扩展可以支持php的多线程操作(仅限linux系统)加载 pcntl 有两种方式一种重新编译安装,在编译时加,configrue提示加上--enable-pcntl./c ...
- 【转载】CentOS服务器配置VPN详解
转载来自: https://bbs.aliyun.com/read/162297.html http://www.wanghailin.cn/centos-7-vpn/ 操作系统:CentOS 6.3 ...
- OpenCv全景图像拼接
http://my.oschina.net/xiaot99/blog/226589 http://blog.csdn.net/chenjiazhou12/article/details/2282548 ...
- Android开发 代替 “(XXXX)findViewById()”
public class NActivity extends Activity{ protected void onCreate(Bundle savedInstanceState){ setCont ...
- cmd中编译java
cmd定位到.java文件所在位置: 注意.java文件名应与类名相同. javac xxx.java:编译(生成.class文件): java xxx:运行(执行.class文件): 若类间相互调用 ...
- 浏览器-06 HTML和CSS解析2
选择器 其实现由CSSSelector类来完成: CSSSelector的作用是储存从解析器生成的结果信息; 这里匹配指的是当需要为每个DOM中的节点计算样式时,WebKit需要根据当前的节点信息来从 ...