SpringCloud第二弹(高可用Eureka+Ribbon负载均衡)
先建立父工程
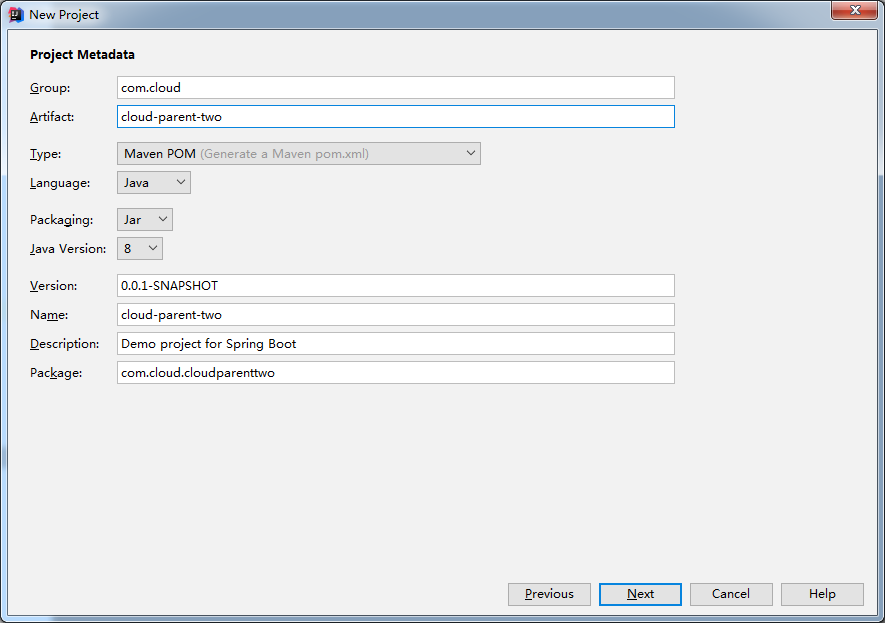
..
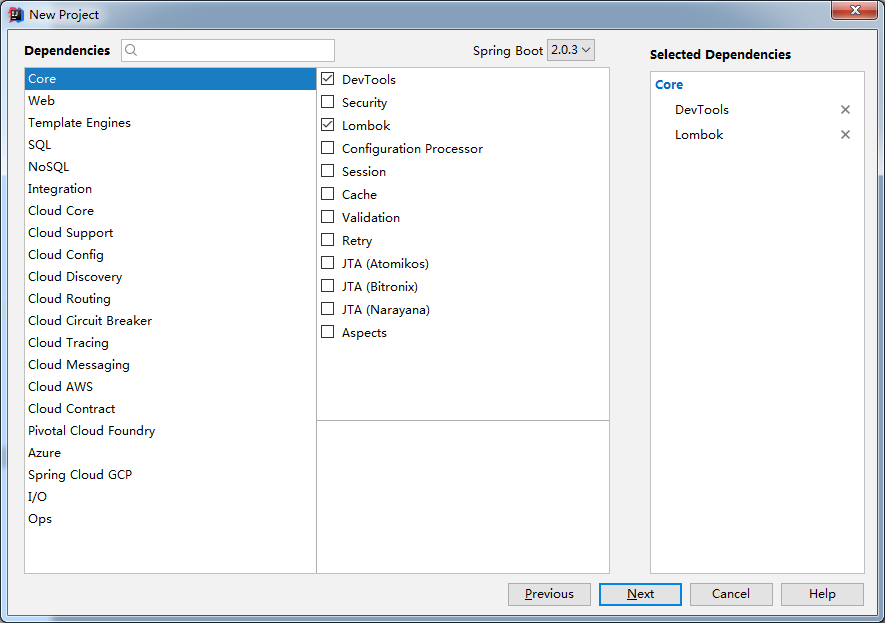
..一路next
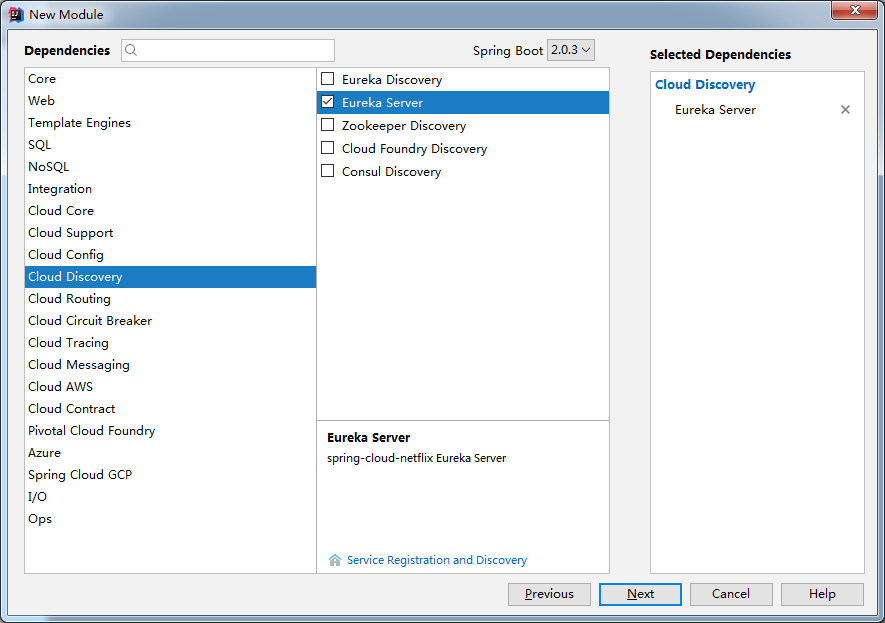
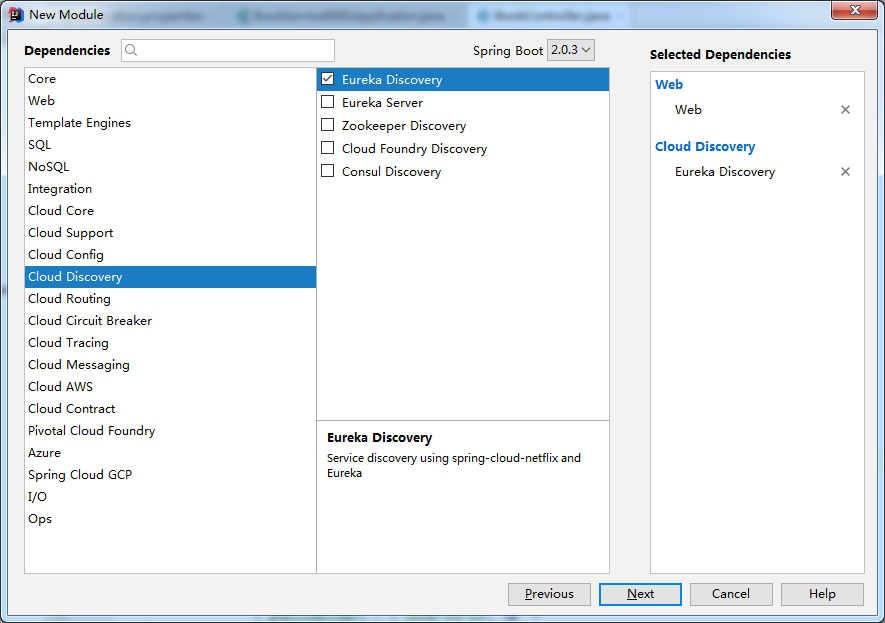
搭建注册中心(需要建立三个工程,端口不一样)
..
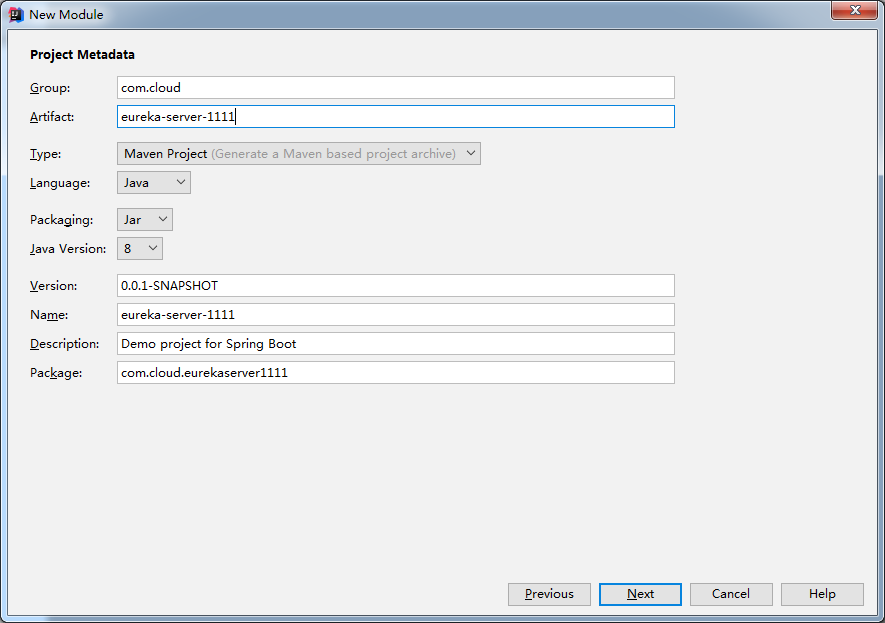
..
..
修改入口类
- package com.cloud.eurekaserver1111;
- import org.springframework.boot.SpringApplication;
- import org.springframework.boot.autoconfigure.SpringBootApplication;
- import org.springframework.cloud.netflix.eureka.server.EnableEurekaServer;
- @SpringBootApplication
- @EnableEurekaServer
- public class EurekaServer1111Application {
- public static void main(String[] args) {
- SpringApplication.run(EurekaServer1111Application.class, args);
- }
- }
修改属性文件(一共建立三个Eureka-Server服务,端口分别为1111,2222,3333)
- server.port=1111
- eureka.instance.hostname=server.one.com
- eureka.client.fetch-registry=false
- eureka.client.register-with-eureka=false
- eureka.client.service-url.defaultZone=http://server.two.com:2222/eureka,http://server.three.com:3333/eureka
..
- server.port=2222
- eureka.instance.hostname=server.two.com
- eureka.client.fetch-registry=false
- eureka.client.register-with-eureka=false
- eureka.client.service-url.defaultZone=http://server.one.com:1111/eureka,http://server.three.com:3333/eureka
..
- server.port=3333
- eureka.instance.hostname=server.three.com
- eureka.client.fetch-registry=false
- eureka.client.register-with-eureka=false
- eureka.client.service-url.defaultZone=http://server.one.com:1111/eureka,http://server.two.com:2222/eureka
..

修改hosts文件(C:\Windows\System32\drivers\etc)
- 127.0.0.1 server.one.com
- 127.0.0.1 server.two.com
- 127.0.0.1 server.three.com
修改pom文件,把parent改成父工程
- <parent>
- <groupId>com.cloud</groupId>
- <artifactId>cloud-parent-two</artifactId>
- <version>0.0.1-SNAPSHOT</version>
- </parent>
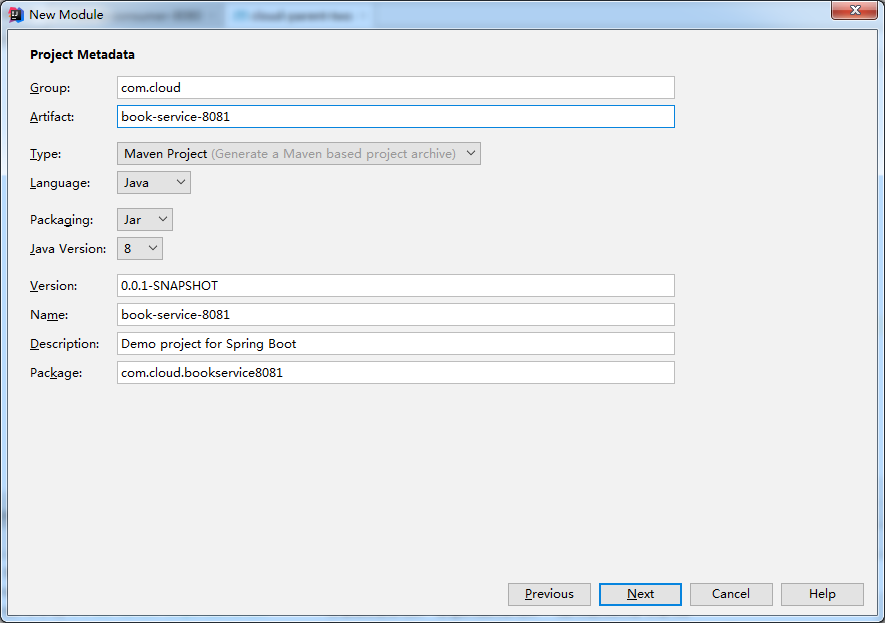
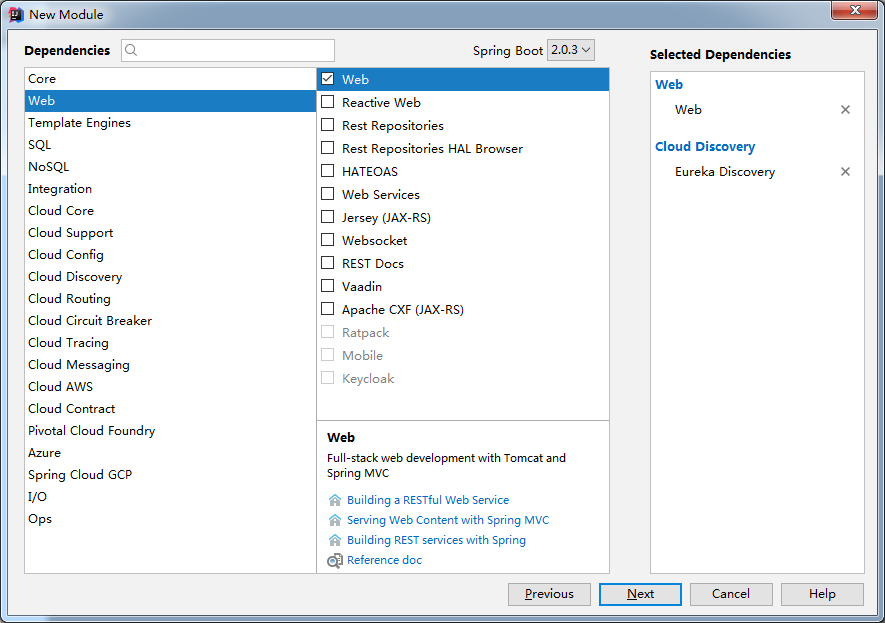
建立服务提供者-8081

..
..
..
修改pom
- <parent>
- <groupId>com.cloud</groupId>
- <artifactId>cloud-parent-two</artifactId>
- <version>0.0.1-SNAPSHOT</version>
- </parent>
修改入口类:
- package com.cloud.bookservice8081;
- import org.springframework.boot.SpringApplication;
- import org.springframework.boot.autoconfigure.SpringBootApplication;
- import org.springframework.cloud.client.discovery.EnableDiscoveryClient;
- import org.springframework.cloud.netflix.eureka.EnableEurekaClient;
- @SpringBootApplication
- @EnableEurekaClient
- @EnableDiscoveryClient
- public class BookService8081Application {
- public static void main(String[] args) {
- SpringApplication.run(BookService8081Application.class, args);
- }
- }
修改属性文件
- server.port=8081
- # 服务名
- spring.application.name=BookService
- # 注册地址
- eureka.client.service-url.defaultZone=http://server.one.com:1111/eureka,http://server.two.com:2222/eureka,http://server.three.com:3333/eureka
- # 注册名
- eureka.instance.instance-id=book-service:8081
- eureka.instance.prefer-ip-address=true
新建controller
- package com.cloud.bookservice8081.controller;
- import lombok.extern.slf4j.Slf4j;
- import org.springframework.beans.factory.annotation.Autowired;
- import org.springframework.cloud.client.ServiceInstance;
- import org.springframework.cloud.client.discovery.DiscoveryClient;
- import org.springframework.web.bind.annotation.RequestMapping;
- import org.springframework.web.bind.annotation.RestController;
- import java.util.List;
- @Slf4j
- @RestController
- public class BookController {
- @Autowired
- private DiscoveryClient discoveryClient;
- @RequestMapping("/book")
- public String index(){
- List<String> services = discoveryClient.getServices();
- services.forEach(e -> log.info("book-service:8081:" + e));
- List<ServiceInstance> list = discoveryClient.getInstances("BOOKSERVICEPROVIDER");
- list.forEach(e -> {
- log.info("book-service:8081:" + e.getServiceId() + "," + e.getHost() + "," + e.getPort() + "," + e.getUri());
- });
- return "{\n" +
- " \"bookName\": \"Apache Kafka实战\",\n" +
- " \"bookSize\": \"16开\",\n" +
- " \"pack\": \"平装\",\n" +
- " \"isbn\": \"9787121337765\",\n" +
- " \"publisher\": \"电子工业出版社\",\n" +
- " \"publishTime\": \"2018-05-01\",\n" +
- " \"service\": \"book-service:8081\"\n" +
- "}";
- }
- }
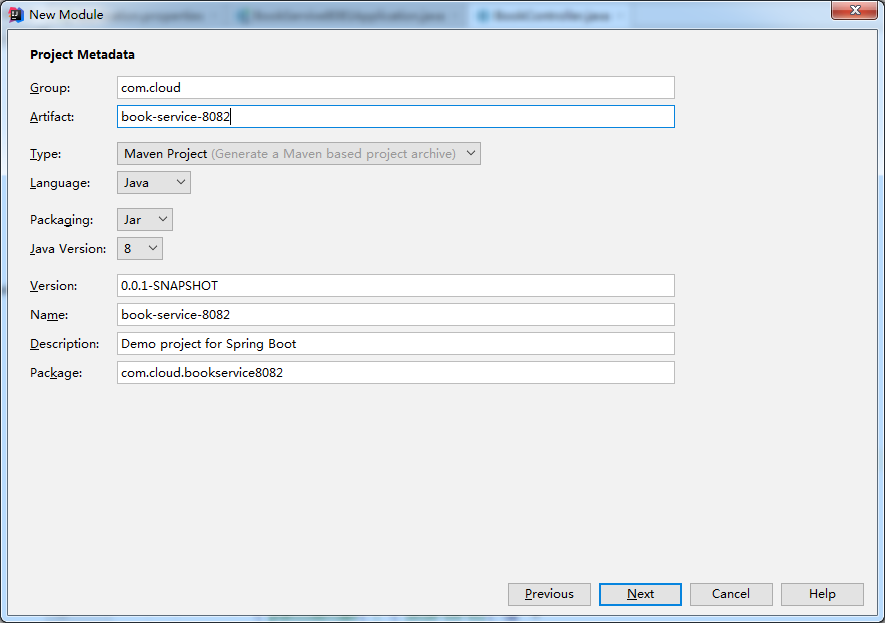
建立服务提供者-8082
..
..
修改pom
- <parent>
- <groupId>com.cloud</groupId>
- <artifactId>cloud-parent-two</artifactId>
- <version>0.0.1-SNAPSHOT</version>
- </parent>
修改入口类
- package com.cloud.bookservice8082;
- import org.springframework.boot.SpringApplication;
- import org.springframework.boot.autoconfigure.SpringBootApplication;
- import org.springframework.cloud.client.discovery.EnableDiscoveryClient;
- import org.springframework.cloud.netflix.eureka.EnableEurekaClient;
- @SpringBootApplication
- @EnableEurekaClient
- @EnableDiscoveryClient
- public class BookService8082Application {
- public static void main(String[] args) {
- SpringApplication.run(BookService8082Application.class, args);
- }
- }
修改属性文件
- server.port=8082
- # 服务名
- spring.application.name=BookService
- # 注册地址
- eureka.client.service-url.defaultZone=http://server.one.com:1111/eureka,http://server.two.com:2222/eureka,http://server.three.com:3333/eureka
- # 注册名
- eureka.instance.instance-id=book-service:8082
- eureka.instance.prefer-ip-address=true
增加controller
- package com.cloud.bookservice8082.controller;
- import lombok.extern.slf4j.Slf4j;
- import org.springframework.beans.factory.annotation.Autowired;
- import org.springframework.cloud.client.ServiceInstance;
- import org.springframework.cloud.client.discovery.DiscoveryClient;
- import org.springframework.web.bind.annotation.RequestMapping;
- import org.springframework.web.bind.annotation.RestController;
- import java.util.List;
- @Slf4j
- @RestController
- public class BookController {
- @Autowired
- private DiscoveryClient discoveryClient;
- @RequestMapping("/book")
- public String index(){
- List<String> services = discoveryClient.getServices();
- services.forEach(e -> log.info("book-service:8082:" + e));
- List<ServiceInstance> list = discoveryClient.getInstances("BOOKSERVICEPROVIDER");
- list.forEach(e -> {
- log.info("book-service:8082:" + e.getServiceId() + "," + e.getHost() + "," + e.getPort() + "," + e.getUri());
- });
- return "{\n" +
- " \"bookName\": \"Apache Kafka实战\",\n" +
- " \"bookSize\": \"16开\",\n" +
- " \"pack\": \"平装\",\n" +
- " \"isbn\": \"9787121337765\",\n" +
- " \"publisher\": \"电子工业出版社\",\n" +
- " \"publishTime\": \"2018-05-01\",\n" +
- " \"service\": \"book-service:8082\"\n" +
- "}";
- }
- }
最后建立消费者-8080

..
..
修改pom
- <parent>
- <groupId>com.cloud</groupId>
- <artifactId>cloud-parent-two</artifactId>
- <version>0.0.1-SNAPSHOT</version>
- </parent>
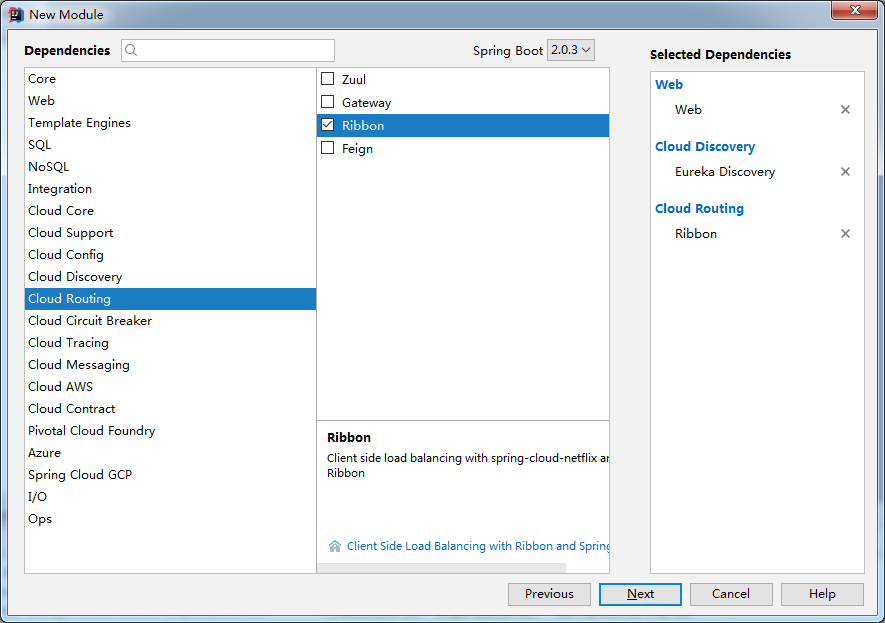
修改入口类(配置了@LoadBalanced注解的Bean)
- package com.cloud.bookconsumer8080;
- import org.springframework.boot.SpringApplication;
- import org.springframework.boot.autoconfigure.SpringBootApplication;
- import org.springframework.cloud.client.discovery.EnableDiscoveryClient;
- import org.springframework.cloud.client.loadbalancer.LoadBalanced;
- import org.springframework.cloud.netflix.eureka.EnableEurekaClient;
- import org.springframework.context.annotation.Bean;
- import org.springframework.web.client.RestTemplate;
- @SpringBootApplication
- @EnableDiscoveryClient
- @EnableEurekaClient
- public class BookConsumer8080Application {
- @Bean
- @LoadBalanced
- public RestTemplate restTemplate(){
- return new RestTemplate();
- }
- public static void main(String[] args) {
- SpringApplication.run(BookConsumer8080Application.class, args);
- }
- }
属性文件
- server.port=8080
- eureka.client.register-with-eureka=false
- eureka.client.service-url.defaultZone=http://server.one.com:1111/eureka,http://server.two.com:2222/eureka,http://server.three.com:3333/eureka
controller
- package com.cloud.bookconsumer8080.controller;
- import org.springframework.beans.factory.annotation.Autowired;
- import org.springframework.web.bind.annotation.RequestMapping;
- import org.springframework.web.bind.annotation.RestController;
- import org.springframework.web.client.RestTemplate;
- @RestController
- public class BookController {
- private static final String PREFIX = "http://BOOKSERVICE"; // 微服务名字
- @Autowired
- private RestTemplate restTemplate;
- @RequestMapping("consumeBook")
- public String index(){
- return restTemplate.getForEntity(PREFIX + "/book",String.class).getBody();
- }
- }
与上一节不同,这次指向的是服务名
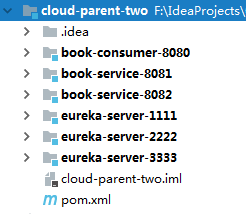
目录结构
下面开始运行

访问 http://server.one.com:1111/ 出现
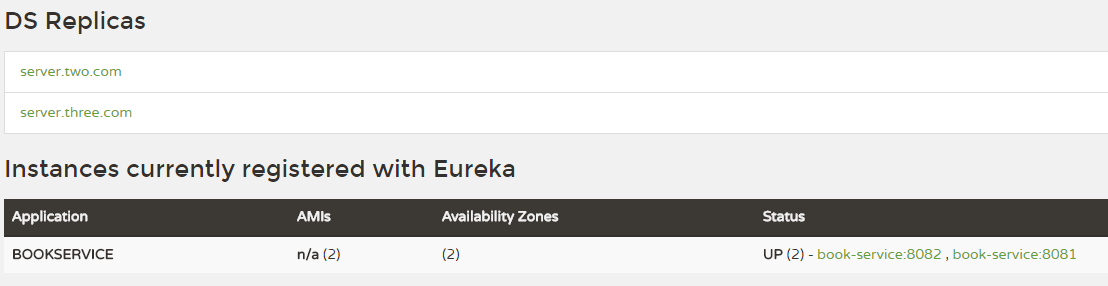
可以看见当前Eureka连接另外两个Eureka,证明注册中心高可用集群搭建成功。
再看下面的服务,有两个,证明服务已经注册进来了
下面访问消费者 http://localhost:8080/consumeBook

刷新

证明负载均衡也成功了
SpringCloud第二弹(高可用Eureka+Ribbon负载均衡)的更多相关文章
- 高性能Linux服务器 第11章 构建高可用的LVS负载均衡集群
高性能Linux服务器 第11章 构建高可用的LVS负载均衡集群 libnet软件包<-依赖-heartbeat(包含ldirectord插件(需要perl-MailTools的rpm包)) l ...
- 高可用 & 七层负载均衡与四层负载均衡
内容概要 高可用 七层负载均衡 和 四层负载均衡 内容详细 一.高可用 1.什么是高可用 一般是指2台机器启动着完全相同的业务系统,当有一台机器down机了,另外一台服务器就能快速的接管,对于访问的用 ...
- SpringCloud无废话入门02:Ribbon负载均衡
1.白话负载均衡 在上一篇的介绍中,我们创建了两个一模一样的服务提供者:Provider1和Provider2,然后它们提供的服务也一模一样,都叫Hello-Service.为什么一样的服务我们要部署 ...
- SpringCloud学习笔记(2):使用Ribbon负载均衡
简介 Spring Cloud Ribbon是基于Netflix Ribbon实现的一套客户端负载均衡工具,在注册中心对Ribbon客户端进行注册后,Ribbon可以基于某种负载均衡算法,如轮询(默认 ...
- SpringCloud微服务实现生产者消费者+ribbon负载均衡
一.生产者springcloud_eureka_provider (1)目录展示 (2)导入依赖 <dependency> <groupId>org.springframewo ...
- keepalived+nginx实现HA高可用的web负载均衡
Keepalived 是一种高性能的服务器高可用或热备解决方案, Keepalived 可以用来防止服务器单点故障的发生,通过配合 Nginx 可以实现 web 前端服务的高可用.Keepalived ...
- Keepalived高可用、四层负载均衡
目录 Keepalived高可用 高可用简介 常用的工具 问题 名称解释 VRRP协议 部署keepalived 下载安装 Keepalived配置 保证nginx配置一样 解决keepalived的 ...
- nginx与keepalived实现高可用+Apache实现负载均衡
nginx与keepalived实现高可用 本实验使用了四台虚拟机 两台需要安装nginx及keepalived 两台安装Apache nginx可以源码安装也可以用yum安装nginx yum安装n ...
- SpringCloud系列五:Ribbon 负载均衡(Ribbon 基本使用、Ribbon 负载均衡、自定义 Ribbon 配置、禁用 Eureka 实现 Ribbon 调用)
1.概念:Ribbon 负载均衡 2.具体内容 现在所有的服务已经通过了 Eureka 进行了注册,那么使用 Eureka 注册的目的是希望所有的服务都统一归属到 Eureka 之中进 行处理,但是现 ...
随机推荐
- Spring标签之Bean @Scope
@Bean 的用法 @Bean是一个方法级别上的注解,主要用在@Configuration注解的类里,也可以用在@Component注解的类里.添加的bean的id为方法名 定义bean 下面是@Co ...
- python数据结构与算法第九天【选择排序】
1.选择排序的原理 2.代码实现 def selection_sort(alist): n = len(alist) # 需要进行n-1次选择操作 for i in range(n-1): # 记录最 ...
- H5的使用
1.h5的部分标签浏览器兼容性问题 解决方案: <head> <!--[if lt IE 9]> <script src="http://cdn.static ...
- Appium之开发环境搭建
1.下载Appium 去官方网站下载http://appium.io/# : 本次以appium-desktop-setup-1.8.0.exe 文件为例,使用桌面版就不再需要下载server版本: ...
- How to blog on Github
git clone https://github.com/test/test.github.io.git cd ~/test.github.io git config --global push.de ...
- Reading Text from Images Using C#
Introduction By using Optical Character Recognition (OCR), you can detect and extract handwritten an ...
- 洛谷P1123取数游戏题解
题目 这是一道简单的搜索题,考查的还是比较基础的东西,其时搜索有时候并不难写,主要是要想到怎么搜.比如这个题,如果想二维四个方向搜则没有头绪,反之因为搜索是用递归实现的,所以我们可以使用递归的特性,把 ...
- [USACO2008 Mar]土地购买
传送门:>HERE< 题意:购买一组土地的费用是最长的长乘以最长的宽.现给出n块土地,求购买所有土地(可以将土地分为任意组,不需按顺序)的最小费用 解题思路 动态规划+斜率优化 斜率优化在 ...
- Quartus prime 16.0 in_system memory content editor 使用
前言 quartus提供了片内存储器的实时查看与修改,而不用编译工程,很棒.你可以方便的查看到存储器中到底存储了什么东西. 流程 1.打开: 2.主界面: 3.设置jtag项之后,查看即可. sign ...
- linux命令:查看系统版本
debian系统 (1) lsb_release -a No LSB modules are available. Distributor ID: Debian Description: Debia ...