unbuntu 安装 bochs
参考
https://www.cnblogs.com/HonkerYblogs/p/10285619.html
https://blog.csdn.net/time4/article/details/25079417
https://www.cnblogs.com/longintchar/p/5224418.html
https://blog.csdn.net/Zllvincent/article/details/84842949
https://www.cnblogs.com/thougr/p/9716192.html
一. 安装必要环境
sudo apt-get update
1.g++,之前已经安装过 sudo apt-get install g++
2.sudo apt-get install build-essential
3.以下均为sudo
apt-get install libgtk2.0-dev
apt-get install bison
二.安装过程
$tar vxzf bochs-2.4.5.tar.gz$cd bochs-2.4.5$./configure --enable-debugger --with-sdl --enable-disasm$make$sudo make install

报错
fatal error: X11/Xlib.h: No such file or directory

sudo apt-get install libx11-dev
sudo apt-get install xorg-dev,配置环境时忘了.....
报错

可以考虑在执行configure时添加参数LIBS='-lX11'
./configure --enable-debugger --enable-disasm --enable-readline LIBS='-lX11'
注意最好重新tar xvsf解压安装

之后make ,make install
又报错make: *** [Makefile:429: install_bin] Error 1
解决 加上sudo权限即可

安装成功
三.配置
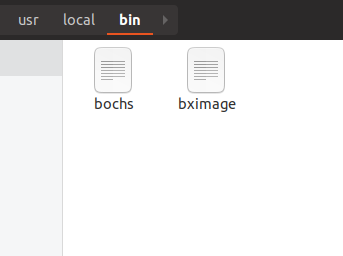
注意安装目录为

///创建虚拟硬盘

在安装目录创建配置文件bochsrc
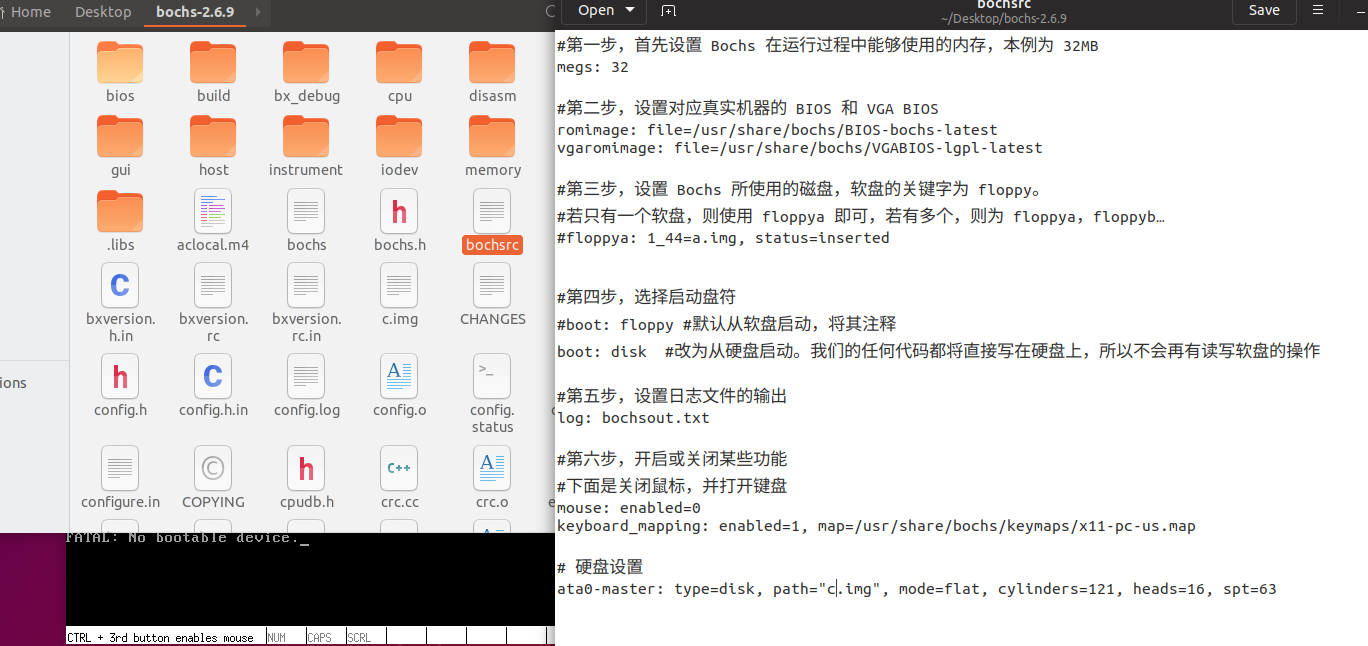
#第一步,首先设置 Bochs 在运行过程中能够使用的内存,本例为 32MB

megs: 32

#第二步,设置对应真实机器的 BIOS 和 VGA BIOS

romimage: file=/usr/share/bochs/BIOS-bochs-latest

vgaromimage: file=/usr/share/bochs/VGABIOS-lgpl-latest

#第三步,设置 Bochs 所使用的磁盘,软盘的关键字为 floppy。

#若只有一个软盘,则使用 floppya 即可,若有多个,则为 floppya,floppyb…

#floppya: 1_44=a.img, status=inserted

#第四步,选择启动盘符

#boot: floppy #默认从软盘启动,将其注释

boot: disk #改为从硬盘启动。我们的任何代码都将直接写在硬盘上,所以不会再有读写软盘的操作

#第五步,设置日志文件的输出

log: bochsout.txt

#第六步,开启或关闭某些功能

#下面是关闭鼠标,并打开键盘

mouse: enabled=0

keyboard_mapping: enabled=1, map=/usr/share/bochs/keymaps/x11-pc-us.map

# 硬盘设置

ata0-master: type=disk, path="c.img", mode=flat, cylinders=121, heads=16, spt=63
之后
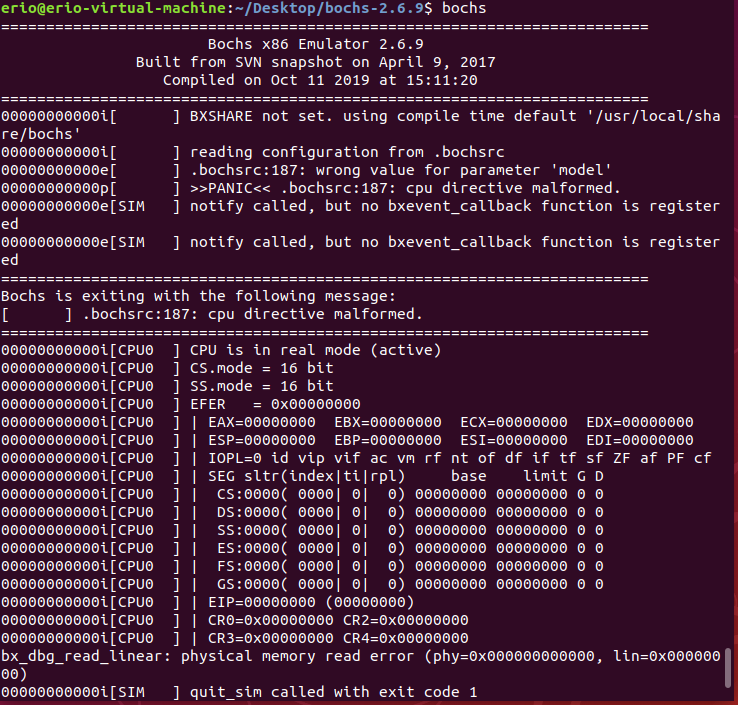
bochs -f bochsrc
然后直接bochs
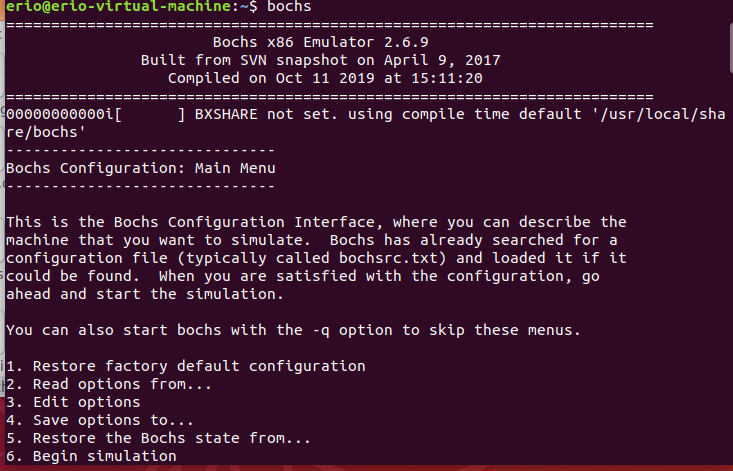
然后输入6,再输入c继续

这之间有一些问题,我不知道是不是刚刚的配置文件真的发挥了作用....之后慢慢看吧
四.大概是
su root 获取root权限
sudo root 获取用户权限
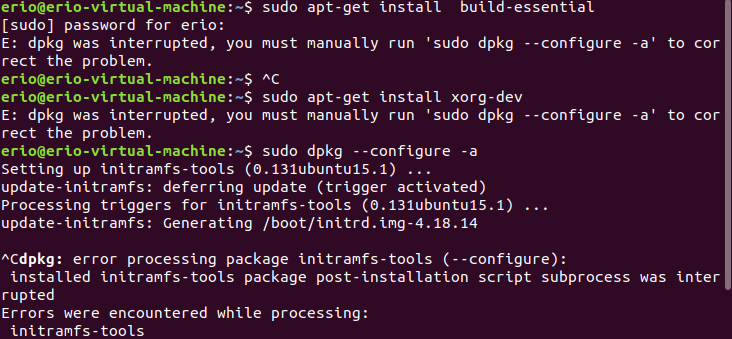
五. sudo apt-get install build-essential 遇到的问题
E: dpkg was interrupted, you must manually run 'sudo dpkg --configure -a' to correct the problem.
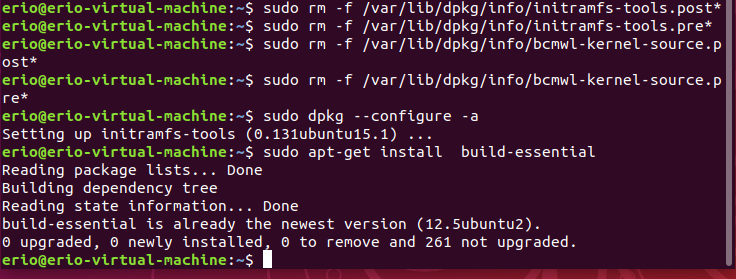
解决
参考https://blog.csdn.net/Spada_k/article/details/80798088
sudo rm -f /var/lib/dpkg/info/initramfs-tools.post*
sudo rm -f /var/lib/dpkg/info/initramfs-tools.pre*
sudo rm -f /var/lib/dpkg/info/bcmwl-kernel-source.post*
sudo rm -f /var/lib/dpkg/info/bcmwl-kernel-source.pre*
sudo dpkg --configure -a
unbuntu 安装 bochs的更多相关文章
- ubuntu 安装bochs
//首先官网下载bochs源码wget http://bochs.sourceforge.net/svn-snapshot/bochs-20150503.tar.gz//然后解压 tar vxzf b ...
- 64位Ubuntu 13.04 安装Bochs 2.3.5
bochs 2.3.5源码编译 网上编译bochs的资料非常多,基本的问题都有解决方案,我重点讲不常见的问题. 基本安装步骤 tar vxzf bochs-2.3.5.tar.gz cd bochs- ...
- unbuntu 安装python包提示E: Unable to locate package python-timeout
今天本想着在unbuntu环境下安装python的一个包,安装了几次都提示 E: Unable to locate package python-timeout 查阅了一些信息才知道,原来是一些软件源 ...
- 安装 bochs
sudo apt-get install bochs 以后接着安装bochs-x
- Ubuntu环境下安装Bochs
首先说一下我的Ubuntu版本,敲命令 sudo lsb_release -a 就可以看到 No LSB modules are available. Distributor ID: Ubuntu D ...
- 自己写操作系统 2 - 安装bochs虚拟机
以ubuntu操作系统为例 一.命令行安装 sudo apt-get install vgabios bochs bochs-x bximage 此方法方便,不过都说这个方法安装的bochs没有调试功 ...
- Mac OS X Mountain Lion安装Bochs
基本步骤可以看这个帖子 http://hi.baidu.com/any_where/item/990c0acdfbd6542c47d5c003 大体是: 1.安装x11; 2.开启Mac OS X的r ...
- unbuntu 安装 teamviewer
下载 teamviewer 安装包 使用 dpkg 安装 deb 安装包 使用 sudo apt-get install -f 解决依赖问题
- unbuntu安装Node.js
在官网https://nodejs.org/en/下载 手动创建链接的话,新安装的angular的ng typescript的tsc都要自己手动建立软链接,要不就每个工程里npm install一 ...
随机推荐
- allator 对springBoot进行加密
1.对springboot项目添加jar包和xml文件 allatori.xml: <config> <input> <jar in="target/sprin ...
- centos 7.0 ping百度提示:ping: www.baidu.com: Name or service not known
解决方法一: 添加dns服务器 vi /etc/resolv.conf 在文件中添加如下两行: nameserver 8.8.8.8 nameserver 8.8.4.4 保存退出,重启服务器.之后再 ...
- 策略模式 VS 状态模式
策略模式 VS 状态模式 策略模式 VS 状态模式 | 菜鸟教程 https://www.runoob.com/w3cnote/state-vs-strategy.html
- detect data races The cost of race detection varies by program, but for a typical program, memory usage may increase by 5-10x and execution time by 2-20x.
小结: 1. conflicting access 2.性能危害 优化 The cost of race detection varies by program, but for a typical ...
- Axure RP 9版本最新版授权码和密钥 亲测可用
分享Axure RP 9版本最新版授权码和密钥 亲测可用 声明:以下资源的获取来源为网络收集,仅供学习参考,不作商业用途,如有侵权请联系博主删除,谢谢! 自新的Axure RP 9.0 Beta版发布 ...
- JavaScript(二)——在 V8 引擎中书写最优代码
概述 一个 JavaScript 引擎就是一个程序或者一个解释程序,它运行 JavaScript 代码.一个 JavaScript 引擎可以用标准解释程序或者即时编译器来实现,即时编译器即以某种形式把 ...
- Poem 01(转)
Dear Sunshine The way you glow through my blinds in the morning. It makes me feel like you missed me ...
- Cisco动态路由(rip)
接Cisco静态路由,讨论一下Cisco动态路由. 实验环境布置 命令布置动态路由 Router0: Router>enable Router#configure terminal Router ...
- 5.DHCP新建作用域及添加地址保留(Windows2012)
1.新建作用域 右键IPv4 点击新建作用域 点击下一步 命名,下一步 填写子网,下一步 在上一步已经预留了,直接点下一步即可. 设置租用期限,建议为3天,下一步. 下一步,配置DHCP选项 配置默认 ...
- cisco 4500X 交换机限速
一.配置步骤 1.定义ACL以匹配数据流 ip access-list extended aclname 2.配置流量分类和策略 class-map [match-all(默认:完全符合)/Match ...