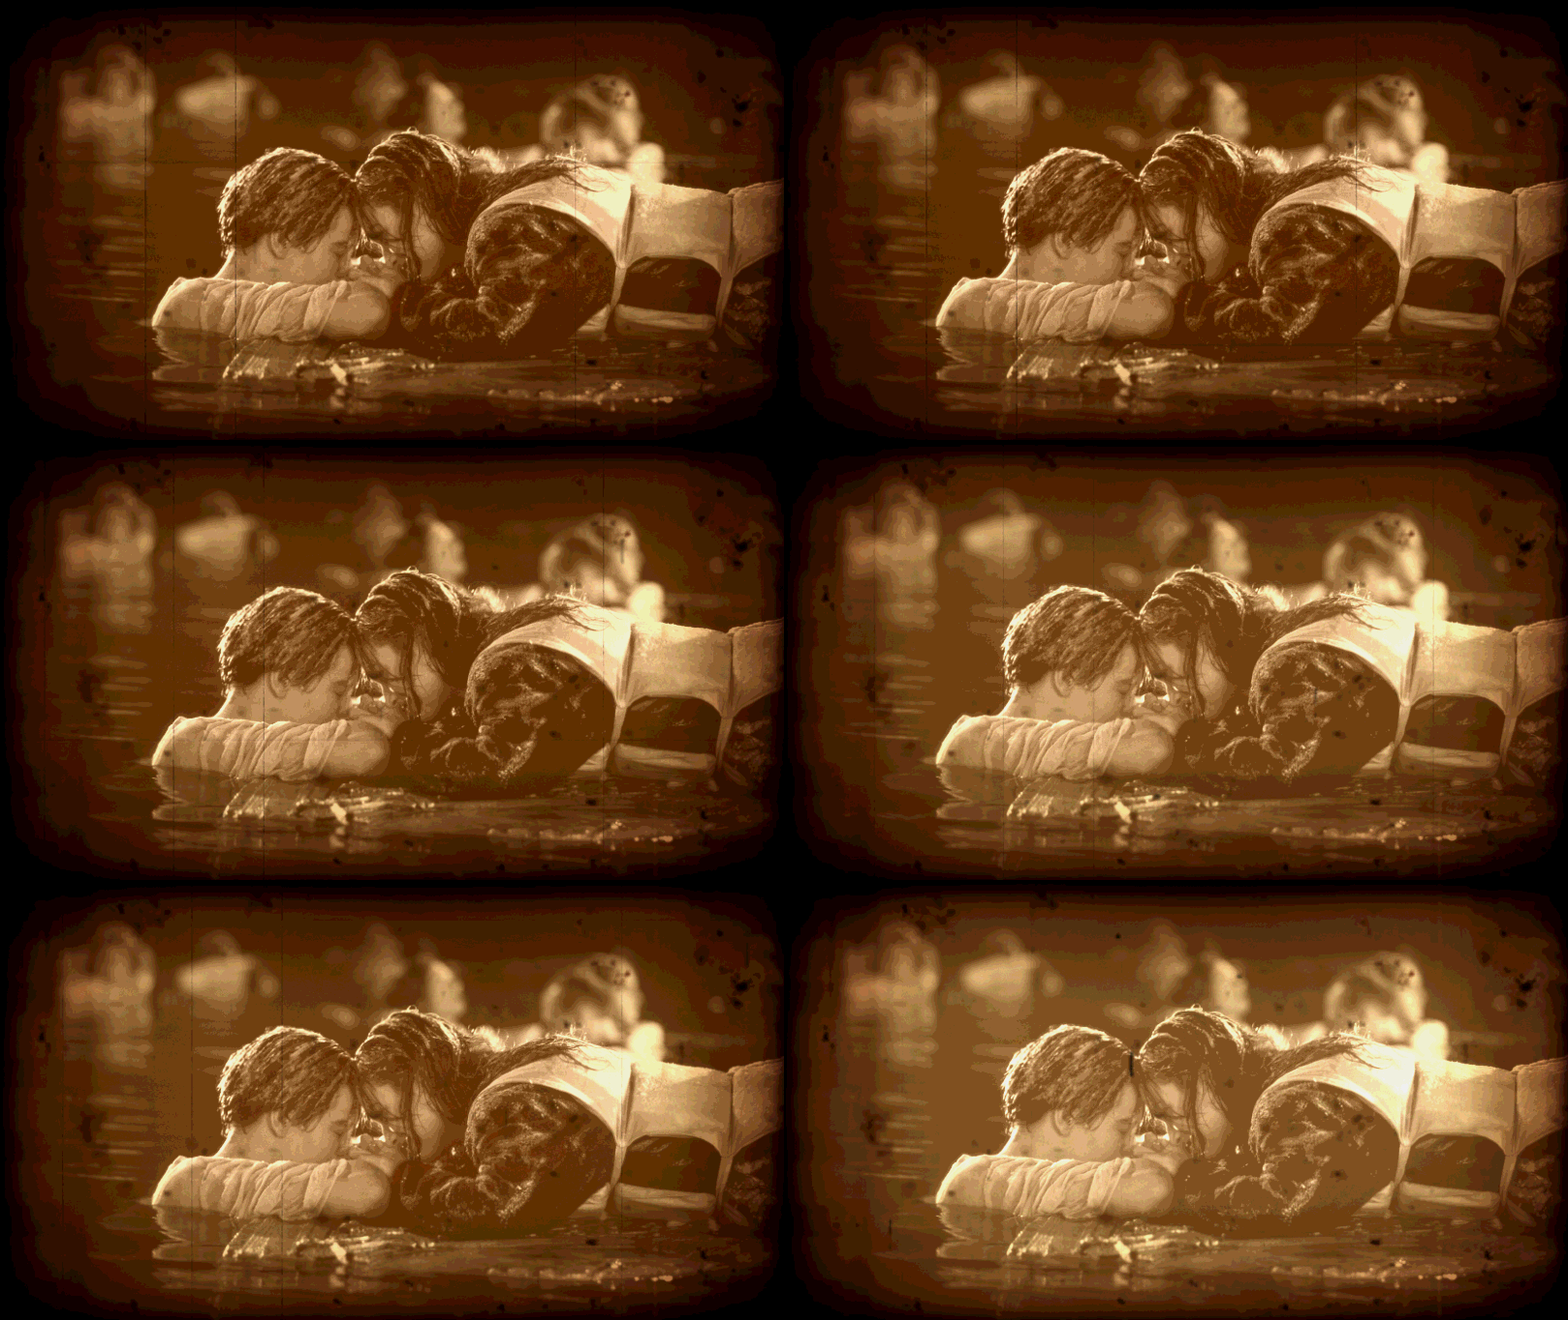
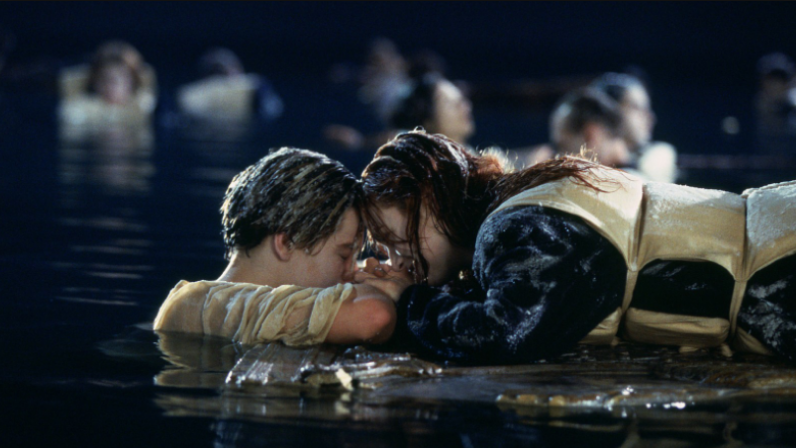
Unity3D-Shader-复古电影荧幕特效


 half2 mainTexUV = half2(i.uv.x, i.uv.y+(_RandomValue*_SinTime.z * 0.005));

 fixed4 mainTex = tex2D(_MainTex, mainTexUV);
采样主纹理,UV值y加上了一个随机值,实现上下抖动的效果。
_SinTime是Unity内置的一个变量,用来获取一个-1到1范围的sin函数值
 half2 scratchesUV = half2(i.uv.x + (_RandomValue * _SinTime.z * _ScratchesXSpeed),

 i.uv.y + (_RandomValue * _Time.x * _ScratchesYSpeed));

 fixed4 scratchesTex = tex2D(_ScratchesTex, scratchesUV);
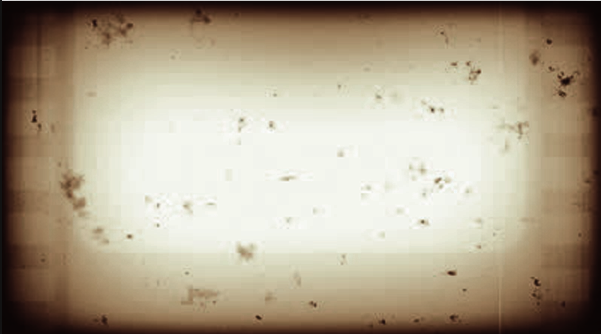
采样划痕纹理,这里的UV值,采用随机数乘以X,Y轴分别的速度,来实现屏幕随机位置的闪动效果,灰尘纹理也是一样的处理
 //转成YIQ色彩空间,取出亮度值

 fixed lum = dot(fixed3(0.299, 0.587, 0.114), mainTex.rgb);

 fixed4 finalColor = lum + lerp(_SepiaColor, _SepiaColor + fixed4(0.1f, 0.1f, 0.1f, 0.1f), _RandomValue);
这一步是把RGB颜色空间转换成YIQ颜色空间,YIQ色彩空间通常被电视系统所采用,在YIQ系统中,Y分量代表图像的亮度信息,I、Q两个分量则携带颜色信息,I分量代表从橙色到青色的颜色变化,而Q分量则代表从紫色到黄绿色的颜色变化。将彩色图像从RGB转换到YIQ色彩空间,可以把彩色图像中的亮度信息与色度信息分开,分别独立进行处理。
再加上一个棕褐色调_SepiaColor,这里用lerp函数做一个线性插值,实现明暗之间的渐变
fixed3 constantWhite = fixed3(, , );

finalColor = lerp(finalColor, finalColor * vignetteTex, _VignetteAmount);

finalColor.rgb *= lerp(scratchesTex, constantWhite, _RandomValue);

finalColor.rgb *= lerp(dustTex, constantWhite, (_RandomValue * _SinTime.z));

finalColor = lerp(mainTex, finalColor, _EffectAmount);
最后把颜色汇总,用一些线性插值实现渐变,然后把颜色值相乘得到最后的结果。返回给fragment着色器输出,就可以得到上面的效果。
完整Shader:
Shader "lijia/OldEffect" {

 Properties {

 //原图

 _MainTex("MainTex", 2D) = "white" {}

 //晕影图

 _VignetteTex("VignetteTex", 2D) = "white" {}

 _VignetteAmount ("Vignette Opacity", Range(, )) =

 //划痕

 _ScratchesTex("ScratchesTex", 2D) = "white" {}

 _ScratchesXSpeed("ScratchesXSpeed", float) =

 _ScratchesYSpeed("ScratchesYSpeed", float) =

 //灰尘

 _DustTex("DustTex", 2D) = "white" {}

 _DustXSpeed("_DustXSpeed", float) =

 _DustYSpeed("_DustYSpeed", float) =

 //老旧的褐色调

 _SepiaColor("_SepiaColor", Color) = (, , , )

 _RandomValue("RandomValue", float) = 1.0

 _EffectAmount ("Old Film Effect Amount", Range(, )) =

 }

 SubShader {

 Tags{"RenderType" = "Opaque"}

 Pass {

 CGPROGRAM

 #pragma vertex vert

 #pragma fragment frag

 #include "UnityCG.cginc"

 sampler2D _MainTex;

 float4 _MainTex_ST;

 sampler2D _VignetteTex;

 sampler2D _ScratchesTex;

 sampler2D _DustTex;

 float _EffectAmount;

 float _RandomValue;

 float _VignetteAmount;

 float _ScratchesXSpeed;

 float _ScratchesYSpeed;

 float _DustXSpeed;

 float _DustYSpeed;

 fixed4 _SepiaColor;

 struct v2f {

 float4 pos : SV_POSITION;

 float2 uv : TEXCOORD0;

 };

 v2f vert(appdata_base v)

 {

 v2f o;

 o.pos = mul(UNITY_MATRIX_MVP, v.vertex);

 o.uv = TRANSFORM_TEX(v.texcoord, _MainTex);

 return o;

 }

 fixed4 frag(v2f i): COLOR

 {

 //采样主纹理 uv.y值加上一些随机因素实现抖动的效果 _SinTime是Unity内置的变量 用来获取一个-1到1的正弦值

 half2 mainTexUV = half2(i.uv.x, i.uv.y+(_RandomValue*_SinTime.z * 0.005));

 fixed4 mainTex = tex2D(_MainTex, mainTexUV);

 fixed4 vignetteTex = tex2D(_VignetteTex, i.uv);

 half2 scratchesUV = half2(i.uv.x + (_RandomValue * _SinTime.z * _ScratchesXSpeed),

 i.uv.y + (_RandomValue * _Time.x * _ScratchesYSpeed));

 fixed4 scratchesTex = tex2D(_ScratchesTex, scratchesUV);

 half2 dustUV = half2(i.uv.x + (_RandomValue * _SinTime.z * _DustXSpeed),

 i.uv.y + (_Time.x * _DustYSpeed));

 fixed4 dustTex = tex2D(_DustTex, dustUV);

 //变成YIQ 值

 fixed lum = dot(fixed3(0.299, 0.587, 0.114), mainTex.rgb);

 fixed4 finalColor = lum + lerp(_SepiaColor, _SepiaColor + fixed4(0.1f, 0.1f, 0.1f, 0.1f), _RandomValue);

 fixed3 constantWhite = fixed3(, , );

 finalColor = lerp(finalColor, finalColor * vignetteTex, _VignetteAmount);

 finalColor.rgb *= lerp(scratchesTex, constantWhite, _RandomValue);

 finalColor.rgb *= lerp(dustTex, constantWhite, (_RandomValue * _SinTime.z));

 finalColor = lerp(mainTex, finalColor, _EffectAmount);

 return finalColor;

 }

 ENDCG

 }

 }

 FallBack "Diffuse"

}
扩展:
上面讲的是基于一张原图做的处理,如果我们想实现在动态内容上加上这种老电影效果呢?比如游戏中播放剧情的时候,在屏幕上加上一个老电影特效,提高带入感。
这时我们可以用混合模式

官方文档的解释
Blend DstColor Zero是乘以Color缓冲区的颜色的,而这个特效刚好是用到乘法
分了两个Pass来实现
Pass {

Blend DstColor Zero

CGPROGRAM

#pragma vertex vert_img

#pragma fragment frag

#include "UnityCG.cginc"

fixed4 _SepiaColor;

float _RandomValue;

fixed4 frag(v2f_img i): COLOR

{

fixed4 color = fixed4(0.299, 0.587, 0.114, );

color = color + lerp(_SepiaColor, _SepiaColor + fixed4(0.1f, 0.1f, 0.1f, 0.1f), _RandomValue);

return color;

}

ENDCG

}
fixed4 frag(v2f_img i): COLOR

{

fixed4 vignetteTex = tex2D(_VignetteTex, i.uv);

half2 scratchesUV = half2(i.uv.x + (_RandomValue * _SinTime.z * _ScratchesXSpeed),

i.uv.y + (_RandomValue * _Time.x * _ScratchesYSpeed));

fixed4 scratchesTex = tex2D(_ScratchesTex, scratchesUV);

half2 dustUV = half2(i.uv.x + (_RandomValue * _SinTime.z * _DustXSpeed),

i.uv.y + (_Time.x * _DustYSpeed));

fixed4 dustTex = tex2D(_DustTex, dustUV);

fixed3 constantWhite = fixed3(, , );

fixed4 finalColor = fixed4(, , , );//这里使用1,因为混合模式会乘Color缓冲的颜色

finalColor = lerp(finalColor, finalColor*vignetteTex, _RandomValue);

finalColor.rgb *= lerp(scratchesTex, constantWhite, _RandomValue);

finalColor.rgb *= lerp(dustTex, constantWhite, _RandomValue*_SinTime.z);

return finalColor;

}
感谢http://blog.csdn.net/candycat1992,读你的文章让我学到了很多知识
Unity3D-Shader-复古电影荧幕特效的更多相关文章
- 【译】Unity3D Shader 新手教程(1/6)
本文为翻译,附上原文链接. 转载请注明出处--polobymulberry-博客园. 刚开始接触Unity3D Shader编程时,你会发现有关shader的文档相当散,这也造成初学者对Unity3D ...
- 【浅墨Unity3D Shader编程】之一 夏威夷篇:游戏场景的创建 & 第一个Shader的书写
本系列文章由@浅墨_毛星云 出品,转载请注明出处. 文章链接:http://blog.csdn.net/poem_qianmo/article/details/40723789 作者:毛星云(浅墨) ...
- 【浅墨Unity3D Shader编程】之二 雪山飞狐篇:Unity的基本Shader框架写法&颜色、光照与材质
本系列文章由@浅墨_毛星云 出品,转载请注明出处. 文章链接:http://blog.csdn.net/poem_qianmo/article/details/40955607 作者:毛星云(浅墨) ...
- 【淡墨Unity3D Shader计划】四 热带雨林的文章: 排除、深度测试、Alpha测试和基本雾编译
本系列文章由@浅墨_毛星云 出品,转载请注明出处. 文章链接:http://hpw123.net/a/C__/kongzhitaichengxu/2014/1222/163.html 作者:毛星云 ...
- 【淡墨Unity3D Shader计划】五 圣诞用品: Unity在Shader三种形式的控制&混合操作编译
本系列文章由@浅墨_毛星云 出品,转载请注明出处. 文章链接:http://blog.csdn.net/poem_qianmo/article/details/42060963 作者:毛星云(浅墨) ...
- 【浅墨Unity3D Shader编程】之三 光之城堡篇:子着色器、通道与标签的写法 & 纹理混合
本系列文章由@浅墨_毛星云 出品,转载请注明出处. 文章链接:http://hpw123.net/a/C__/kongzhitaichengxu/2014/1117/120.html 作者:毛星云 ...
- 【浅墨Unity3D Shader编程】之中的一个 夏威夷篇:游戏场景的创建 & 第一个Shader的书写
本系列文章由@浅墨_毛星云 出品.转载请注明出处. 文章链接:http://blog.csdn.net/poem_qianmo/article/details/40723789 作者:毛星云(浅墨) ...
- Unity3D shader简介
Unity3D shader简介 可以肯定的说Unity3D使得很多开发者开发游戏更容易.毫无疑问,shader(着色器)编码,仍有很长的路要走.shader是一个专门运行在GPU的程序,经常被神秘包 ...
- 转 猫都能学会的Unity3D Shader入门指南(二)
猫都能学会的Unity3D Shader入门指南(二) 关于本系列 这是Unity3D Shader入门指南系列的第二篇,本系列面向的对象是新接触Shader开发的Unity3D使用者,因为我本身自己 ...
随机推荐
- Python爬虫02——贴吧图片爬虫V2.0
Python小爬虫——贴吧图片爬虫V2.0 贴吧图片爬虫进阶:在上次的第一个小爬虫过后,用了几次发现每爬一个帖子,都要自己手动输入帖子链接,WTF这程序简直反人类!不行了不行了得改进改进. 思路: 贴 ...
- Libevent源码分析—event_init()
下面开始看初始化event_base结构的相关函数.相关源码位于event.c event_init() 首先调用event_init()初始化event_base结构体 struct event_b ...
- Zepto源码分析-deferred模块
源码注释 // Zepto.js // (c) 2010-2015 Thomas Fuchs // Zepto.js may be freely distributed under the MIT l ...
- OWIN 自宿主模式WebApi项目,WebApi层作为单独类库供OWIN调用
OWIN是Open Web Server Interface for .NET的首字母缩写,他的定义如下: OWIN在.NET Web Servers与Web Application之间定义了一套标准 ...
- centos 下 安装mysql
今天在centos上安装了一下 mysql 出现了一点问题 记录一下解决方案: 1:解决yum install mysql-server没有可用包的问题 sudo yum install mysql- ...
- Android开发的过去、现在和将来
现如今,拥有着 80% 的市场份额的 Android 是最主流的手机操作系统.它运行在无数的智能手机.平板以及其他各种各样的设备上.仅凭这一点,我们是否可以认为 Android 编程是简单而轻松的呢 ...
- cpp(第二章)
1. 函数参数空着,代表void 2. 换行符 endl(确保程序继续运行前刷新输出,将其立即显示在屏幕上)|| '\n' (不能保证,这意味着有些系统中,有时可能输入信息后才会出现) 3.小谈cou ...
- Spring学习(8)--- @Autowired注解(一)
可以将@Autowired注解为“传统”的setter方法 package com.mypackage; import org.springframework.beans.factory.annota ...
- phantomjs-prebuilt@2.1.14 install: `node install.js`
在用vue-cli构建项目时,npm install 安装包的时候报错了. 错误信息: npm ERR! Failed at the phantomjs-prebuilt@2.1.14 install ...
- 编写自己的Nmap(NSE)脚本
编写自己的Nmap脚本 一.介绍 在上一篇文章Nmap脚本引擎原理中我们介绍了基本的NSE知识,这篇文章介绍如何基于Nmap框架编写简单的NSE脚本文件,下一篇文章,Nmap脚本文件分析(AMQP协议 ...
