2018-2019-2 20175226王鹏雲 实验四《Android程序设计》实验报告
2018-2019-2 20175226王鹏雲 实验四《Android程序设计》实验报告
实验报告封面
- 课程:Java程序设计 班级:1752班 姓名:王鹏雲 学号:20175226
- 指导教师:娄嘉鹏 实验日期:2019年5月16日
- 实验时间:--- 实验序号:实验四
- 实验名称:Android开发基础
- 实验要求:
- 参考Android开发简易教程
- 完成云班课中的检查点,也可以先完成实验报告,直接提交。注意不能只有截图,要有知识点,原理,遇到的问题和解决过程等说明。
- 完成实验、撰写实验报告,实验报告以博客方式发表在博客园,注意实验报告重点是运行结果。
实验前期准备
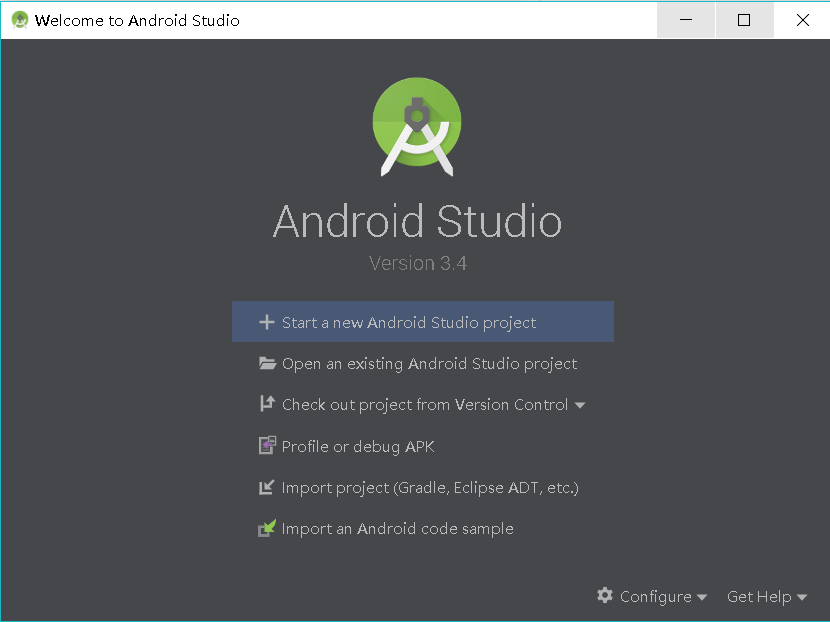
- 按照博客中的链接和说明安装Android Stuidio并配置SDK
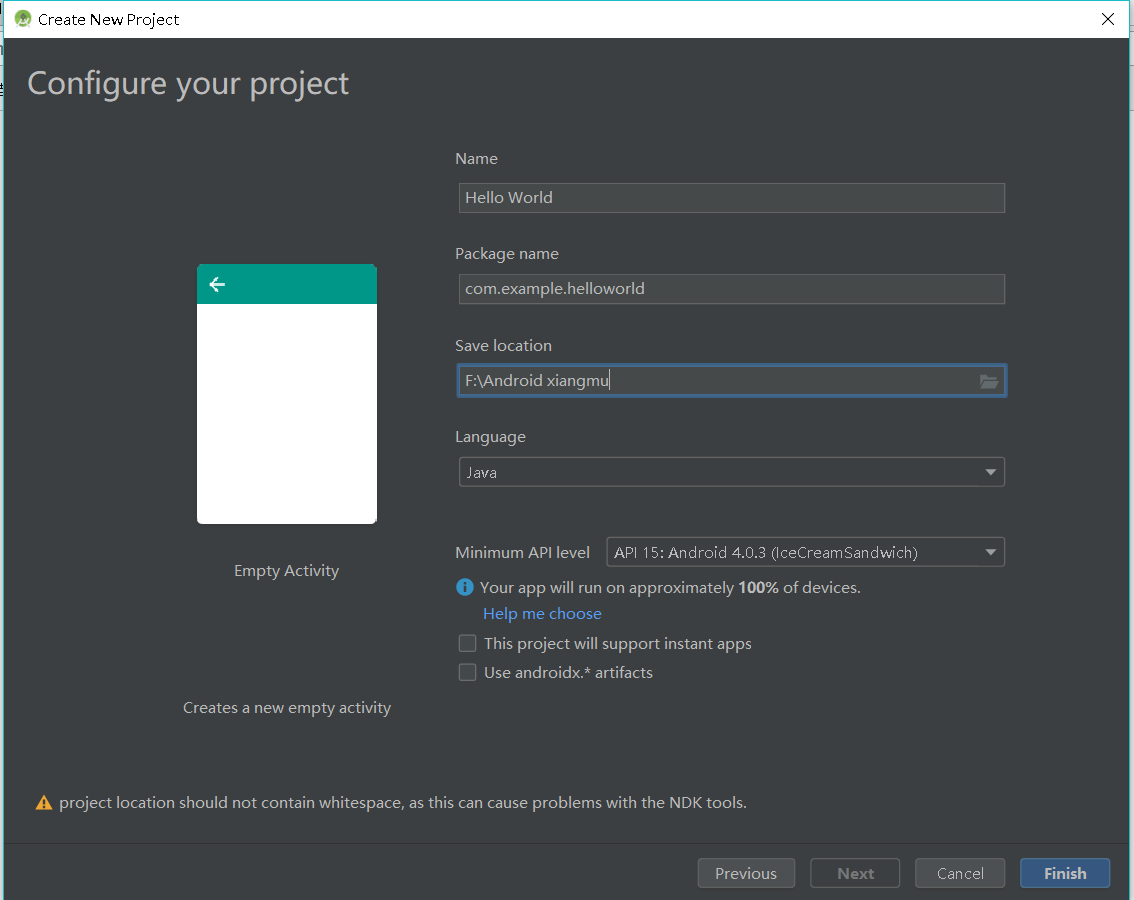
- 安装成功,建立系统
- 在
tool中点击AVD Manager就可以设置自己的虚拟手机

- 先在这里选择型号,选择系统,完成
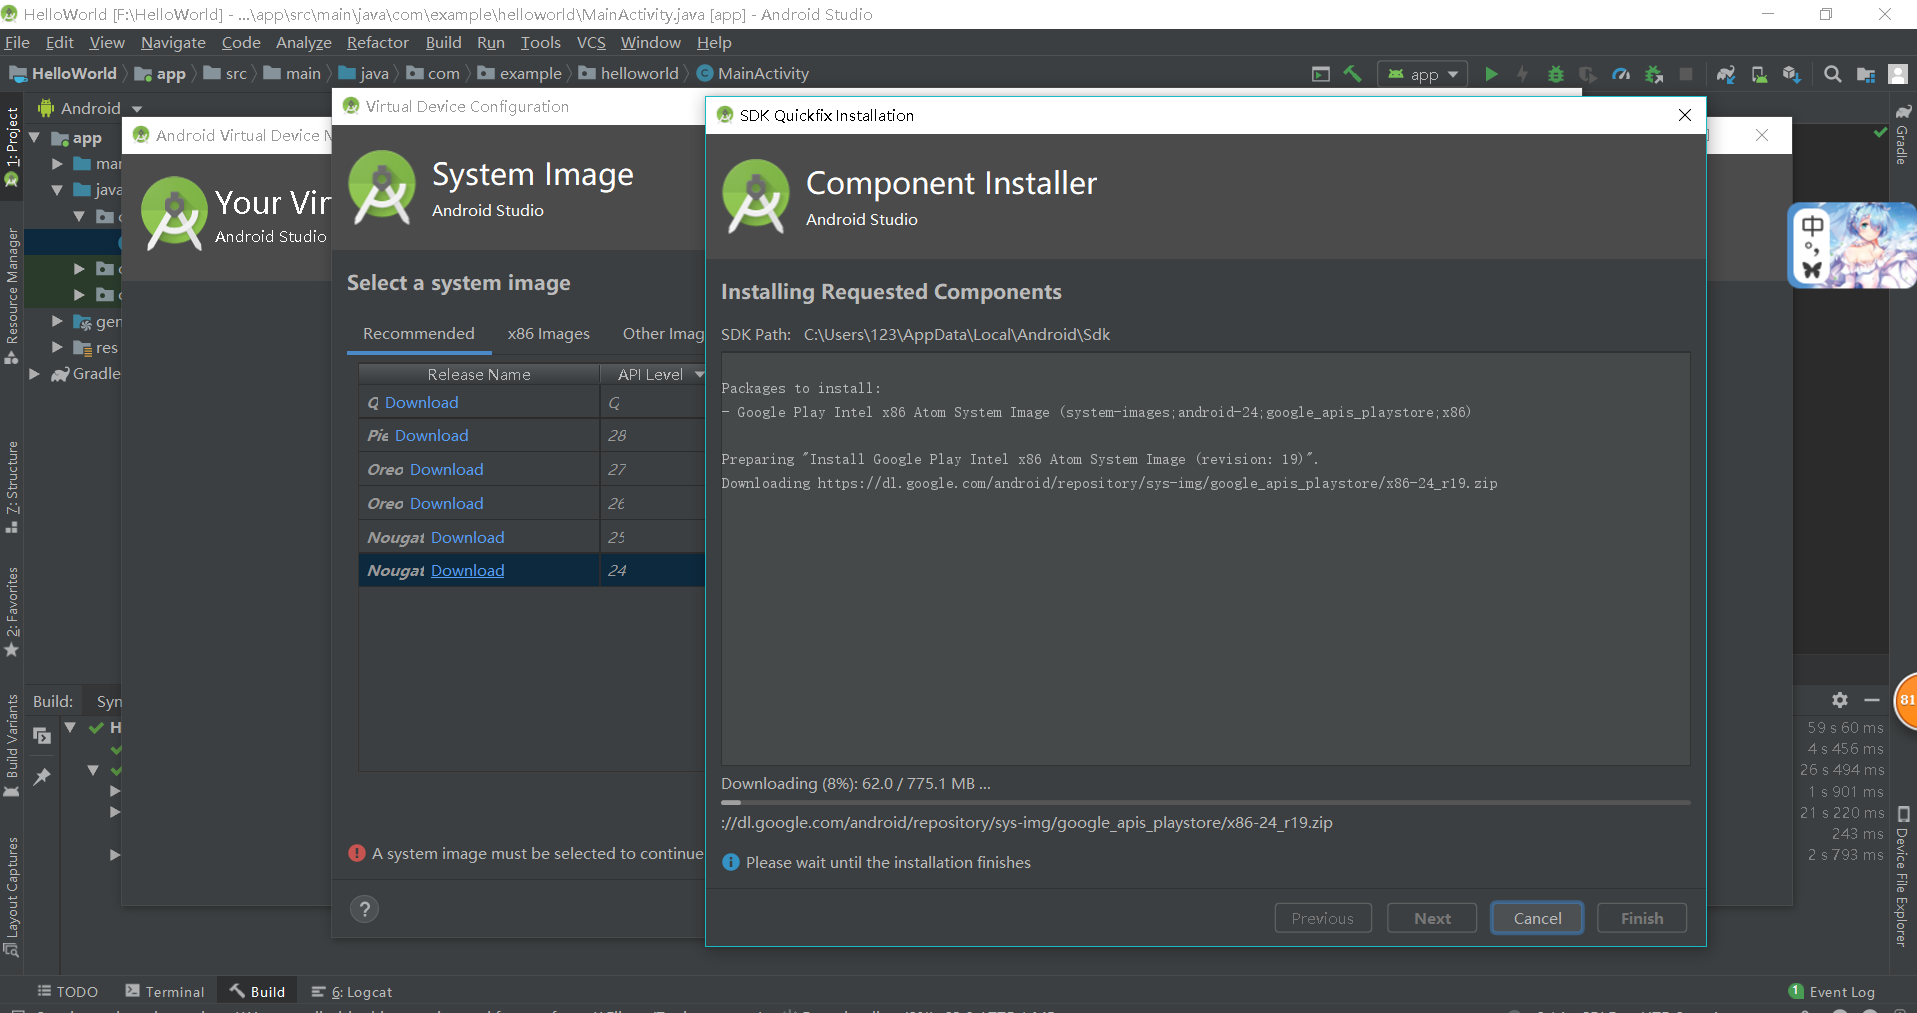
- 启动创建的手机

1.Android Stuidio的安装测试
- 实验要求
- 参考http://www.cnblogs.com/rocedu/p/6371315.html#SECANDROID,安装 Android Stuidio
- 完成Hello World, 要求修改res目录中的内容,Hello World后要显示自己的学号,自己学号前后一名同学的学号,提交代码运行截图和码云Git链接,截图没有学号要扣分
- 学习Android Stuidio调试应用程序
- 实验步骤
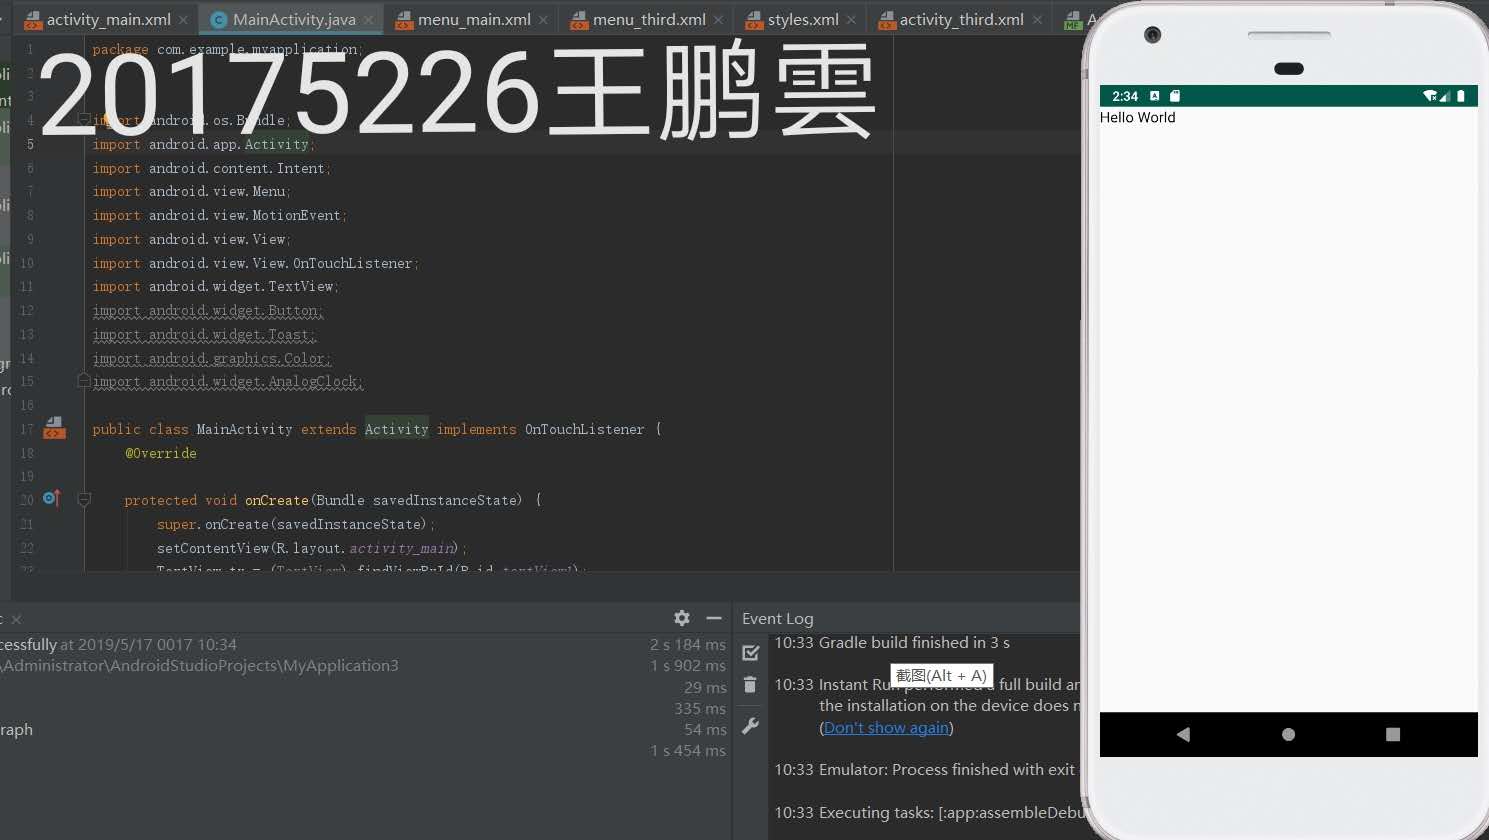
- 在布局文件
activity_main.xml中,修改android:text=后面的内容Hello World 20175226 20175225 20175227
- 在布局文件
- 实验结果

2.Activity测试
- 实验要求
-Activity测试: 参考《Java和Android开发学习指南(第二版)(EPUBIT,Java for Android 2nd)》第二十五章:- 构建项目,运行教材相关代码
- 创建 ThirdActivity, 在ThirdActivity中显示自己的学号,修改代码让MainActivity启动ThirdActivity
- 提交代码运行截图和码云Git链接,截图要有学号水印,否则会扣分
- MainActivity代码
package com.example.myapplication;

import android.os.Bundle;

import android.app.Activity;

import android.content.Intent;

import android.view.Menu;

import android.view.MotionEvent;

import android.view.View;

import android.view.View.OnTouchListener;

import android.widget.TextView;

import android.widget.Button;

import android.widget.Toast;

import android.graphics.Color;

import android.widget.AnalogClock;

public class MainActivity extends Activity implements OnTouchListener {

    @Override

    protected void onCreate(Bundle savedInstanceState) {

        super.onCreate(savedInstanceState);

        setContentView(R.layout.activity_main);

        TextView tv = (TextView) findViewById(R.id.textView1);

        tv.setOnTouchListener(this);

    }

    @Override

    public boolean onTouch(View arg0, MotionEvent event) {

        Intent intent = new Intent(this, ThirdActivity.class);

        intent.putExtra("message", "20175226王鹏雲");

        startActivity(intent);

        return true;

    }

}
- 运行结果截图

3.UI测试
- 实验要求
- UI测试: 参考《Java和Android开发学习指南(第二版)(EPUBIT,Java for Android 2nd)》第二十六章:
- 构建项目,运行教材相关代码
- 修改代码让Toast消息中显示自己的学号信息
- 提交代码运行截图和码云Git链接,截图要有学号水印,否则会扣分
- MainActivity代码
package com.example.myapplication;

import android.content.Context;

import android.support.v7.app.AppCompatActivity;

import android.os.Bundle;

import android.app.Activity;

import android.util.AttributeSet;

import android.view.Menu;

import android.view.MenuItem;

import android.view.View;

import android.widget.Button;

import android.widget.Toast;

public class MainActivity extends AppCompatActivity {

    @Override

    protected void onCreate(Bundle savedInstanceState) {

        super.onCreate(savedInstanceState);

        setContentView(R.layout.activity_main);

        Button btnshow1 = (Button) findViewById(R.id.btn1);

        btnshow1.setOnClickListener(new View.OnClickListener() {

            @Override

            public void onClick(View v) {

                Toast toast = Toast.makeText(MainActivity.this, "20175226王鹏雲", Toast.LENGTH_LONG);

                toast.show();

            }

        });

    }

}
- activity_main.xml
<?xml version="1.0" encoding="UTF-8"?>

<android.support.constraint.ConstraintLayout xmlns:android="http://schemas.android.com/apk/res/android"

    xmlns:app="http://schemas.android.com/apk/res-auto"

    xmlns:tools="http://schemas.android.com/tools"

    android:layout_width="match_parent"

    android:layout_height="match_parent"

    tools:context=".MainActivity">

    <TextView

        android:layout_width="wrap_content"

        android:layout_height="wrap_content"

        app:layout_constraintBottom_toBottomOf="parent"

        app:layout_constraintLeft_toLeftOf="parent"

        app:layout_constraintRight_toRightOf="parent"

        app:layout_constraintTop_toTopOf="parent" />

    <Button

        android:id="@+id/btn1"

        android:layout_width="wrap_content"

        android:layout_height="fill_parent"

        android:text="Hello!" />

</android.support.constraint.ConstraintLayout>
- 运行结果截图

4.布局测试
- 实验要求
- 构建项目,运行教材相关代码
- 修改布局让P290页的界面与教材不同
- 提交代码运行截图和码云Git链接,截图要有学号水印,否则会扣分
- MainActivity
package com.example.myapplication;

import android.support.v7.app.AppCompatActivity;

import android.os.Bundle;

public class MainActivity extends AppCompatActivity {

    @Override

    protected void onCreate(Bundle savedInstanceState) {

        super.onCreate(savedInstanceState);

        setContentView(R.layout.activity_main);

    }

}
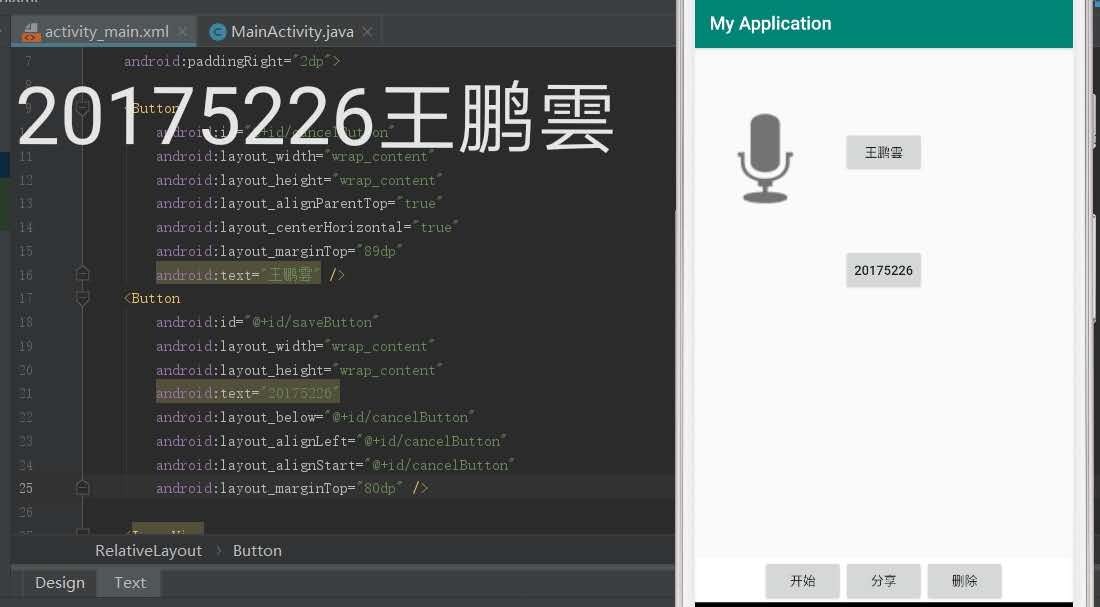
-activity_main.xml
<RelativeLayout

    xmlns:android="http://schemas.android.com/apk/res/android"

    xmlns:tools="http://schemas.android.com/tools"

    android:layout_width="match_parent"

    android:layout_height="match_parent"

    android:paddingLeft="2dp"

    android:paddingRight="2dp">

    <Button

        android:id="@+id/cancelButton"

        android:layout_width="wrap_content"

        android:layout_height="wrap_content"

        android:layout_alignParentTop="true"

        android:layout_centerHorizontal="true"

        android:layout_marginTop="89dp"

        android:text="王鹏雲" />

    <Button

        android:id="@+id/saveButton"

        android:layout_width="wrap_content"

        android:layout_height="wrap_content"

        android:text="20175226"

        android:layout_below="@+id/cancelButton"

        android:layout_alignLeft="@+id/cancelButton"

        android:layout_alignStart="@+id/cancelButton"

        android:layout_marginTop="65dp" />

    <ImageView

        android:layout_width="150dp"

        android:layout_height="150dp"

        android:layout_marginTop="45dp"

        android:padding="4dp"

        android:src="@android:drawable/ic_btn_speak_now"

        tools:srcCompat="@tools:sample/avatars[8]" />

    <LinearLayout

        android:id="@+id/filter_button_container"

        android:layout_width="match_parent"

        android:layout_height="wrap_content"

        android:layout_alignParentBottom="true"

        android:gravity="center|bottom"

        android:background="@android:color/white"

        android:orientation="horizontal" >

        <Button

            android:id="@+id/filterButton"

            android:layout_width="wrap_content"

            android:layout_height="fill_parent"

            android:text="开始" />

        <Button

            android:id="@+id/shareButton"

            android:layout_width="wrap_content"

            android:layout_height="fill_parent"

            android:text="分享" />

        <Button

            android:id="@+id/deleteButton"

            android:layout_width="wrap_content"

            android:layout_height="fill_parent"

            android:text="删除" />

    </LinearLayout>

</RelativeLayout>
- 运行结果截图
5.事件处理测试
- 实验要求
- 参考《Java和Android开发学习指南(第二版)(EPUBIT,Java for Android 2nd)》第二十八章:
- 构建项目,运行教材相关代码
- 提交代码运行截图和码云Git链接,截图要有学号水印,否则会扣分
- MainActivity
package com.example.myapplication;
import android.support.v7.app.AppCompatActivity;
import android.os.Bundle;
import android.app.Activity;
import android.graphics.Color;
import android.os.Bundle;
import android.view.Menu;
import android.view.View;
import android.widget.AnalogClock;
import android.app.Activity;
import android.graphics.Color;
import android.os.Bundle;
import android.view.Menu;
import android.view.View;
import android.widget.AnalogClock;
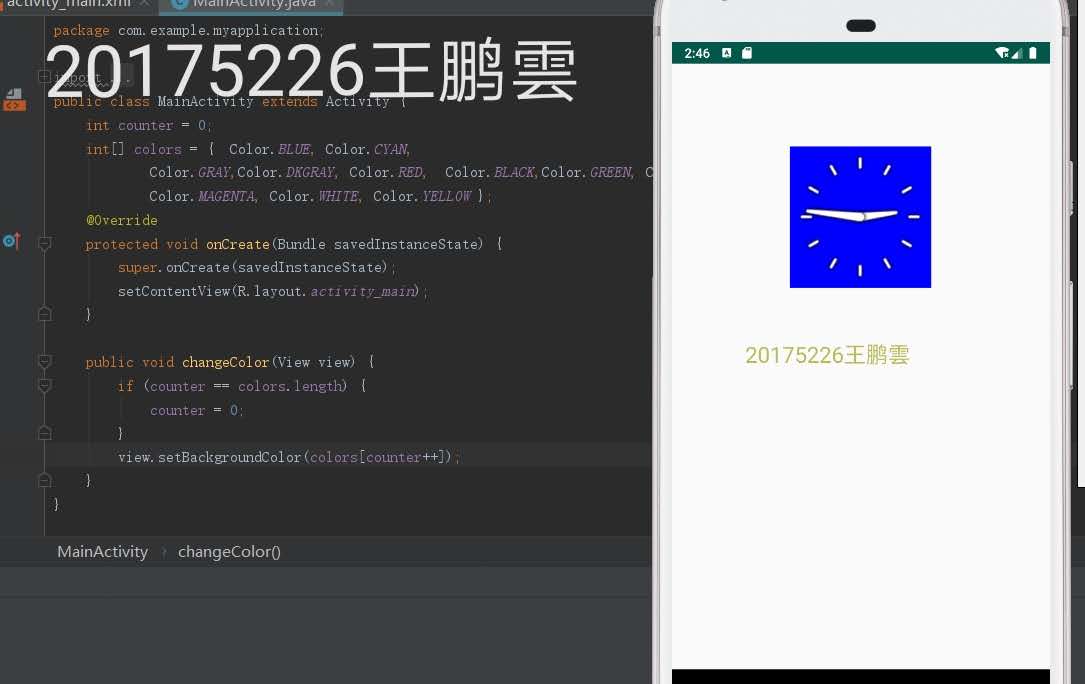
public class MainActivity extends Activity {
int counter = 0;
int[] colors = { Color.BLACK, Color.BLUE, Color.CYAN,
Color.DKGRAY, Color.GRAY, Color.GREEN, Color.LTGRAY,
Color.MAGENTA, Color.RED, Color.WHITE, Color.YELLOW };
@Override
protected void onCreate(Bundle savedInstanceState) {
super.onCreate(savedInstanceState);
setContentView(R.layout.activity_main);
}
public void changeColor(View view) {
if (counter == colors.length) {
counter = 0;
}
view.setBackgroundColor(colors[counter++]);
}
}
- activity_main.xml
<?xml version="1.0" encoding="utf-8"?>

<RelativeLayout

    xmlns:android="http://schemas.android.com/apk/res/android"

    xmlns:tools="http://schemas.android.com/tools"

    android:layout_width="match_parent"

    android:layout_height="match_parent"

    tools:context=".MainActivity">

    <AnalogClock

        android:layout_width="wrap_content"

        android:layout_height="wrap_content"

        android:layout_alignParentTop="true"

        android:layout_centerHorizontal="true"

        android:layout_marginTop="90dp"

        android:id="@+id/analogClock1"

        android:onClick="changeColor" />

    <TextView

        android:layout_width="match_parent"

        android:layout_height="match_parent"

        android:text="20175226王鹏雲"

        android:layout_marginLeft="70dp"

        android:layout_marginTop="300dp"

        android:textSize="38dp"

        android:textColor="#bbbb00"/>

</RelativeLayout>
- 运行结果截图

码云链接
由于码云仓库出现了一些问题导致无法上传,在重新弄好之后补上链接
实验心得
- 这次实验是又是一个完全没有接触过的部分,同样的实验碰上的问题也是之前没有碰到的,不过由于之前的学习经验,在这些方面的自学能力强了不少,所以遇到问题也更加得心应手
2018-2019-2 20175226王鹏雲 实验四《Android程序设计》实验报告的更多相关文章
- 20165230 《Java程序设计》实验四 Android程序设计实验报告
20165230 <Java程序设计>实验四 Android程序设计实验报告 一.实验报告封面 课程:Java程序设计 班级:1652班 姓名:田坤烨 学号:20165230 成绩: 指导 ...
- 实验四 Android程序设计 实验报告
实验四 Android程序设计 实验报告 目录 代码托管地址 Android程序设计-1 Android程序设计-2 Android程序设计-3 Android程序设计-4 Android程序设计-5 ...
- 20155326 实验四 Android程序设计实验报告
20155326 实验四 Android程序设计实验报告 实验内容 1.基于Android Studio开发简单的Android应用并部署测试; 2.了解Android.组件.布局管理器的使用: 3. ...
- 20162325金立清 实验四 Android程序设计 实验报告
实验四 Android程序设计 实验报告 代码托管地址 码云链接 实验内容 安装使用Android Stuidio Activity测试 UI测试 布局测试 事件处理测试 Android程序设计-1 ...
- 实验四 Android程序设计 实验报告 20162305李昱兴
实验四 Android程序设计 实验报告 20162305李昱兴 一.Android Studio的安装测试 1.有关该软件 Android Studio,是基于Itellij IDEA的一款流行的I ...
- 20172302《程序设计与数据结构》实验四Android程序设计实验报告
课程:<程序设计与数据结构> 班级: 1723 姓名: 侯泽洋 学号:20172302 实验教师:王志强老师 实验日期:2018年5月30日 必修/选修: 必修 1.实验内容 (1)And ...
- 20155328 实验四 Android程序设计 实验报告
20155328 实验四 Android程序设计 第24章 初识Android 提交点1:完成HelloWorld并显示自己的学号 安装Android Studio后,创建了属于自己的Project( ...
- 2016-2017-2 20155312 实验四Android程序设计实验报告
遇到的问题及解决过程 「问题1」Android Studio-R文件出错 解决:参考Android Studio-R文件错误的解决办法步骤如下: 第一步:检查xml文件,R文件错误通常是由于我们的xm ...
- 20165235实验四 Android程序设计
20165235实验四 Android程序设计 实验课程:JAVA编程设计 实验名称:Android开发 姓名:祁瑛 学号:20165235 实验时间:2018.05.16 指导老师:娄家鹏 Andr ...
- 实验四 Android程序设计
20155224 实验四 Android程序设计 实验报告 实验报告封面: 课程:Java程序设计 班级:1652班 姓名:王高源 学号:20165225 指导教师:娄嘉鹏 实验日期:2018年5月1 ...
随机推荐
- [NOIP2018模拟赛10.19]只会暴力报告
闲扯 今天又是暴力满满(并不)的一天呢 昨天老师说了分数要正态分布,今天看起来...不过暴力分很多,虽然我人太傻逼又没打满 T1 woc?不是说送分的吗,看起来又是个树形DP神题,暴力告辞,链上的搞一 ...
- HTML类
class Html: def __init__(self,name): self.name = name @staticmethod def full_name(): print('全称:Hype ...
- vs 调试时 QuickWatch 不能计算变量值
尝试下这个方法:DEBUG- -> Options and Settings--> Symbols中查看缓存路径是否设置为当前程序的bin文件然后将Debug-->Options a ...
- go module 设置
国内无法获取被墙的go module,解决方法,设置环境变量 GO111MODULE=on goproxy=https://goproxy.io
- STM32工程模版
STM32工程模版,看过来 ST库源码去官方下载 创建工程目录 doc:存放说明文档 lib:存放库文件 listing:存放编译产生的中间文件 output:存放生成的文件 project:存放工程 ...
- Airflow安装错误:sqlalchemy.exc.OperationalError: (_mysql_exceptions.OperationalError)
1 完整的异常信息: raise errorclass, errorvalue sqlalchemy.exc.OperationalError: (_mysql_exceptions.Operatio ...
- 【linux】ubuntu修改系统时间
ubuntu修改时间步骤 ① 先把系统校验时间的程序停止掉 /lib/systemd/systemd-timesyncd systemd 开始,包括了一个名为systemd-timesyncd 的守护 ...
- Educational Codeforces Round 37 G. List Of Integers (二分,容斥定律,数论)
G. List Of Integers time limit per test 5 seconds memory limit per test 256 megabytes input standard ...
- Launcher类源码分析
基于上一次获取系统类加载器这块进行分析: 关于这个方法的javadoc在之前已经阅读过了,不过这里再来仔细阅读一下加深印象: 这里有一个非常重要的概念:上下文类加载器: 它的作用非常之大,在后面会详细 ...
- 学习kafka笔记
一:概念 Kafka是一个分布式的消息队列,相当于我们生活中的快递柜,快递点,快递员将快递放到快递柜中,收件人去取,把快递(消息)的入柜(入队)和处理进行解耦,使得双方以自己合适的时间和频率处理快递, ...