Spring Boot 2.0 整合 FreeMarker 模板引擎
本篇博文将和大家一起使用Spring Boot 2.0 和FreeMarker 模板引擎整合实战。
1. 创建新的项目

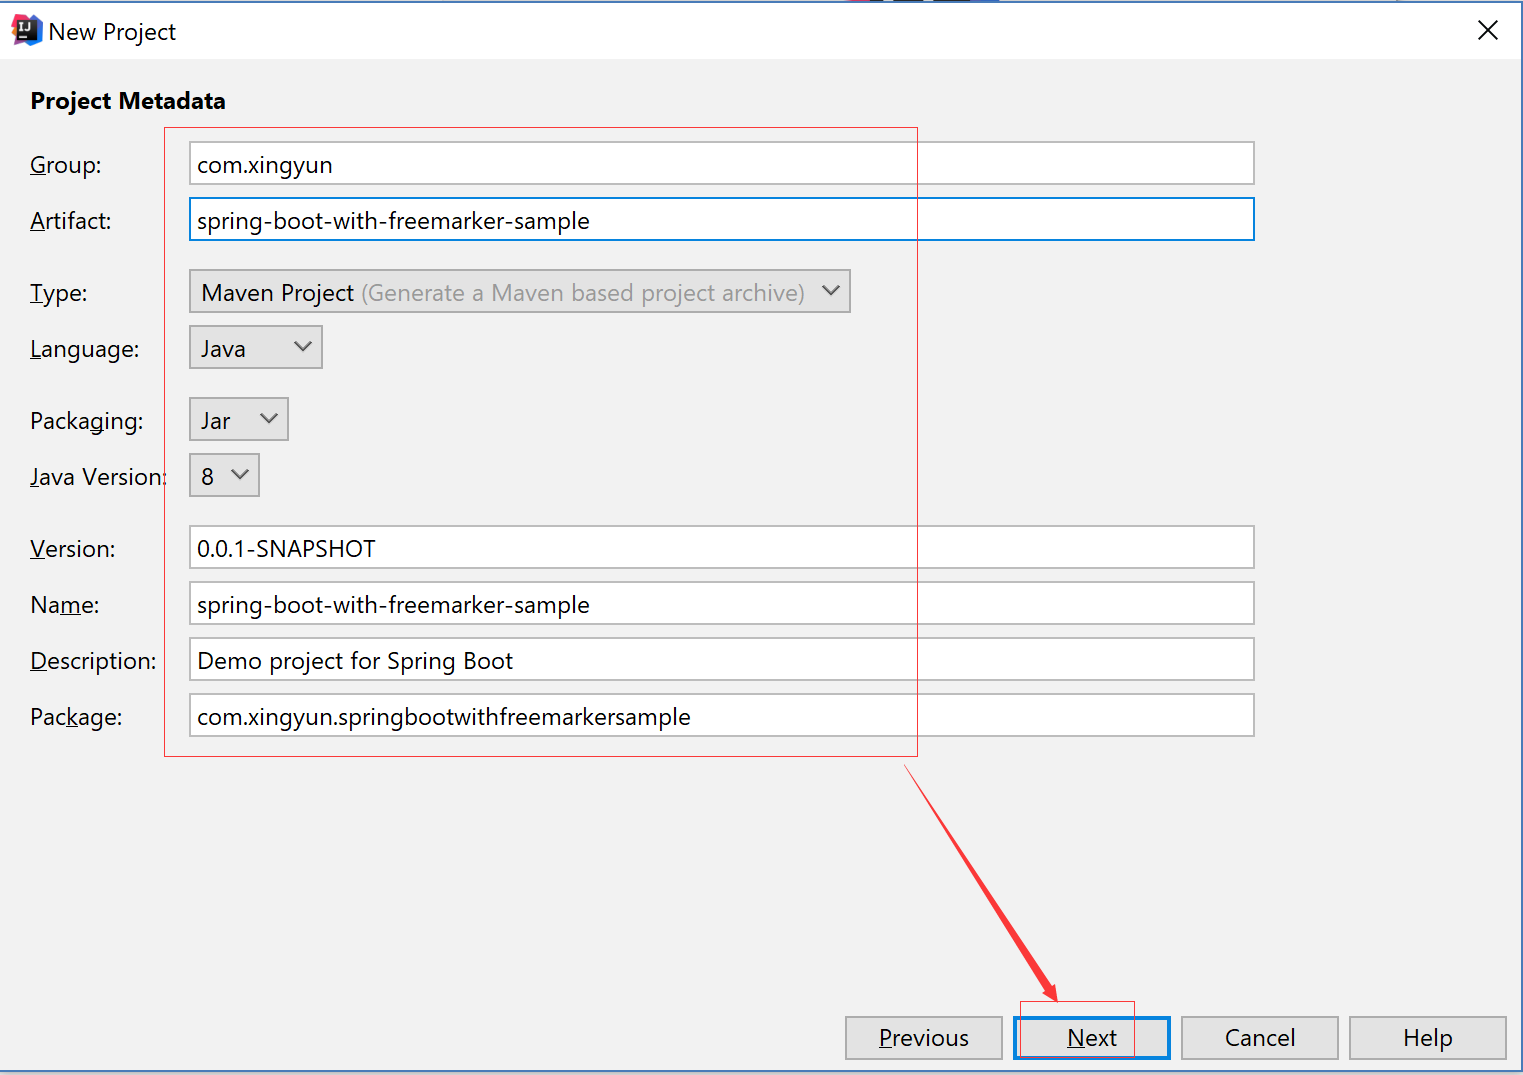
2. 填写项目配置信息
3. 勾选web 模块
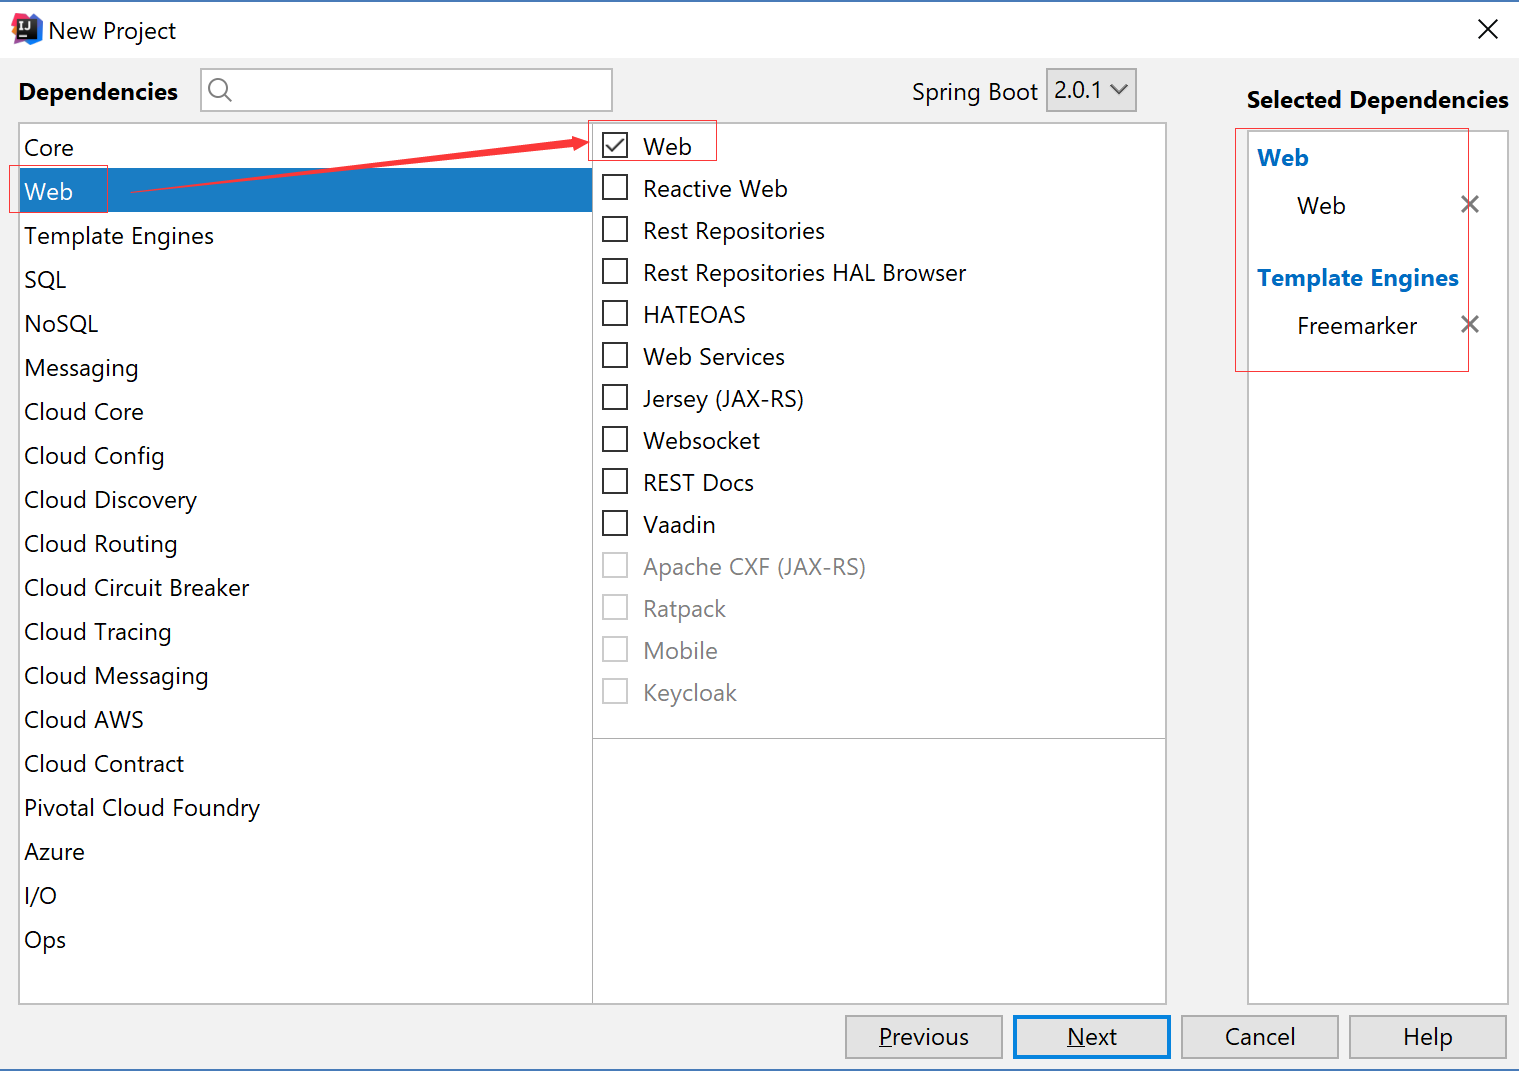
4. 勾选freemarker模板引擎模块

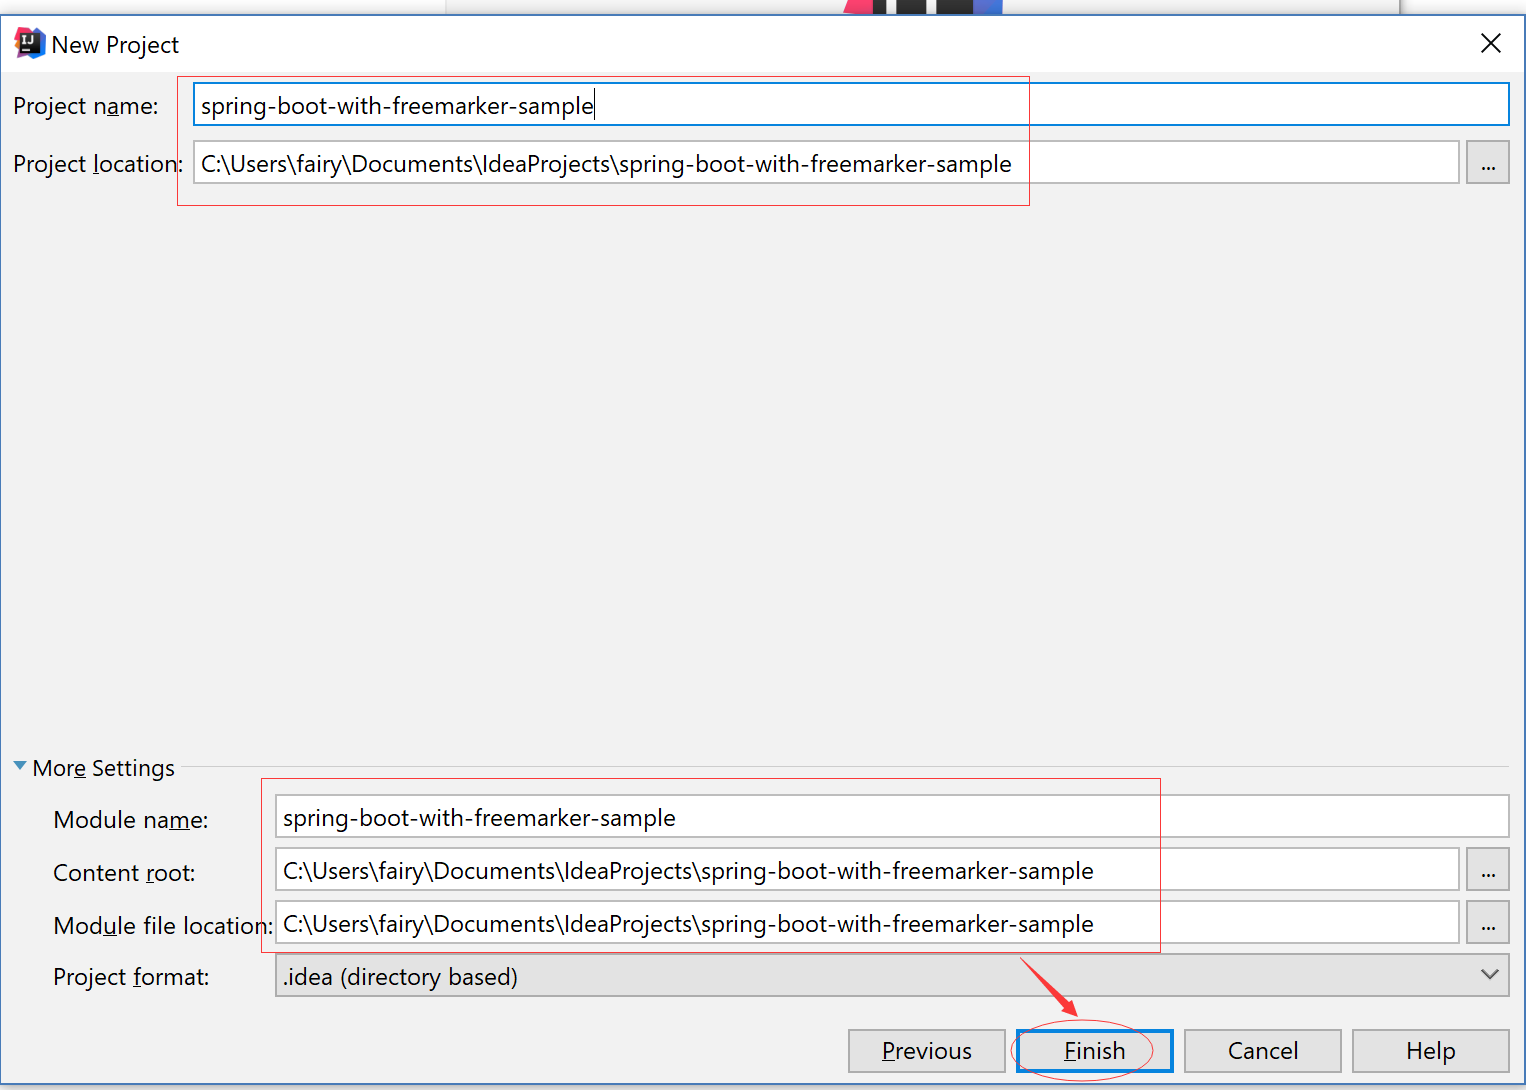
5.填写项目名称和项目保存路径
6. 修改POM文件,添加Freemarker 项目依赖
<?xml version="1.0" encoding="UTF-8"?>

<project xmlns="http://maven.apache.org/POM/4.0.0" xmlns:xsi="http://www.w3.org/2001/XMLSchema-instance"

    xsi:schemaLocation="http://maven.apache.org/POM/4.0.0 http://maven.apache.org/xsd/maven-4.0.0.xsd">

    <modelVersion>4.0.0</modelVersion>

    <groupId>com.xingyun</groupId>

    <artifactId>spring-boot-with-freemarker-sample</artifactId>

    <version>0.0.1-SNAPSHOT</version>

    <packaging>jar</packaging>

    <name>spring-boot-with-freemarker-sample</name>

    <description>Demo project for Spring Boot</description>

    <parent>

        <groupId>org.springframework.boot</groupId>

        <artifactId>spring-boot-starter-parent</artifactId>

        <version>2.0.1.RELEASE</version>

        <relativePath/> <!-- lookup parent from repository -->

    </parent>

    <properties>

        <project.build.sourceEncoding>UTF-8</project.build.sourceEncoding>

        <project.reporting.outputEncoding>UTF-8</project.reporting.outputEncoding>

        <java.version>1.8</java.version>

    </properties>

    <dependencies>

        <dependency>

            <groupId>org.springframework.boot</groupId>

            <artifactId>spring-boot-starter-freemarker</artifactId>

        </dependency>

        <dependency>

            <groupId>org.springframework.boot</groupId>

            <artifactId>spring-boot-starter-web</artifactId>

        </dependency>

        <dependency>

            <groupId>org.springframework.boot</groupId>

            <artifactId>spring-boot-starter-test</artifactId>

            <scope>test</scope>

        </dependency>

    </dependencies>

    <build>

        <plugins>

            <plugin>

                <groupId>org.springframework.boot</groupId>

                <artifactId>spring-boot-maven-plugin</artifactId>

            </plugin>

        </plugins>

    </build>

</project>
7. 配置applicaiton.properties
# 设定ftl文件路径

spring.freemarker.template-loader-path=classpath:/templates

spring.freemarker.cache=false

spring.freemarker.charset=UTF-8

spring.freemarker.check-template-location=true

spring.freemarker.content-type=text/html

spring.freemarker.expose-request-attributes=false

spring.freemarker.expose-session-attributes=false

spring.freemarker.request-context-attribute=request

spring.freemarker.suffix=.ftl
Tips: 其实我试了下,把.ftl 换成.jsp ,创建JSP 文件也是可以的。
8. 创建文件夹和ftl格式文件
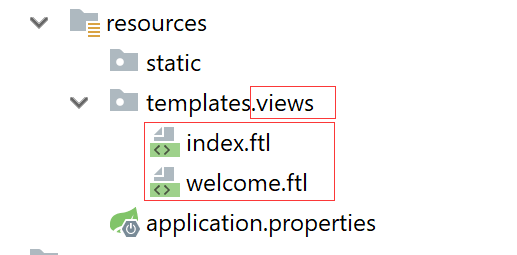
index.ftl
<!DOCTYPE html>

<html lang="en">

<head>

    <meta charset="UTF-8">

    <title>Title</title>

</head>

<body>

this is index page

</body>

</html>
welcome.ftl
<!DOCTYPE html>

<html lang="en">

<head>

    <meta charset="UTF-8">

    <title>Title</title>

</head>

<body>

this is welcome page

</body>

</html>
9. 创建 Controller
package com.xingyun.springbootwithfreemarkersample.controller;

import org.springframework.stereotype.Controller;

import org.springframework.ui.ModelMap;

import org.springframework.web.bind.annotation.GetMapping;

import org.springframework.web.bind.annotation.RequestBody;

import org.springframework.web.bind.annotation.RequestMapping;

import org.springframework.web.bind.annotation.RestController;

@Controller

public class HomeController {

    @RequestMapping(value = "/")

    public String index(){

        return "views/index";

    }

    @RequestMapping(value = "/welcome")

    public String home(){

        return "views/welcome";

    }

}
Tips: 由于要返回模板页面文件,所以我们只能使用@Controller 而不可以使用@RestController
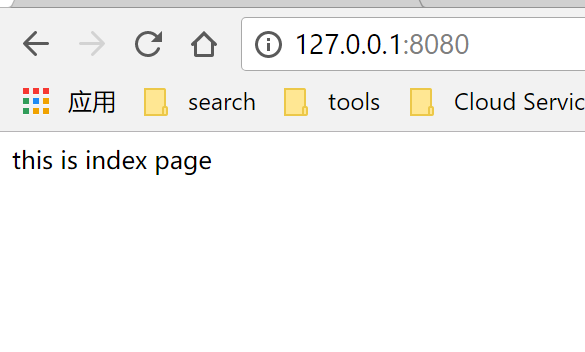
10. 访问 http://127.0.0.1:8080
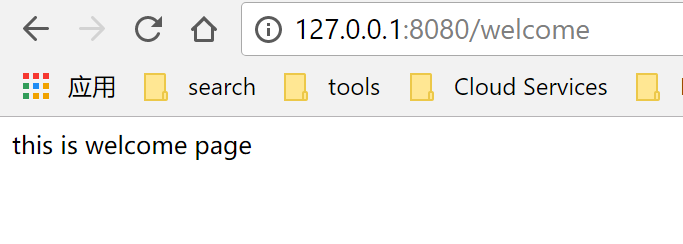
11. 访问 http://127.0.0.1:8080/welcome
Spring Boot 2.0 整合 FreeMarker 模板引擎的更多相关文章
- Spring Boot 2.0 整合Thymeleaf 模板引擎
本节将和大家一起实战Spring Boot 2.0 和thymeleaf 模板引擎 1. 创建项目 2. 使用Spring Initlizr 快速创建Spring Boot 应用程序 3. 填写项目配 ...
- spring boot 2.0 整合 elasticsearch6.5.3,spring boot 2.0 整合 elasticsearch NoNodeAvailableException
原文地址:spring boot 2.0 整合 elasticsearch NoNodeAvailableException 原文说的有点问题,下面贴出我的配置: 原码云项目地址:https://gi ...
- Spring Boot 2.0 整合携程Apollo配置中心
原文:https://www.jianshu.com/p/23d695af7e80 Apollo(阿波罗)是携程框架部门研发的分布式配置中心,能够集中化管理应用不同环境.不同集群的配置,配置修改后能够 ...
- Spring Boot Web开发与thymeleaf模板引擎
简介: 使用Springboot应用,选中需要的模块, Spring已经默认将场景配置好了,只需在配置文件中少量配置就可以运行起来 自己编写业务代码 自动配置原理 这个场景Springboot帮我们配 ...
- Spring Boot Web开发中Thymeleaf模板引擎的使用
这里使用的是idea 1.新建Spring Boot项目 File-->New-->Project...,然后选择左边的Spring Initializr-->Next,可根据自己的 ...
- Spring Boot 知识笔记(thymleaf模板引擎)
一.pom.xml中引入 <dependency> <groupId>org.springframework.boot</groupId> <artifact ...
- springboot整合freemarker模板引擎后在页面获取basePath绝对路径
在项目中引用静态资源文件或者进行ajax请求时我们有时候会使用 ${basePath} ,其实这就是一种获取绝对路径的方式: 那么在springboot项目中要怎么配置才能使用 basePaht呢? ...
- freemarker模板引擎的使用
freemarker是一套前端模板引擎,在使用时,要先在web项目中添加freemarker.jar的依赖. 我在这里主要演示spring-mvc整合freemarker模板引擎.项目案例的文件包结构 ...
- Spring Boot MVC 使用 JSP 作为模板
Spring Boot 默认使用 Thymeleaf 作为模板引擎,直接在 template 目录中存放 JSP 文件并不能正常访问,需要在 main 目录下新建一个文件夹来存放 JSP 文件,而且需 ...
随机推荐
- 4.Django|ORM模型层
ORM简介 MVC或者MVC框架中包括一个重要的部分,就是ORM,它实现了数据模型与数据库的解耦,即数据模型的设计不需要依赖于特定的数据库,通过简单的配置就可以轻松更换数据库,这极大的减轻了开发人员的 ...
- JsDOM操作
DOM(文档对象模型) 在JS中,所有的事物都是节点,元素.文本等都是节点.把浏览器中的标签看成树状结构,每个标签看成一个节点(dom元素). 应用场景:可以通过节点进行DOM对象的增删改查 获取DO ...
- Python - __name__ == '__main__'
if __name__ == '__main__': app.run() __name__系统变量指示模块应如何被加载,他的值为"__main__"时表示当前模块是被直接执行. _ ...
- js获取按键
event.altKey.event.ctrlKey.event.shiftKey 属性 属性为true表示事件发生时Alt.Ctrl.Shift键被按下并保持,为false则Alt.Ctrl.Shi ...
- kms可用激活服务器地址|kms可用激活服务器分享
kms可用激活服务器地址|kms可用激活服务器分享 kms可用激活服务器地址都有哪些呢?使用kms激活服务器激活windows和office是微软提供的激活方式之一.kms激活服务器普遍由个人或企 ...
- P1510 精卫填海
P1510 精卫填海二分答案二分背包容量,判断能否满足v.判断的话就跑01背包就好了. #include<iostream> #include<cstdio> #include ...
- spark加载模型与gRPC与JSF与JDQ冲突
spark与JSF冲突解决方式 <dependency> <groupId>org.apache.spark</groupId> <artifactId> ...
- BZOJ.2639.矩形计算(二维莫队)
题目链接 二维莫队,按x,y坐标一起分块.(x,y)的所属的块为 x/sq(n)*sq(m) + y/sq(m) 排序时按照(左下点所在块,右上点的标号)排序 排序后 先得出一个询问的答案,然后利用上 ...
- LOJ.117.[模板]有源汇有上下界最小流(Dinic)
题目链接 有源汇有上下界最小流 Sol1. 首先和无源汇网络流一样建图,求SS->TT最大流: 然后连边(T->S,[0,INF]),再求一遍SS->TT最大流,答案为新添加边的流量 ...
- 1013 ACM 杭电 root
题目:http://acm.hdu.edu.cn/showproblem.php?pid=1013 题意:求两个数的根 如: 12->3,99->9,80->8 注意题目没有限制数的 ...