Anaconda+django写出第一个web app(三)
前面我们已经建立了模型Tutorial,也已经可以用Navicat Premium打开数据看查看数据,接下来我们通过建立admin账户来上传数据。
在命令行执行如下命令来创建用户:
python manage.py createsuperuser
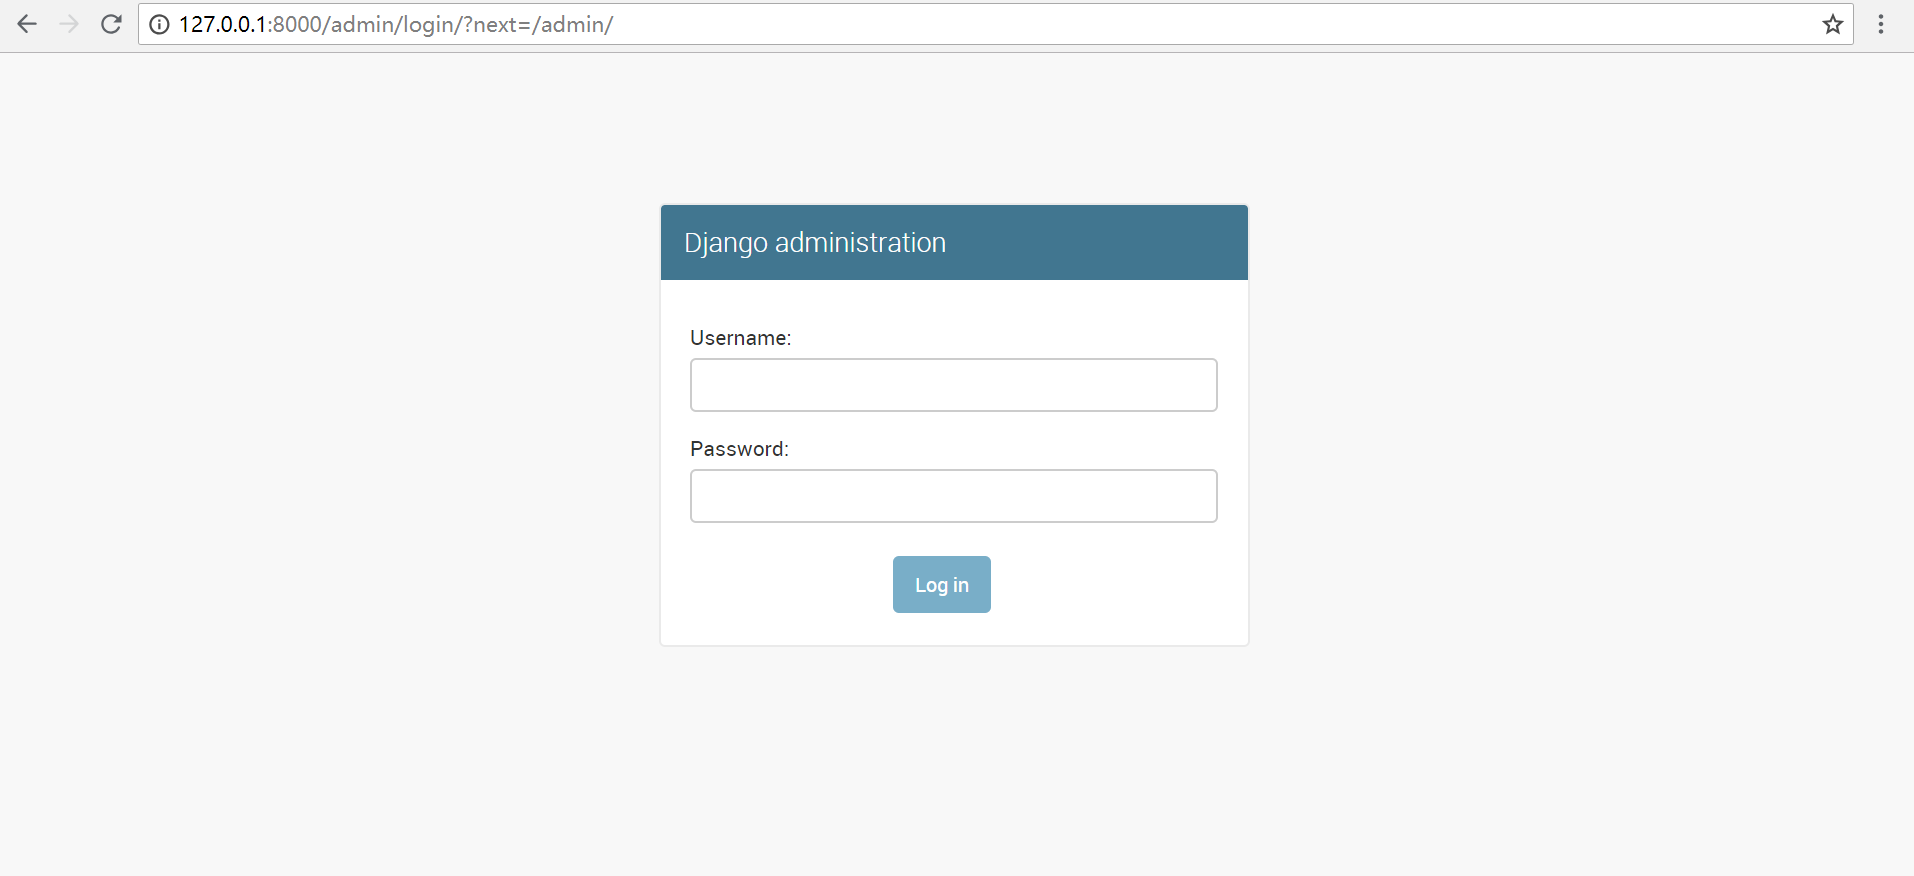
然后输入相应的用户名、邮箱和密码,邮箱可随意填写,接下来执行 python manage.py runserver ,在浏览器输入 http://127.0.0.1:8000/admin/看到下图,输入刚才创建的用户名和密码:
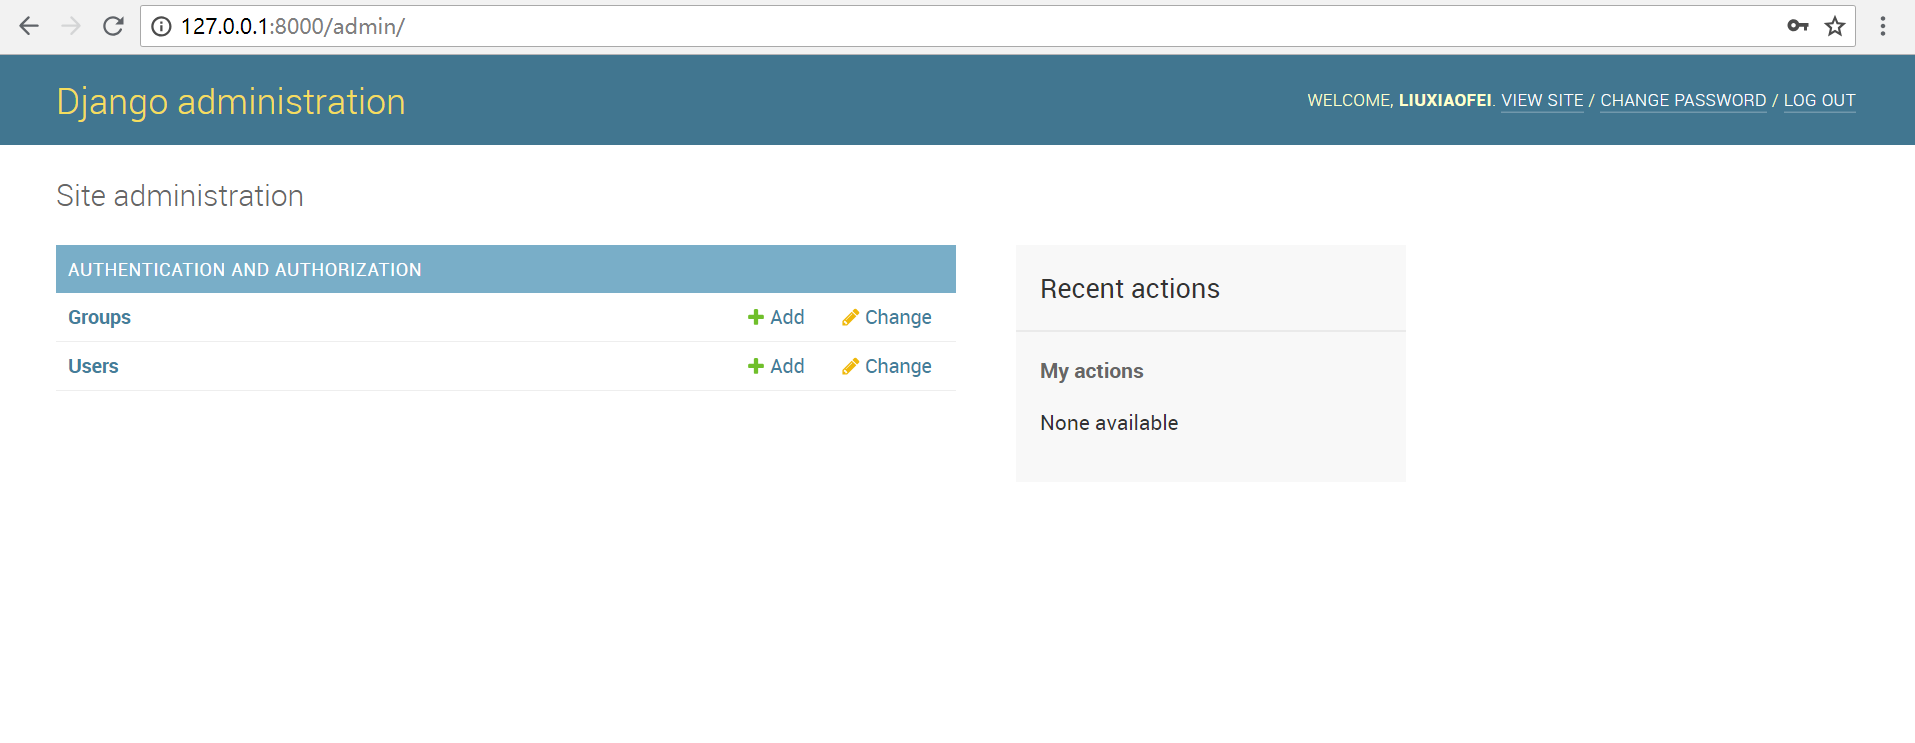
我们可以在User中看到刚才创建的用户名等信息。但是如何看到我们创建的Tutorial呢?我们需要在admin.py中注册他,修改main文件夹下的admin.py文件如下:
from django.contrib import admin

from .models import Tutorial

# Register your models here.

admin.site.register(Tutorial)
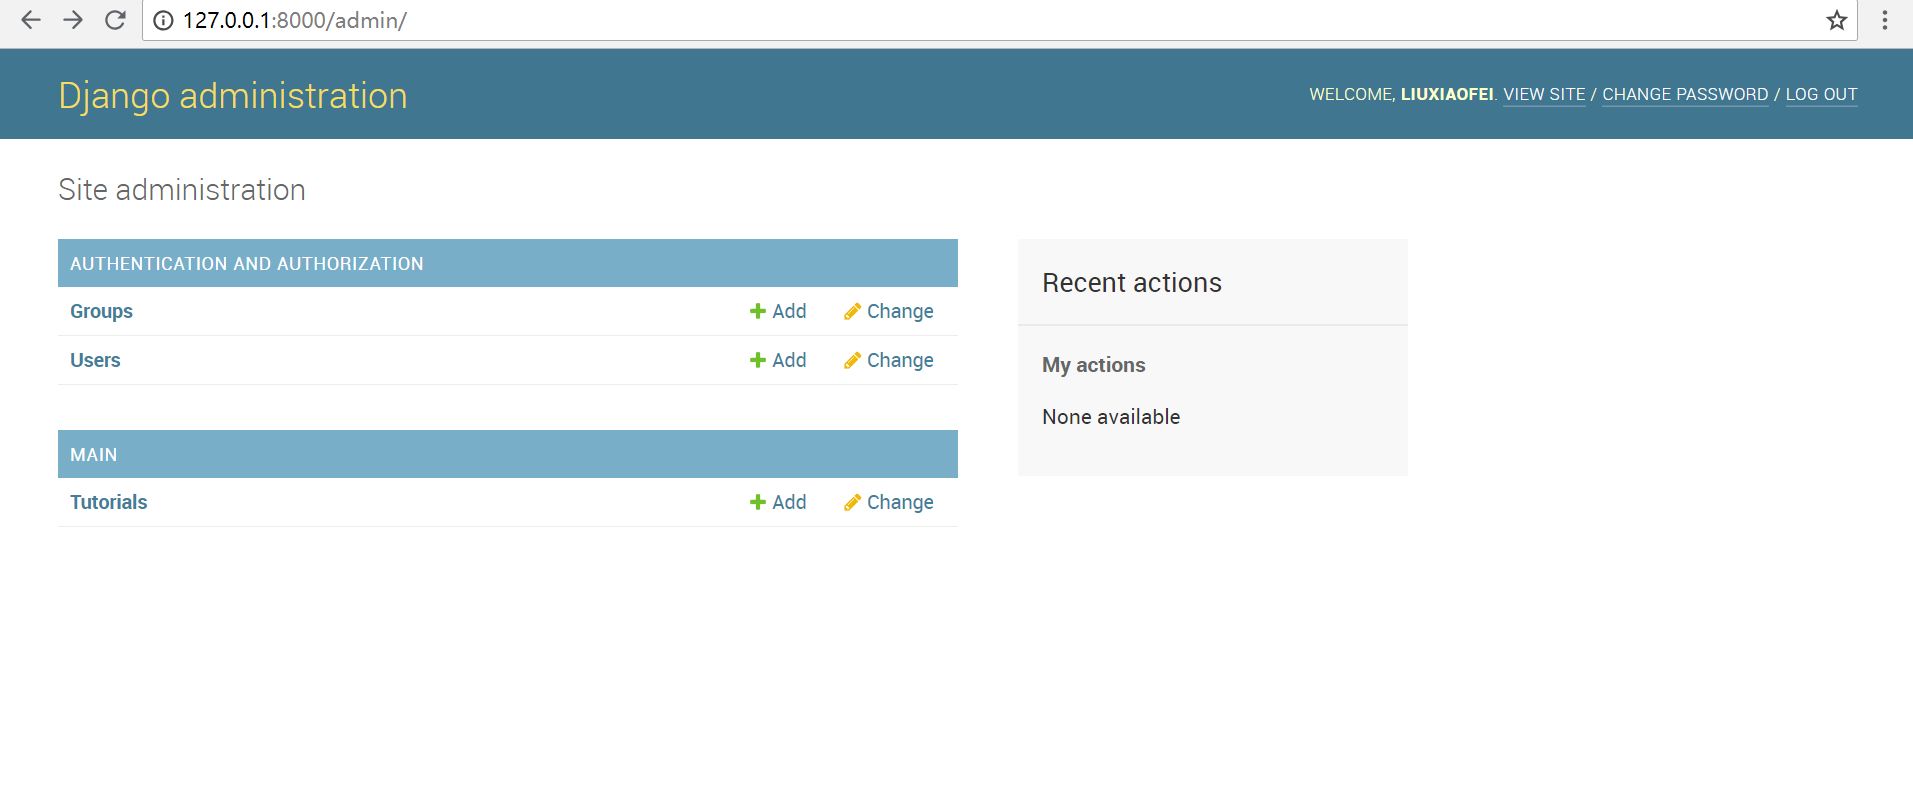
再次到浏览器刷新页面,即可看到Tutorial,点击进去也可看到其中的具体内容:

我们可以添加、编辑和删除相应的内容。我们还可以自己设置Tutorial这个模型中的变量显示顺序,变量是否显示以及分组显示等等。在admin.py中做出如下修改:
#修改显示顺序

from django.contrib import admin

from .models import Tutorial

# Register your models here.

class TutorialAdmin(admin.ModelAdmin):

    fields = ['tutorial_title',

            'tutorial_published',

            'tutorial_content']

admin.site.register(Tutorial, TutorialAdmin)
#建立分组显示

from django.contrib import admin

from .models import Tutorial

# Register your models here.

class TutorialAdmin(admin.ModelAdmin):

    fieldsets = [

            ("Title/Date", {'fields':['tutorial_title','tutorial_published']}),

            ("Content", {'fields':['tutorial_content']})

                ]

admin.site.register(Tutorial, TutorialAdmin)
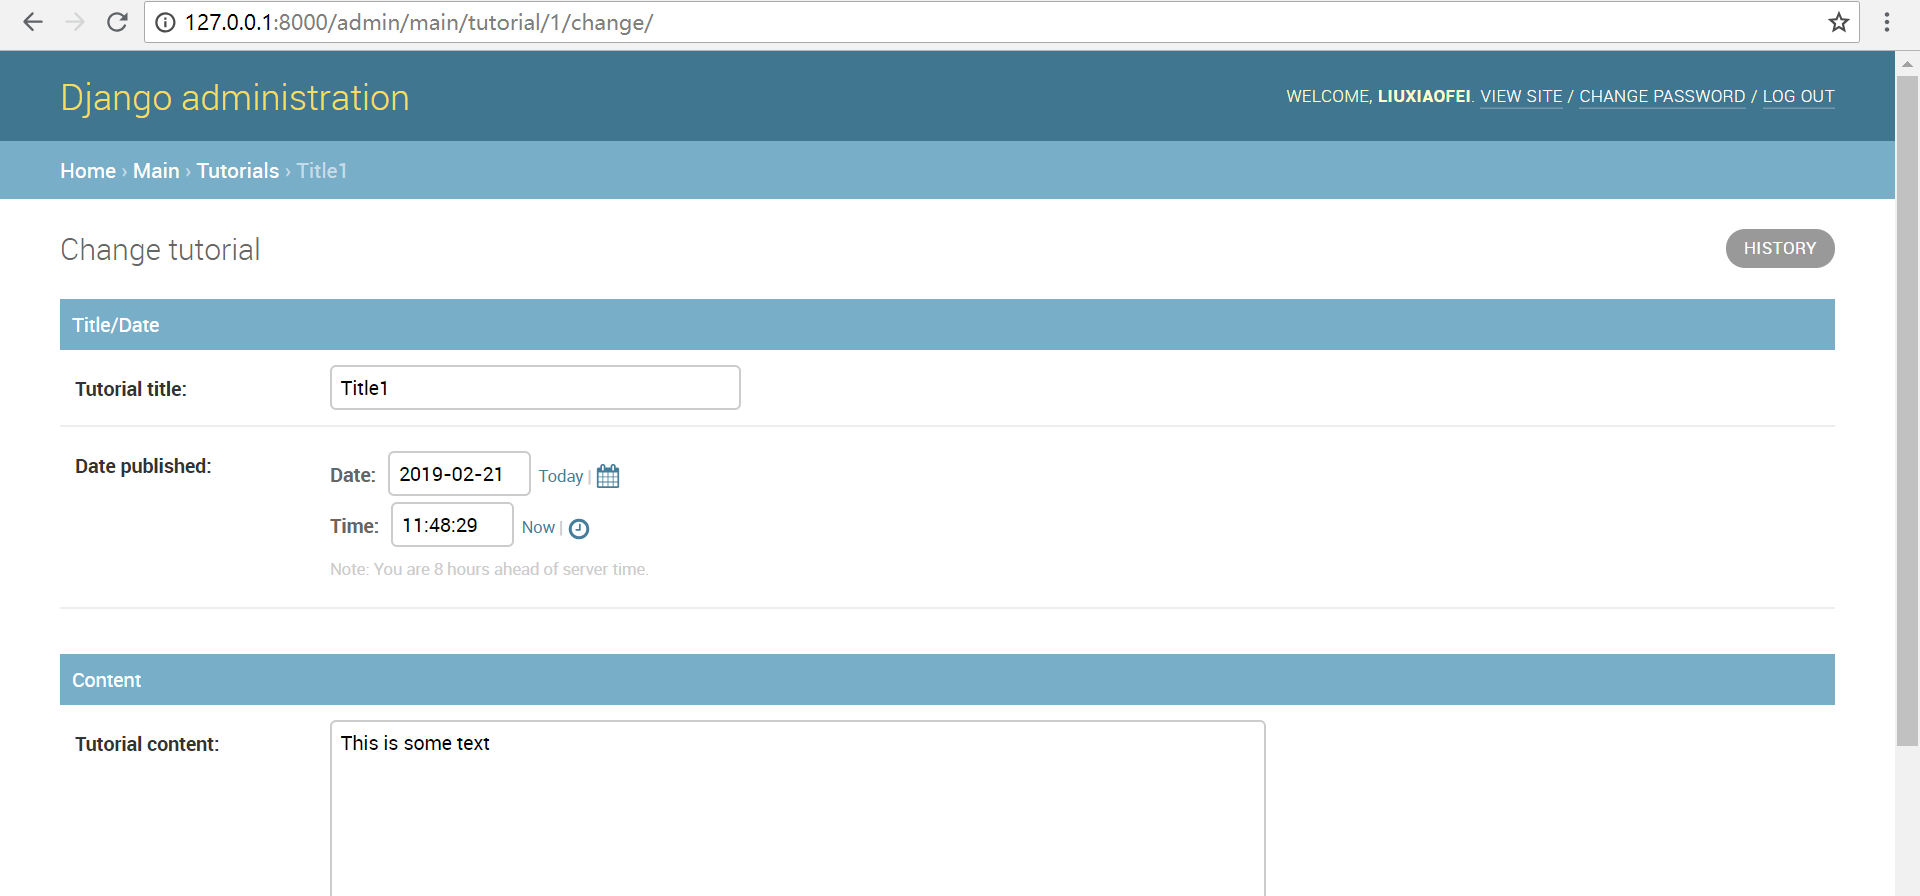
分组显示效果如下图:
帮助文档 [2]中对fieldsets的解释如下:
ModelAdmin.fieldsetsSet
fieldsetsto control the layout of admin “add” and “change” pages.
fieldsetsis a list of two-tuples, in which each two-tuple represents a<fieldset>on the admin form page. (A<fieldset>is a “section” of the form.)The two-tuples are in the format
(name, field_options), wherenameis a string representing the title of the fieldset andfield_optionsis a dictionary of information about the fieldset, including a list of fields to be displayed in it.
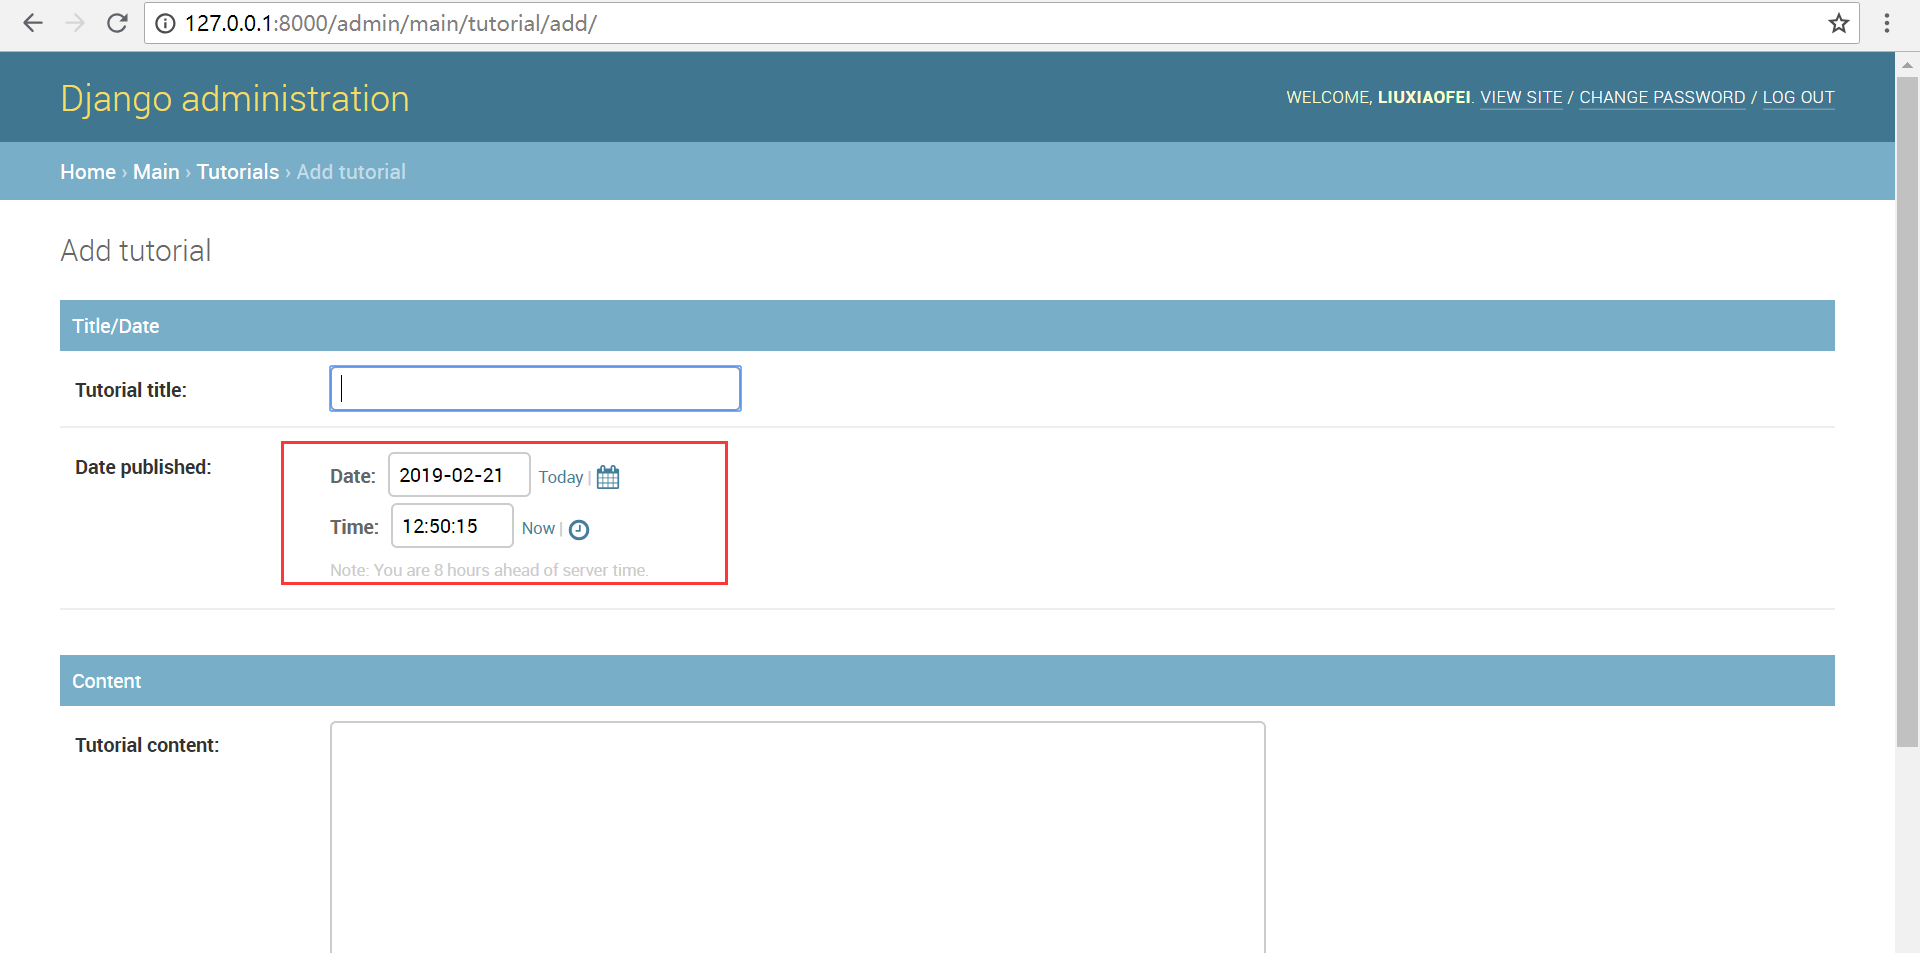
对于日期,我们希望每次新建一个tutorial时可以自动填充当前日期,其实就是给tutorial_published添加一个默认值,使其等于当前时间,修改models.py如下:
from django.db import models

from django.utils import timezone

# Create your models here.

class Tutorial(models.Model):

    tutorial_title = models.CharField(max_length=200)

    tutorial_content = models.TextField()

    tutorial_published = models.DateTimeField('date published', default=timezone.now())

    def __str__(self):

        return self.tutorial_title
我们在浏览器新建一个tutorial,可以看到日期自动填充为当前日期:
接下来我们将富文本编辑器TinyMce添加到tutorial_content这里来。在Anaconda Prompt中执行 conda install django-tinymce4-lite ,TineMce也是一个app,我们需要将其安装。在settings.py中修改INSTALLED_APPS,添加tinymce:
INSTALLED_APPS = [

    'django.contrib.admin',

    'django.contrib.auth',

    'django.contrib.contenttypes',

    'django.contrib.sessions',

    'django.contrib.messages',

    'django.contrib.staticfiles',

    'main.apps.MainConfig',

    'tinymce',

]
还需要在settings.py中添加如下内容,这段代码放在INSTALLED_APPS前面即可,也可自行对这段代码进行编辑,具体查看相关帮助文档 [3]:
TINYMCE_DEFAULT_CONFIG = {

    'height': 360,

    'width': 1000,

    'cleanup_on_startup': True,

    'custom_undo_redo_levels': 20,

    'selector': 'textarea',

    'theme': 'modern',

    'plugins': '''

            textcolor save link image media preview codesample contextmenu

            table code lists fullscreen  insertdatetime  nonbreaking

            contextmenu directionality searchreplace wordcount visualblocks

            visualchars code fullscreen autolink lists  charmap print  hr

            anchor pagebreak

            ''',

    'toolbar1': '''

            fullscreen preview bold italic underline | fontselect,

            fontsizeselect  | forecolor backcolor | alignleft alignright |

            aligncenter alignjustify | indent outdent | bullist numlist table |

            | link image media | codesample |

            ''',

    'toolbar2': '''

            visualblocks visualchars |

            charmap hr pagebreak nonbreaking anchor |  code |

            ''',

    'contextmenu': 'formats | link image',

    'menubar': True,

    'statusbar': True,

    }
现在我们需要在mysite文件夹下的urls.py中设置指向这个app。
from django.contrib import admin

from django.urls import path, include

urlpatterns = [

    path('', include('main.urls')),

    path('admin/', admin.site.urls),

    path('tinymce/', include('tinymce.urls'))

]
然后修改admin.py,使得tutorial_content显示这个控件,注意tinymce的大小写。
from django.contrib import admin

from .models import Tutorial

from tinymce.widgets import TinyMCE

from django.db import models

# Register your models here.

class TutorialAdmin(admin.ModelAdmin):

    fieldsets = [

            ("Title/Date", {'fields':['tutorial_title',    'tutorial_published']}),

            ("Content", {'fields':['tutorial_content']})

                ]

    formfield_overrides = {

            models.TextField:{'widget': TinyMCE()},

            }

admin.site.register(Tutorial, TutorialAdmin)
回到浏览器刷新页面,效果如下图: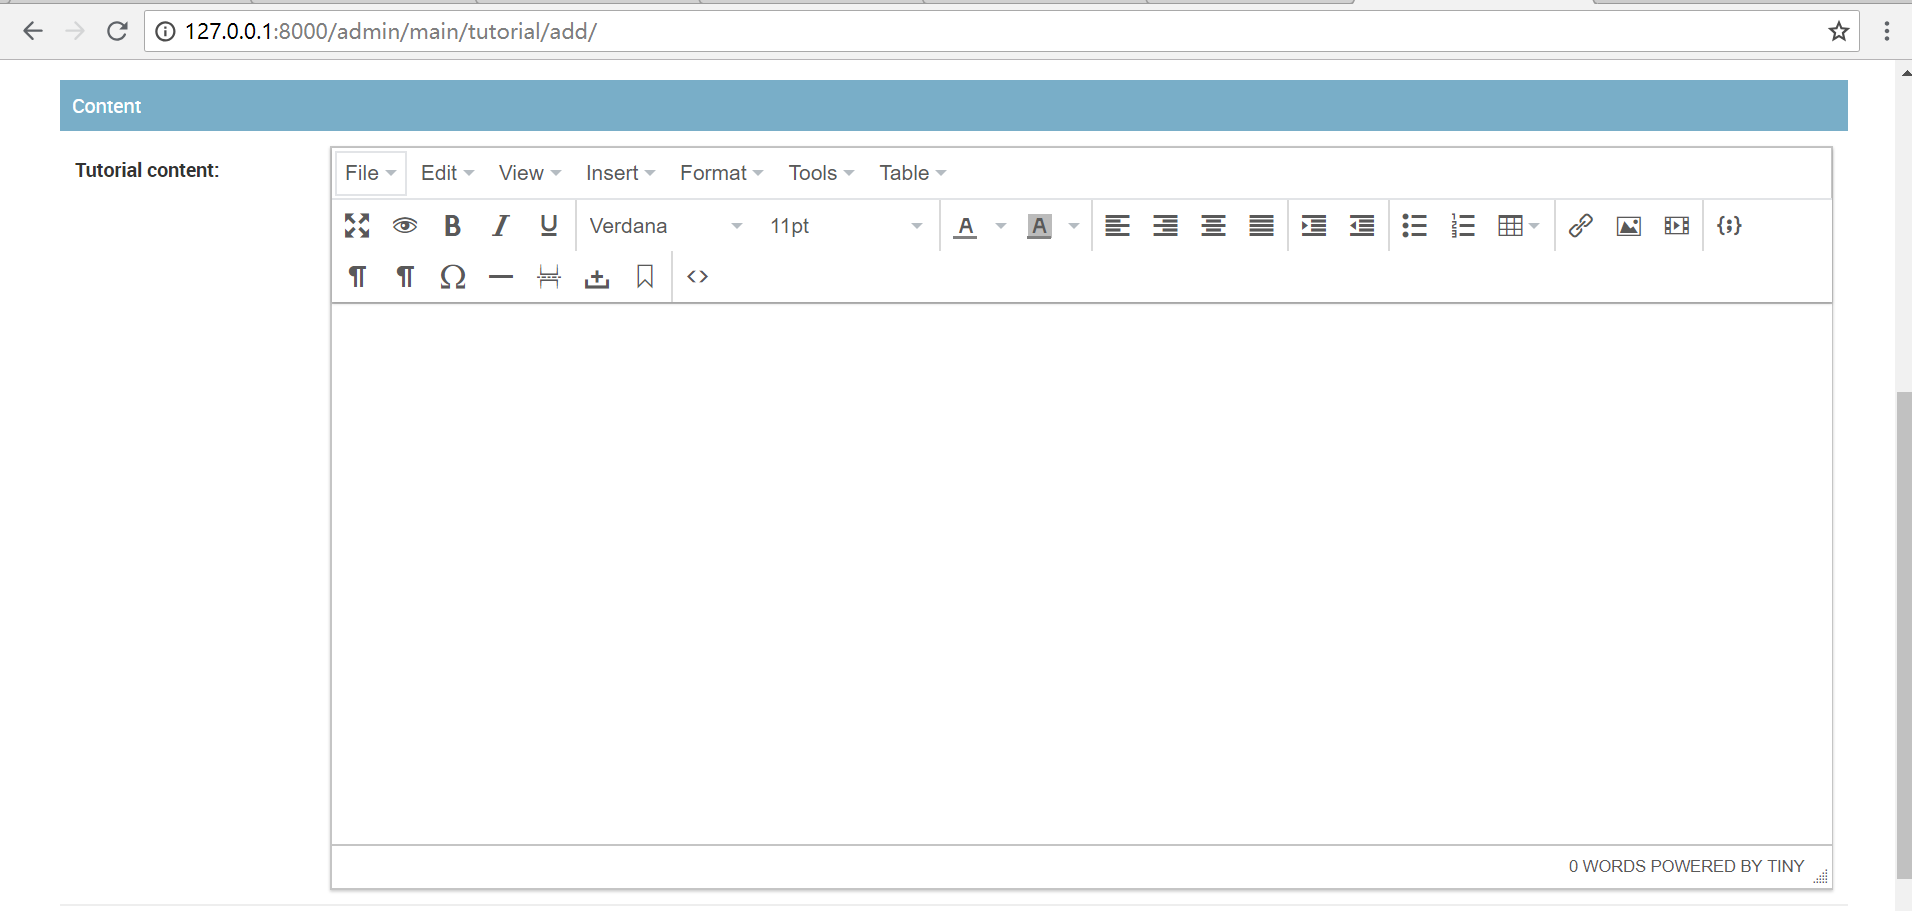
参考链接:
[1] https://pythonprogramming.net/admin-apps-django-tutorial/
[2] https://docs.djangoproject.com/en/2.1/ref/contrib/admin/
[3] http://romanvm.github.io/django-tinymce4-lite/configuration.html
Anaconda+django写出第一个web app(三)的更多相关文章
- Anaconda+django写出第一个web app(一)
在安装好Anaconda和django之后,我们就可以开始创建自己的第一个Web app,那么首先创建一个空文件夹,之后创建的文件都在这个文件夹内. 启动命令行进入此文件夹内,可以先通过如下命令查看一 ...
- Anaconda+django写出第一个web app(十一)
今天我们来学习给页面添加一个Sidebar,根据Sidebar跳转到相应的tutorial. 打开views.py,编辑single_slug函数: def single_slug(request, ...
- Anaconda+django写出第一个web app(十)
今天继续学习外键的使用. 当我们有了category.series和很多tutorials时,我们查看某个tutorial,可能需要这样的路径http://127.0.0.1:8000/categor ...
- Anaconda+django写出第一个web app(九)
今天来学习外键的使用,用外键来连接数据库中的两个表. 当我们的tutorials非常多的时候,目前的显示方式就会使得页面非常凌乱.我们可以考虑把这些教程分为不同的系列,页面只显示标题以及概要等信息,进 ...
- Anaconda+django写出第一个web app(二)
今天开始建立App中的第一个Model,命名为Tutorial. Model的定义在main文件夹下的models.py中通过类进行,我们希望Tutorial这个model包含三个属性:标题.内容和发 ...
- Anaconda+django写出第一个web app(七)
今天来实现如何在页面弹出一些信息,比如注册成功后弹出注册成功的信息.这一点可以通过materialize里的Toasts来实现. django自带的messages可以告诉我们是否注册成功,以及注册失 ...
- Anaconda+django写出第一个web app(六)
今天学习如何写一个注册用户的界面. 上一节的导航栏中我们修改了导航栏右侧的文字为register并将路径设置为/register,内容如下: <li><a href="/r ...
- Anaconda+django写出第一个web app(四)
前面对Models有了一些了解,今天开始进一步了解Views,了解Views如何和Models交互以及了解模板(templates). 打开main文件夹下的views.py,重新编写homepage ...
- Anaconda+django写出第一个web app(八)
今天来实现网站的登入和登出功能. 首先我们需要在urls.py中添加路径,注意此处的路径和在导航栏中设置的文字路径保持一致: from django.urls import path from . i ...
随机推荐
- Eclipse_生成webservice客户端
1.工具:eclipse3.3或者是带有webservice插件的eclipse wsdl2java(这个本人没用过,具体长什么样不清楚) 2.步骤: 首先用浏览器访问webservice的站点,点击 ...
- 弱智python小游戏猜数字
from random import randintnum = randint(0,100)print("Guess what I think:?")bingo = Falsewh ...
- 微信小程序 功能函数 点击传参和页面
// 商品详情页跳转函数 detailInto: function (e) { // console.log() var change = e.currentTarget.dataset.id; wx ...
- 重温SQL——行转列,列转行
行转列,列转行是我们在开发过程中经常碰到的问题.行转列一般通过CASE WHEN 语句来实现,也可以通过 SQL SERVER 2005 新增的运算符PIVOT来实现.用传统的方法,比较好理解.层次清 ...
- python自动化之正则
import re phoneNumRegex=re.compile(r'\d\d\d-\d\d\d-\d\d\d\d') mo=phoneNumRegex.search('My number is ...
- 【BZOJ1499】【NOI2005】瑰丽华尔兹(动态规划)
[BZOJ1499]瑰丽华尔兹(动态规划) 题面 BZOJ 题解 先写部分分 设\(f[t][i][j]\)表示当前在\(t\)时刻,位置在\(i,j\)时走的最多的步数 这样子每一步要么停要么走 时 ...
- Counting
Description 数学老师走啦,英语老师来上课啦 他的性格与众不同,又因为大家都是理科班的学生 他希望大家在数字母的过程中领悟英语的快乐 他用m种字母进行排列组合, 得到了所 ...
- CH暑假欢乐赛 SRM 07 天才麻将少女KPM(DP+treap)
首先LIS有个$O(n^2)$的DP方法 $f(i,j)$表示前i个数,最后一个数<=j的LIS 如果$a_i!=0$则有 如果$a_i=0$则有 注意因为$f(i-1,j)\leq f(i-1 ...
- c++优先队列(堆)
1.最小堆.最大堆 priority_queue<int,vector<int>,greater<int> > f; //最小堆(后面的数逐渐greater) pr ...
- python学习(23)requests库爬取猫眼电影排行信息
本文介绍如何结合前面讲解的基本知识,采用requests,正则表达式,cookies结合起来,做一次实战,抓取猫眼电影排名信息. 用requests写一个基本的爬虫 排行信息大致如下图 网址链接为ht ...