Elasticsearch配置安装
跨域
elasticsearch-head连接es时会提示连接失败,有可能就是没有开启跨域
| http.cors.enabled | 是否支持跨域,默认为false |
| http.cors.allow-origin | 当设置允许跨域,默认为*,表示支持所有域名,如果我们只是允许某些网站能访问,那么可以使用正则表达式。比如只允许本地地址。 /https?:\/\/localhost(:[0-9]+)?/ |
| http.cors.max-age | 浏览器发送一个“预检”OPTIONS请求,以确定CORS设置。最大年龄定义多久的结果应该缓存。默认为1728000(20天) |
| http.cors.allow-methods | 允许跨域的请求方式,默认OPTIONS,HEAD,GET,POST,PUT,DELETE |
| http.cors.allow-headers | 跨域允许设置的头信息,默认为X-Requested-With,Content-Type,Content-Length |
| http.cors.allow-credentials | 是否返回设置的跨域Access-Control-Allow-Credentials头,如果设置为true,那么会返回给客户端。 |
x-pack
x-pack监控作用
功能
图形展示 xpack.graph.enabled 只使用于kibana组件
报表统计 pack.reporting.enabled 只使用于kibana组件
报警通知 xpack.watcher.enabled 只适用于elasticsearch组件
安全认证 xpack.security.enabled 适用于elk的三个组件
监控跟踪 xpack.monitoring.enabled 适用于elk的三个组件
设备资源分配 xpack.ml.enabled 适用于elasticsearch和kibana组件
#设置                     #描述

xpack.graph.enabled       #设置为false以禁用X-Pack图形功能。

xpack.ml.enabled          #设置为false以禁用X-Pack机器学习功能。

xpack.monitoring.enabled  #设置为false以禁用X-Pack监视功能。

xpack.reporting.enabled   #设置为false以禁用X-Pack报告功能。

xpack.security.enabled    #设置为false以禁用X-Pack安全功能。

xpack.watcher.enabled     #设置为false以禁用Watche
http.cors.enabled 是否支持跨域,默认为false
http.cors.allow-origin 当设置允许跨域,默认为*,表示支持所有域名,如果我们只是允许某些网站能访问,那么可以使用正则表达式。比如只允许本地地址。 /https?:\/\/localhost(:[0-9]+)?/
http.cors.max-age 浏览器发送一个“预检”OPTIONS请求,以确定CORS设置。最大年龄定义多久的结果应该缓存。默认为1728000(20天)
http.cors.allow-methods 允许跨域的请求方式,默认OPTIONS,HEAD,GET,POST,PUT,DELETE
http.cors.allow-headers 跨域允许设置的头信息,默认为X-Requested-With,Content-Type,Content-Length
http.cors.allow-credentials 是否返回设置的跨域Access-Control-Allow-Credentials头,如果设置为true,那么会返回给客户端
node.master: false 这样这个节点就不会成为master节点
监视 数据集合
这些xpack.monitoring.collection设置控制如何从Elasticsearch节点收集数据
xpack.monitoring.collection.enabled: true 启用
xpack.monitoring.collection.interval: 30s 间隔时间、
https://segmentfault.com/a/1190000016824141?utm_source=tag-newest
https://www.elastic.co/guide/en/elasticsearch/reference/6.3/monitoring-settings.html
开启ssl
xpack.security.enabled: true
xpack.security.transport.ssl.enabled: true
xpack.security.transport.ssl.verification_mode: certificate
xpack.security.transport.ssl.keystore.path: elastic-certificates.p12
xpack.security.transport.ssl.truststore.path: elastic-certificates.p12
开启跨越
http.cors.enabled: true
http.cors.allow-origin: "*"
http.cors.allow-headers: Authorization,X-Requested-With,Content-Length,Content-Type
开启监控
xpack.monitoring.enabled: true
xpack.monitoring.collection.enabled: true
xpack.monitoring.collection.interval: 30s
# 配置X-Pack

http.cors.enabled: true

http.cors.allow-origin: "*"

http.cors.allow-headers: Authorization,X-Requested-With,Content-Type,Content-Length

xpack.security.enabled: true

xpack.security.transport.ssl.enabled: true
ES插件
官网下载安装包
https://www.elastic.co/cn/
然后安装jdk node.js环境
https://www.cnblogs.com/wudequn/p/11147869.html
https://www.cnblogs.com/wudequn/p/11072561.html
官方文档
https://www.elastic.co/cn/blog/security-for-elasticsearch-is-now-free
https://www.elastic.co/guide/cn/index.html
https://discuss.elastic.co
https://github.com/elastic
一、IK分词
https://github.com/medcl/elasticsearch-analysis-ik/releases
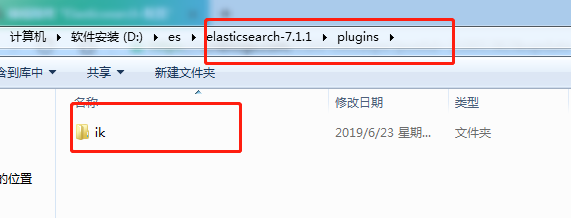
下载后,加压,文件夹重命名 ik,放在plugins目录下。重启es
查看es安装的插件 http://192.168.31.102:9200/_cat/plugins
安装ES 7.1.*
一、修改配置文件
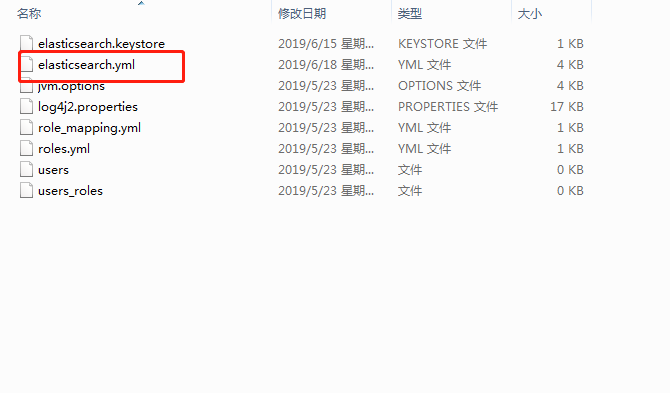
配置文档
https://www.elastic.co/guide/en/elasticsearch/reference/7.x/important-settings.html
https://www.cnblogs.com/wudequn/p/12933855.html
https://www.cnblogs.com/wudequn/p/12944822.html
network.host: 0.0.0.0

http.port: 9200

discovery.seed_hosts: ["node1"]    集群发现:配置该节点会与哪些候选地址进行通信,hostname,ip ,ip+port

cluster.initial_master_nodes: ["node-1"]   master节点:手动指定可以成为 mater 的所有节点的 name 或者 ip,这些配置将会在第一次选举中进行计算
这几个要一起配置,不然报错(可以看错误日志)
主节点配置
# 配置X-Pack

http.cors.enabled: true

http.cors.allow-origin: "*"

http.cors.allow-headers: Authorization,X-Requested-With,Content-Type,Content-Length

xpack.security.enabled: true

xpack.security.transport.ssl.enabled: true

子节点配置
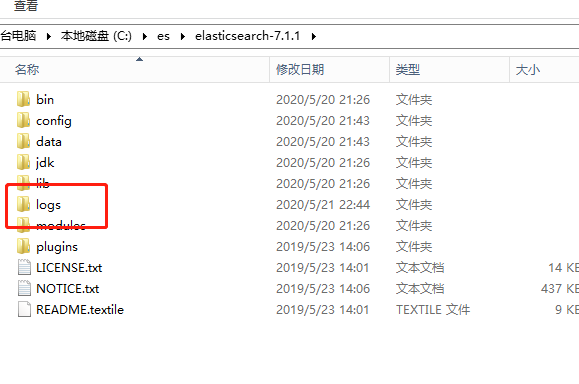
打开另一个新的ES节点的目录 我的是下图中的 node,这是master的一个副本,只是文件夹名不一样(子节点不用设置密码了,主节点设置了)
修改node的config/elasticsearch.yml
除了和master相同的安全配置之外,还要添加
node.master: false 这样这个节点就不会成为master节点
xpack.security.enabled: true

xpack.security.transport.ssl.enabled: true

xpack.security.transport.ssl.verification_mode: certificate

xpack.security.transport.ssl.keystore.path: elastic-certificates.p12

xpack.security.transport.ssl.truststore.path: elastic-certificates.p12

#此节点不会成为主节点

node.master: false
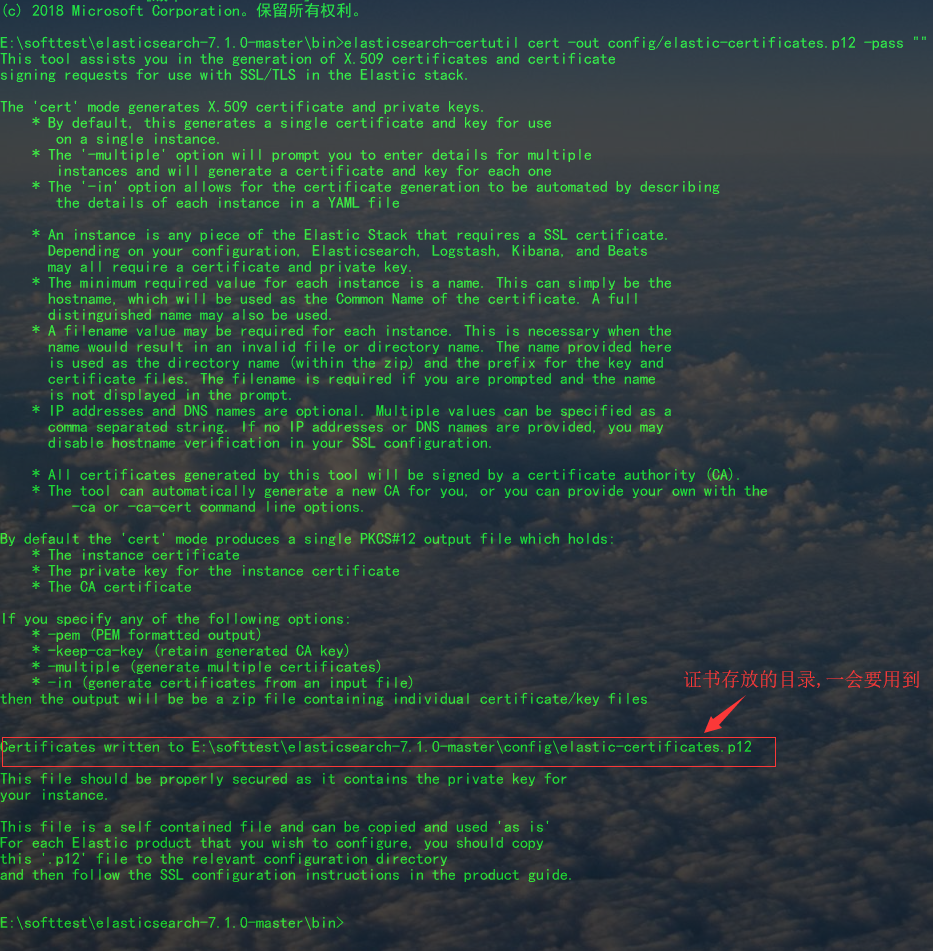
二、安装证书
在bin下执行 elasticsearch-certutil cert -out config/elastic-certificates.p12 -pass ""
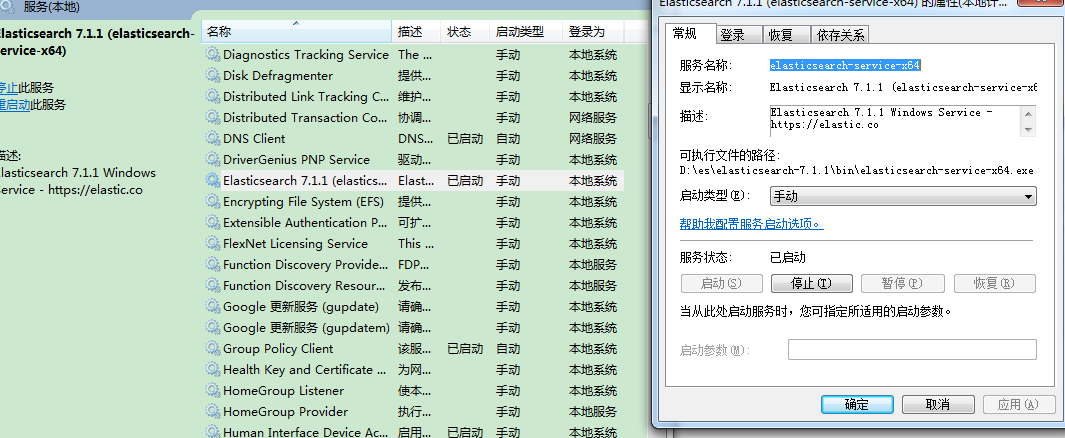
三、安装ES服务
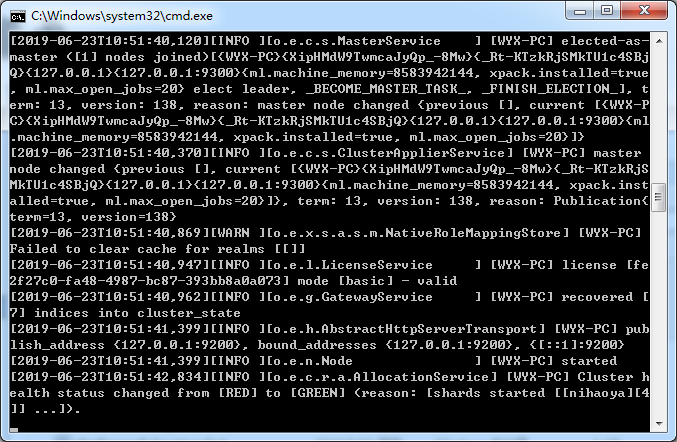
(安装方法1)控制台启动ES 或者通过下面的服务启动ES
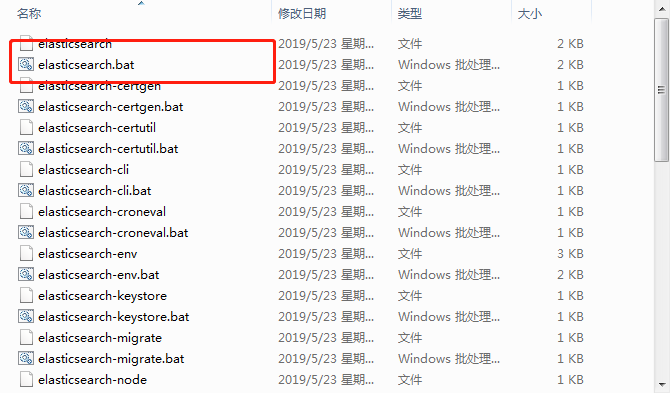
(安装方法2)或者安装ES服务
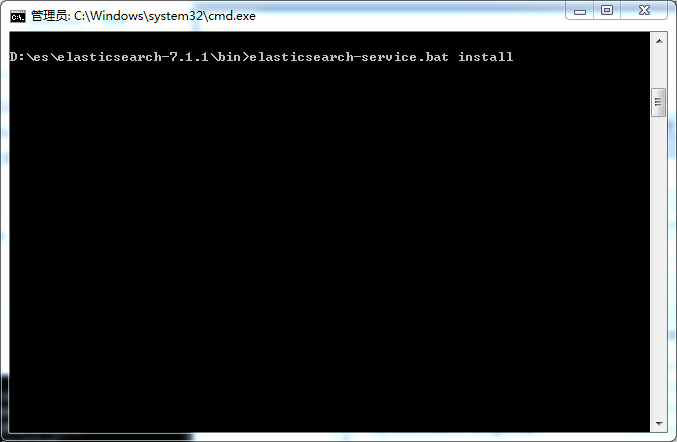
elasticsearch-service.bat后面还可以执行这些命令
install: 安装Elasticsearch服务
remove: 删除已安装的Elasticsearch服务(如果启动则停止服务)
start: 启动Elasticsearch服务(如果已安装)
stop: 停止服务(如果启动)
manager:启动GUI来管理已安装的服务
或者通过nssm
四、生成密码
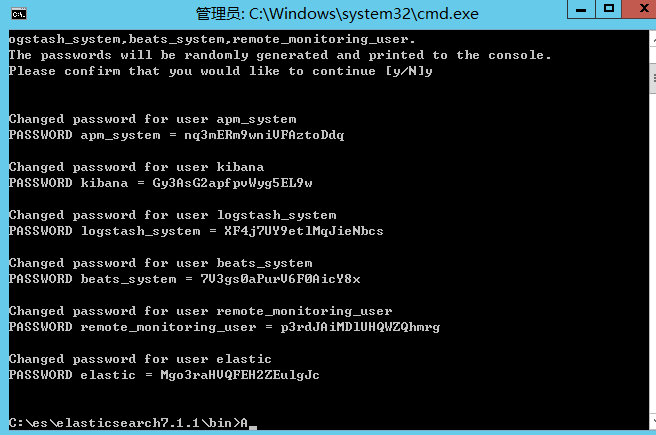
bin下执行elasticsearch-setup-passwords auto
密码将随机生成并打印到控制台 按下 y 确认
密码手动生成(推荐)
elasticsearch-setup-passwords interactive
这个命令可以是手动设置密码
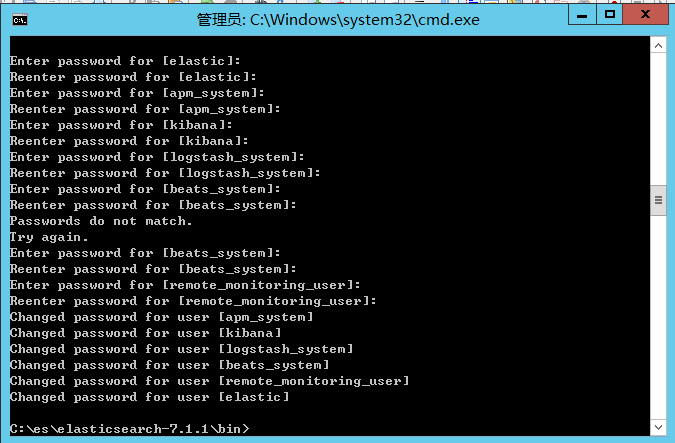
用户等等
- elastic 账号:拥有 superuser 角色,是内置的超级用户。
- kibana 账号:拥有 kibana_system 角色,用户 kibana 用来连接 elasticsearch 并与之通信。Kibana 服务器以该用户身份提交请求以访问集群监视 API 和 .kibana 索引。不能访问 index。
- logstash_system 账号:拥有 logstash_system 角色。用户 Logstash 在 Elasticsearch 中存储监控信息时使用
修改密码
curl -H "Content-Type:application/json" -XPOST -u elastic 'http://127.0.0.1:9200/_xpack/security/user/elastic/_password' -d '{ "password" : "123456" }'

curl -XPUT -u elastic 'http://localhost:9200/_xpack/security/user/elastic/_password' -d '{ "password" : "yourpasswd" }'
五、测试

打开时候需要输入账号密码 就是前面自动生成的账号密码。
如果服务没有起来就查看错误日志。
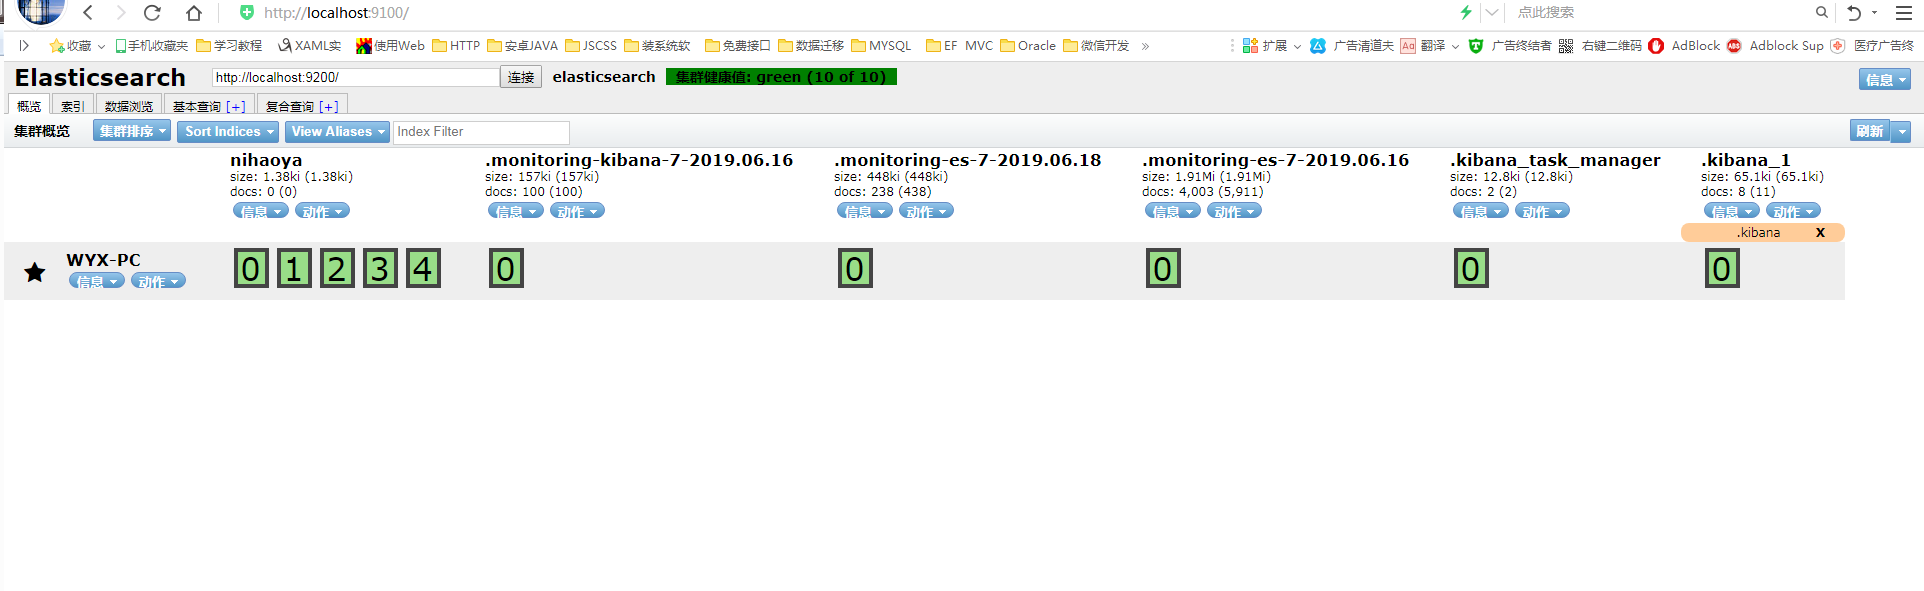
六、安装es-head
alsticsearch只是后端提供各种API,那么怎么直观的使用它呢?Elasticsearch-head将是一款专门针对于Elasticsearch的客户端工具(客户端最好使用kibana)
Elasticsearch-head安装包,下载地址:https://github.com/mobz/elasticsearch-head
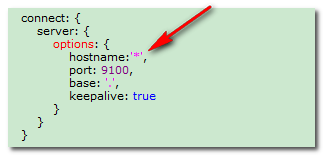
修改es-head目录下面的Gruntfile.js文件,添加hostname:’*'
1、首先要安装node.js:安装教程
2、cmd执行 npm install -g grunt-cli 安装grunt ,安装完成后执行grunt -version查看是否安装成功,会显示安装的版本号
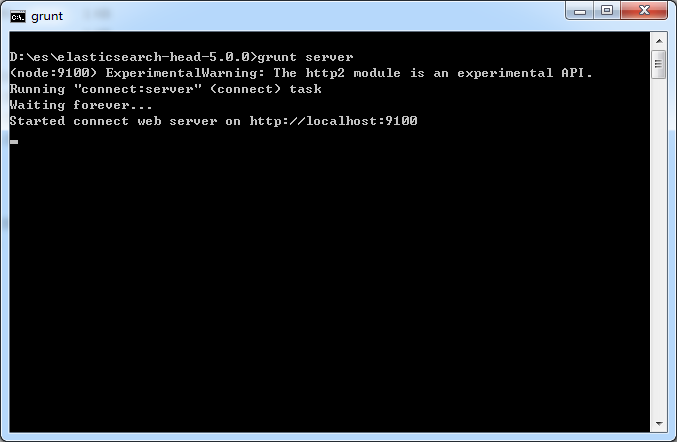
3、在es-head目录下cmd执行 grunt server 或者npm run start 运行head插件
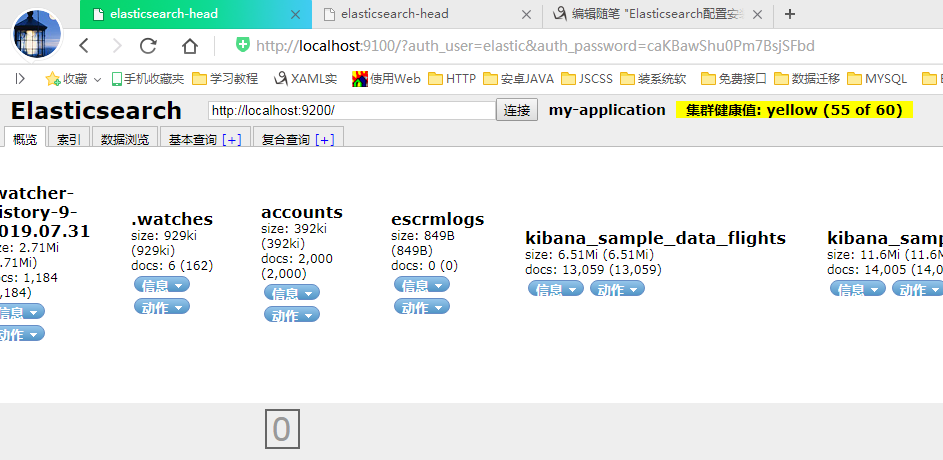
如果设置了es安全
则登录
http://localhost:9100/?auth_user=elastic&auth_password=caKBawShu0Pm7BsjSFbd
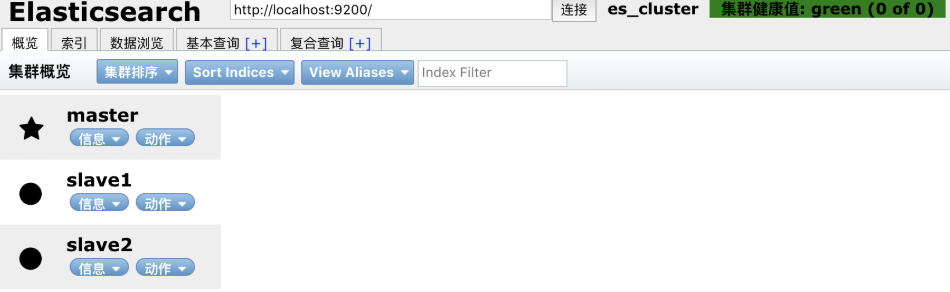
集群搭建
1、主节点
# 集群名称

cluster.name: "es_cluster"

# 节点名称,这儿我直接取名为 master

node.name: master

# 是否可以成为master节点

node.master: true

# 是否允许该节点存储数据,默认开启

node.data: true

# 网络绑定,这里我绑定 0.0.0.0,支持外网访问

network.host: 0.0.0.0

# 设置对外服务的http端口,默认为9200

http.port:

# 支持跨域访问

http.cors.enabled: true

http.cors.allow-origin: "*"

# 设置节点间交互的tcp端口,默认是9300

transport.tcp.port:

# 手动指定可以成为 mater 的所有节点的 name 或者 ip,这些配置将会在第一次选举中进行计算

cluster.initial_master_nodes: ["127.0.0.1"]
2、从节点1
# 集群名称,处于同一个集群所有节点,该名称必须相同

cluster.name: "es_cluster"

# 节点名称,这儿我直接取名为 slave1

node.name: slave1

# 是否可以成为master节点

node.master: false

# 是否允许该节点存储数据,默认开启

node.data: true

# 网络绑定,这里我绑定 0.0.0.0,支持外网访问

network.host: 0.0.0.0

# 设置对外服务的http端口,默认为9200,这里我们修改为 ,不然会有端口冲突

http.port:

# 支持跨域访问

http.cors.enabled: true

http.cors.allow-origin: "*"

# 集群发现  主节点中配过这个

discovery.seed_hosts: ["127.0.0.1:9300"]
3、从节点2
# 集群名称,处于同一个集群所有节点,该名称必须相同

cluster.name: "es_cluster"

# 节点名称,这儿我直接取名为 slave2

node.name: slave2

# 是否可以成为master节点

node.master: false

# 是否允许该节点存储数据,默认开启

node.data: true

# 网络绑定,这里我绑定 0.0.0.0,支持外网访问

network.host: 0.0.0.0

# 设置对外服务的http端口,默认为9200,这里我们修改为 ,不然会有端口冲突

http.port:

# 支持跨域访问

http.cors.enabled: true

http.cors.allow-origin: "*"

# 集群发现

discovery.seed_hosts: ["127.0.0.1:9300"]
学习视频
https://www.elastic.co/cn/webinars/getting-started-elasticsearch?elektra=home&storm=sub1
https://blog.csdn.net/MicoMecy/article/details/90642163
https://www.jianshu.com/p/5e65e04b4b64
Elasticsearch配置安装的更多相关文章
- Elasticsearch环境安装配置
安装Elasticsearch的步骤如下 - 第1步 - 查看安装在计算机上的java的最低版本,它要求java 7或以上或最新的版本.可以通过执行以下操作进行检查 - 在Windows操作系统(OS ...
- ElasticSearch搜索引擎安装配置拼音插件pinyin
近几篇ElasticSearch系列: 1.阿里云服务器Linux系统安装配置ElasticSearch搜索引擎 2.Linux系统中ElasticSearch搜索引擎安装配置Head插件 3.Ela ...
- ElasticSearch搜索引擎安装配置中文分词器IK插件
近几篇ElasticSearch系列: 1.阿里云服务器Linux系统安装配置ElasticSearch搜索引擎 2.Linux系统中ElasticSearch搜索引擎安装配置Head插件 3.Ela ...
- Linux系统中ElasticSearch搜索引擎安装配置Head插件
近几篇ElasticSearch系列: 1.阿里云服务器Linux系统安装配置ElasticSearch搜索引擎 2.Linux系统中ElasticSearch搜索引擎安装配置Head插件 3.Ela ...
- elasticsearch kibana 安装 配置
二.Elasticsearch 配置信息 2.1 因为 Elasticsearch 可以执行脚本文件,为了安全性,默认不允许通过 root 用户启动服务.我们需要新创建用户名和用户组启动服务 2. ...
- Elasticsearch单机安装_集群搭建_索引基本操作_Head插件安装与基本操作_ik分词器配置_logstash实现数据同步_教程
一.Elasticsearch单机安装 1.将es安装包传到服务器上 这是安装包 这里我是用的是WinSCP上传工具,上传到/home/plugins文件下. 进入Xshell,验证一下是否上传成功. ...
- 如何在Elasticsearch中安装中文分词器(IK+pinyin)
如果直接使用Elasticsearch的朋友在处理中文内容的搜索时,肯定会遇到很尴尬的问题--中文词语被分成了一个一个的汉字,当用Kibana作图的时候,按照term来分组,结果一个汉字被分成了一组. ...
- Elasticsearch配置详解、文档元数据
目录 返回目录:http://www.cnblogs.com/hanyinglong/p/5464604.html 1.Elasticsearch配置文件详解 a. 在上面博客中,我们已经安装并且成功 ...
- Linux初学 - Elasticsearch环境安装
下载 https://www.elastic.co/downloads/elasticsearch 安装 rpm -ivh 也可以双击rpm包安装 修改elastaticsearch host配置 修 ...
随机推荐
- mysql 统计查询出来的数目
select count(*) as dd from users;
- 小程序弹框wx.showModal的使用
if (!logined) { wx.showModal({ title: '提示', content: '您还没登录登录车掌柜, 是否前往登录', confirmText: '前往登录', conf ...
- 数据结构Java版之递归与迭代算法(五)
递归的概念很简单,就是自己调用自己. 而迭代,则是通过修改初始化数据,得到中间结果,然后不断的对中间结果进行修改,而得到最终结果.简单来说迭代就是循环. 在此,我们用一个比较经典的Fibonacci数 ...
- 【多线程与并发】Java中的12个原子操作类
从JDK1.5开始,Java提供了java.util.concurrent.atomic包,该包中的原子操作类提供了一种使用简单.性能高效(使用CAS操作,无需加锁).线程安全地更新一个变量的方式. ...
- ubuntu之路——day7.1 衡量模型好坏的因素偏差和方差bias&variance 以及在深度学习中的模型优化思路
Error | 误差 Bias | 偏差 – 衡量准确性 Variance | 方差 – 衡量稳定性 首先我们通常在实际操作中会直接用错误率或者与之对应的准确率来衡量一个模型的好坏,但是更加准确的做法 ...
- HTTP Referrer和Referrer Policy 设置
referrer是HTTP请求header的报文头,用于指明当前流量的来源参考页面.通过这个信息,我们可以知道访客是怎么来到当前页面的.这对于Web Analytics非常重要,可以用于分析不同渠道流 ...
- make 实例 二 V56
######################################################################### # # Makefile used for buil ...
- 借助中间件优化代码 将请求RequestId在服务端接收到请求在处理业务逻辑之前生成
将请求RequestId在服务端接收到请求在处理业务逻辑之前生成
- MyBatis 示例之存储过程
存储过程在数据库中比较常见,虽然大多数存储过程比较复杂,但是使用 MyBatis 调用时,用法都一样,因此我们这一节使用一个简单的存储过程来了解 MyBatis 中存储过程的使用方法. 基本准备 存储 ...
- Nginx + Naxsi 打造建议WAF
--prefix=/usr/share/nginx --sbin-path=/usr/sbin/nginx --modules-path=/usr/lib64/nginx/modules --conf ...