tomcat+nginx简单实现负载均衡
1.环境准备
在前面的博客中我已经安装好nginx和一台tomcat了。现在就在加一台tomcat
tomcat1: /apps/tomcat/tomcat1/apache-tomcat-7.0.69/
tomcat2: /apps/tomcat/tomcat2/apache-tomcat-7.0.69/
jdk:java7
nginx:nginx-1.4.2
给tomcat添加权限
chmod +775 -R /apps/tomcat/tomcat1
chmod +775 -R /apps/tomcat/tomcat2
tomcat下载地址: http://pan.baidu.com/s/1gf7gcVL
2.修改 server.xml 给tomcat配置不同的端口
cd /apps/tomcat/tomcat1/apache-tomcat-7.0.69/conf/
vi server.xml
tomcat1 8080
tomcat2 8081
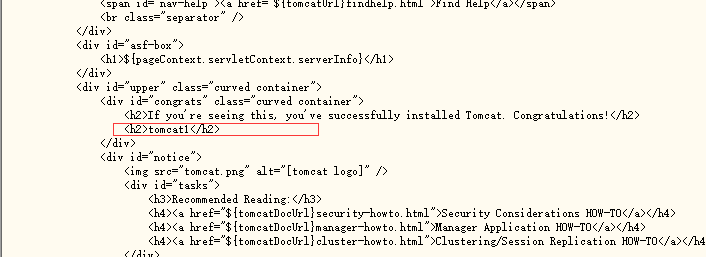
3.给tomcat编写不同的测试页,用来测试nginx是否能分发请求
vi /apps/tomcat/tomcat1/apache-tomcat-7.0.69/webapps/ROOT/index.jsp
vi /apps/tomcat/tomcat2/apache-tomcat-7.0.69/webapps/ROOT/index.jsp
4.配置nginx
进入安装目录
cd /apps/install/nginx/conf/
编辑配置文件
vi /apps/install/nginx/conf/nginx.conf
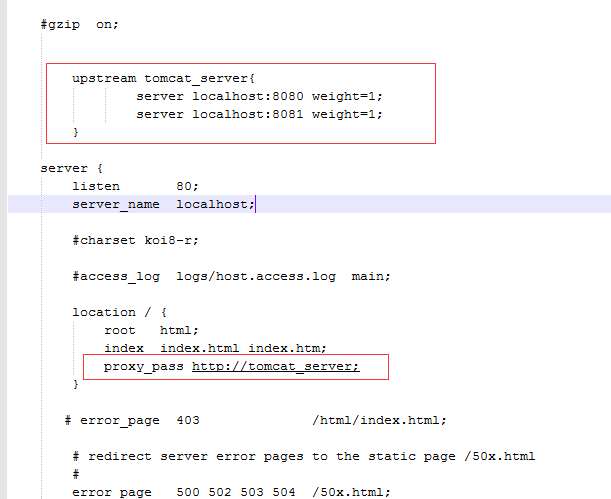
添加如下部分
upstream的负载均衡,weight是权重,可以根据机器配置定义权重。weigth参数表示权值,权值越高被分配到的几率越大。
- user root;
- worker_processes 1;
- #error_log logs/error.log;
- #error_log logs/error.log notice;
- #error_log logs/error.log info;
- #pid logs/nginx.pid;
- events {
- worker_connections 1024;
- }
- http {
- include mime.types;
- default_type application/octet-stream;
- #log_format main '$remote_addr - $remote_user [$time_local] "$request" '
- # '$status $body_bytes_sent "$http_referer" '
- # '"$http_user_agent" "$http_x_forwarded_for"';
- #access_log logs/access.log main;
- sendfile on;
- #tcp_nopush on;
- #keepalive_timeout 0;
- keepalive_timeout 65;
- #gzip on;
- upstream tomcat_server{
- server localhost:8080 weight=1;
- server localhost:8081 weight=1;
- }
- server {
- listen 80;
- server_name localhost;
- #charset koi8-r;
- #access_log logs/host.access.log main;
- location / {
- root html;
- index index.html index.htm;
- proxy_pass http://tomcat_server;
- }
- # error_page 403 /html/index.html;
- # redirect server error pages to the static page /50x.html
- #
- error_page 500 502 503 504 /50x.html;
- location = /50x.html {
- root html;
- }
- # proxy the PHP scripts to Apache listening on 127.0.0.1:80
- #
- #location ~ \.php$ {
- # proxy_pass http://127.0.0.1;
- #}
- # pass the PHP scripts to FastCGI server listening on 127.0.0.1:9000
- #
- #location ~ \.php$ {
- # root html;
- # fastcgi_pass 127.0.0.1:9000;
- # fastcgi_index index.php;
- # fastcgi_param SCRIPT_FILENAME /scripts$fastcgi_script_name;
- # include fastcgi_params;
- #}
- # deny access to .htaccess files, if Apache's document root
- # concurs with nginx's one
- #
- #location ~ /\.ht {
- # deny all;
- #}
- }
- # another virtual host using mix of IP-, name-, and port-based configuration
- #
- #server {
- # listen 8000;
- # listen somename:8080;
- # server_name somename alias another.alias;
- # location / {
- # root html;
- # index index.html index.htm;
- # }
- #}
- # HTTPS server
- #
- #server {
- # listen 443 ssl;
- # server_name localhost;
- # ssl_certificate cert.pem;
- # ssl_certificate_key cert.key;
- # ssl_session_cache shared:SSL:1m;
- # ssl_session_timeout 5m;
- # ssl_ciphers HIGH:!aNULL:!MD5;
- # ssl_prefer_server_ciphers on;
- # location / {
- # root html;
- # index index.html index.htm;
- # }
- #}
- }
5.启动测试
tomcat1
tomcat2
启动nginx
/apps/install/nginx/sbin/nginx
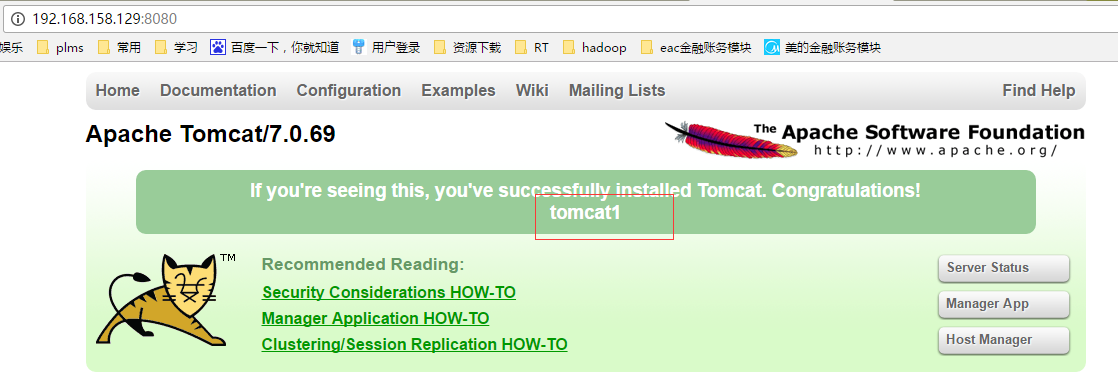
访问nginx

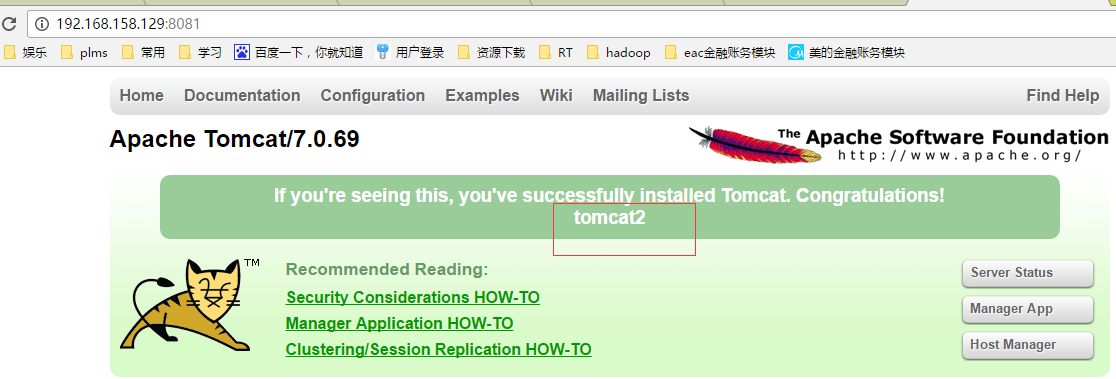
再次访问
ok 成功路由到了2台tomcat
6.nginx 常用命令
cd /apps/install/nginx/
启动
./sbin/nginx
停止
./sbin/nginx -s stop
重载配置
./sbin/nginx -s reload
指定配置文件启动
./sbin/nginx -c /usr/local/nginx/conf/nginx.conf
查看 Nginx 版本
./sbin/nginx -v
检查配置文件是否正确
./sbin/nginx -t
显示帮助信息
./sbin/nginx -h
tomcat+nginx简单实现负载均衡的更多相关文章
- Nginx 简单的负载均衡配置示例(转载)
原文地址:Nginx 简单的负载均衡配置示例(转载) 作者:水中游于 www.s135.com 和 blog.s135.com 域名均指向 Nginx 所在的服务器IP. 用户访问http://www ...
- Windows下nginx+tomcat实现简单的负载均衡
Nginx是一款轻量级的Web 服务器/反向代理服务器及电子邮件(IMAP/POP3)代理服务器.反向代理(Reverse Proxy)方式是指以代理服务器来接受internet上的连接请求,然后将请 ...
- Nginx 简单的负载均衡配置示例
http://www.cnblogs.com/xiaogangqq123/archive/2011/03/02/1969006.html 在此记录下Nginx服务器nginx.conf的配置文件说明, ...
- Nginx 简单的负载均衡配置演示样例
近期在做开放查询应用的时候,因为数据两天特别多,两千多万条呢,用户訪问需求也比較大,所以就用nginx做了 负载均衡,以下是改动之后的相关内容. http://www.cnblogs.com/xiao ...
- 使用nginx简单实现负载均衡
只是简单使用nginx玩玩而已,知道能这么用,但是在实际项目中并没有实践过,在项目不大的时候用不到,但是对于理解负载均衡来说还是可以的. 利用虚拟机安装了三个centOS系统,然后顺便装了环境. 这里 ...
- Nginx简单的负载均衡(一)
Nginx是一个高性能的http和反向代理服务器,官方测试nginx能够支支撑5万并发链接,并且cpu.内存等资源消耗却非常低,运行非常稳定. 1.应用场景 1.http服务器.Nginx是一个htt ...
- nginx+tomcat实现简单的负载均衡
host1:10.0.0.10(部署nginx和tomcat) host2:10.0.0.11(部署tomcat) 平台环境(2主机一样) [root@smp ~]# uname -r3.10.0-8 ...
- Nginx简单的负载均衡入门
nginx是用来管理tomcat的,只管理tomcat,并没有管理具体tomcat里面的项目,这里实现了简单的nginx管理两个tomcat的配置,注意upstream节点应该配置到service节点 ...
- Nginx + Tomcat Windows下的负载均衡配置
Nginx + Tomcat Windows下的负载均衡配置 一.为什么需要对Tomcat服务器做负载均衡? Tomcat服务器作为一个Web服务器,其并发数在300-500之间,如果超过50 ...
随机推荐
- winpcap抓包原理
winpcap抓包原理 WinPcap 是由伯克利分组捕获库派生而来的分组捕获库,它是在Windows 操作平台上来实现对底层包的截取过滤.WinPcap 是 BPF 模型和 Libpcap 函数库在 ...
- mysql delete 使用别名 语法
今天删除数据,写了这么条sql语句, DELETE from sys_menus s WHERE s.MENU_ID in (86,87,88); 结果报错.. [Err] 1064 - You ...
- 整合TabBarController与NavigationController
一.项目结构 一开始创建一个空的项目
- AutoCAD .NET API 之——DimStyleTableRecord 的属性列表
DimStyleTableRecord Properties: Properties Description(描述) Dimadec 角度标注保留的有效位数 Dimalt 控制是否显示换算单位标注值中 ...
- CSS换行文本溢出显示省略号
现代浏览器中使用css可以实现文本溢出,使用 text-overflow: ellipsis;在有些场景下没有效果,这个时候你需要检查应用的场景是是否是块元素,是否有确切的width. 如果是行内元素 ...
- C# Socket连接 无法访问已释放的对象
在进行Socket长连接时,若服务器或客户端出现异常时,另外一端对Socket对话进行操作时,程序会出现无法访问已释放的对象的问题.例如客户端出现问题主动断开Socket时,当服务器操作Socket时 ...
- HTML 表单和输入<textarea><label><fieldset><legend><select><optgroup><option><button>
textarea><label><fieldset><legend><select><optgroup><option>& ...
- Android genymotion安装输入法不兼容
genymotion 此应用与您的手机不兼容 http://blog.csdn.net/caiwenfeng_for_23/article/details/41692923
- Node.js 事件循环
Node.js 是单进程单线程应用程序,但是通过事件和回调支持并发,所以性能非常高. Node.js 的每一个 API 都是异步的,并作为一个独立线程运行,使用异步函数调用,并处理并发. Node.j ...
- NAND flash sub-pages
http://www.linux-mtd.infradead.org/doc/ubi.html#L_subpage NAND flash sub-pages As it is said here, a ...