码云,git使用 教程
码云,git使用 教程
code cloud, git use tutorials
作者:韩梦飞沙
Author:han_meng_fei_sha
邮箱:313134555@qq.com
E-mail: 313134555 @qq.com

新建项目
new project
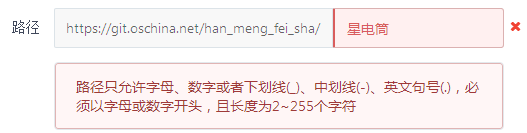
路径没办法用中文哦。
There is no way to use Chinese.
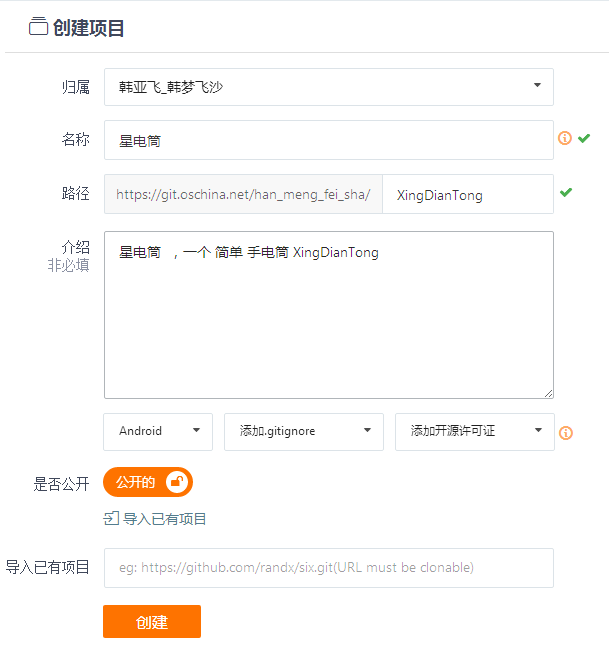
类似这样创建一个项目
Create a project like this
需要下载 安装git。不会git 就有些烦了。
You need to download and install git.Not git is a bit boring.
网上大多教程是命令的方式,感觉好烦。
Most of the tutorials on the web are the way to command, and it's annoying.
这里用的是 可视化的界面,简单,体验好。
This is a visual interface, simple, good experience.
电脑是64位, 所以
The computer is 64 bits, so
百度搜索Git-2.8.2-64-bit.exe 下载 安装【一路默认即可】。
Baidu search Git - 2.82-64-bit.exe for download installation. [all the way by default]
搜索 TortoiseGit-2.1.0.0-64bit.msi 下载 安装【一路默认即可】。
Search for TortoiseGit - 2.1.0.0-64bit. Msi download installation [all the way by default]
安装语言包TortoiseGit-LanguagePack-2.1.0.0-64bit-zh_CN.msi【一路默认即可】。
Install the language pack tortoisegit-languagepack-2.1.0.0-64bit-zh_cn.msi. [all the way by default]
安装完tortoiseGIT不需要重启电脑。
After installing tortoiseGIT, you do not need to restart your computer.
安装完Git-2.8.2-64-bit.exe之后 可以发现 有Git Bash 这个功能,这个就可以敲写 教程上的那些命令。
After you have installed Git - 2.8.2-64-bit.exe, you can find that you have Git Bash, which can be used to write the commands in the tutorial.
安装完tortoiseGIT ,需要在设置里改一下,切换语言,为简体中文。
After installing tortoiseGIT, I need to change it in the Settings to switch the language to simplified Chinese.
这里 可以用 可视化的界面,不用敲命令。
Here you can use a visual interface without typing.
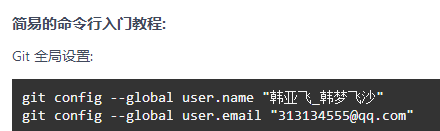
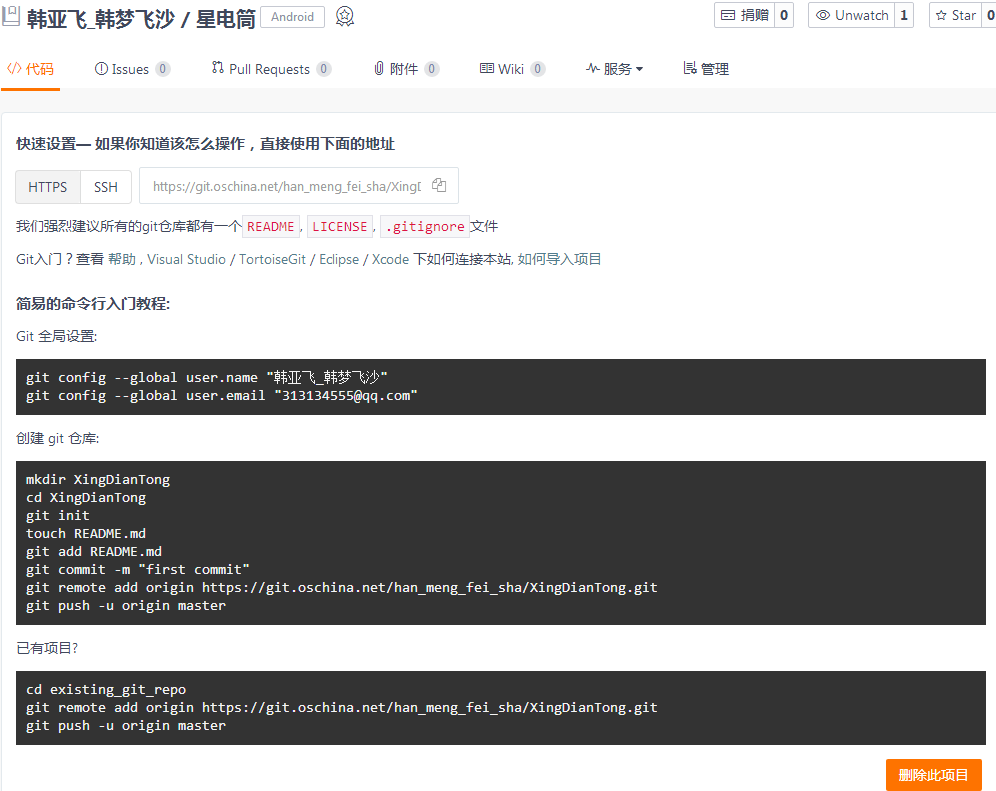
我们可以用命令来操作。
复制这两行命令。
We can operate with commands.
Copy these two line commands.
git config --global user.name "韩亚飞_韩梦飞沙"
git config --global user.email "313134555@qq.com"
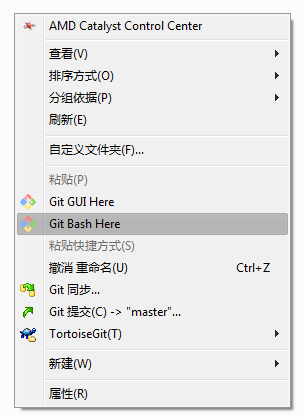
在我们的工程目录下。选择 git bash here
It's in our engineering catalogue 。Select git bash here

粘贴 命令
Paste command
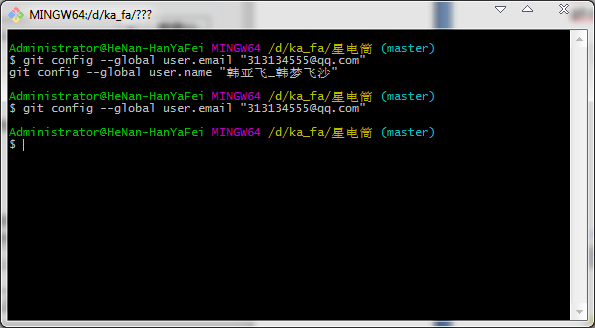
然后就像这样,命令直接就执行成功了。
Then, like this, the command executes directly.
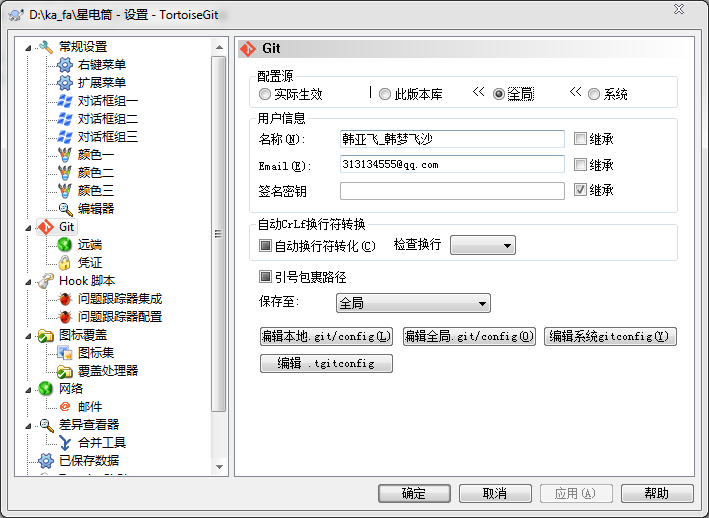
我们可以在 设置中看到 全局 已经有命令执行后的数据了。
We can see in Settings that the global command has been executed.
这两个数据,我们可以在提交的时候用到。 用来设置作者。
These two data, we'll use it at the time of submission.Used to set the author.
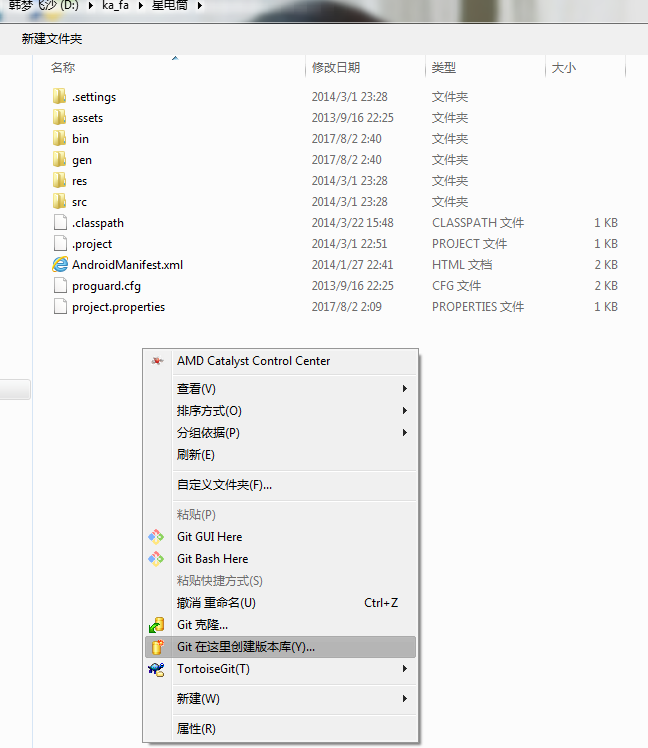
选择 Git 在这里创建版本库
Select Git submission (C) - > "master"...

点击确定 确定
Click ok
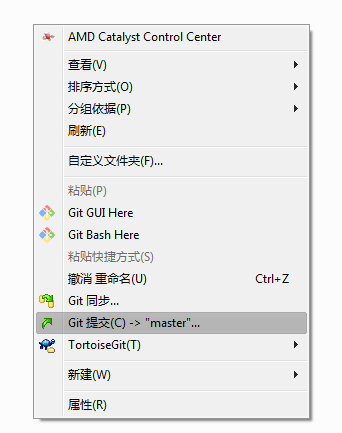
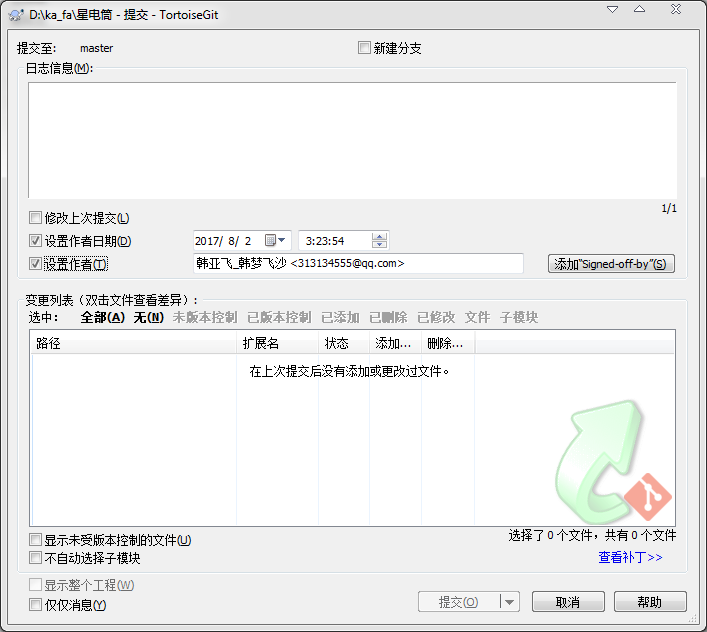
选择 Git 提交(C)->”master”…
Select Git submission (C) - > "master"...
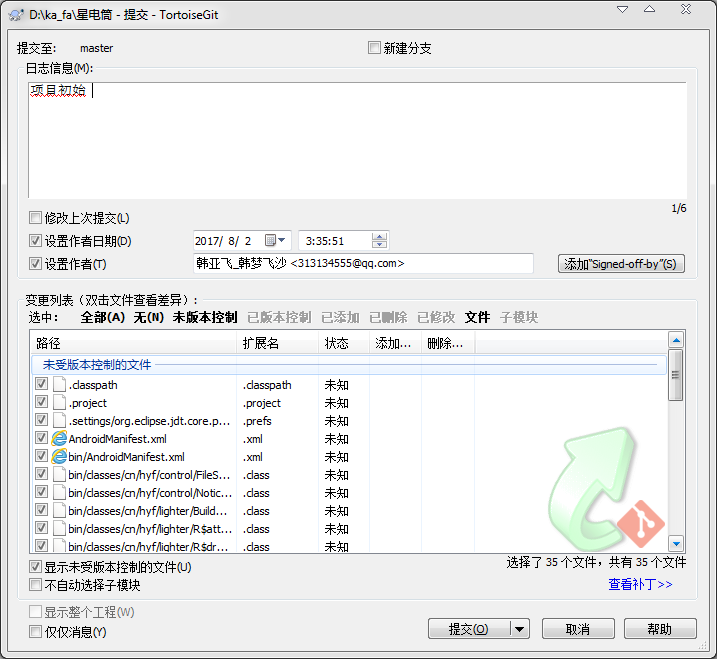
在这个页面可以选择 未版本控制, 选中全部文件,然后提交。
On this page you can select the unversioned control, select all the files, and submit.
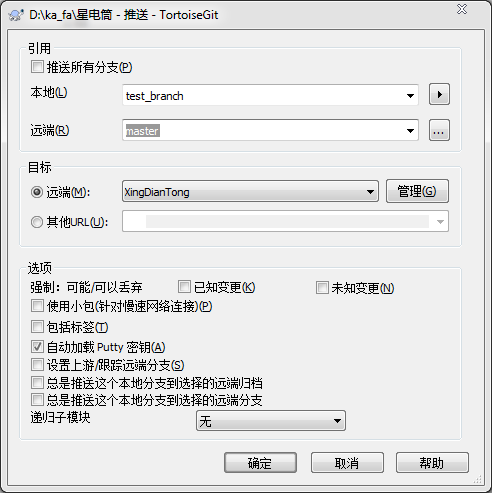
提交成功后,我们可以点击推送。
After the submission is successful, we can click on the push.
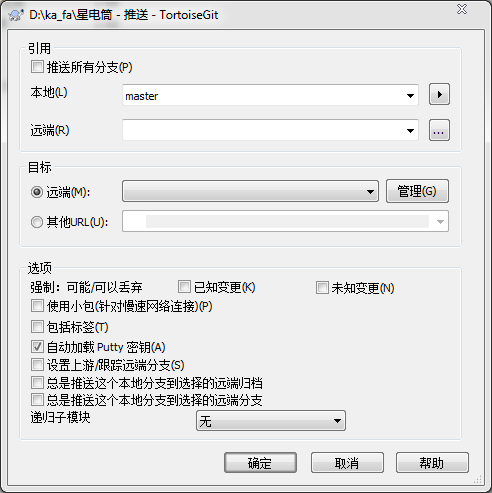
选择 管理
Choose management
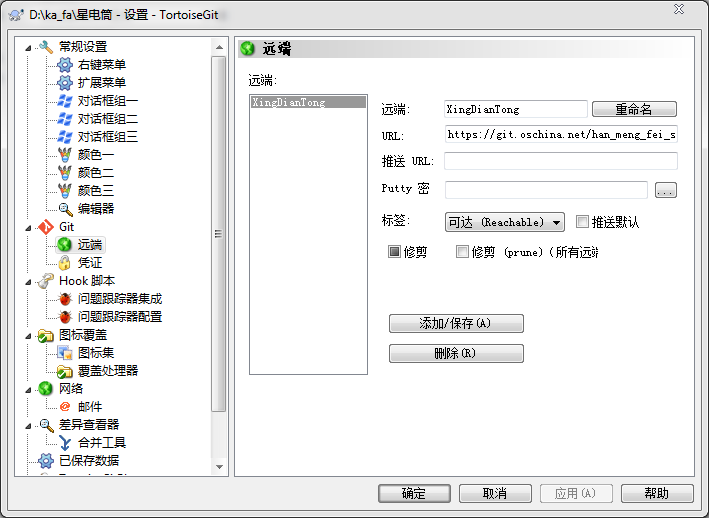
弹出这样的窗口。 我们填写 远程项目的url 地址。可以起个名字。类似这样。
Pop-up Windows like this.We fill in the url of the remote project.You can have a name.Like this
打开网站。复制 远程项目的url 地址 链接。类似我这个
Open the site. Copy the url of the remote project url. Like me
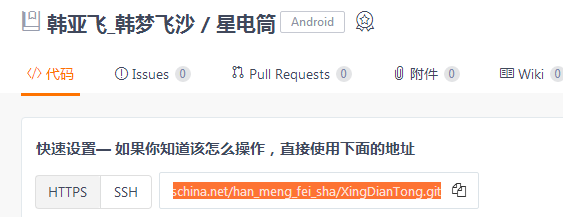
https://git.oschina.net/han_meng_fei_sha/XingDianTong.git
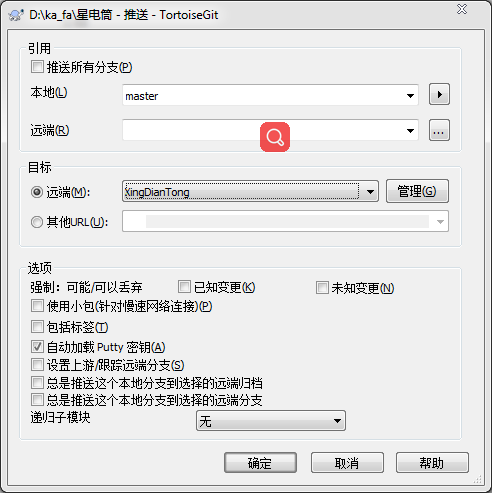
添加好了,然后选择 远端的 项目。
Add it, and then select the remote project.
点击确定。我们推送到 远端 。
Click ok.We push it to the far end.
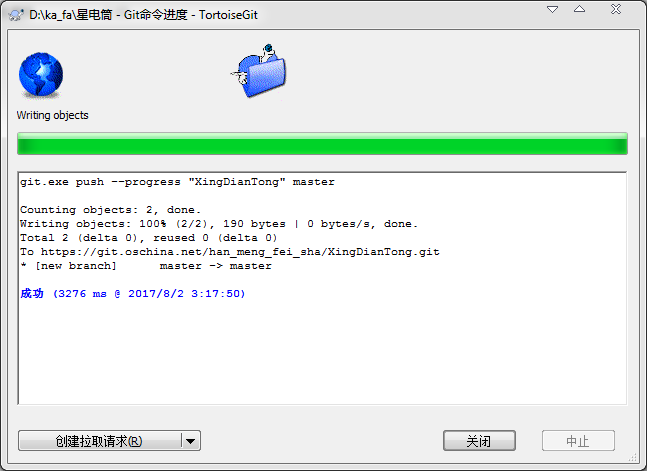
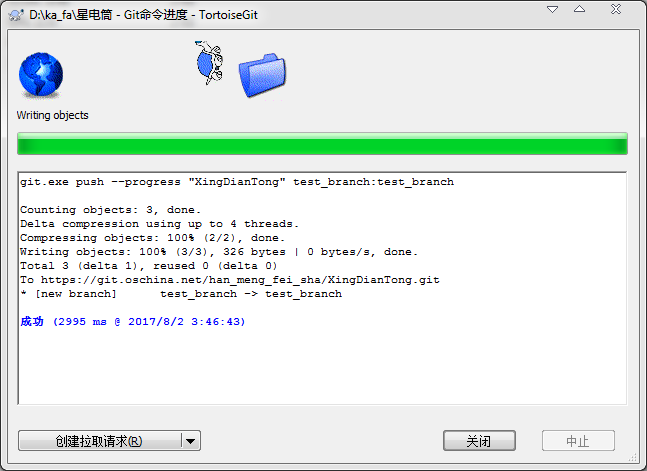
然后像这样 代表成功了。这个信息框里面的内容 注意一下。
And then it would be successful.Notice the contents of this information box.
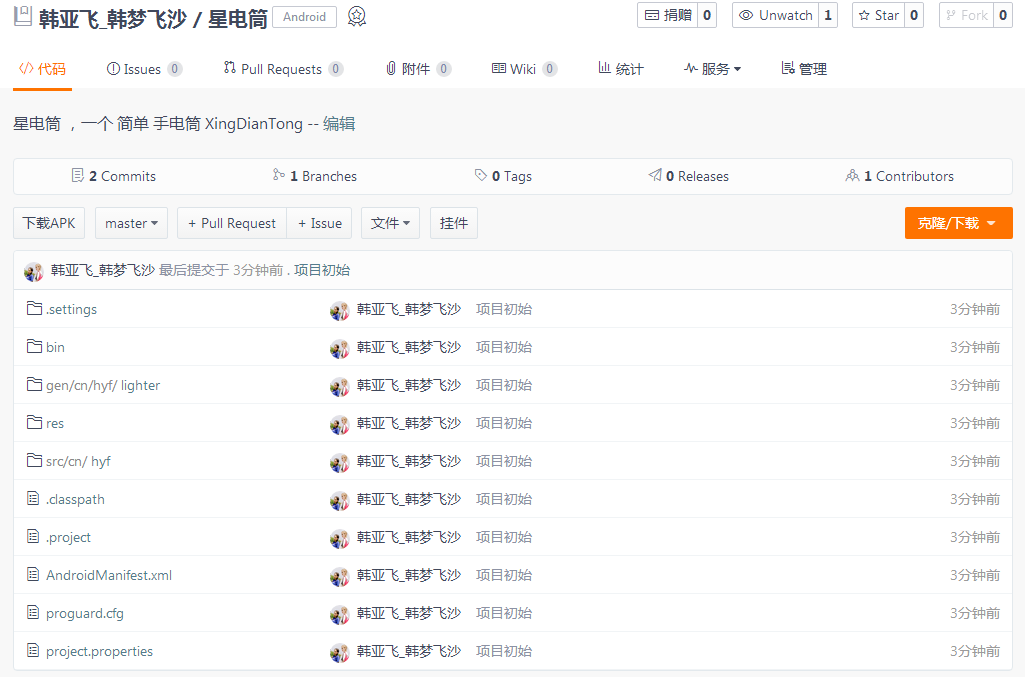
推送成功后,我们可以在网站上刷新后 看到类似这样的效果。
After the push is successful, we can see similar results after we refresh the site.
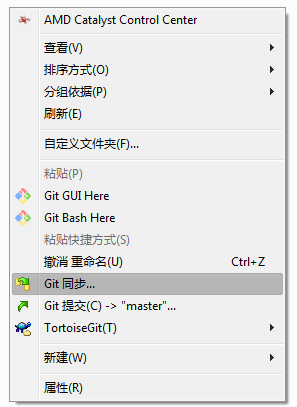
我们可以也选择git同步… 来 提交,推送 等。
We can choose git synchronization... To submit, push, etc.

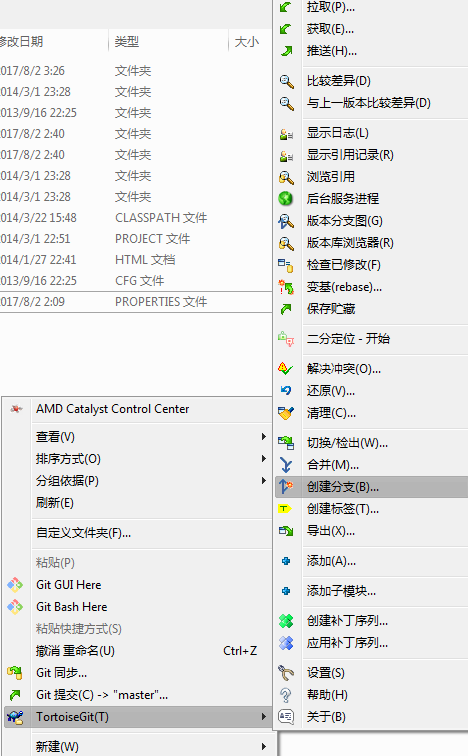
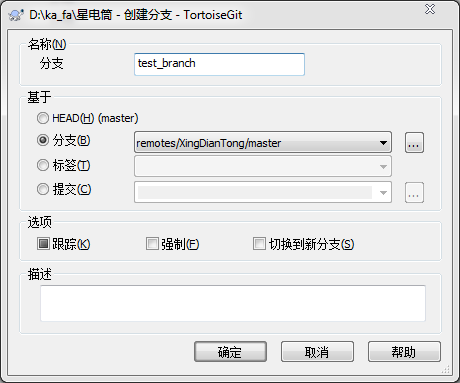
创建分支 。 类似这样
Create a branch.Like this

切换分支。 类似这样。
Switch branches.Something like that.
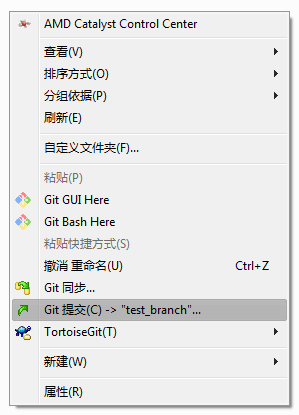
现在提交 变成了提交到我们新创建的那个分支。 类似这样。
Now the submission becomes the branch submitted to our newly created branch.Something like that.
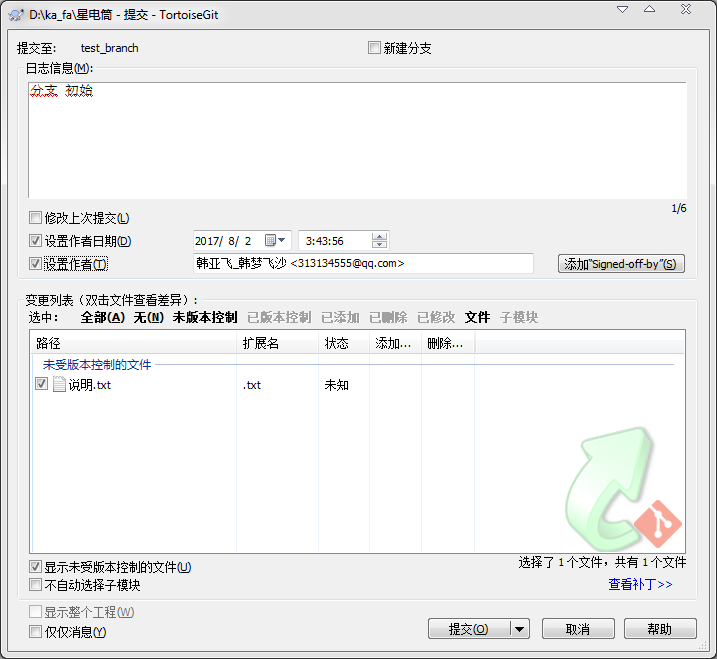
提交到分支。
Commit to the branch.

提交成功。我们可以点击推送,更新我们的网站上项目的对应分支。
Submission of success.We can click on the push to update the corresponding branch of the project on our website.
引用框 下的 远端 填写 我们要在远端 用的分支 名字。
The far end of the reference box fills out the branch name we want to use at the remote end.
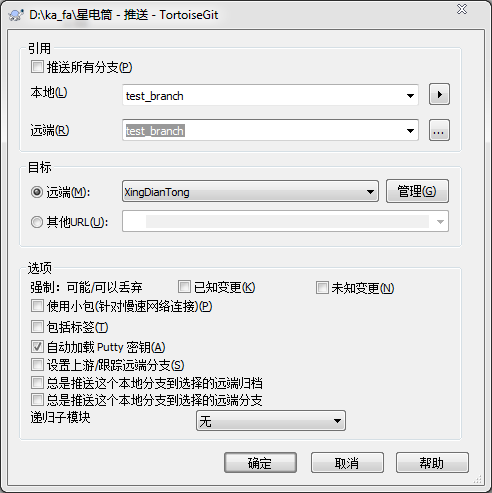
像这样。
Like this.
成功了。我们看一下网站有没有效果。
A success.Let's see if the site works.
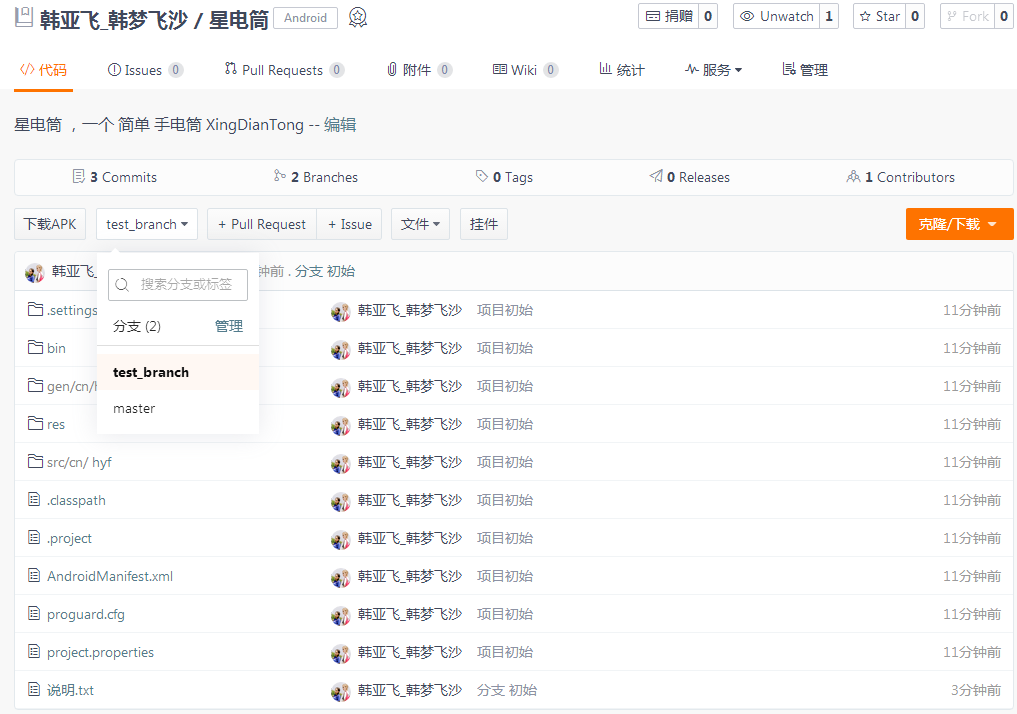
网站 有这样的效果。成功。
The website has this effect.Success.
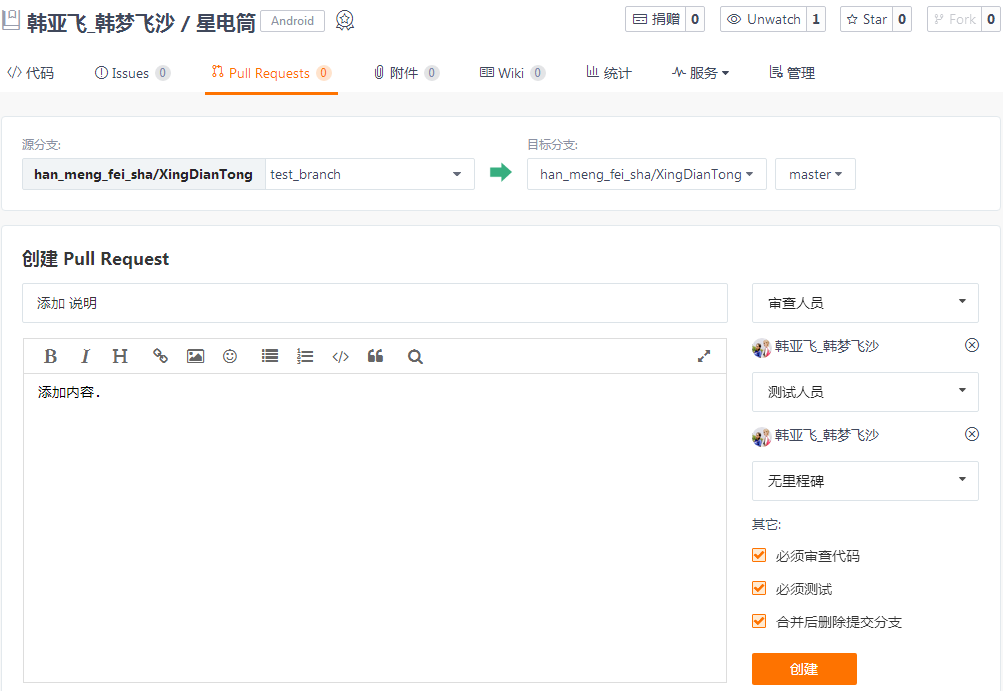
拉请求 我们用网站上的 就行了。不用软件上的 拉请求。
We use the pull request on the website.No software pull requests.
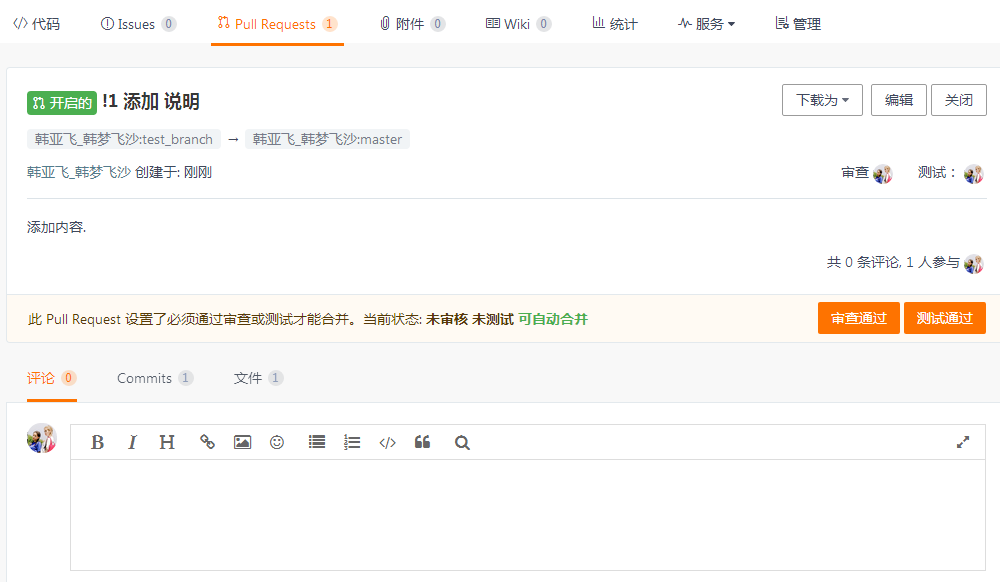
像这样已经创建好了一个 拉请求。
A pull request has been created like this.


拉请求,就是创建一个 请求,用于将某个分支合并到另一个分支上。 请求通过之后,就合并了。 像这样。
The pull request is to create a request to merge one branch to another.After the request is passed, the merge is done.Like this.
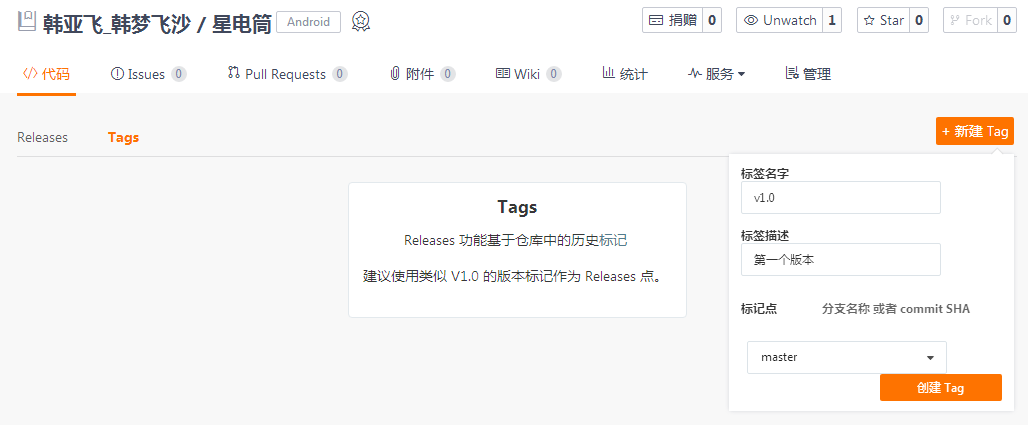
Tags 我们也用网站上的就行了。不用软件上的标签。
Tags we use the website.Don't use software labels.
标签就是版本号。
我们创建一个标签,名字是v1.0.
The label is the version number.
We create a label, which is v1.0.

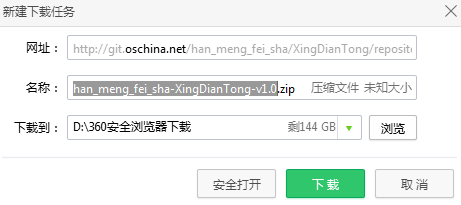
创建完成之后我们下载。发现它的结尾默认是这样的。我们需要这个效果。
After the creation is complete, we download it.The default is this.We need this effect.
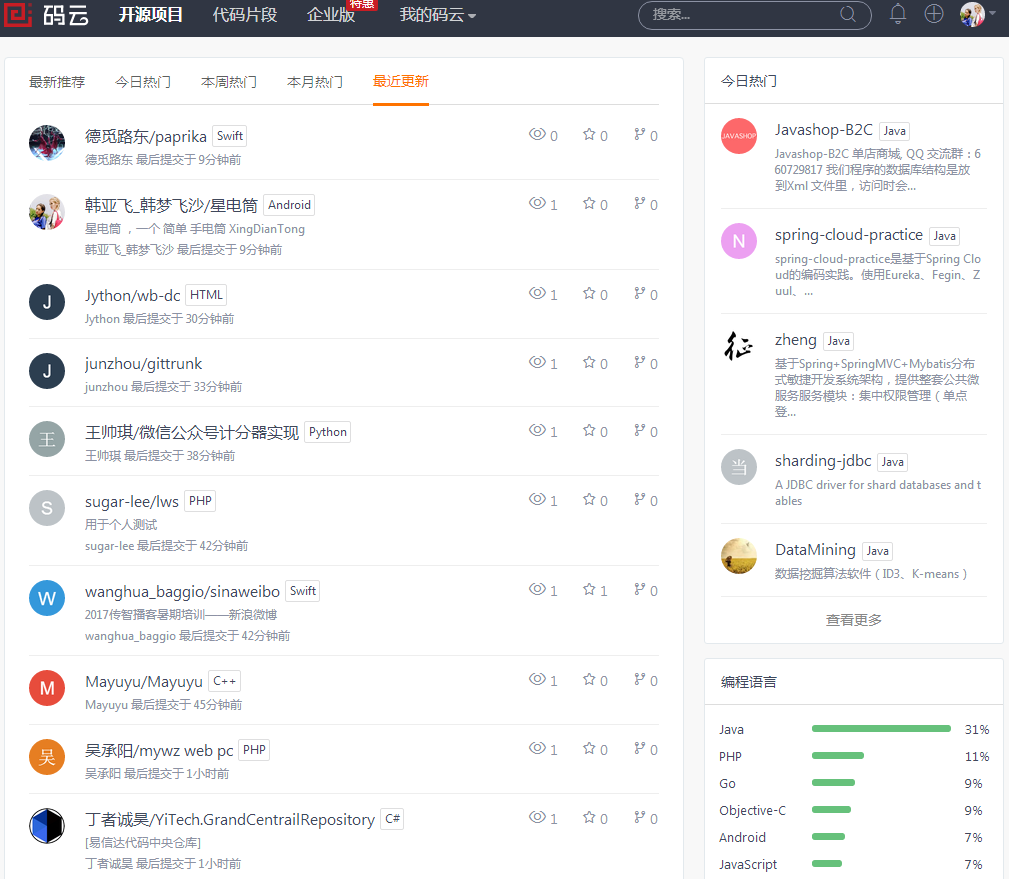
在网站的 开源项目 下,我们可以选择 最新更新, 看到我们的项目。
Under the open source project of the website, we can choose the latest update and see our project.

通过 码云 我们可以查看动态。
We can view the dynamic through the code cloud.
码云,git使用 教程的更多相关文章
- 如何使用Git和码云Git@OSC
1.Git简介 关于Git是什么,阅读博客Git简介 2.Git 基础 Git命令很多,常用命令如下图 Workspace:工作区 Index/Stage :暂存区 Local Repository: ...
- GitHub Desktop+码云(GIT.oschina)使用方法
一.如何从码云GIT导入到GitHubDeskTop桌面工具. 1.先用命令行切换到本地的目录. 2.使用git clone 码云GIT地址 命令将项目克隆到本地. 3.在GitHub Desktop ...
- 码云git 使用配置
码云git 使用配置:www.gitee.com安装:1.Git-2.18.0-64-bit.exe:2.GitExtensions-2.51.04.msi:3.GitExtensionsVSIX.v ...
- 码云git使用三(本地代码合并)
现在我们已经学会了把“本地代码上传至码云git服务器”和“从码云git服务器下载代码到本地”. 我们现在学习怎么上传代码到服务器注意事项和步骤. 1.我们修改代码后,我们需要先+Add后再Commit ...
- 码云git使用二(从码云git服务器上下载到本地)
假如我们现在已经把项目添加到码云git服务器了. 我们现在需要通过studio工具把码云git服务器上的某个项目下载到本,并且运行. 1.打开码云网页,找到对应项目的git路径. 2.打开studio ...
- 码云git使用一(上传本地项目到码云git服务器上)
主要讲下如果将项目部署到码云git服务器上,然后使用studio导入git项目,修改本地代码后,并同步到码云git上面. 首先:我们在码云上注册账号并登陆.官网(https://git.oschina ...
- Git与码云(Git@OSC)入门-如何在实验室和宿舍同步你的代码(2)
4. 处理冲突 4.1 向远程仓库push时无法提交成功,提示在push前应该先pull 如图所示: 有可能是因为远程仓库的版本与本地仓库的版本不一致,所以应先git pull将远程仓库的内容合并到本 ...
- 使用Git Bash从Git上下载代码到本地以及上传代码到码云Git
前提是在码云上已经新建一个空的项目,可参考:https://www.cnblogs.com/babysbreath/p/9170455.html 1.新建一个目录,存放下载下来的项目,我在D盘新建了一 ...
- Git与码云(Git@OSC)入门-如何在实验室和宿舍同步你的代码(1)
0.几个基本概念 本地仓库:本机上某个存放代码的仓库. 远程仓库:码云服务器上的代码仓库. 重要提醒:当我们在本地操作(新增.删除.修改)文件.目录时,并将其提交(commit),就是提交到了本地仓库 ...
- 码云 Git No network connection
背景 git,好久没用了都.心血来潮还是赶紧熟悉下吧.果不其然,每次要熟悉或开始一个东西,立马就出现问题.本来好好的环境竟然不行了,搞定后感觉应该是换了网络环境的事.这倒次要,主要让我想起了最初学习g ...
随机推荐
- python修改hosts
#coding=utf-8 host = ['192.168.10.240 store.wondershare.com', '192.168.10.240 store.wondershare.jp', ...
- mysql 语句的使用清库数据转移
mysql清空数据库表 方法1:重建库和表用mysqldump --no-data把建表SQL导出来,然后drop database再create database,执行一下导出的SQL文件: 方法2 ...
- ORA-12519 ORA-12516
目录: 错误信息 原因分析 解决方法 1. 错误信息 [oracle@test1 admin]$ oerr ora , , "TNS:no appropriate service handl ...
- spring cloud 使用ribbon简单处理客户端负载均衡
假如我们的multiple服务的访问量剧增,用一个服务已经无法承载, 我们可以把Hello World服务做成一个集群. 很简单,我们只需要复制Hello world服务,同时将原来的端口8762修改 ...
- 论文阅读笔记十三:The One Hundred Layers Tiramisu: Fully Convolutional DenseNets for Semantic Segmentation(FC-DenseNets)(CVPR2016)
论文链接:https://arxiv.org/pdf/1611.09326.pdf tensorflow代码:https://github.com/HasnainRaz/FC-DenseNet-Ten ...
- HDU5950 Recursive sequence (矩阵快速幂)
Recursive sequence Time Limit: 2000/1000 MS (Java/Others) Memory Limit: 65536/65536 K (Java/Other ...
- VS2015 生成事件 命令参数
来源:https://stackoverflow.com/questions/11001822/copy-files-from-one-project-to-another-using-post-bu ...
- [转] Form 表单数据处理 简单教程 formidable 使用心得
入门,高手见笑 表单数据一种是get方式, 另一种是post 方式 1.get方式 对于get方式,node处理起来非常简单 如以下代码: var urlParsed = url.parse(requ ...
- C# Enum,Int,String的互相转换 [转]
C# Enum,Int,String的互相转换 Enum为枚举提供基类,其基础类型可以是除 Char 外的任何整型.如果没有显式声明基础类型,则使用 Int32.编程语言通常提供语法来声明由一组已命名 ...
- ajax一次获取整个表单的数据
$.ajax({ cache: true, type: "POST", url:ajaxCallUrl, data:$('#yourformid').serialize(),// ...