Linux-Ubuntu14.04下mongodb安装部署
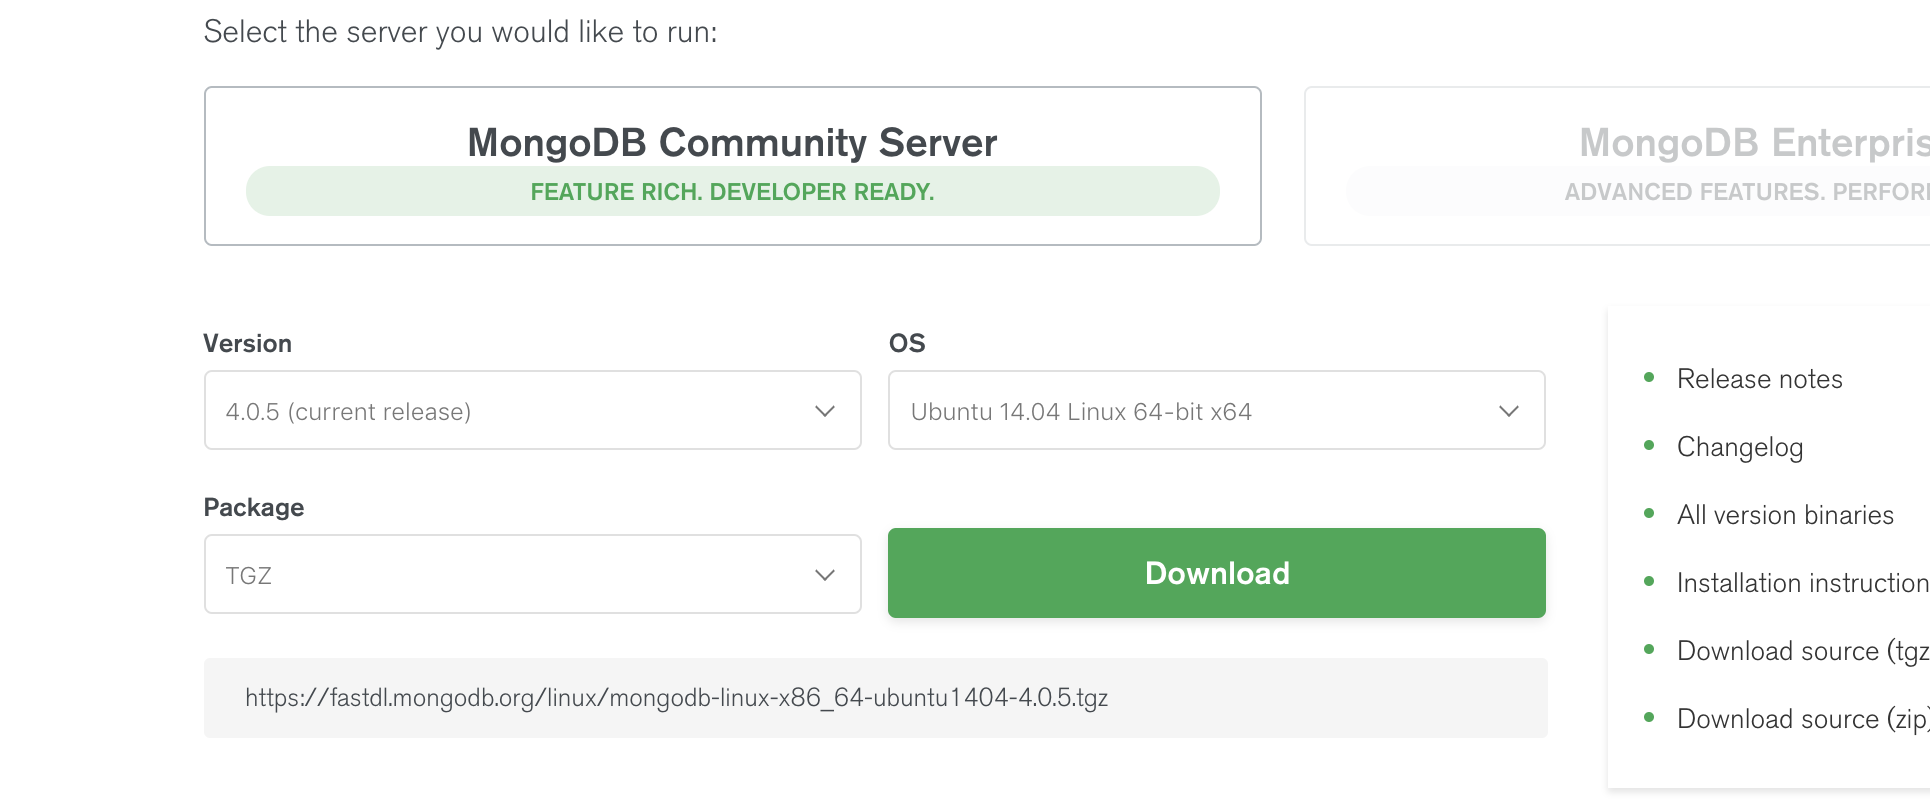
mongo 下载:https://www.mongodb.com/download-center/community?jmp=nav
创建目录,将下载的文件放在如下位置
xxx@ubuntu:/usr/local$ sudo mkdir mongo

xxx@ubuntu:/usr/local$ ls

bin  etc  games  include  lib  man  mongo  sbin  share  src

xxx@ubuntu:/usr/local$ cd mongo/

xxx@ubuntu:/usr/local/mongo$ ls

mongodb-linux-x86_64-ubuntu1404-4.0..tgz
解压
xxx@ubuntu:/usr/local/mongo$ sudo tar -xvf mongodb-linux-x86_64-ubuntu1404-4.0..tgz

xxx@ubuntu:/usr/local/mongo$ ls

mongodb-linux-x86_64-ubuntu1404-4.0.

mongodb-linux-x86_64-ubuntu1404-4.0..tgz
创建数据库目录以及日志文件
xxx@ubuntu:/usr/local/mongo$ cd mongodb-linux-x86_64-ubuntu1404-4.0.5
xxx@ubuntu:/usr/local/mongo/mongodb-linux-x86_64-ubuntu1404-4.0.5$ sudo mkdir data
xxx@ubuntu:/usr/local/mongo/mongodb-linux-x86_64-ubuntu1404-4.0.5$ sudo touch logs
xxx@ubuntu:/usr/local/mongo/mongodb-linux-x86_64-ubuntu1404-4.0.5$ ls
bin logs MPL-2 data logs.2019-01-14T08-18-21 README LICENSE-Community.txt logs.2019-01-14T08-25-22 THIRD-PARTY-NOTICES
安装客户端

先下载这个文件,然后安装
sudo dpkg -i mongodb-org-shell_4..5_amd64.deb
进入到mongodb下面的bin里面查看mongodb帮助文档
./mongod -h
找到参数
--fork

--dbpath arg

--logpath arg

--nohttpinterface
--dbpath=/usr/local/mongodb/data/ 用于指定存放的mongodb数据库
--fork 是后台执行,不然一直在前台
--logpath=/usr/local/mongodb/logs 用于指定mongodb的日志记录文件
启动数据库
sudo ./mongod --dbpath=/usr/local/mongo/mongodb-linux-x86_64-ubuntu1404-4.0.5/data/ --logpath=/usr/local/mongo/mongodb-linux-x86_64-ubuntu1404-4.0.5/logs
即可通过mongo命令进入数据库。
xxx@ubuntu:~/Desktop$ mongo

MongoDB shell version v4.0.5

connecting to: mongodb://127.0.0.1:27017/?gssapiServiceName=mongodb

Implicit session: session { "id" : UUID("0783a892-c57e-4dee-94af-c3746762298a") }

MongoDB server version: 4.0.

Server has startup warnings:

--14T16::44.102+ I STORAGE  [initandlisten]

--14T16::44.102+ I STORAGE  [initandlisten] ** WARNING: Using the XFS filesystem is strongly recommended with the WiredTiger storage engine

--14T16::44.102+ I STORAGE  [initandlisten] **          See http://dochub.mongodb.org/core/prodnotes-filesystem

--14T16::44.839+ I CONTROL  [initandlisten]

--14T16::44.839+ I CONTROL  [initandlisten] ** WARNING: Access control is not enabled for the database.

--14T16::44.839+ I CONTROL  [initandlisten] **          Read and write access to data and configuration is unrestricted.

--14T16::44.839+ I CONTROL  [initandlisten] ** WARNING: You are running this process as the root user, which is not recommended.

--14T16::44.839+ I CONTROL  [initandlisten]

--14T16::44.839+ I CONTROL  [initandlisten] ** WARNING: This server is bound to localhost.

--14T16::44.839+ I CONTROL  [initandlisten] **          Remote systems will be unable to connect to this server.

--14T16::44.839+ I CONTROL  [initandlisten] **          Start the server with --bind_ip <address> to specify which IP

--14T16::44.839+ I CONTROL  [initandlisten] **          addresses it should serve responses from, or with --bind_ip_all to

--14T16::44.839+ I CONTROL  [initandlisten] **          bind to all interfaces. If this behavior is desired, start the

--14T16::44.839+ I CONTROL  [initandlisten] **          server with --bind_ip 127.0.0.1 to disable this warning.

--14T16::44.839+ I CONTROL  [initandlisten]

--14T16::44.839+ I CONTROL  [initandlisten]

--14T16::44.839+ I CONTROL  [initandlisten] ** WARNING: /sys/kernel/mm/transparent_hugepage/enabled is 'always'.

--14T16::44.839+ I CONTROL  [initandlisten] **        We suggest setting it to 'never'

--14T16::44.839+ I CONTROL  [initandlisten]

--14T16::44.840+ I CONTROL  [initandlisten] ** WARNING: /sys/kernel/mm/transparent_hugepage/defrag is 'always'.

--14T16::44.840+ I CONTROL  [initandlisten] **        We suggest setting it to 'never'

--14T16::44.840+ I CONTROL  [initandlisten]

---

Enable MongoDB's free cloud-based monitoring service, which will then receive and display

metrics about your deployment (disk utilization, CPU, operation statistics, etc).

The monitoring data will be available on a MongoDB website with a unique URL accessible to you

and anyone you share the URL with. MongoDB may use this information to make product

improvements and to suggest MongoDB products and deployment options to you.

To enable free monitoring, run the following command: db.enableFreeMonitoring()

To permanently disable this reminder, run the following command: db.disableFreeMonitoring()

---

>
Linux-Ubuntu14.04下mongodb安装部署的更多相关文章
- Ubuntu14.04下Mongodb(离线安装方式|非apt-get)安装部署步骤(图文详解)(博主推荐)
不多说,直接上干货! 说在前面的话 首先,查看下你的操作系统的版本. root@zhouls-virtual-machine:~# cat /etc/issue Ubuntu LTS \n \l r ...
- Ubuntu14.04下Mongodb数据库可视化工具安装部署步骤(图文详解)(博主推荐)
不多说,直接上干货! 前期博客 Ubuntu14.04下Mongodb(离线安装方式|非apt-get)安装部署步骤(图文详解)(博主推荐) Ubuntu14.04下Mongodb官网安装部署步骤(图 ...
- Ubuntu14.04下Mongodb官网安装部署步骤(图文详解)(博主推荐)
不多说,直接上干货! 在这篇博客里,我采用了非官网的安装步骤,来进行安装.走了弯路,同时,也是不建议.因为在大数据领域和实际生产里,还是要走正规的为好. Ubuntu14.04下Mongodb(离线安 ...
- Ubuntu14.04下Ambari安装搭建部署大数据集群(图文分五大步详解)(博主强烈推荐)
不多说,直接上干货! 写在前面的话 (1) 最近一段时间,因担任我团队实验室的大数据环境集群真实物理机器工作,至此,本人秉持负责.认真和细心的态度,先分别在虚拟机上模拟搭建ambari(基于CentO ...
- Ubuntu14.04下Mongodb官网卸载部署步骤(图文详解)(博主推荐)
不多说,直接上干货! 前期博客 Ubuntu14.04下Mongodb官网安装部署步骤(图文详解)(博主推荐) https://docs.mongodb.com/manual/tutorial/ins ...
- Ubuntu14.04下Mongodb的Java API编程实例(手动项目或者maven项目)
不多说,直接上干货! 若大家,不会安装的话,则请移步,随便挑选一种. Ubuntu14.04下Mongodb(在线安装方式|apt-get)安装部署步骤(图文详解)(博主推荐) Ubuntu14.04 ...
- Ubuntu14.04 Django Mysql安装部署全过程
Ubuntu14.04 Django Mysql安装部署全过程 一.简要步骤.(阿里云Ubuntu14.04) Python安装 Django Mysql的安装与配置 记录一下我的部署过程,也方便 ...
- ubuntu14.04下编译安装ambari-2.4.2.0
ubuntu14.04下编译安装ambari-2.4.2.0 编译前的准备工作 准备工作有: 系统参数 系统依赖(编译环境) 离线安装包 java环境 maven环境 Nodejs环境 git环境 a ...
- ubuntu14.04下手动安装eclipse
ubuntu14.04下手动安装eclipse 第一步: 安装jdk 第二步: 下载eclipse,假设下载的文件文件名为eclipse.tar.gz 第三步: 解压 sudo -zxvf ./ecl ...
随机推荐
- python3专业版安装及破解
1.网址 https://www.jetbrains.com/pycharm/download/#section=windows,打开页面,点击下载专业版 2.这是下载好的文件,双击运行即可. //详 ...
- [LeetCode] 168. Excel Sheet Column Title_Easy tag: Math
Given a positive integer, return its corresponding column title as appear in an Excel sheet. For exa ...
- [LeetCode] 443. String Compression_Easy tag:String
Given an array of characters, compress it in-place. The length after compression must always be smal ...
- selenium webdriver模拟鼠标键盘操作
在测试使用Selenium webdriver测试WEB系统的时候,用到了模拟鼠标.键盘的一些输入操作. 1.鼠标的左键点击.双击.拖拽.右键点击等: 2.键盘的回车.回退.空格.ctrl.alt.s ...
- Redis演示及使用场景
概述 Redis是一个开源的.使用C语言编写的.支持网络交互的.可基于内存也可持久化的Key-Value(字典, Remote Dictionary Server,远程字典服务器)数据库. 客户端:h ...
- 【剑指Offer学习】【面试题3 :二维数组中的查找】
package 二维数组查找; public class Test03 { /** * 在一个二维数组中,每一行都按 package 二维数组查找; public class Test03 { /** ...
- 关于 WebBrowser调用百度地图API 鼠标滚轮缩放地图级别失灵的解决办法
在桌面程序下 百度地图API的鼠标缩放地图功能可能会失灵无效! 这个原因不是API的问题 小弟试了下在WEB上面是没有问题的 于是考虑可能是WebBrowser的获取焦点问题,于是在主窗体 添加了一个 ...
- 55. Jump Game(贪心)
Given an array of non-negative integers, you are initially positioned at the first index of the arra ...
- python性能分析(一)——使用timeit给你的程序打个表吧
前言 我们可以通过查看程序核心算法的代码,得知核心算法的渐进上界或者下界,从而大概估计出程序在运行时的效率,但是这并不够直观,也不一定十分靠谱(在整体程序中仍有一些不可忽略的运行细节在估计时被忽略了) ...
- minicom的安装和tftp的安装
1.minicom 的安装 在弹出的窗口中选择“Serial port setup”进行配置.配置完之后选择“Save setup as dfl”保存.最后选择“Exit from Minicom”退 ...