使用JavaScript实现录入信息生成名片
首先是布局:
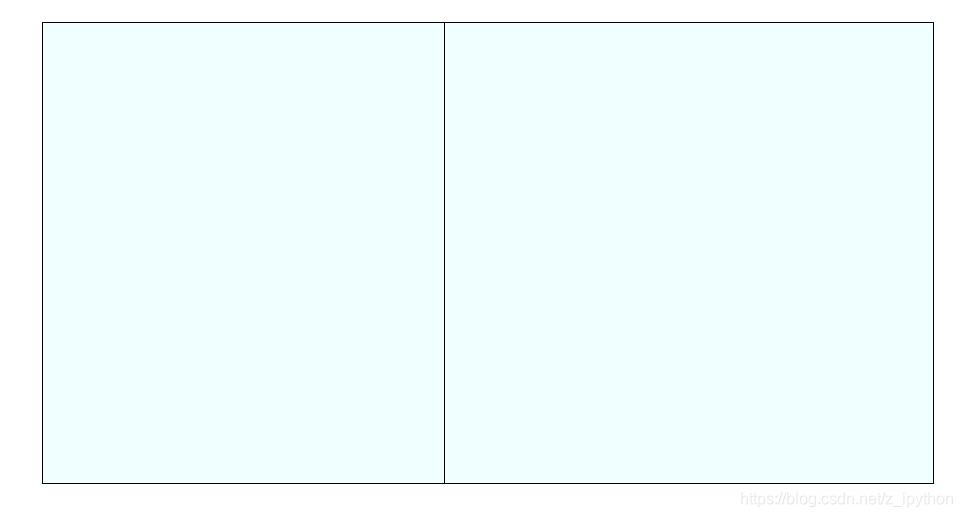
一个大的盒子模型套两个小的盒子模型:左边是录入信息生成界面,右边是名片显示界面。
框架:
这里新建一个css文件,用于外部链接使用装饰
/*最外层div,主框架*/.frame{width: 890px;height: 460px;border: 1px solid black;margin: 0 auto;margin-top: 60px;background-color: azure;}/*左侧信息输入设置*/.left_set{width: 396px;height: 460px;line-height: 40px;font-size: 18px;top: 80px;left: 60px;}/*右侧名片展示*/.right_show{height: 460px;width: 488px;/*border-left: 1px solid black;*/}
主题html文件内容:
<!DOCTYPE html><html><head><meta charset="UTF-8"><title>名片</title></head><link rel="stylesheet" type="text/css" href="../css/new_file.css"/><body><div class="frame" id=""><div class="left_set" id=""><lable for="">姓 名:<input type="text" name="" id="oInput1" value="" placeholder="请输入姓名"/></lable><br /><lable for="">职 位:<input type="text" name="" id="oInput2" value="" placeholder="请输入职位"/></lable><br /><lable for="">公司名称:<input type="text" name="" id="oInput3" value="" placeholder="请输入公司名称"/></lable><br /><lable for="">手 机:<input type="text" name="" id="oInput4" value="" placeholder="请输入手机号"/></lable><br /><lable for="">e m a i l:<input type="text" name="" id="oInput5" value="" placeholder="请输入email地址"/></lable><br /><lable for="">地 址:<input type="text" name="" id="oInput6" value="" placeholder="请输入公司地址"/></lable><br /><lable for="">风 格:<select name="" id="mySelect"><option value="fg1">风格一</option><option value="fg2">风格二</option></select></lable><br /><input type="button" name="" id="btn" value="生成"/></div><!--<br />--><div class="right_show" id="bg"><div id="card_wrap"><div class="p01" id="">张大山 <em>产品经理</em></div><div class="p02" id=""><p class="company">银河科技有限责任公司</p><p>手机:1808888888</p><p>email:yinhest@qq.com</p><p>地址:中关村银河大厦5层305</p><!--<hr align="center" color="aqua" width="50%"/>--></div></div></div></div></body></html>
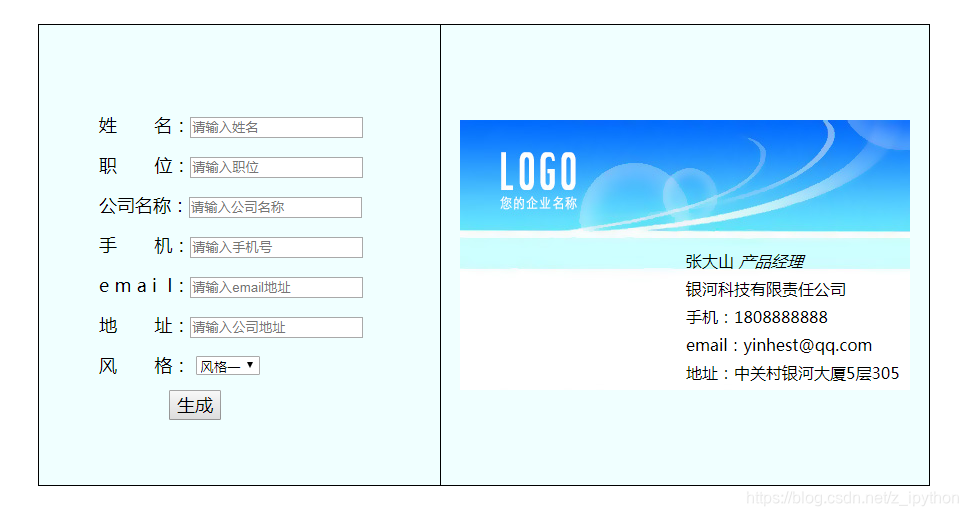
当前效果:
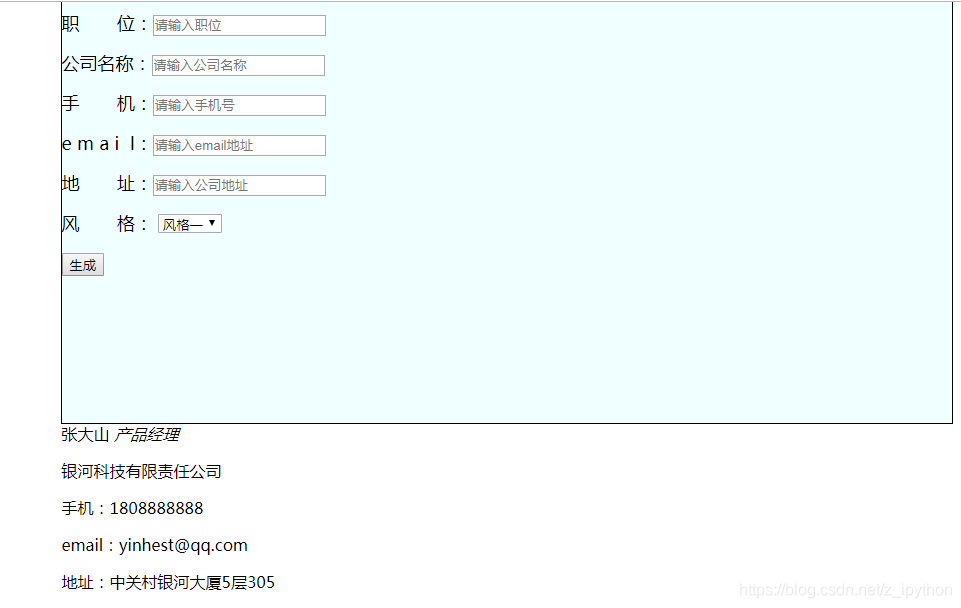
现在我想要姓名职位等信息,排列在框架左侧;名片信息排列在右侧,并以黑线分开
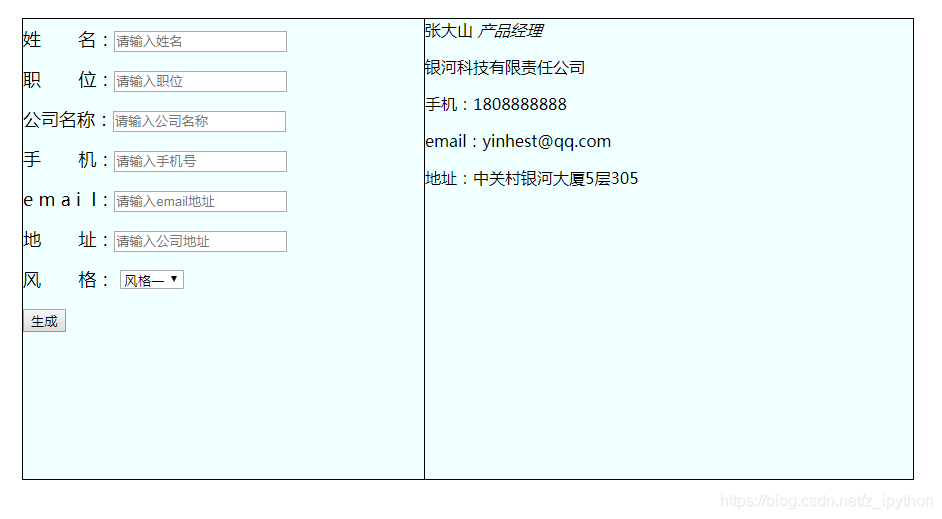
在css文件中left_set属性中添加float:left;在right_show属性中添加float:right,实现2个盒子左右浮动
效果:
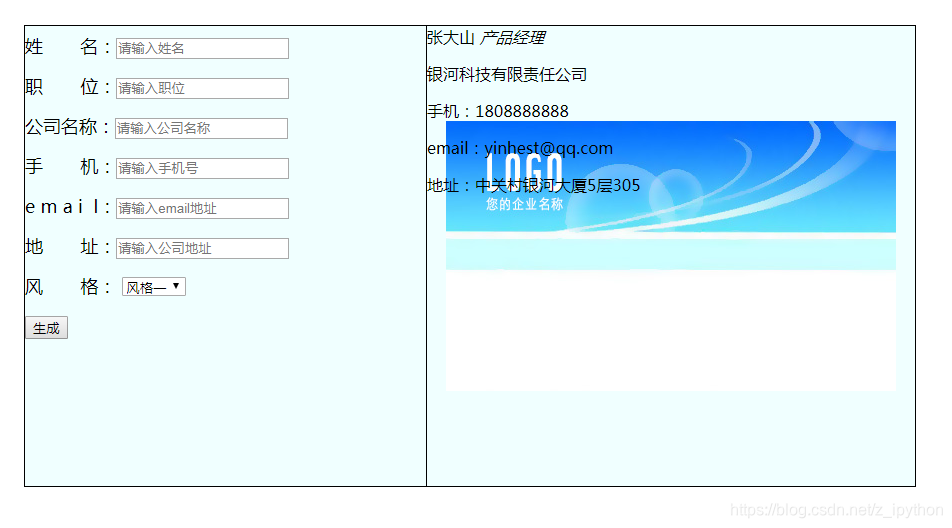
接下来在右侧导入名片图片样式,让生成的名片更具美观
需要在css文件中的right_show属性中添加如下css样式:
background-image: url(../img/bg01.jpg);//加载图片background-repeat: no-repeat;//设置引入图片不重复background-position: center;//设置图片在div中的位置,居中
效果:
实现左右文本内容到指定位置:
左侧文本至div正中间,右侧至图片的右下方
这里采用相对定位和绝对定位来操作
css文件中:添加
.frame{position: relative;}.left_set{position: absolute;top: 80px;left: 60px;}.right_show{position: relative;}#card_wrap{position: absolute;top: 230px;left: 245px;}#btn{margin-left: 70px;font-size: 18px;}
效果:

发现右边字体间距过大:
.p01,.p02{ line-height: 12px; }//更改行高
css文件致此装饰的就差不多了,完整版代码:
/*最外层div,主框架*/.frame{width: 890px;height: 460px;border: 1px solid black;margin: 0 auto;margin-top: 60px;background-color: azure;position: relative;}/*左侧信息输入设置*/.left_set{width: 396px;height: 460px;line-height: 40px;font-size: 18px;top: 80px;left: 60px;float: left;margin: auto;position: relative;}/*右侧名片展示*/.right_show{height: 460px;width: 488px;border-left: 1px solid black;float: right;background-image: url(../img/bg01.jpg);background-repeat: no-repeat;background-position: center;margin: auto;position: relative;}#card_wrap{position: absolute;top: 230px;left: 245px;}#btn{margin-left: 70px;font-size: 18px;}.p01,.p02{line-height: 12px;}
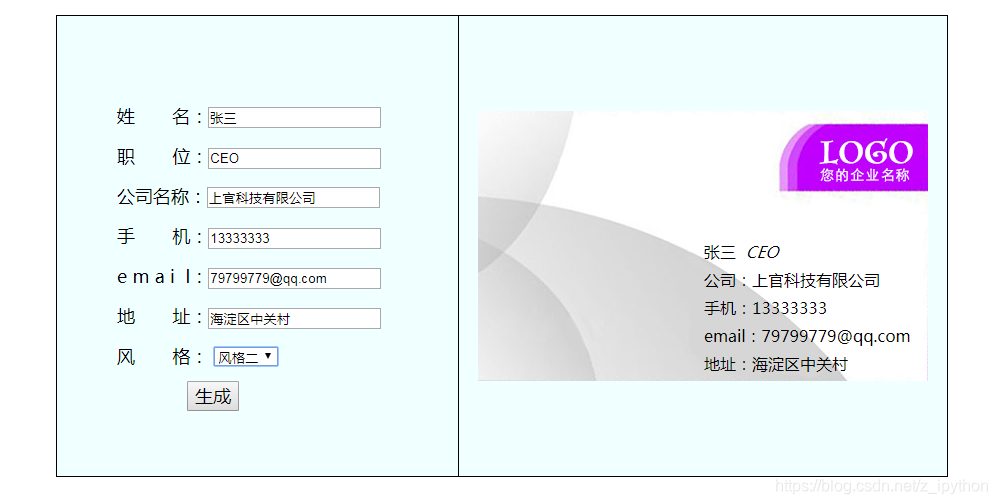
接下来就是通过JavaScript的进行信息的交互:
<script type="text/javascript">window.onload=function () {//创建input输入框的6个对象var oInput1 = document.getElementById("oInput1"),oInput2 = document.getElementById("oInput2"),oInput3 = document.getElementById("oInput3"),oInput4 = document.getElementById("oInput4"),oInput5 = document.getElementById("oInput5"),oInput6 = document.getElementById("oInput6");//生成按钮对象var set_btn = document.getElementById("btn");//右侧里层div对象var Div_obj = document.getElementById("card_wrap");set_btn.onclick=function () {//判断输入框中是否为空,有一个空的,就给出弹框提示,结果程序input对象.value可以获取输入框里输入的文本数据if(oInput1.value=="" || oInput2.value=="" || oInput3.value=="" || oInput4.value=="" || oInput5.value=="" || oInput6.value==""){alert('请输入所有内容');return;}拼接标签(加上获取的内容)var sContent = '<div class="p01">'+oInput1.value+' <em>'+oInput2.value+'</em></div>'+'<div class="p02">'+'<p>'+'公司:'+oInput3.value+'</p>'+'<p>'+'手机:'+oInput4.value+'</p>'+'<p>'+'email:'+oInput5.value+'</p>'+'<p>'+'地址:'+oInput6.value+'</p>'+'</div>';//将这个拼接的新内容传给外层div对象,修改他的内容Div_obj.innerHTML = sContent;}//右侧外层标签对象var bg = document.getElementById("bg");//下拉列表框对象var mysel = document.getElementById("mySelect");onchange为改变事件,当选项中的内容变化时,函数被触发mysel.onchange=function () {获取select中option选项值:var value = mysel.value;通过判断值来实现图片的加载,更换名片风格if(value=='fg1'){bg.style.backgroundImage='url(../img/bg01.jpg)';}else{bg.style.backgroundImage='url(../img/bg02.jpg)';}}}</script>
HTML文件完整代码:
<!DOCTYPE html><html><head><meta charset="UTF-8"><title>名片</title></head><link rel="stylesheet" type="text/css" href="../css/new_file.css"/><script type="text/javascript">window.onload=function () {var oInput1 = document.getElementById("oInput1"),oInput2 = document.getElementById("oInput2"),oInput3 = document.getElementById("oInput3"),oInput4 = document.getElementById("oInput4"),oInput5 = document.getElementById("oInput5"),oInput6 = document.getElementById("oInput6");//按钮对象var set_btn = document.getElementById("btn");//外层divvar Div_obj = document.getElementById("card_wrap");set_btn.onclick=function () {if(oInput1.value=="" || oInput2.value=="" || oInput3.value=="" || oInput4.value=="" || oInput5.value=="" || oInput6.value==""){alert('请输入所有内容');return;}var sContent = '<div class="p01">'+oInput1.value+' <em>'+oInput2.value+'</em></div>'+'<div class="p02">'+'<p>'+'公司:'+oInput3.value+'</p>'+'<p>'+'手机:'+oInput4.value+'</p>'+'<p>'+'email:'+oInput5.value+'</p>'+'<p>'+'地址:'+oInput6.value+'</p>'+'</div>';Div_obj.innerHTML = sContent;}// var obj=document.getElementById('mySelect');// var index=obj.selectedIndex; //序号,取当前选中选项的序号// console.log(index);// var val = obj.options[1].value;// console.log(val);var bg = document.getElementById("bg");var mysel = document.getElementById("mySelect");mysel.onchange=function () {var value = mysel.value;if(value=='fg1'){bg.style.backgroundImage='url(../img/bg01.jpg)';}else{bg.style.backgroundImage='url(../img/bg02.jpg)';}}}</script><body><div class="frame" id=""><div class="left_set" id=""><lable for="">姓 名:<input type="text" name="" id="oInput1" value="" placeholder="请输入姓名"/></lable><br /><lable for="">职 位:<input type="text" name="" id="oInput2" value="" placeholder="请输入职位"/></lable><br /><lable for="">公司名称:<input type="text" name="" id="oInput3" value="" placeholder="请输入公司名称"/></lable><br /><lable for="">手 机:<input type="text" name="" id="oInput4" value="" placeholder="请输入手机号"/></lable><br /><lable for="">e m a i l:<input type="text" name="" id="oInput5" value="" placeholder="请输入email地址"/></lable><br /><lable for="">地 址:<input type="text" name="" id="oInput6" value="" placeholder="请输入公司地址"/></lable><br /><lable for="">风 格:<select name="" id="mySelect"><option value="fg1">风格一</option><option value="fg2">风格二</option></select></lable><br /><input type="button" name="" id="btn" value="生成"/></div><!--<br />--><div class="right_show" id="bg"><div id="card_wrap"><div class="p01" id="">张大山 <em>产品经理</em></div><div class="p02" id=""><p class="company">银河科技有限责任公司</p><p>手机:1808888888</p><p>email:yinhest@qq.com</p><p>地址:中关村银河大厦5层305</p><!--<hr align="center" color="aqua" width="50%"/>--></div></div></div></div></body></html>
效果:
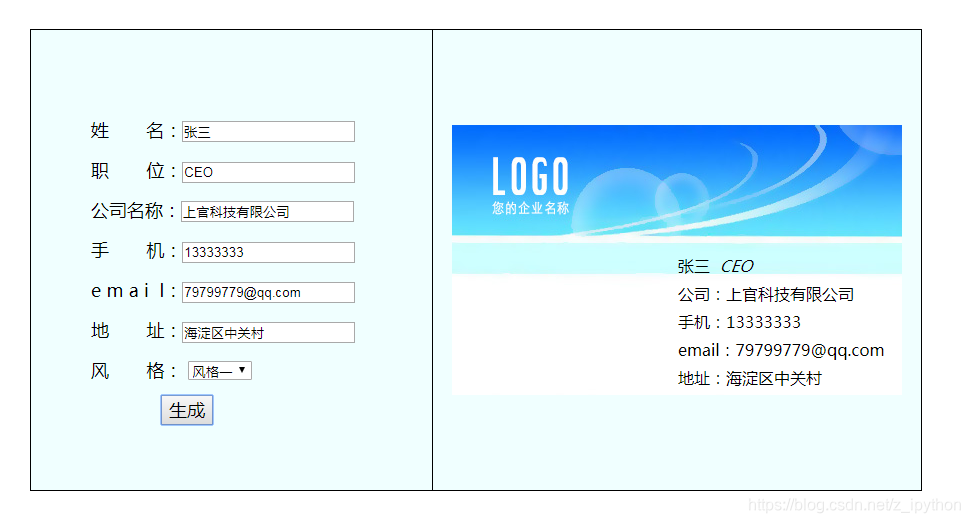
至此,名称生成工具已基本实现完成!
使用JavaScript实现录入信息生成名片的更多相关文章
- Android之扫描二维码和根据输入信息生成名片二维码
开发中常常遇到二维码扫码操作,前段时间做项目要实现该功能,于是网上查找资料实现了,现在把他做出来给各位分享一下,主要包含了二维码扫描和生成二维码名片. 先来看看效果图: 生成的二维码,打开微信扫一 ...
- PHP生成名片、网址二维码
PHP生成名片.网址二维码 php生成名片(vcard)二维码: <?php$vname = 'test'; $vtel = '13800000000'; generateQRfromGoo ...
- JavaScript 解析 Django Python 生成的 datetime 数据 时区问题解决
JavaScript 解析 Django/Python 生成的 datetime 数据 当Web后台使用Django时,后台生成的时间数据类型就是Python类型的. 项目需要将几个时间存储到数据库中 ...
- 无法找到“XXX.exe”的调试信息,或者调试信息不匹配。未使用调试信息生成二进制文件
1.问题症状 已经处于Debug模式,运行时完全正常,但是一调试就出现对话框,显示出错信息:“无法找到“XXX.exe”的调试信息,或者调试信息不匹配.未使用调试信息生成二进制文件.” 2.解决方法 ...
- 二维码生成:使用 JavaScript 库QRCode.js生成二维码
QRCode.js:跨浏览器的javascript二维码生成库,支持html5的Canvas画布,没有任何依赖. Github 地址:https://github.com/davidshimjs/qr ...
- VS2008中编译通过,但调试时出现“未使用调试信息生成二进制文件”的问题
.只要是“建立项目的时候不应建立空项目,而应当建立一个“win32控制台应用程序”.这样确实可以解决问题.只要你选择的是这个"win32控制台应用程序"则在附加选项里面选不选上“空 ...
- Java 导出数据库表信息生成Word文档
一.前言 最近看见朋友写了一个导出数据库生成word文档的业务,感觉很有意思,研究了一下,这里也拿出来与大家分享一波~ 先来看看生成的word文档效果吧 下面我们也来一起简单的实现吧 二.Java 导 ...
- Javascript 二维码生成库:QRCode
<!DOCTYPE html PUBLIC "-//W3C//DTD XHTML 1.0 Transitional//EN" "http://www.w3.org/ ...
- Javascript 将 HTML 页面生成 PDF 并下载
最近碰到个需求,需要把当前页面生成 pdf,并下载.弄了几天,自己整理整理,记录下来,我觉得应该会有人需要 :) html2canvas 简介 我们可以直接在浏览器端使用html2canvas,对整个 ...
随机推荐
- Vue.js学习TodoMVC小Demo
实现效果如下: 把玩了添加和删除功能,代码如下: index.html: <!doctype html> <html lang="en"> <head ...
- Spring Cloud(7.2):配置Producer Server
我们首先创建一个生产者服务.这里以一个商品价格服务为例,这个微服务可以对商品-价格信息进行增删改查,当有商品-价格信息被更新或删除,则该微服务发送消息,告诉其他调用它的系统这条信息已经被修改. 配置p ...
- NGUI 9宫格输入的一个巨坑
UILabel 中的maxlines = 0,输入没有问题.如果maxlines=1,输入出错
- leetCode:twoSum 两数之和 【JAVA实现】
LeetCode 两数之和 给定一个整数数组,返回两个数字的索引,使它们相加到特定目标. 您可以假设每个输入只有一个解决方案,并且您可能不会两次使用相同的元素. 更多文章查看个人博客 个人博客地址:t ...
- 【持续集成】jenkins安装部署从git获取代码
一:持续集成的概念: 1.1:总体的概括 持续集成Continuous Integration 持续交付Continuous Delivery 持续部署Continuous Deployment 1. ...
- php 获取文件mime类型的方法
php 获取文件mime类型的方法 使用fileinfo需要安装php_fileinfo扩展. 如已安装可以在extension_dir目录下找到php_fileinfo.dll(windows),f ...
- 20175316 盛茂淞 2018-2019-2 《Java程序设计》实验三《敏捷开发与XP实践》 实验报告
实验内容与要求 1.XP基础 极限编程(Extreme Programming,XP)是一种全新而快捷的软件开发方法.XP团队使用现场客户.特殊计划方法和持续测试来提供快速的反馈和全面的交流: XP是 ...
- java 微信开发的工具类WeChatUtils
import com.alibaba.fastjson.JSONObject;import com.bhudy.entity.BhudyPlugin;import com.bhudy.service. ...
- 快速创建一个SpringBoot项目并整合Mybatis
2019-09-15 一.Maven环境搭建 1.导入jar坐标 <project xmlns="http://maven.apache.org/POM/4.0.0" xml ...
- 20191011-构建我们公司自己的自动化接口测试框架-TestData的数据准备
创建excel测试数据准备,excel的第一个sheet存储测试集,后面分别为测试用例和断言结果表 测试集构成如下: 按列分别为测试序号,测试用例说明,对应的sheetname,测试用例是否允许,测试 ...