html5+springboot+websocket的简单实现
环境
window7,IntelliJ IDEA 2019.2 x64
背景:利用IntelliJ来搭建springboot框架,之后来实现websocket的功能。websocket只是实现了画面上的消息的互相推送的功能,即在不刷新网页的情况下,把必要的消息推送到你的网页上面。
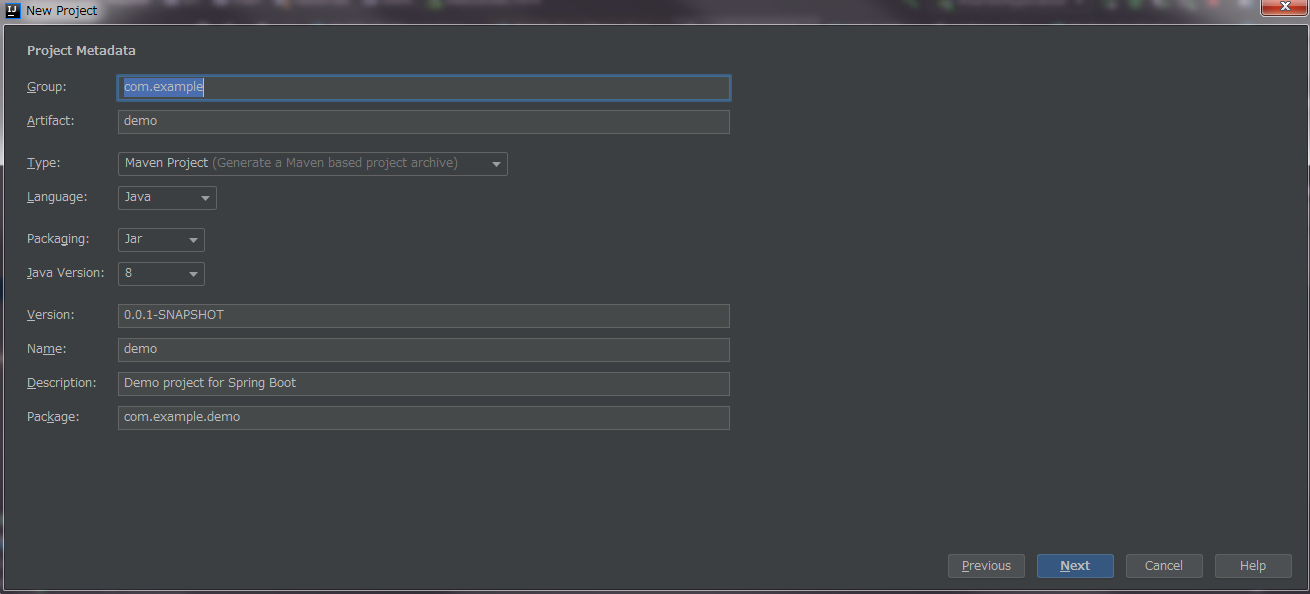
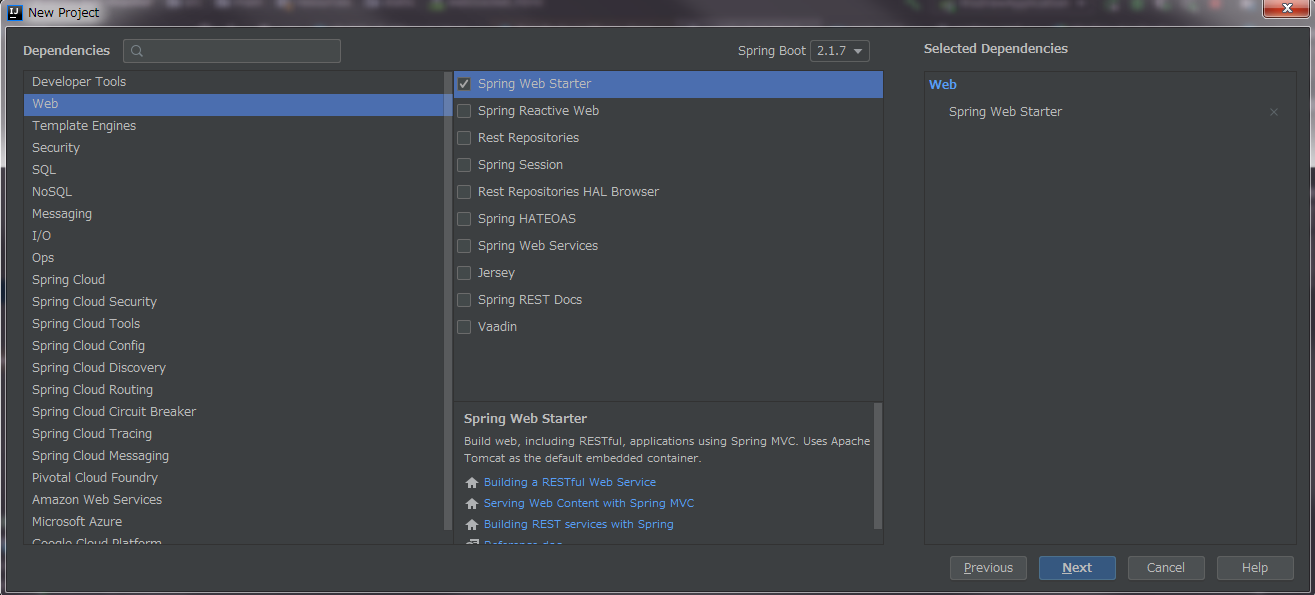
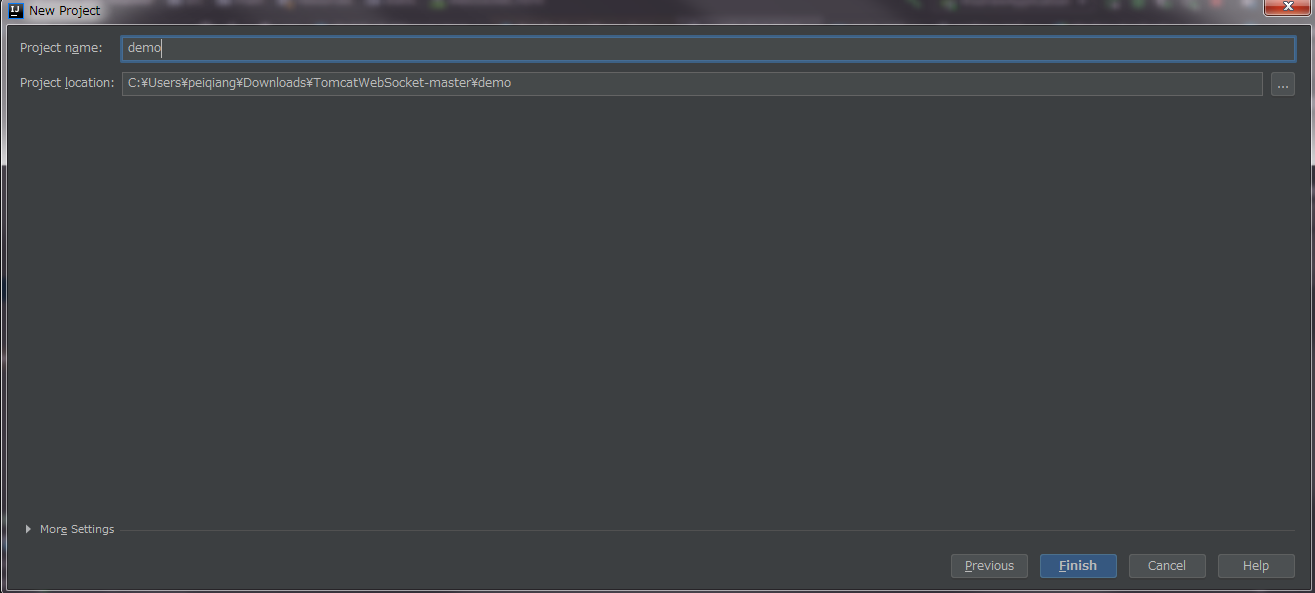
利用IntelliJ来搭建spring的web框架。
1. 下载IntelliJ的安装包,之后正常安装即可
2. 打开IDE,创建一个web功能
具体操作如下


点击finish之后,自己的springweb的工程创建完了。
构建自己的websocket程序
工程的构成如下图

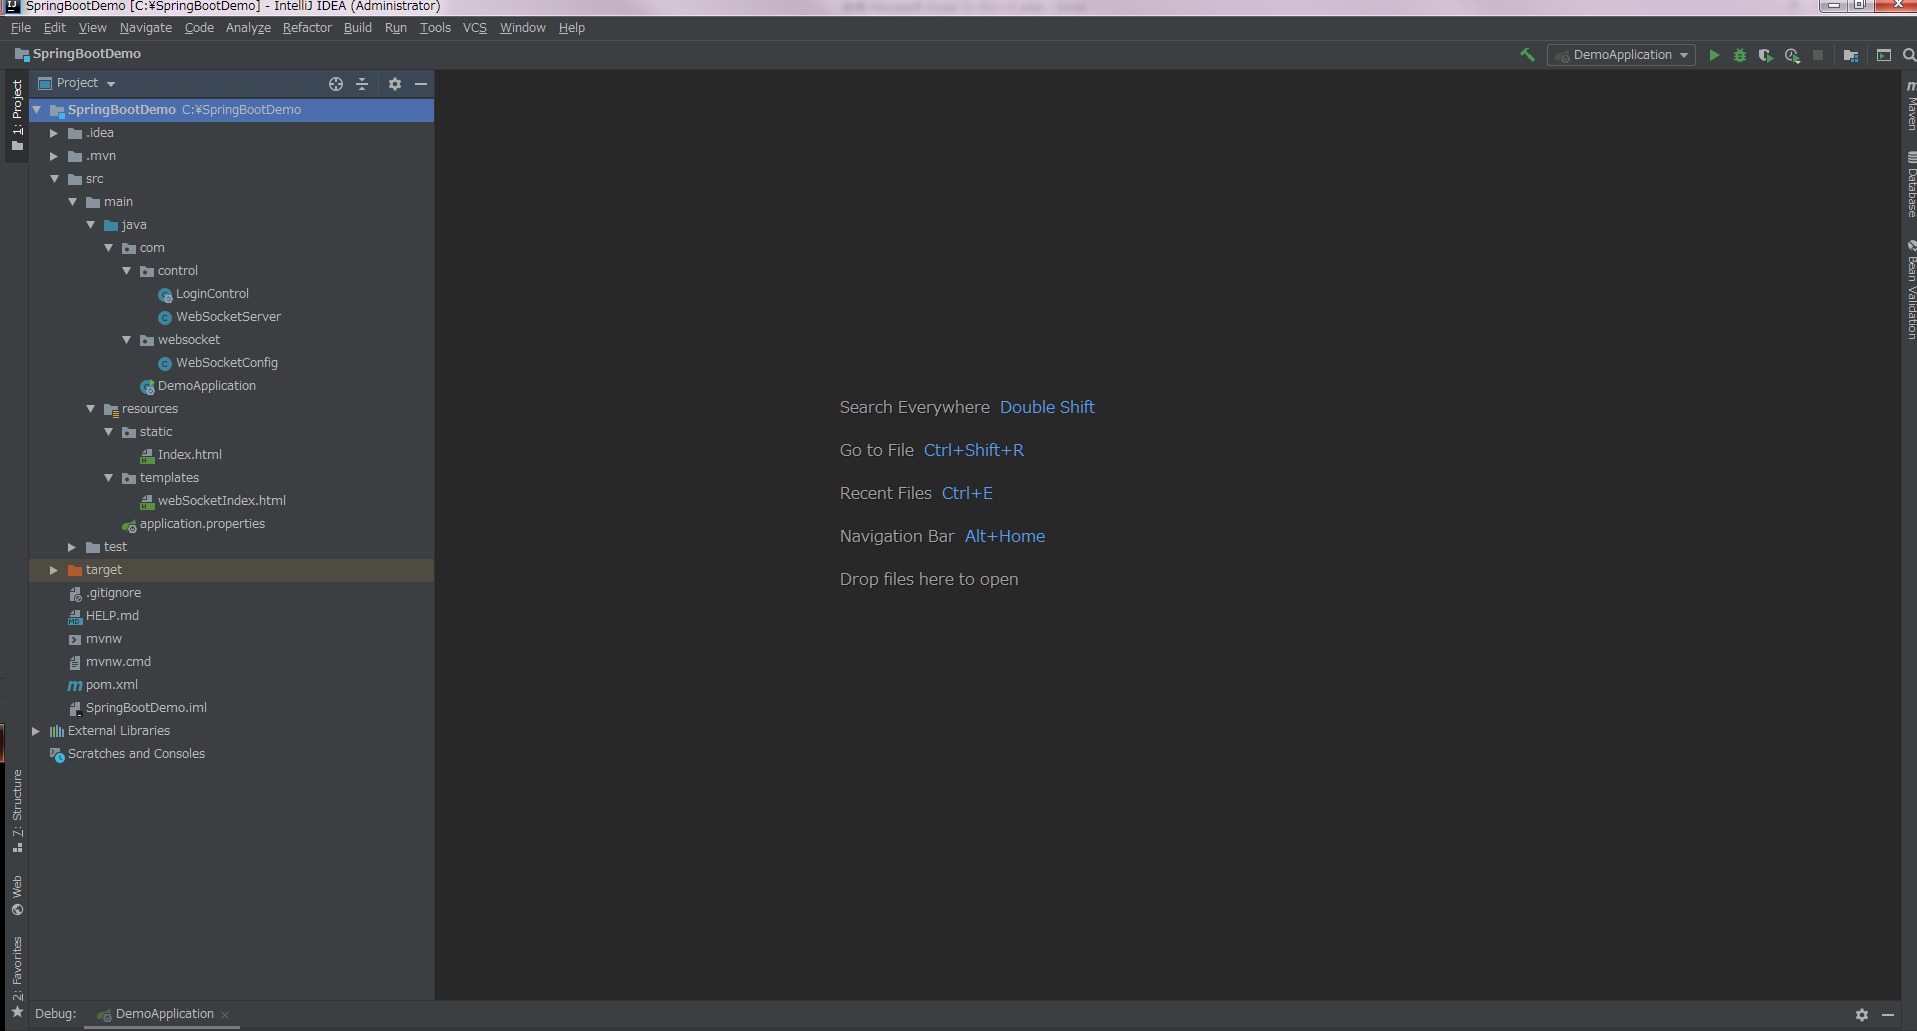
创建自己的control文件
LoginControl类是为了加载首页,找到webSocketIndex.html文件,但此时的application.properties文件里面要引用【spring.thymeleaf.prefix=classpath:/templates/】否则找不到路径
package com.control;

import org.springframework.boot.autoconfigure.EnableAutoConfiguration;

import org.springframework.ui.Model;

import org.springframework.web.bind.annotation.RequestMapping;

import org.springframework.web.bind.annotation.RestController;

import org.springframework.web.servlet.ModelAndView;

import javax.servlet.http.HttpServletRequest;

import javax.servlet.http.HttpServletResponse;

@EnableAutoConfiguration

@RestController

public class LoginControl {

    @RequestMapping("login")

    public ModelAndView home(Model model, HttpServletRequest request, HttpServletResponse response) throws Exception {

        String userName = "Jef";

        int count = 100;
    // 固定的写法

        ModelAndView mv = new ModelAndView("webSocketIndex");

        return mv;

    }

}
application.properties文件
spring.thymeleaf.prefix=classpath:/templates/

server.port=8081
pom文件
<?xml version="1.0" encoding="UTF-8"?>

<project xmlns="http://maven.apache.org/POM/4.0.0" xmlns:xsi="http://www.w3.org/2001/XMLSchema-instance"

         xsi:schemaLocation="http://maven.apache.org/POM/4.0.0 http://maven.apache.org/xsd/maven-4.0.0.xsd">

    <modelVersion>4.0.0</modelVersion>

    <parent>

        <groupId>org.springframework.boot</groupId>

        <artifactId>spring-boot-starter-parent</artifactId>

        <version>2.1.7.RELEASE</version>

        <relativePath/> <!-- lookup parent from repository -->

    </parent>

    <groupId>com.example</groupId>

    <artifactId>demo</artifactId>

    <version>0.0.1-SNAPSHOT</version>

    <name>demo</name>

    <description>Demo project for Spring Boot</description>

    <properties>

        <java.version>1.8</java.version>

    </properties>

    <dependencies>

        <dependency>

            <groupId>org.springframework.boot</groupId>

            <artifactId>spring-boot-starter-web</artifactId>

        </dependency>

        <dependency>

            <groupId>org.springframework.boot</groupId>

            <artifactId>spring-boot-starter-websocket</artifactId>

        </dependency>

        <dependency>

            <groupId>org.springframework.boot</groupId>

            <artifactId>spring-boot-starter-test</artifactId>

            <scope>test</scope>

        </dependency>

        <dependency>

            <groupId>org.springframework.boot</groupId>

            <artifactId>spring-boot-starter-thymeleaf</artifactId>

        </dependency>

    </dependencies>

    <build>

        <plugins>

            <plugin>

                <groupId>org.springframework.boot</groupId>

                <artifactId>spring-boot-maven-plugin</artifactId>

            </plugin>

        </plugins>

    </build>

</project>
WebSocketServer文件
package com.control;

import org.slf4j.Logger;

import org.slf4j.LoggerFactory;

import org.springframework.stereotype.Component;

import javax.websocket.*;

import javax.websocket.server.PathParam;

import javax.websocket.server.ServerEndpoint;

import java.io.IOException;

import java.util.List;

import java.util.concurrent.ConcurrentHashMap;

import java.util.concurrent.CopyOnWriteArraySet;

//@ServerEndpoint(value ="/WebSocket/{id}/{name}")

@ServerEndpoint(value ="/WebSocket")

@Component

public class WebSocketServer {

    //静态变量,用来记录当前在线连接数。应该把它设计成线程安全的。

    private static int onlineCount = 0;

    //concurrent包的线程安全Set,用来存放每个客户端对应的MyWebSocket对象。

    private static CopyOnWriteArraySet<WebSocketServer> webSocketSet = new CopyOnWriteArraySet<WebSocketServer>();

    private static ConcurrentHashMap<String, List<WebSocketServer>> webSocketMap =

            new ConcurrentHashMap<>(3);

    //与某个客户端的连接会话,需要通过它来给客户端发送数据

    private Session session;

    private static final Logger LOGGER = LoggerFactory.getLogger(WebSocketServer.class);

    @OnOpen

    public void onOpen(Session session) throws Exception {

        this.session = session;

        System.out.println(this.session.getId());

        webSocketSet.add(this);     //加入set中

        addOnlineCount();           //在线数加1

        System.out.println("有新连接加入!当前在线人数为" + getOnlineCount());

        LOGGER.info("Open a websocket. id={}", "12");

//        try {

//            sendMessage(CommonConstant.CURRENT_WANGING_NUMBER.toString());

//        } catch (IOException e) {

//            System.out.println("IO异常");

//        }

    }

    /**

     * 连接关闭调用的方法

     */

    @OnClose

    public void onClose() {

        webSocketSet.remove(this);  //从set中删除

        subOnlineCount();           //在线数减1

        System.out.println("有一连接关闭!当前在线人数为" + getOnlineCount());

        LOGGER.info("Close a websocket. ");

    }

    /**

     * 收到客户端消息后调用的方法

     *

     * @param message 客户端发送过来的消息*/

    @OnMessage

    public void onMessage(String message, Session session) {

        System.out.println("来自客户端的消息:" + message);

        LOGGER.info("Receive a message from client: " + message);

        //群发消息

        for (WebSocketServer item : webSocketSet) {

            try {

                item.sendMessage(message);

            } catch (IOException e) {

                e.printStackTrace();

            }

        }

    }

    /**

     * 发生错误时调用

     */

     @OnError

     public void onError(Session session, Throwable error) {

        System.out.println("发生错误");

        LOGGER.error("Error while websocket. ", error);

        error.printStackTrace();

     }

     public void sendMessage(String message) throws IOException {

     this.session.getBasicRemote().sendText(message);

     //this.session.getAsyncRemote().sendText(message);

     }

     /**

      * 群发自定义消息

      * */

    public static void sendInfo(String message) throws IOException {

        for (WebSocketServer item : webSocketSet) {

            try {

                item.sendMessage(message);

            } catch (IOException e) {

                continue;

            }

        }

    }

    public static synchronized int getOnlineCount() {

        return onlineCount;

    }

    public static synchronized void addOnlineCount() {

        WebSocketServer.onlineCount++;

    }

    public static synchronized void subOnlineCount() {

        WebSocketServer.onlineCount--;

    }

}
html5文件
<!DOCTYPE html>

<html lang="en">

<head>

    <meta charset="UTF-8">

    <title>Title</title>

</head>

<body>

Welcome<br/>

<input id="text" type="text" />

<button onclick="connect()">Connect</button>

<button onclick="send()">Send</button>

<button onclick="closeWebSocket()">Close</button>

<div id="message">

</div>

</body>

<script type="text/javascript">

    var websocket = null;

    //判断当前浏览器是否支持WebSocket

    if('WebSocket' in window){

        debugger

        websocket = new WebSocket("ws://localhost:8081/WebSocket");

    }

    else{

        alert('Not support websocket')

    }

    //连接发生错误的回调方法

    websocket.onerror = function(){

    debugger

        setMessageInnerHTML("error");

    };

    //连接成功建立的回调方法

    websocket.onopen = function(event){

    debugger

        setMessageInnerHTML("open");

    }

    //接收到消息的回调方法

    websocket.onmessage = function(event){

    debugger

        setMessageInnerHTML(event.data);

    }

    //连接关闭的回调方法

    websocket.onclose = function(){

        setMessageInnerHTML("close");

    }

    //监听窗口关闭事件,当窗口关闭时,主动去关闭websocket连接,防止连接还没断开就关闭窗口,server端会抛异常。

    window.onbeforeunload = function(){

        websocket.close();

    }

    //将消息显示在网页上

    function setMessageInnerHTML(innerHTML){

        document.getElementById('message').innerHTML += innerHTML + '<br/>';

    }

    //关闭连接

    function closeWebSocket(){

        websocket.close();

    }

    //发送消息

    function send(){

        var message = document.getElementById('text').value;

        websocket.send(message);

    }

</script>

</html>
在做的过程中遇到的问题是【websocket = new WebSocket("ws://localhost:8081/WebSocket");】总是访问不到,这时你要确认你的【ws://localhost:8081/WebSocket】是否写错
自己检查一下即可。
运行
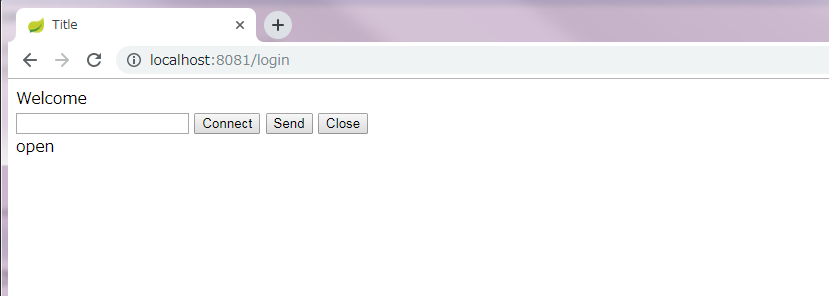
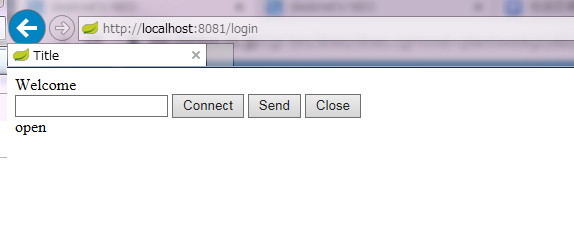
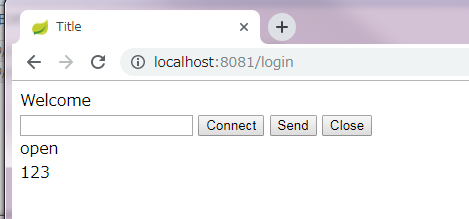
利用Google浏览器和IE浏览器打开网页http://localhost:8081/login,效果如下
Google浏览器


IE浏览器
Google浏览器

IE浏览器


html5+springboot+websocket的简单实现的更多相关文章
- springboot+websocket实现简单的在线聊天功能
效果如下: java实现逻辑: 1.引入maven依赖 <dependency> <groupId>org.springframework.boot</groupId&g ...
- 使用Html5下WebSocket搭建简易聊天室
一.Html5WebSocket介绍 WebSocket protocol 是HTML5一种新的协议(protocol).它是实现了浏览器与服务器全双工通信(full-duplex). 现在,很多网站 ...
- springboot搭建一个简单的websocket的实时推送应用
说一下实用springboot搭建一个简单的websocket 的实时推送应用 websocket是什么 WebSocket是一种在单个TCP连接上进行全双工通信的协议 我们以前用的http协议只能单 ...
- Java Springboot webSocket简单实现,调接口推送消息到客户端socket
Java Springboot webSocket简单实现,调接口推送消息到客户端socket 后台一般作为webSocket服务器,前台作为client.真实场景可能是后台程序在运行时(满足一定条件 ...
- springboot+websocket+sockjs进行消息推送【基于STOMP协议】
springboot+websocket+sockjs进行消息推送[基于STOMP协议] WebSocket是在HTML5基础上单个TCP连接上进行全双工通讯的协议,只要浏览器和服务器进行一次握手,就 ...
- 认识HTML5的WebSocket
在HTML5规范中,我最喜欢的Web技术就是正迅速变得流行的WebSocket API.WebSocket提供了一个受欢迎的技术,以替代我们过去几年一直在用的Ajax技术.这个新的API提供了一个方法 ...
- HTML5之WebSocket
在HTML5规范中,我最喜欢的Web技术就是正迅速变得流行的WebSocket API.WebSocket提供了一个受欢迎的技术,以替代我们过去几年一直在用的Ajax技术.这个新的API提供了一个方法 ...
- HTML5的Websocket(理论篇 I)
HTML5的Websocket(理论篇 I) ** 先请来TA的邻居:** http:无状态.基于tcp请求/响应模式的应用层协议 (A:哎呀,上次你请我吃饭了么? B:我想想, 上次请你吃了么) t ...
- html5利用websocket完成的推送功能(tomcat)
html5利用websocket完成的推送功能(tomcat) 利用websocket和java完成的消息推送功能,服务器用的是tomcat7.0.42,一些东西是自己琢磨的,也不知道恰不恰当,不恰当 ...
随机推荐
- test20190909 Gluttony
0+0+0+0+0+0=0.毒瘤出题人. BJOI2019 勘破神机 地灾军团的军师黑袍从潜伏在精灵高层的密探手中得知了神杖的情报,他对奥术宝石中蕴含的远古神秘力量十分感兴趣.他设计夺取了数块奥术宝石 ...
- idea常用设置汇总
https://www.cnblogs.com/wangmingshun/p/6427088.html
- select2实现多选 并且回显
html代码:<select name="ruleId" id="ruleId" class="required" onchange= ...
- Java 多线程实战
Java多线程 public class ThreadTest { public static void main(String[] args) throws InterruptedException ...
- .net 代码调用cmd执行.exe程序,获取控制台输出信息
使用.net core 对老项目升级, .net core 使用TripleDES.Create() 加密众iv字节限制 与 framework中的不同, 新项目还需要兼容老项目版本,还不想通过web ...
- 洛谷 P2571 [SCOI2010]传送带 题解
每日一题 day51 打卡 Analysis 这道题是用非常恶心的三分套三分做的,有一个技巧是不要枚举坐标,枚举两条线段构成三角形的相似比就好了. 了解思路就还挺好写的(尽管我还调了三天) #incl ...
- Dump文件定制工具---MiniDump Wizard
MiniDump向导应用程序允许在不编写代码的情况下尝试MiniDumpWriteDump和MiniDumpCallback函数.可以指定将传递给MiniDumpWriteDump函数的MINIDUM ...
- 使用vault pki 为nginx 生成tls 证书文件
关于vault pki 管理的使用的可以参考官方文档或者docker-vault 以下演示一个简单的基于vault pki 为nginx 提供tls 证书 项目环境配置 nginx 配置文件 wo ...
- 二八法则(The 80/20 Principle)
二八法则的定义:在任何一组事物中,最重要的只占其中一小部分,约20%,其余80%尽管占多数,却是次要的. 二八法则的例子:社会上20%的人占有80%的社会财富 20%的工厂有80%的产出 80%的利润 ...
- 【JZOJ6229】【20190621】san
题目 \(n\)个点\(m\)条边的有向图,每个点有点权 你可以选择拓扑序的一个区间的 最大化点权和 $n \le 50 , m \le \frac{n*(n-1)}{2} , 0 \le |a_i ...