Laravel框架简单的用户管理[CURD]操作
一个基于laravel和bootstrap的简单的用户管理,适合刚入门的我们,在做的过程中可以加深自己对laravel基础理解,里面存在一些问题,还未修改,比如css和js的引入,表单提交地址等不规范(我是这样认为的,如果你只追求功能那就没任何问题)
多看文档,多做,文档有些点虽然没说,但他娘的的确写在里面了~
目录结构
1.样式放在public文件夹下
2.模板文件以.blade.php为后缀,放在resource/views目录下
3.路由文件位于routes目录下web.php
4.表单文件需要在表单中加 {{ csrf_field() }}
遇到的坑
1.表单提交时,提交地址填写问题,自己注意下点击后跳转地址是否和路由一致
2.表单提交时,_token都传过去了,值没传过去,奶奶个腿,原来input没给名字,日狗了,写bootstrap时在id上写了name名....尴尬(┬_┬)
常用操作
创建控制器
php artisan make:controller UsersController
使用 PHP 内置的开发环境服务器为应用提供服务,在浏览器中通过 http://localhost:8000 即可访问应用,要一直开着
php artisan serve
1.模板文件
index.blade.php
<!DOCTYPE html>

<html lang="en">

<head>

    <meta charset="UTF-8">

    <title>用户管理中心</title>

    <link rel="stylesheet" href="css/bootstrap-theme.min.css">

    <link rel="stylesheet" href="css/bootstrap.min.css">

    <link rel="stylesheet" href="css/buttons.css">

    <script src="js/bootstrap.min.js"></script>

</head>

<body>

    <h1>用户列表</h1>

    <hr>

    <a  href="user/add" class="button button-tiny button-3d button-action button-pill">添加用户</a>

    <div class="container">

        <div class="row">

            <table class="table table-hover">

                <tr>

                    <th>ID</th>

                    <th>姓名</th>

                    <th>年龄</th>

                    <th>操作</th>

                </tr>

                @forelse($list as $v)

                <tr>

                    <td>{{$v->id}}</td>

                    <td>{{$v->name}}</td>

                    <td>{{$v->age}}</td>

                    <td>

                        <a href="user/del/{{$v->id}}"  class="button button-tiny button-3d  button-caution ">删除</a>

                        <a href="user/edit/{{$v->id}}"  class="button button-tiny button-3d button-royal">编辑</a>

                    </td>

                </tr>

                @empty

                 暂无数据

                @endforelse

            </table>

        </div>

    </div>

</body>

</html>
add.blade.php
<!DOCTYPE html>

<html lang="en">

<head>

    <meta charset="UTF-8">

    <title>添加用户</title>

    <link rel="stylesheet" href="../css/bootstrap-theme.min.css">

    <link rel="stylesheet" href="../css/bootstrap.min.css">

    <script src="../js/bootstrap.min.js"></script>

</head>

<body>

    <h1>添加用户</h1>

    <hr>

    <div class="container">

        <div class="row">

            <form class="form-horizontal" method="post" action="doAdd">

                {{ csrf_field() }}

                <div class="form-group">

                    <label for="n" class="col-sm-2 control-label">姓名</label>

                    <div class="col-md-4">

                        <input type="text" class="form-control" id="n"  name="name" placeholder="用户名">

                    </div>

                </div>

                <div class="form-group">

                    <label for="ae" class="col-sm-2 control-label">年龄</label>

                    <div class="col-md-4">

                        <input type="text" class="form-control" id="ae" name="age" placeholder="年龄">

                    </div>

                </div>

                <div class="form-group">

                    <div class="col-sm-offset-2 col-sm-10">

                        <button type="submit" class="btn btn-default">添加</button>

                    </div>

                </div>

            </form>

        </div>

    </div>

</body>

</html>
edit.blade.php
<!DOCTYPE html>

<html lang="en">

<head>

    <meta charset="UTF-8">

    <title>编辑用户</title>

    <link rel="stylesheet" href="http://127.0.0.1:8000/css/bootstrap-theme.min.css">

    <link rel="stylesheet" href="http://127.0.0.1:8000/css/bootstrap.min.css">

    <script src="http://127.0.0.1:8000/js/bootstrap.min.js"></script>

</head>

<body>

    <h1>编辑用户</h1>

    <hr>

    <div class="container">

        <div class="row">

            <form class="form-horizontal" method="post" action="/edit/save">

                {{csrf_field()}}

                <div class="form-group">

                    <input type="hidden" name="id" value="{{$list->id}}">

                    <label for="ne" class="col-sm-2 control-label">姓名</label>

                    <div class="col-md-4">

                        <input type="text" class="form-control" id="ne"  name="name" value="{{$list->name}}" placeholder="用户名">

                    </div>

                </div>

                <div class="form-group">

                    <label for="ae" class="col-sm-2 control-label">年龄</label>

                    <div class="col-md-4">

                        <input type="text" class="form-control" id="ae" name="age" value="{{$list->age}}" placeholder="年龄">

                    </div>

                </div>

                <div class="form-group">

                    <div class="col-sm-offset-2 col-sm-10">

                        <button type="submit" class="btn btn-default">修改</button>

                    </div>

                </div>

            </form>

        </div>

    </div>

</body>

</html>
2.路由文件
web.php
<?php

/*

|--------------------------------------------------------------------------

| Web Routes

|--------------------------------------------------------------------------

|

| Here is where you can register web routes for your application. These

| routes are loaded by the RouteServiceProvider within a group which

| contains the "web" middleware group. Now create something great!

|

*/

Route::get('/',function(){

    return '首页';

});

//用户

Route::get('/user', 'UsersController@index');

Route::get('/user/add', 'UsersController@add');

Route::post('/user/doAdd', 'UsersController@doAdd');

Route::get('/user/edit/{id}', 'UsersController@edit');

Route::post('/edit/save', 'UsersController@save');

Route::get('/user/del/{id}', 'UsersController@del');
3.控制器
UsersController.php
<?php

namespace App\Http\Controllers;

use Illuminate\Http\Request;

use Illuminate\Support\Facades\DB;

class UsersController extends Controller

{

    /**

     *   遍历用户

     */

    public function index()

    {

       $list = DB::table('user')->select('id','name', 'age')->get();

        return view('user.index',['list'=>$list]);

    }

    /**

     *   加载添加用户页面

     */

    public function add()

    {

        return view('user.add');

    }

    /**

     *   执行添加用户页面

     */

    public function doAdd(Request $request)

    {

        $data = $request->post();

        unset($data['_token']);

        $id = DB::table('user')->insertGetId(

            ['name' => $data['name'], 'age' => $data['age']]

        );

        if($id){

            echo '<script>alert("添加成功");window.location.href="/user";</script>';

        }else{

            echo '<script>alert("添加失败");window.location.href="/user";</script>';

        }

    }

    /**

     *

     *   加载用户编辑页面

     *

     *   @param $id  [用户id]

     *

     */

    public function edit($id)

    {

        $list = DB::table('user')->where('id', $id)->first();

        return view('user.edit',['list'=>$list]);

    }

    /**

     *   执行用户编辑

     *   @return boolean

     */

    public function save(Request $request)

    {

        $data = $request->post();

        $id = $data['id'];

        unset($data['_token']);

        unset($data['id']);

       $res = DB::table('user')

            ->where('id', $id)

            ->update(['name'=>$data['name'],'age'=>$data['age']]);

        if($res){

            echo '<script>alert("更新成功");window.location.href="/user";</script>';

        }else{

            echo '<script>alert("更新失败");window.location.href="/user";</script>';

        }

    }

    /**

     *   删除用户

     *

     *  @param $id  [用户id]

     *

     *   @return  boolean

     */

    public  function del( $id)

    {

        $res = DB::table('user')->where('id', $id)->delete();

        if($res){

            echo '<script>alert("删除成功");window.location.href="/user";</script>';

        }else{

            echo '<script>alert("修改失败");window.location.href="/user";</script>';

        }

    }

}
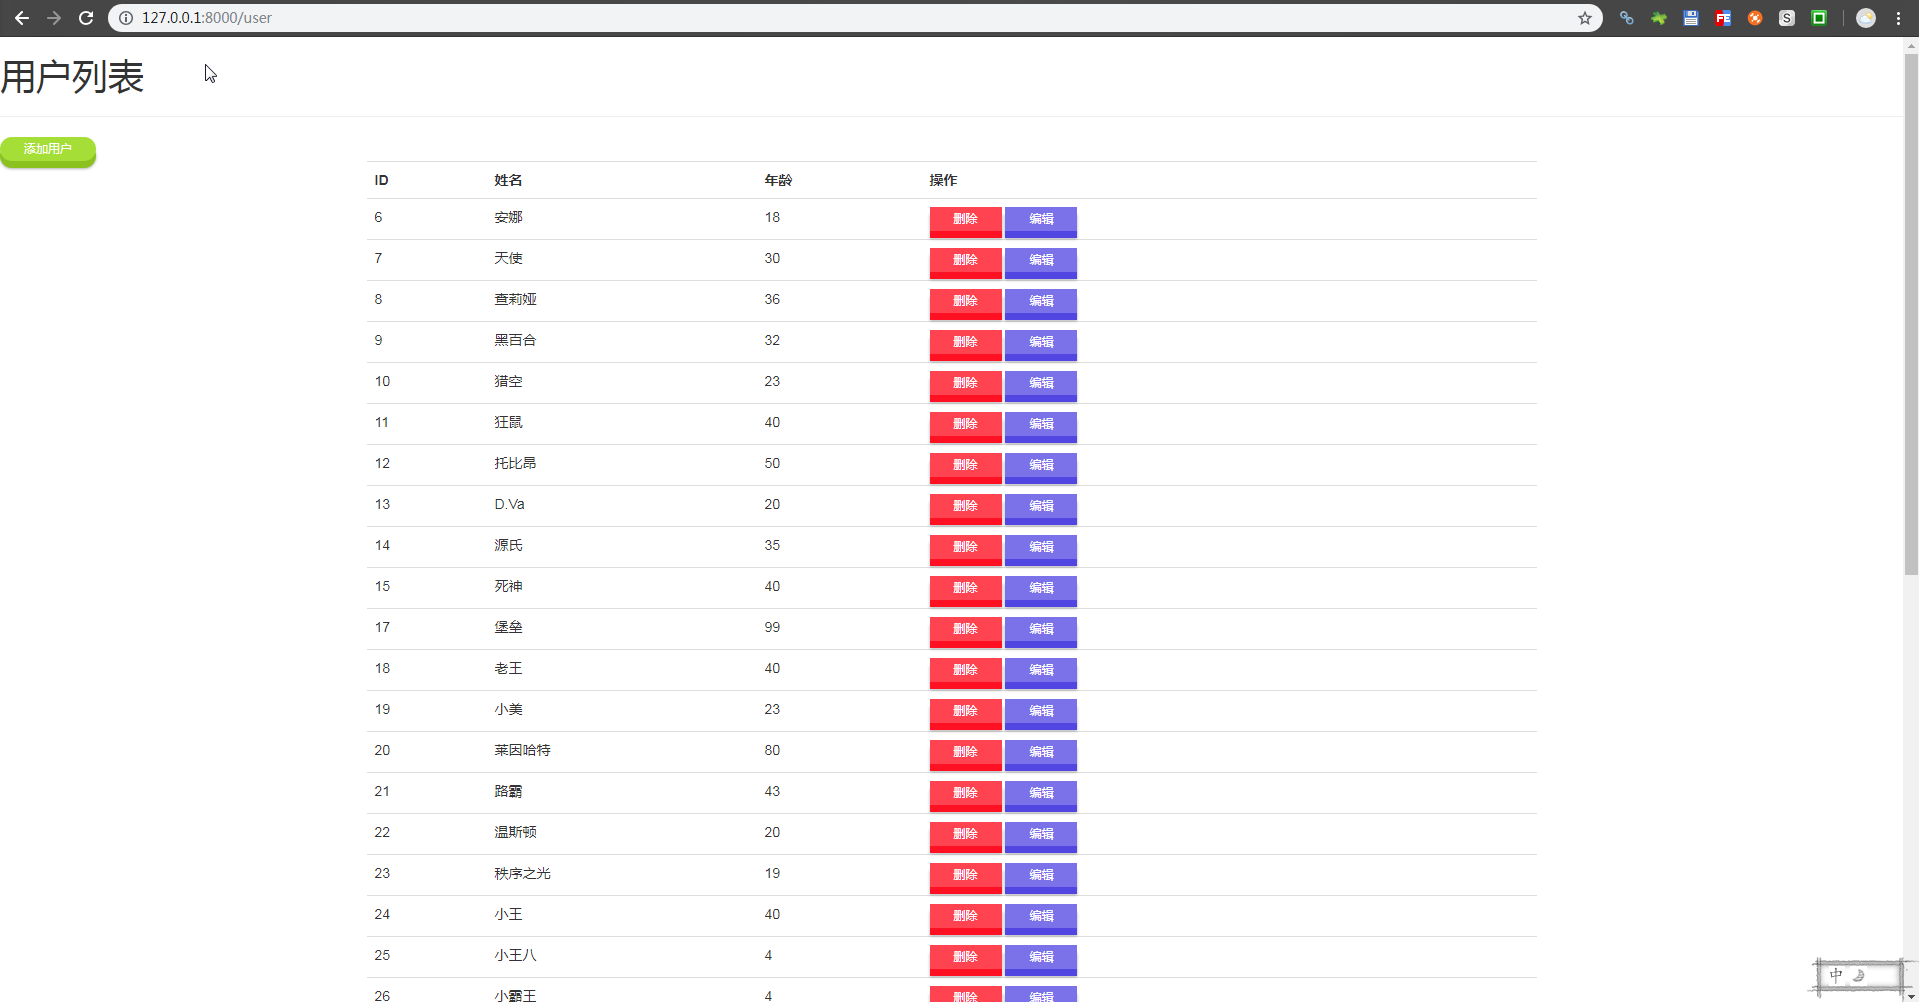
效果:
列表页
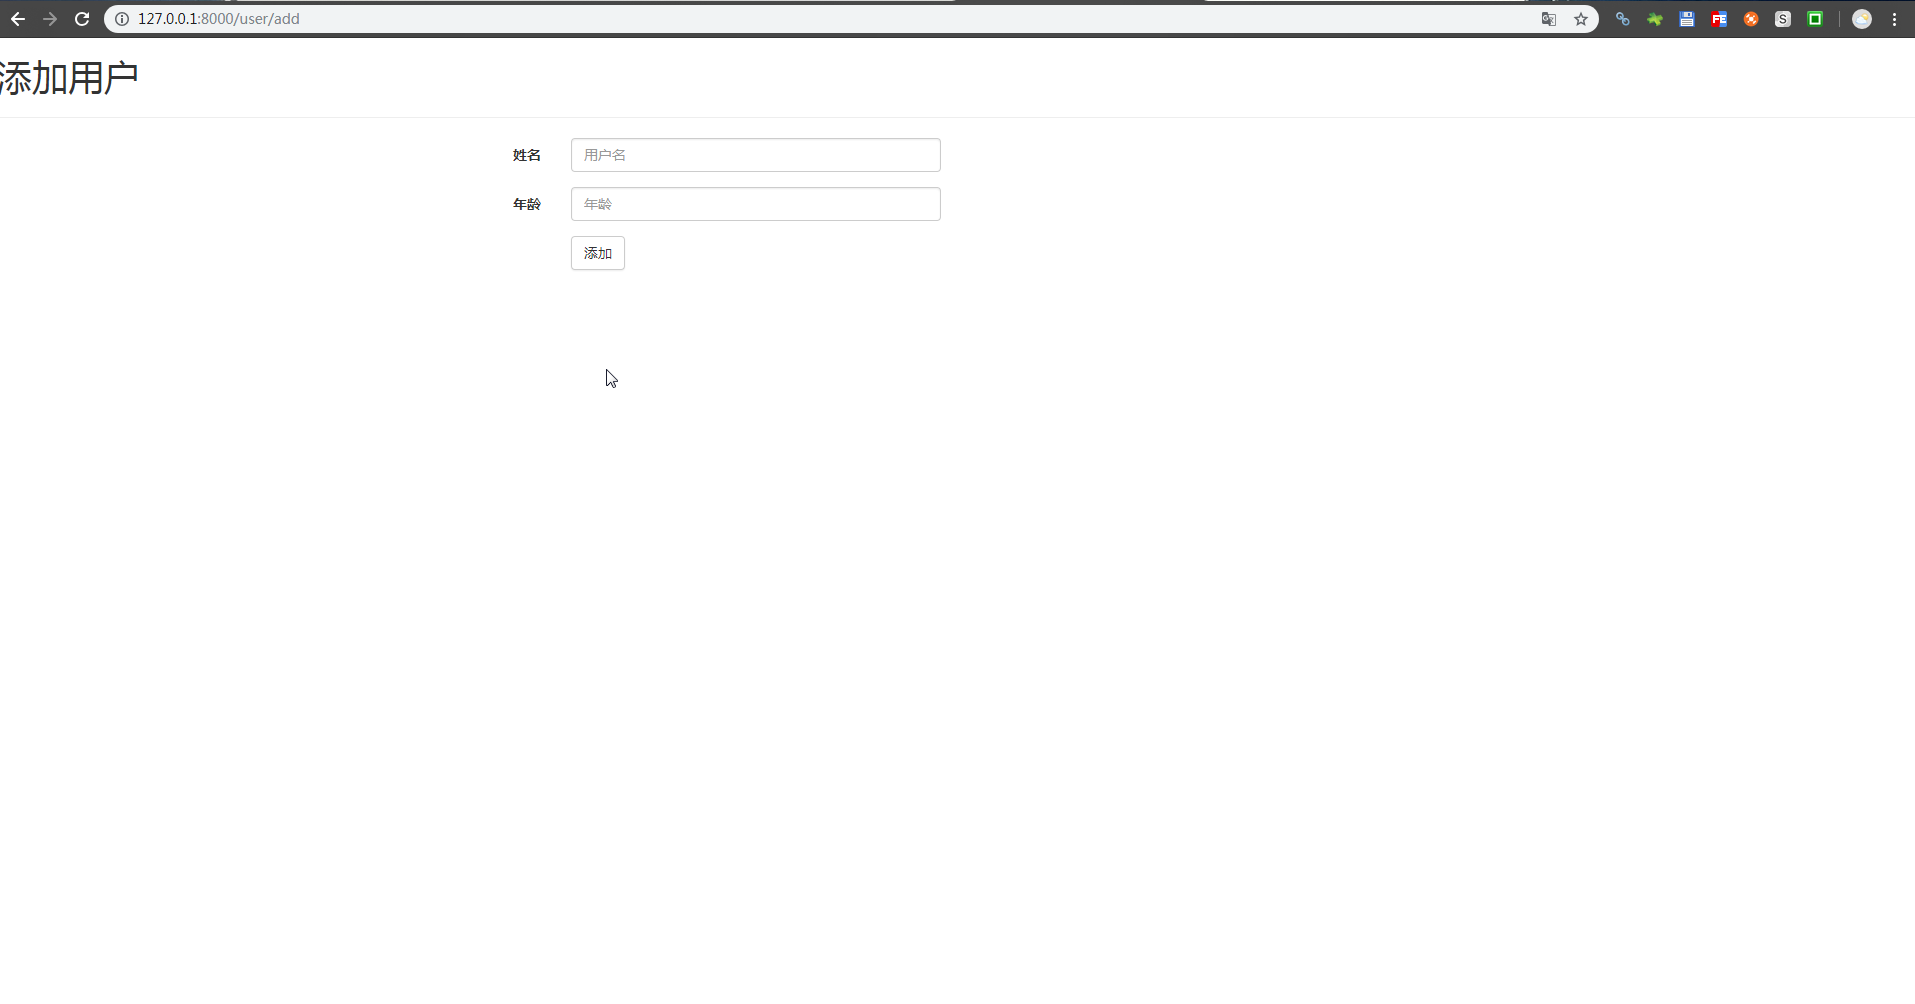
添加页
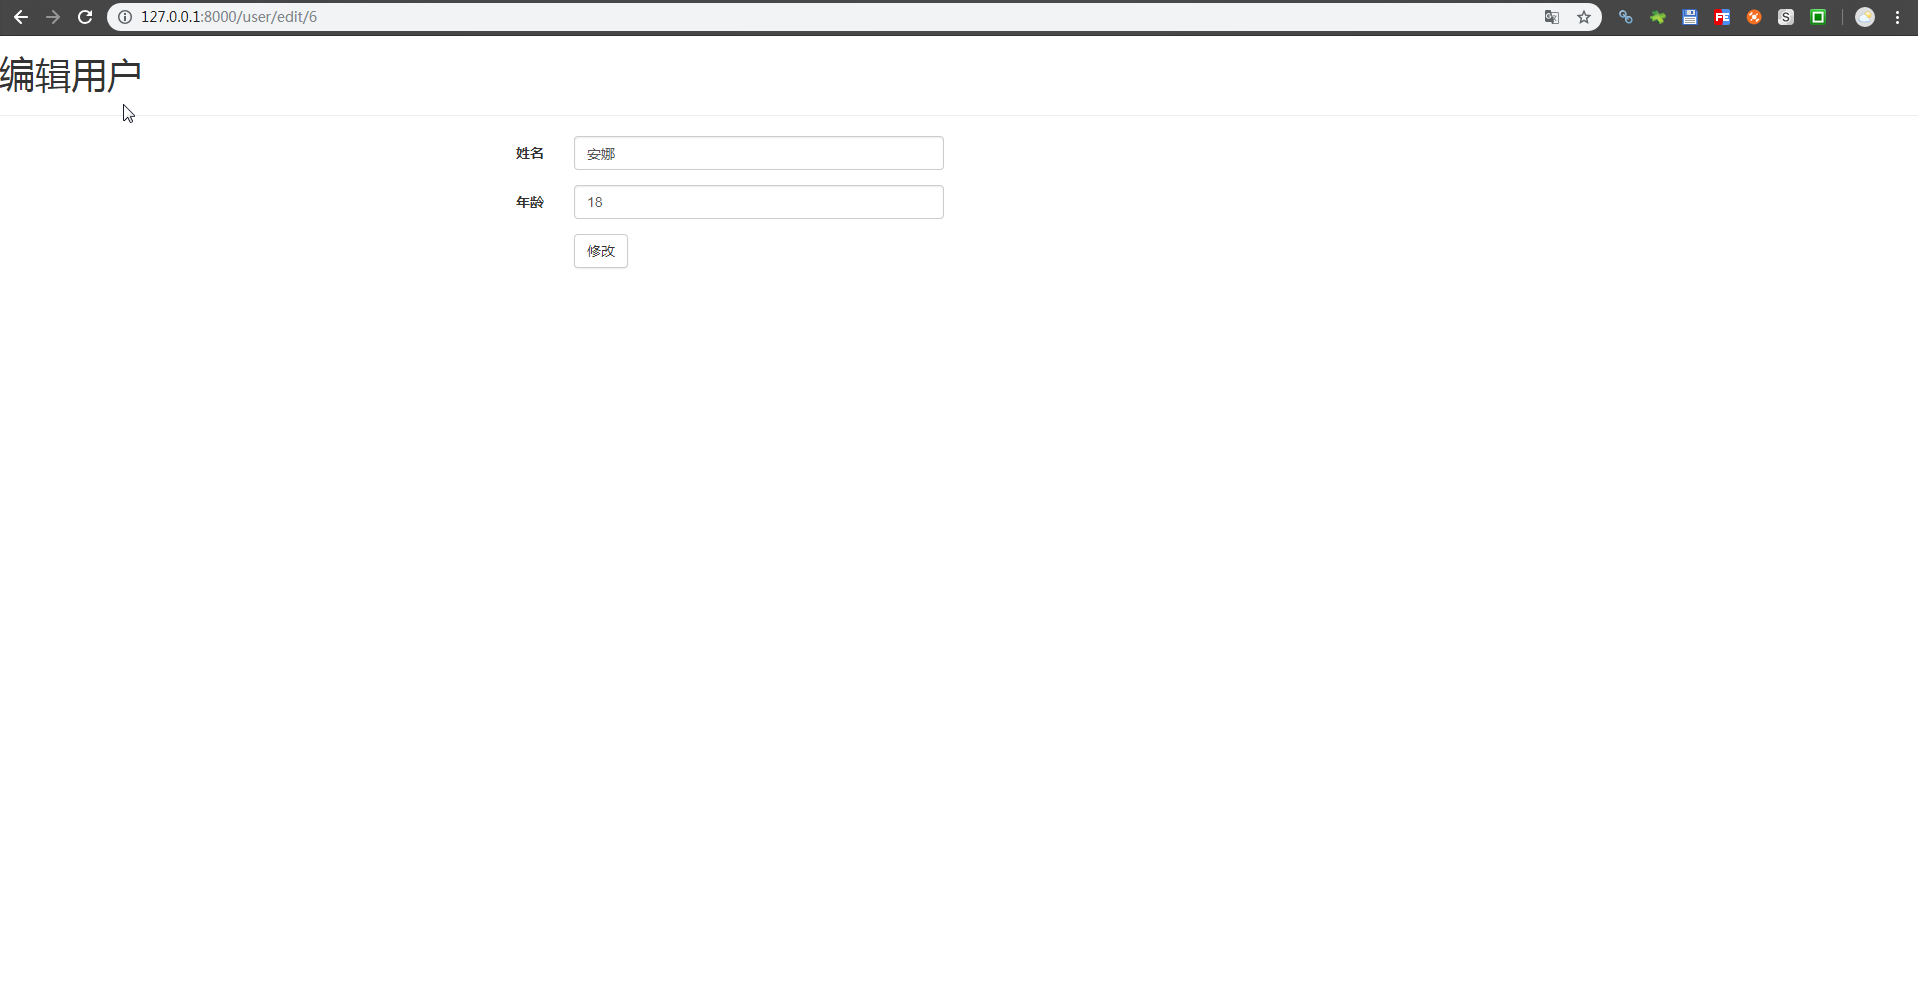
编辑页
要搞其他东西,没做效果,直接弹窗提示

Laravel框架简单的用户管理[CURD]操作的更多相关文章
- Spring MVC 学习笔记8 —— 实现简单的用户管理(4)用户登录
Spring MVC 学习笔记8 -- 实现简单的用户管理(4)用户登录 增删改查,login 1. login.jsp,写在外面,及跟WEB-INF同一级目录,如:ls Webcontent; &g ...
- Spring MVC 学习笔记10 —— 实现简单的用户管理(4.3)用户登录显示全局异常信息
</pre>Spring MVC 学习笔记10 -- 实现简单的用户管理(4.3)用户登录--显示全局异常信息<p></p><p></p>& ...
- Spring MVC 学习笔记9 —— 实现简单的用户管理(4)用户登录显示局部异常信息
Spring MVC 学习笔记9 -- 实现简单的用户管理(4.2)用户登录--显示局部异常信息 第二部分:显示局部异常信息,而不是500错误页 1. 写一个方法,把UserException传进来. ...
- 一个简单的ORM制作(CURD操作类)
SQL执行类 CURD操作类 其他酱油类 此篇是为上篇文章填坑的,不知道上篇砸过来的砖头够不够,不够的话请大家继续砸. CURD操作类负责将用户提供的条件转换为SQL语句,并提供给IHelper执行, ...
- Laravel框架使用查询构造器实现CURD
一.什么是查询构造器? ①Laravel 查询构造器(query Builder)提供方便,流畅的接口,用来建立及执行数据库查找语法 ②使用PDO参数绑定,以保护应用程序免于SQL注入因此传入的参数不 ...
- Django 使用 cookie 实现简单的用户管理
Cookie: 1.保存在用户浏览器 2.可以主动清除 3.可以被伪造 4.跨域名 Cookie 不共享 创建一个项目:user_manager 和应用: app01 创建数据库,添加 models. ...
- EasyUI+MVC+EF简单用户管理Demo(问题及解决)
写在前面 iframe-src EntityFramework版本 connectionStrings View.Action.页面跳转 EasyUI中DataGrid绑定 新增.修改和删除数据 效果 ...
- RDIFramework.NET ━ 9.3 用户管理 ━ Web部分
RDIFramework.NET ━ .NET快速信息化系统开发框架 9.3 用户管理 -Web部分 用户管理模块主要是对可登录系统的用户进行管理.后续的工作如:用户归属角色.权限的分配.用户所拥有 ...
- Linxu用户管理(转)
说明:用户管理的操作涉及root权限,所以以下实例中应该使用sudo或者root用户进行操作. 背景: Linux系统是一个多用户多任务的分时操作系统,任何一个要使用系统资源的用户,都必须首先向系统管 ...
随机推荐
- android精品开源项目整理
转载地址:http://www.eoeandroid.com/thread-311366-1-1.html 前言:无论你是android的初学者,还有是Android开发了好多年的高手,可能都会有很多 ...
- node 文件操作
对文件的各种操作,使用姿势如下 文件操作单例 @example fu.exist(file); //是否存在 fu.copy(file, 'new-path'); //复制到某个新目录 fu.move ...
- BZOJ1767/Gym207383I CEOI2009 Harbingers 斜率优化、可持久化单调栈、二分
传送门--BZOJCH 传送门--VJ 注:本题在BZOJ上是权限题,在Gym里面也不能直接看,所以只能在VJ上交了-- 不难考虑到这是一个\(dp\). 设\(dep_x\)表示\(x\)在树上的带 ...
- Luogu3514 POI2011 Lollipop 递推、构造
题目传送门:https://www.luogu.org/problemnew/show/P3514 题意:给出一个只有$1$和$2$的长度为$N$的数列,$M$次询问是否存在一段连续子区间和为$K$. ...
- 使用HashSet<>去除重复元素的集合
比如,某一个阵列中,有重复的元素,我们想去除重复的,保留一个.HashSet<T>含不重复项的无序列表,从MSDN网上了解到,这集合基于散列值,插入元素的操作非常快. 你可以写一个方法: ...
- 读取Excel的记录并导入SQL数据库
准备一下,近段时间,需要把Excel的数据导入数据库中. 引用命名空间: using System.Configuration; using System.Data; using System.Dat ...
- 分布式全文搜索引擎ElasticSearch
一 什么是 ElasticSearch Elasticsearch 是一个分布式可扩展的实时搜索和分析引擎,一个建立在全文搜索引擎 Apache Lucene(TM) 基础上的搜索引擎.当然 Elas ...
- [C#]SQLite执行效率优化结论
一.如要使用SQLite,可以从Visual Studio中的“程序包管理器控制台”输入以下命令完成安装: PM> Install-Package System.Data.SQLite.Core ...
- [UWP 自定义控件]了解模板化控件(2.1):理解ContentControl
UWP的UI主要由布局容器和内容控件(ContentControl)组成.布局容器是指Grid.StackPanel等继承自Panel,可以拥有多个子元素的类.与此相对,ContentControl则 ...
- Linux-C-Program:makefile
注:本文参照博客:https://blog.csdn.net/initphp/article/details/7692923 1. 概述2. 示例说明2.1 无makefile编译2.2 有makef ...