ARL(资产侦察灯塔系统)-源码搭建
freebuf能力中心开源了一套资产扫描系统(https://github.com/TophantTechnology/ARL),提供docker版,但并无源码搭建的文档(无完整文档)。于是在星光哥及小明哥指导下完成源码搭建,在这里记录一下。
环境
- centos7.6 2h4g
搭建过程
首先从github下载源码,我下载到opt 目录下。
phantomjs
先在官网下载phantomjs
# 下载

wget https://bitbucket.org/ariya/phantomjs/downloads/phantomjs-2.1.1-linux-x86_64.tar.bz2

# 解压

tar -jxvf phantomjs-2.1.1-linux-x86_64.tar.bz2

# 修改环境变量

vim /etc/profile

# 刷新环境变量

source /etc/profile

# 验证

phantomjs --version
/etc/profile文件末尾增加如下内容(路径看自己解压完放哪)
export PATH=$PATH:/opt/phantomjs-2.1.1-linux-x86_64/bin
安装相关软件包
yum install epel-release

yum install rabbitmq-server supervisor

yum install wqy-microhei-fonts fontconfig
rabbitmq-server
上面已经安装了rabbitmq-server
# 启动

systemctl start rabbitmq-server

# 配置

rabbitmqctl add_user arl arlpassword

rabbitmqctl add_vhost arlvhost

rabbitmqctl set_user_tags arl arltag

rabbitmqctl set_permissions -p arlvhost arl ".*" ".*" ".*"
nmap
下载nmap
https://nmap.org/dist/nmap-7.80-1.x86_64.rpm
# 安装

rpm -ivh nmap-7.80-1.x86_64.rpm
mongoDB
vim /etc/yum.repos.d/mongodb-org-4.0.repo
[mngodb-org]

name=MongoDB Repository

baseurl=http://mirrors.aliyun.com/mongodb/yum/redhat/7Server/mongodb-org/4.0/x86_64/

gpgcheck=0

enabled=1
安装yum -y install mongodb-org
开启无IP限制(方便看数据)
vim /etc/mongod.conf

service mongod restart
mongodb 添加认证
# mongo

> use arl

> db.createUser({user:'admin',pwd:'admin',roles:[{role:'dbOwner',db:'arl'}]})

> exit
开启登录验证
# 关闭数据库

service mongod stop

# 开启验证登录

vim /etc/mongod.conf
security:
authorization: enabled
# service mongod start
添加账号密码
mongo -u admin -p admin --authenticationDatabase "arl"

use arl

db.user.insert({ username: 'admin123',  password: hex_md5('arlsalt!@#'+'admin123') })

exit
GeoIP数据库
由于官方政策更新请前往maxmind注册下载GeoLite2-City.tar.gz,GeoLite2-ASN.tar.gz 解压。
在config.yaml中配置好相关路径。
我放在了/data/GeoLite2
config.yaml配置
添加并修改配置文件
cp app/config.yaml.example app/config.yaml
我的配置
CELERY:

  BROKER_URL : "amqp://arl:arlpassword@localhost:5672/arlvhost"

MONGO:

  URI : 'mongodb://admin:admin@localhost:27017/arl'

  DB : 'arl'

RISKIQ:

  EMAIL: "n1un1u2019@qq.com"

  KEY: "03da3c29cce5152a536bae332f7b03a288154b37a13b93921225d3ade49c9b4c"

GEOIP:

  CITY: '/data/GeoLite2/GeoLite2-City.mmdb'

  ASN: '/data/GeoLite2/GeoLite2-ASN.mmdb'

FOFA:

  EMAIL: ""

  KEY: ""

ARL:

  AUTH: true

  API_KEY: ""

  BLACK_IPS:

    - 127.0.0.0/8

    #- 0.0.0.0/8

    #- 172.16.0.0/12

    #- 100.0.0.0/8

    #- 10.0.0.0/8

    #- 192.168.0.0/16
nginx
# centOS7.6下安装nginx

cd /yum install gcc gcc-c++    # 安装依赖

wget http://nginx.org/download/nginx-1.17.1.tar.gz    # 下载nginx源码

tar -zxvf nginx-1.17.1.tar.gz    # 解压

cd nginx-1.17.1     # 进入解压后的文件夹

./configure --prefix=/usr/local/nginx    # 配置nginx安装路径

make

make install

ln -s /usr/local/nginx/sbin/nginx /usr/bin/nginx    # 创建nginx软链接,若已被占用,则在 /usr/bin 下 rm-rf nginxnginx    # 启动ngixnnginx -s stop     # 停止nginx服务
导入配置nginx.conf,这边直接用root启动了(根据自身修改用户)。
user root;

worker_processes auto;

error_log /var/log/nginx/error.log;

pid /run/nginx.pid;

# Load dynamic modules. See /usr/share/doc/nginx/README.dynamic.

include /usr/share/nginx/modules/*.conf;

events {

    worker_connections 1024;

}

http {

    log_format  main  '$remote_addr - $remote_user [$time_local] "$request" '

                      '$status $body_bytes_sent "$http_referer" '

                      '"$http_user_agent" "$http_x_forwarded_for"';

    sendfile            on;

    tcp_nopush          on;

    tcp_nodelay         on;

    keepalive_timeout   65;

    types_hash_max_size 2048;

    include             /usr/local/nginx/conf/mime.types;

    default_type        application/octet-stream;

    # Load modular configuration files from the /etc/nginx/conf.d directory.

    # See http://nginx.org/en/docs/ngx_core_module.html#include

    # for more information.

    include /etc/nginx/conf.d/*.conf;

    server {

        listen       80;

        server_name  _;

        #access_log  logs/host.access.log  main;

        access_log off;

        root    /opt/ARL-master/docker/frontend;

        location / {

            try_files $uri $uri/ /index.html;

            index  index.html index.htm;

        }

        location /api/ {

            proxy_pass http://127.0.0.1:5003/api/;

        }

    }

}
nginx启动。
无报错,前端则启动成功。
后端启动
安装依赖
pip3 install -r requirements.txt
WEB 服务启动
gunicorn -b 0.0.0.0:5003 app.main:arl_app -w 3 --access-logfile arl_web.log
CELERY 启动
celery -A app.celerytask.celery worker -l info -Q arltask -n arltask -c 2 -O fair -f arl_worker.log
利用tmux+supervisior启动。
安装tmux
yum install -y tmux
在项目根目录编写supervisior文件
supervisior.conf
[program:web_api]

command=gunicorn -b 0.0.0.0:5003 app.main:arl_app -w 3 --access-logfile /var/log/arl_web.log

;stdout_logfile=/var/log/web_api_stdout.log

;stderr_logfile=/var/log/web_api_stderr.log

autostart=true

autorestart=true

[program:celery_scan]

command=celery -A app.celerytask.celery worker -l info -Q arltask -n arltask -c 2 -O fair -f arl_worker.log

;stdout_logfile=/var/log/celery_scan_stdout.log

;stderr_logfile=/var/log/celery_scan_stderr.log

autostart=true

autorestart=true

[unix_http_server]

file=/tmp/supervisor.sock   ; the path to the socket file

[supervisord]

logfile=/tmp/supervisord.log ; main log file; default $CWD/supervisord.log

logfile_maxbytes=50MB        ; max main logfile bytes b4 rotation; default 50MB

logfile_backups=10           ; # of main logfile backups; 0 means none, default 10

loglevel=info                ; log level; default info; others: debug,warn,trace

pidfile=/tmp/supervisord.pid ; supervisord pidfile; default supervisord.pid

nodaemon=true              ; start in foreground if true; default false

minfds=1024                  ; min. avail startup file descriptors; default 1024

minprocs=200                 ; min. avail process descriptors;default 200

[rpcinterface:supervisor]

supervisor.rpcinterface_factory = supervisor.rpcinterface:make_main_rpcinterface

[supervisorctl]

serverurl=unix:///tmp/supervisor.sock ; use a unix:// URL  for a unix socket
# 新建一个窗口

tmux new -s sp

# 在项目根目录运行

supervisord -c supervisord.conf

# 会话后台运行

ctrl + b + d

# 进入会话

tmux a -t sp
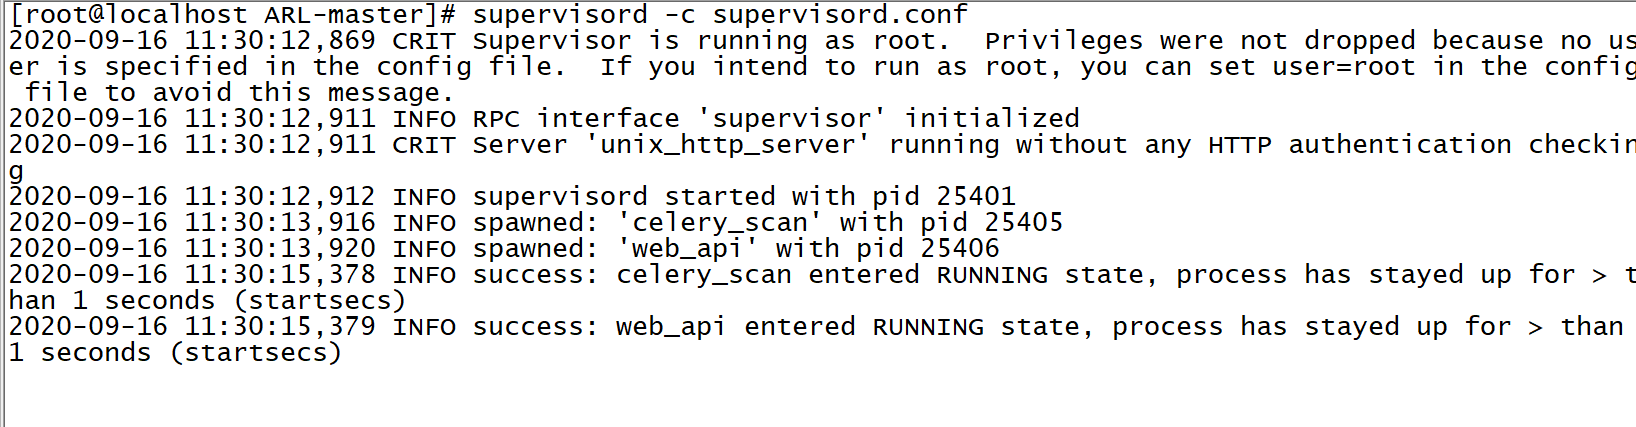
运行成功
使用
直接访问该IP
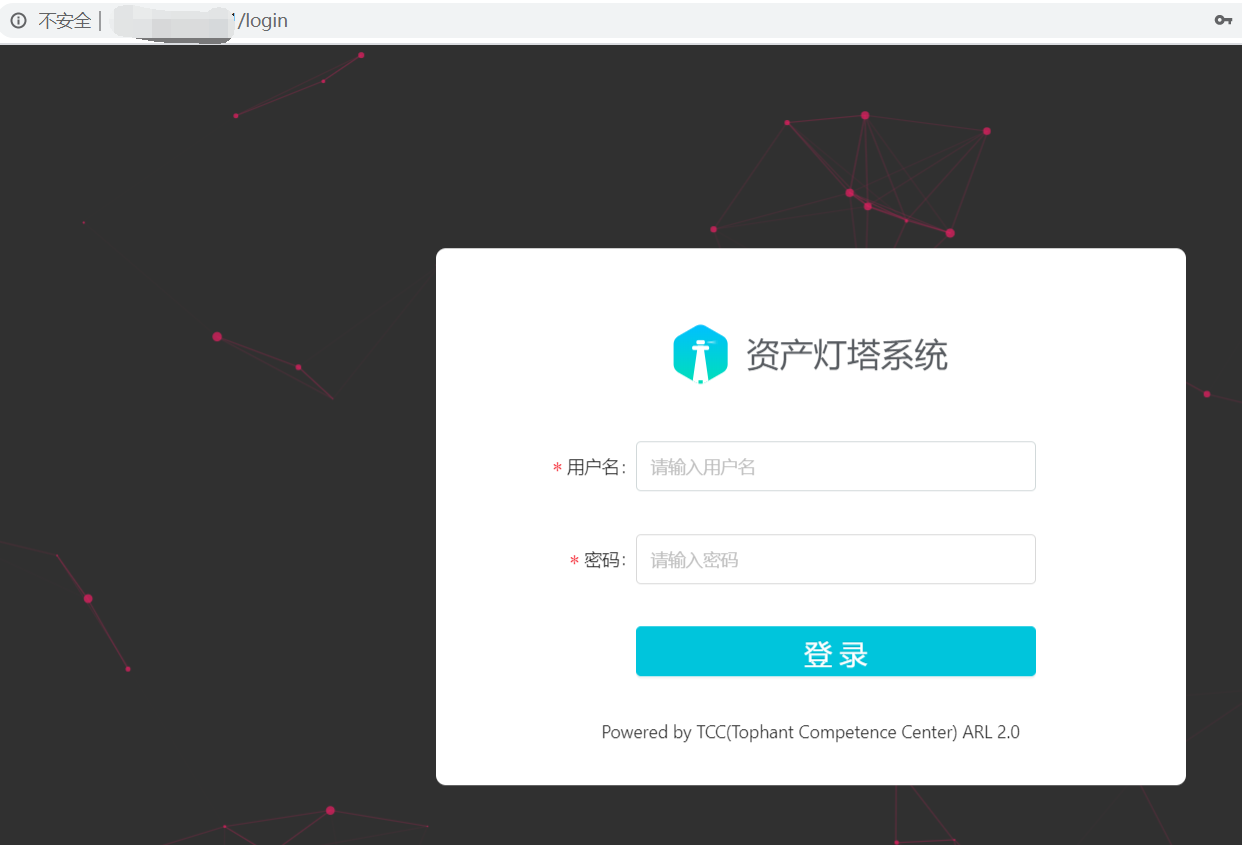
admin123/admin123登录
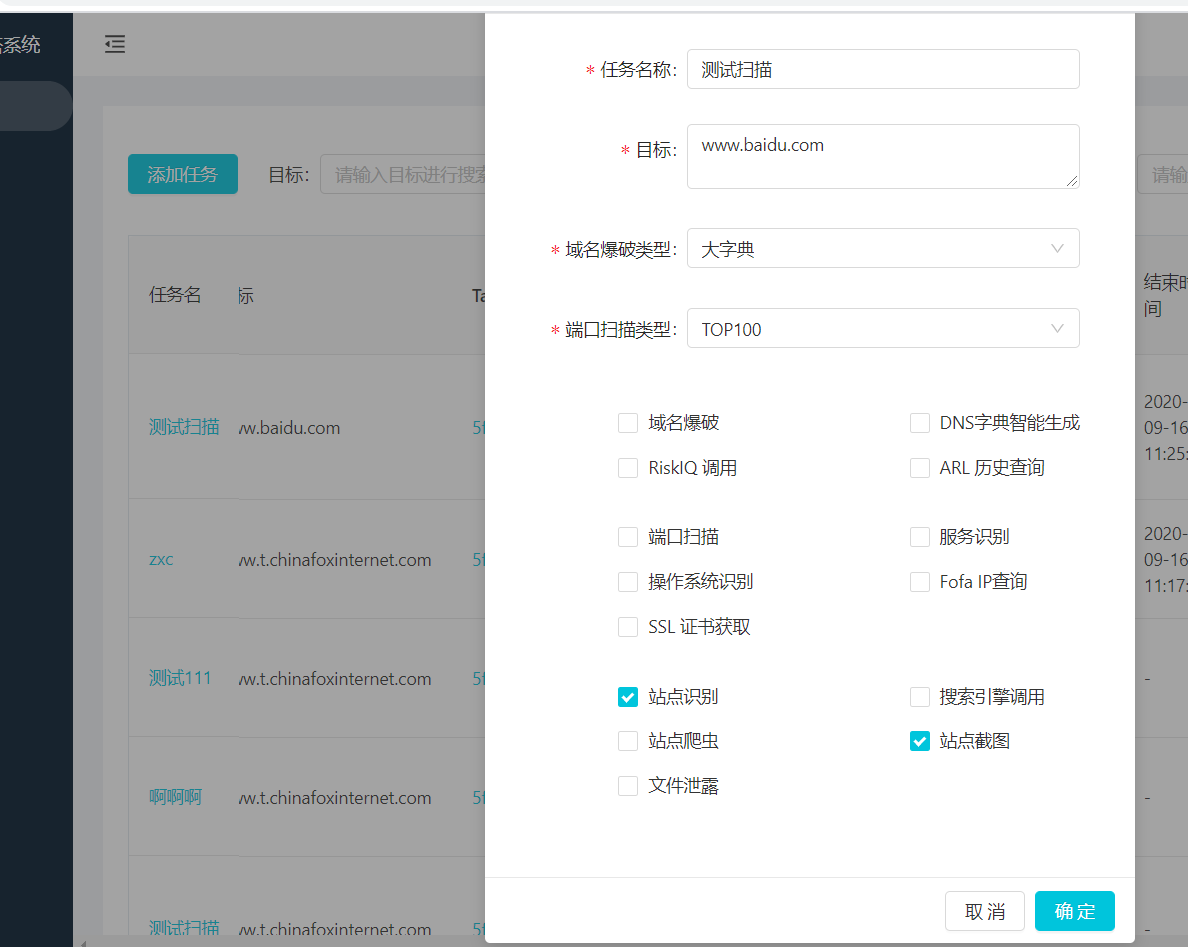
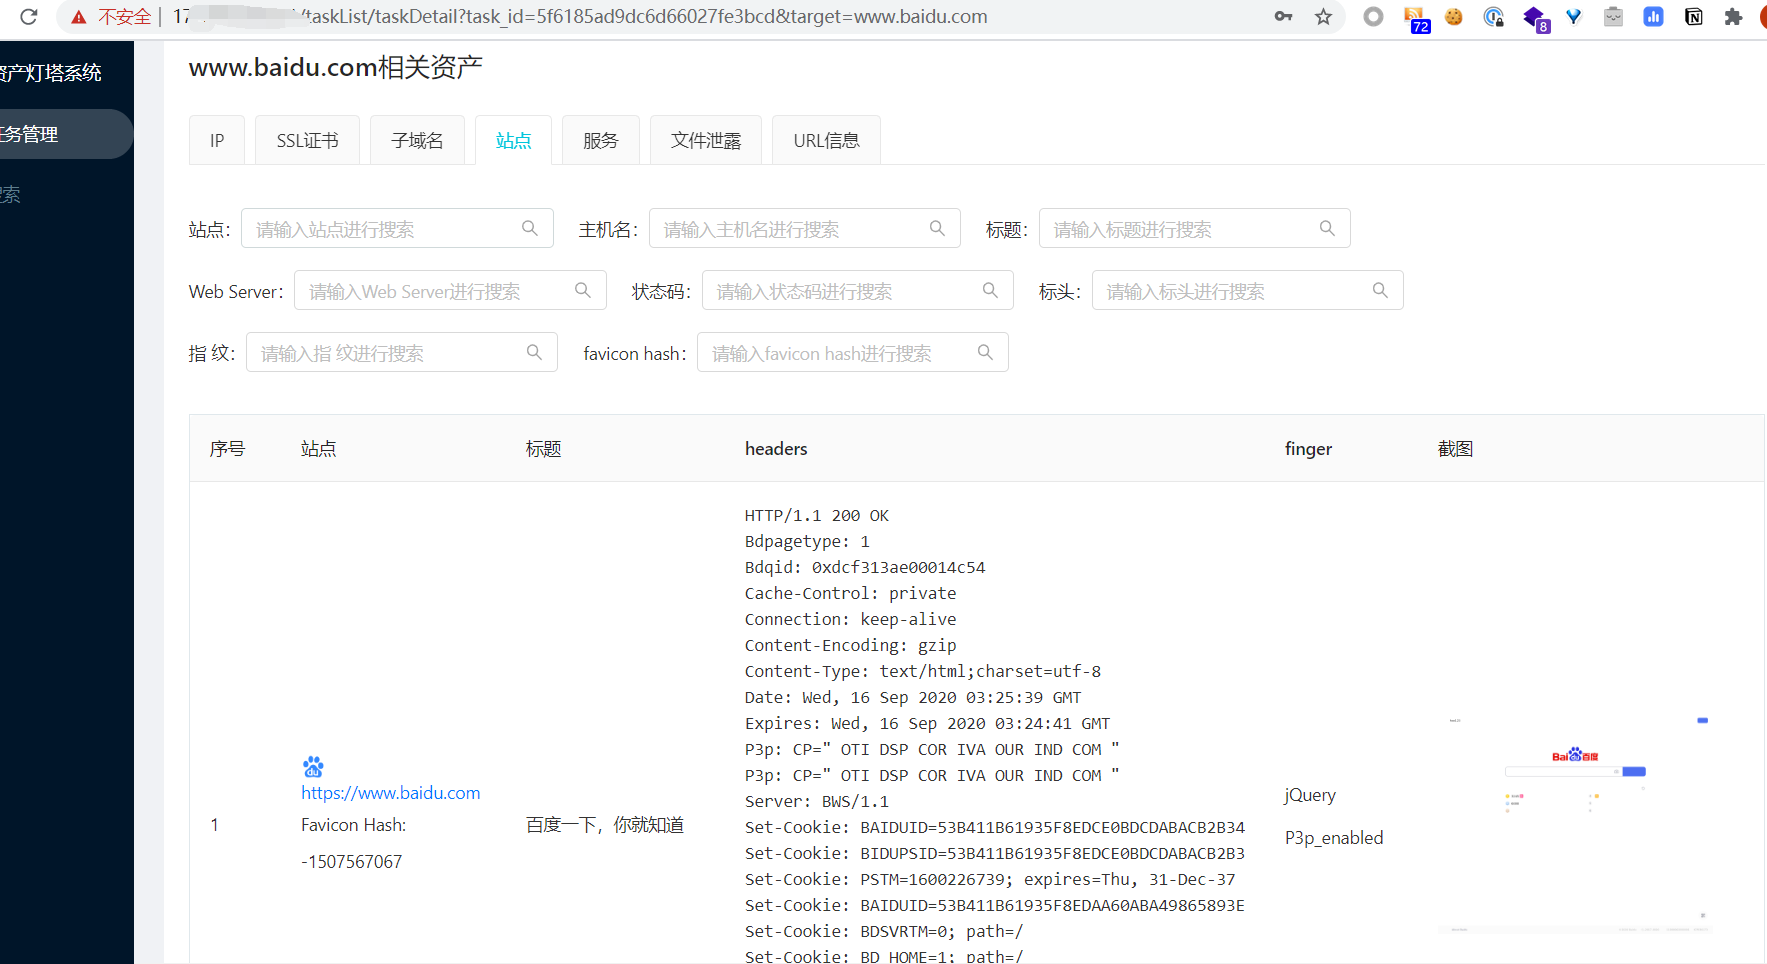
添加任务并看结果
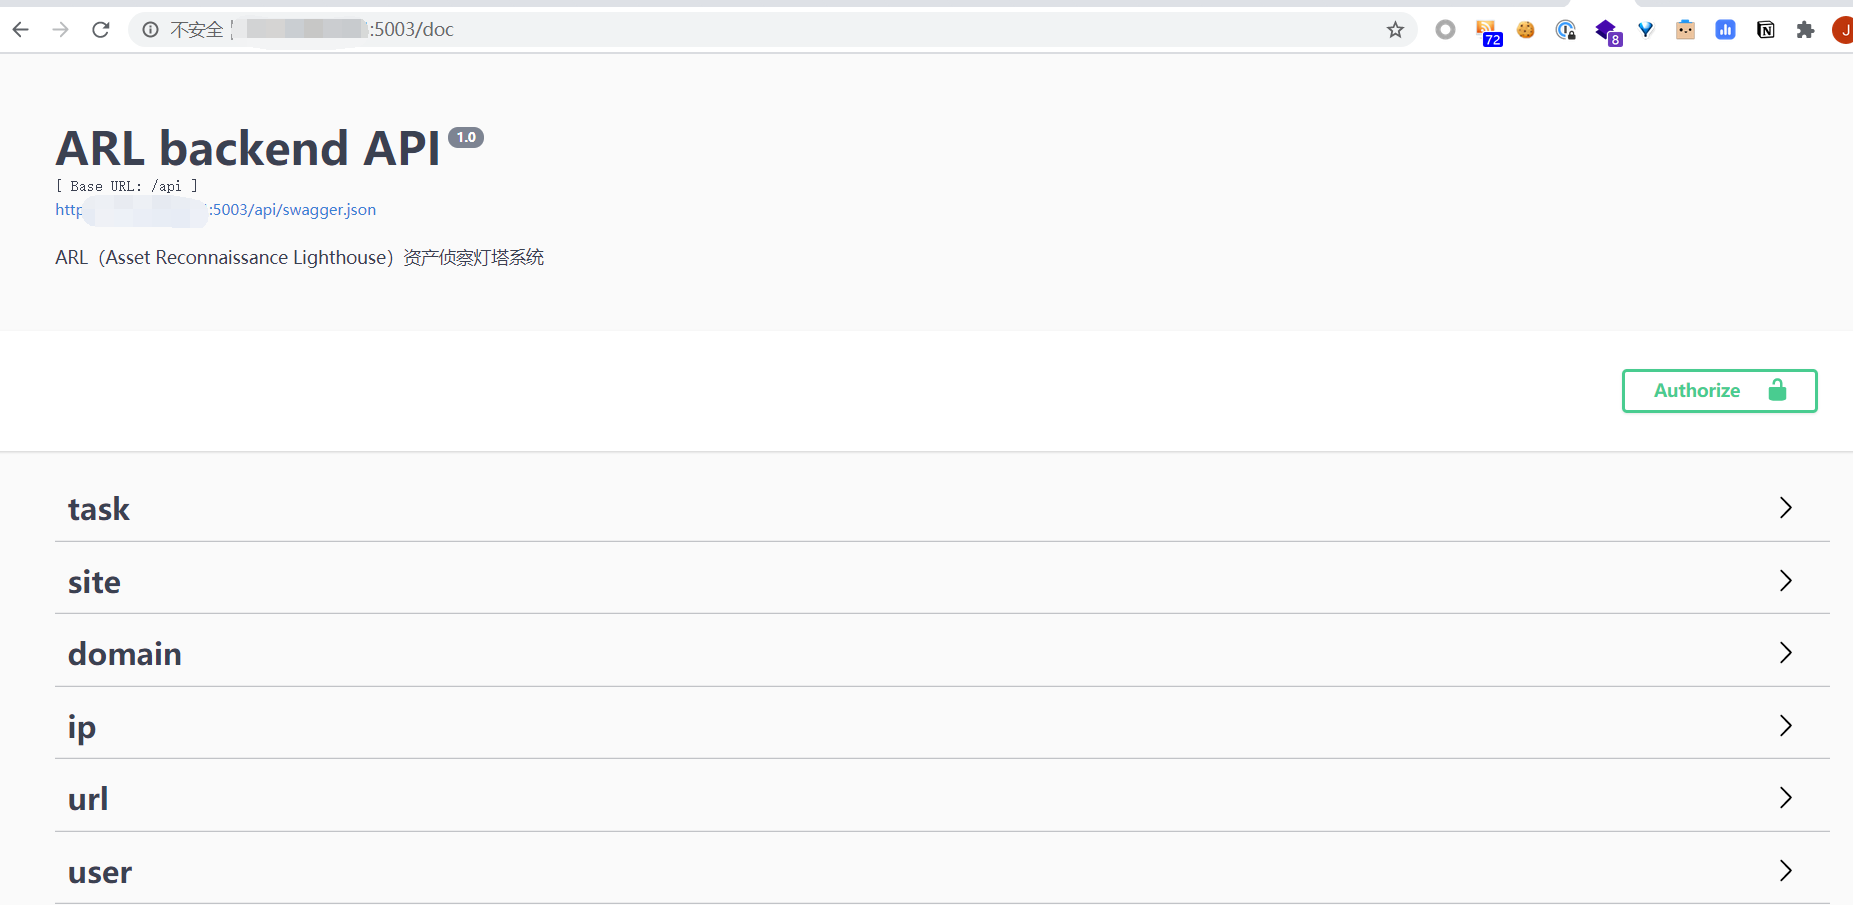
查看API文档并测试
结尾
使用了下,在资产探测收集还是很不错的,日站收集资产神器。而且是开源,也提供了API出来。在后续二开也很方便的。感谢开源!
ARL(资产侦察灯塔系统)-源码搭建的更多相关文章
- 搭建ARL资产安全灯塔
老年人了,只能靠安装部署项目混混日子这样~ 简介: 斗象TCC团队正式发布「ARL资产安全灯塔」开源版,该项目现已上线开源社区GitHub.ARL旨在快速侦察与目标关联的互联网资产,构建基础资产信息库 ...
- 安卓系统源码编译系列(六)——单独编译内置浏览器WebView教程
原文 http://blog.csdn.net/zhaoxy_thu/article/details/18883015 本文主要对从 ...
- Android 7.1.1系统源码下载、编译、刷机-Nexus 6实战
想成为一位合格的Android程序员或者一位Android高级工程师是十分有必要知道Android的框架层的工作原理,要知道其工作原理那么就需要阅读Android的源代码. 想要阅读Android的源 ...
- 如何阅读Android系统源码-收藏必备
对于任何一个对Android开发感兴趣的人而言,对于android系统的学习必不可少.而学习系统最佳的方法就如linus所言:"RTFSC"(Read The Fucking So ...
- Android FrameWork 学习之Android 系统源码调试
这是很久以前访问掘金的时候 无意间看到的一个关于Android的文章,作者更细心,分阶段的将学习步骤记录在自己博客中,我觉得很有用,想作为分享同时也是留下自己知识的一些欠缺收藏起来,今后做项目的时候会 ...
- 告别IT,出售多年自己研发的股票分析系统源码
不知已过而立,发狠告别IT,回头看看以前自己的多个作品,耗时最多的就是这个股票分析系统了,留在自己的电脑里也体现不出多大价值了,故打算出售源码给需要的人,联系方式QQ:874724605 注明:股票源 ...
- 整合了一个功能强大完善的OA系统源码,php全开源 界面漂亮美观
整合了一个功能强大完善的OA系统源码,php全开源界面漂亮美观.需要的同学联系Q:930948049
- 几个功能强大的系统源码(机票分销、机票预订、OA、手机充值、wifi营销、网络超市、体检平台)
1.机票分销.机票预订系统源码 2.OA系统源码 3.手机在线充值系统源码 4.wifi营销系统源码 5.网络超市系统源码 6.在线体检平台系统源码 7.违章查询与缴费系统源码 需要的同学请联系QQ: ...
- HoverTree系统源码介绍
HoverTree是一个开源asp.net系统.系统的效果请到:http://hovertree.com体验. 源码描述:一.源码特点采用典型的三层架构进行开发,实现了留言板的功能,后台管理,留言审核 ...
随机推荐
- TypeScript是什么,为什么要使用它?
转载请注明出处:葡萄城官网,葡萄城为开发者提供专业的开发工具.解决方案和服务,赋能开发者. 原文出处:https://medium.com/swlh/what-is-typescript-bf333e ...
- 多次调用Promise的then会返回什么?
//做饭 function cook(){ console.log('开始做饭.'); var p = new Promise(function(resolve, reject){ //做一些异步操作 ...
- CSS3动画旋转——(图片360°旋转)
今天在重构网页特效的时候,想着用到一个css3的旋转特效.简单来一个demo. html <div class="box"> <img src="./y ...
- exe调用DLL的方式
假设被调用的DLL存在一个导出函数,原型如下: void printN(int); 三种方式从DLL导入导出函数 生成DLL时使用模块定义 (.def) 文件 在主应用程序的函数定义中使用关键字__d ...
- c++右值引用和转移构造函数
int &&i = ; //i绑定到了右值1 int b = ; cout << i << endl; //输出1 i = b; cout << i ...
- [状压DP]P1441 题解 砝码称重
前置知识:状压DP 洛谷传送门 emm....看到题目,我第一个想到的就是枚举.暴力大法好! 具体怎么枚举?当然是子集枚举啦!枚举出每一个可能的砝码选择方案.对于每一个合法的(也就是选取数量等于\(n ...
- 【Go语言入门系列】(七)如何使用Go的方法?
[Go语言入门系列]前面的文章: [Go语言入门系列](四)之map的使用 [Go语言入门系列](五)之指针和结构体的使用 [Go语言入门系列](六)之再探函数 本文介绍Go语言的方法的使用. 1. ...
- 【译】ASP.NET Core updates in .NET 5 Preview 8
.NET 5 预览版 8 现在已经可以获取了,并且已经准备好接受评估.下面列出了本次发布的新特性: 使用 Microsoft.Identity.Web 进行 Azure Active Director ...
- Excel-Countif函数对重复值的处理之删除、统计和标记
问题场景 删除重复值: 统计重复项出现的次数: 对比两列,找出重复项. 场景一 某列员工编号user_id相当于身份证,可以唯一代表这个人,需要删除重复项. 目标 将user_id重复的人员所在行都删 ...
- stf-多设备管理平台搭建
项目地址: https://github.com/openstf/stf 安装.使用命令 # 安装stfbrew install rethinkdb graphicsmagick zeromq pro ...