【Android - 自定义View】之自定义九宫格手势解锁控件
首先来介绍一下这个自定义View:
- (1)这个自定义View的名称叫做 LockView ,继承自View类;
- (2)这个自定义View实现了应用中常见的九宫格手势解锁功能,可以用于保证应用安全;
- (3)用户可以自定义控件在不同状态下显示的颜色、什么情况算解锁成功、解锁成功或失败回调的方法等。
接下来介绍一下在这个自定义View中用到的技术点:
- (1)自定义属性;
- (2)在 onMeasure() 方法中对控件进行测量,保证九宫格显示在屏幕的中央;
- (3)在 onDraw() 方法中根据用户的手势绘制圆圈和连线;
- (4)在 onTouchEvent() 方法中接收用户的触摸事件并进行相应的处理;
- (5)将判断解锁是否成功以及解锁成功或失败的情况下回调的方法抽取成接口,供用户自定义。
下面是这个自定义View—— LockView 的实现代码:
自定义View类 LockView.java 中的代码:
import android.content.Context;

import android.content.res.TypedArray;

import android.graphics.Bitmap;

import android.graphics.Canvas;

import android.graphics.Color;

import android.graphics.Paint;

import android.graphics.Path;

import android.util.AttributeSet;

import android.util.TypedValue;

import android.view.MotionEvent;

import android.view.View;

import java.util.ArrayList;

import java.util.List;

/**

 * 自定义手势解锁控件

 * Created by ITGungnir on 2017/5/1.

 */

public class LockView extends View {

    // 状态常量

    private static final int STATE_NORMAL = 0x001; // 默认状态

    private static final int STATE_SELECT = 0x002; // 选中状态

    private static final int STATE_CORRECT = 0x003; // 正确状态

    private static final int STATE_WRONG = 0x004; // 错误状态

    // 自定义属性

    private int normalColor = Color.GRAY; // 默认显示的颜色

    private int selectColor = Color.YELLOW; // 选中时显示的颜色

    private int correctColor = Color.GREEN; // 正确时显示的颜色

    private int wrongColor = Color.RED; // 错误时显示的颜色

    private int lineWidth = -1; // 连线的宽度

    // 宽高相关

    private int width; // 父布局分配给这个View的宽度

    private int height; // 父布局分配给这个View的高度

    private int rectRadius; // 每个小圆圈的宽度(直径)

    // 元素相关

    private List<CircleRect> rectList; // 存储所有圆圈对象的列表

    private List<CircleRect> pathList; // 存储用户绘制的连线上的所有圆圈对象

    // 绘制相关

    private Canvas mCanvas; // 用于绘制元素的画布

    private Bitmap mBitmap; // 用户绘制元素的Bitmap

    private Path mPath; // 用户绘制的线条

    private Path tmpPath; // 记录用户以前绘制过的线条

    private Paint circlePaint; // 用户绘制圆圈的画笔

    private Paint pathPaint; // 用户绘制连线的画笔

    // 触摸相关

    private int startX; // 上一个节点的X坐标

    private int startY; // 上一个节点的Y坐标

    private boolean isUnlocking; // 是否正在解锁(手指落下时是否刚好在一个节点上)

    // 结果相关

    private OnUnlockListener listener;

    public LockView(Context context) {

        this(context, null);

    }

    public LockView(Context context, AttributeSet attrs) {

        this(context, attrs, 0);

    }

    public LockView(Context context, AttributeSet attrs, int defStyleAttr) {

        super(context, attrs, defStyleAttr);

        // 初始化一些对象(List等)

        rectList = new ArrayList<>();

        pathList = new ArrayList<>();

        // 获取自定义属性

        TypedArray array = context.getTheme().obtainStyledAttributes(attrs, R.styleable.LockView, defStyleAttr, 0);

        int count = array.getIndexCount();

        for (int i = 0; i < count; i++) {

            int attr = array.getIndex(i);

            switch (attr) {

                case R.styleable.LockView_normalColor:

                    normalColor = array.getColor(attr, Color.GRAY);

                    break;

                case R.styleable.LockView_selectColor:

                    selectColor = array.getColor(attr, Color.YELLOW);

                    break;

                case R.styleable.LockView_correctColor:

                    correctColor = array.getColor(attr, Color.GREEN);

                    break;

                case R.styleable.LockView_wrongColor:

                    wrongColor = array.getColor(attr, Color.RED);

                    break;

                case R.styleable.LockView_lineWidth:

                    lineWidth = (int) array.getDimension(attr, TypedValue.applyDimension(TypedValue.COMPLEX_UNIT_DIP, 5, context.getResources().getDisplayMetrics()));

                    break;

            }

        }

        if (lineWidth == -1) {

            lineWidth = (int) TypedValue.applyDimension(TypedValue.COMPLEX_UNIT_DIP, 5, context.getResources().getDisplayMetrics());

        }

    }

    @Override

    protected void onMeasure(int widthMeasureSpec, int heightMeasureSpec) {

        super.onMeasure(widthMeasureSpec, heightMeasureSpec);

        // 获取到控件的宽高属性值

        width = getMeasuredWidth();

        height = getMeasuredHeight();

    }

    @Override

    protected void onLayout(boolean changed, int left, int top, int right, int bottom) {

        // 初始化绘制相关的元素

        mBitmap = Bitmap.createBitmap(width, height, Bitmap.Config.ARGB_8888);

        mCanvas = new Canvas(mBitmap);

        circlePaint = new Paint();

        circlePaint.setAntiAlias(true);

        circlePaint.setDither(true);

        mPath = new Path();

        tmpPath = new Path();

        pathPaint = new Paint();

        pathPaint.setDither(true);

        pathPaint.setAntiAlias(true);

        pathPaint.setStyle(Paint.Style.STROKE);

        pathPaint.setStrokeCap(Paint.Cap.ROUND);

        pathPaint.setStrokeJoin(Paint.Join.ROUND);

        pathPaint.setStrokeWidth(lineWidth);

        // 初始化一些宽高属性

        int horizontalSpacing;

        int verticalSpacing;

        if (width <= height) {

            horizontalSpacing = 0;

            verticalSpacing = (height - width) / 2;

            rectRadius = width / 14;

        } else {

            horizontalSpacing = (width - height) / 2;

            verticalSpacing = 0;

            rectRadius = height / 14;

        }

        // 初始化所有CircleRect对象

        for (int i = 1; i <= 9; i++) {

            int x = ((i - 1) % 3 * 2 + 1) * rectRadius * 2 + horizontalSpacing + getPaddingLeft() + rectRadius;

            int y = ((i - 1) / 3 * 2 + 1) * rectRadius * 2 + verticalSpacing + getPaddingTop() + rectRadius;

            CircleRect rect = new CircleRect(i, x, y, STATE_NORMAL);

            rectList.add(rect);

        }

    }

    @Override

    protected void onDraw(Canvas canvas) {

        canvas.drawBitmap(mBitmap, 0, 0, null);

        for (int i = 0; i < rectList.size(); i++) {

            drawCircle(rectList.get(i), rectList.get(i).getState());

        }

        canvas.drawPath(mPath, pathPaint);

    }

    @Override

    public boolean onTouchEvent(MotionEvent event) {

        int currX = (int) event.getX();

        int currY = (int) event.getY();

        CircleRect rect = getOuterRect(currX, currY);

        switch (event.getAction()) {

            case MotionEvent.ACTION_DOWN:

                // 保证手指按下后所有元素都是初始状态

                this.reset();

                // 判断手指落点是否在某个圆圈中,如果是则设置该圆圈为选中状态

                if (rect != null) {

                    rect.setState(STATE_SELECT);

                    startX = rect.getX();

                    startY = rect.getY();

                    tmpPath.moveTo(startX, startY);

                    pathList.add(rect);

                    isUnlocking = true;

                }

                break;

            case MotionEvent.ACTION_MOVE:

                if (isUnlocking) {

                    mPath.reset();

                    mPath.addPath(tmpPath);

                    mPath.moveTo(startX, startY);

                    mPath.lineTo(currX, currY);

                    if (rect != null) {

                        rect.setState(STATE_SELECT);

                        startX = rect.getX();

                        startY = rect.getY();

                        tmpPath.lineTo(startX, startY);

                        pathList.add(rect);

                    }

                }

                break;

            case MotionEvent.ACTION_UP:

                isUnlocking = false;

                if (pathList.size() > 0) {

                    mPath.reset();

                    mPath.addPath(tmpPath);

                    StringBuilder result = new StringBuilder();

                    for (int i = 0; i < pathList.size(); i++) {

                        result.append(pathList.get(i).getCode());

                    }

                    if (listener.isUnlockSuccess(result.toString())) {

                        listener.onSuccess();

                        setWholePathState(STATE_CORRECT);

                    } else {

                        listener.onFailure();

                        setWholePathState(STATE_WRONG);

                    }

                }

                break;

        }

        invalidate();

        return true;

    }

    /**

     * 根据状态(解锁成功/失败)改变整条路径上所有元素的颜色

     *

     * @param state 状态(解锁成功/失败)

     */

    private void setWholePathState(int state) {

        pathPaint.setColor(getColorByState(state));

        for (CircleRect rect : pathList) {

            rect.setState(state);

        }

    }

    /**

     * 通过状态得到应显示的颜色

     *

     * @param state 状态

     * @return 给定状态下应该显示的颜色

     */

    private int getColorByState(int state) {

        int color = normalColor;

        switch (state) {

            case STATE_NORMAL:

                color = normalColor;

                break;

            case STATE_SELECT:

                color = selectColor;

                break;

            case STATE_CORRECT:

                color = correctColor;

                break;

            case STATE_WRONG:

                color = wrongColor;

                break;

        }

        return color;

    }

    /**

     * 根据参数中提供的圆圈参数绘制圆圈

     *

     * @param rect  存储圆圈所有参数的CircleRect对象

     * @param state 圆圈的当前状态

     */

    private void drawCircle(CircleRect rect, int state) {

        circlePaint.setColor(getColorByState(state));

        mCanvas.drawCircle(rect.getX(), rect.getY(), rectRadius, circlePaint);

    }

    /**

     * 判断参数中的x、y坐标对应的点是否在某个圆圈内,如果在则返回这个圆圈,否则返回null

     *

     * @param x 给定的点的X坐标

     * @param y 给定的点的Y坐标

     * @return 给定点所在的圆圈对象,如果不在任何一个圆圈内则返回null

     */

    private CircleRect getOuterRect(int x, int y) {

        for (int i = 0; i < rectList.size(); i++) {

            CircleRect rect = rectList.get(i);

            if ((x - rect.getX()) * (x - rect.getX()) + (y - rect.getY()) * (y - rect.getY()) <= rectRadius * rectRadius) {

                if (rect.getState() != STATE_SELECT) {

                    return rect;

                }

            }

        }

        return null;

    }

    /**

     * 解锁,手指抬起后回调的借口

     */

    interface OnUnlockListener {

        // 由用户来判断解锁是否成功

        boolean isUnlockSuccess(String result);

        // 当解锁成功时回调的方法

        void onSuccess();

        // 当解锁失败时回调的方法

        void onFailure();

    }

    /**

     * 为当前View设置结果监听器

     */

    public void setOnUnlockListener(OnUnlockListener listener) {

        this.listener = listener;

    }

    /**

     * 重置所有元素的状态到初始状态

     */

    public void reset() {

        setWholePathState(STATE_NORMAL);

        pathPaint.setColor(selectColor);

        mPath.reset();

        tmpPath.reset();

        pathList = new ArrayList<>();

    }

}
自定义属性文件 res/values/attr.xml 中的代码:
<resources>

    <attr name="normalColor" format="color" /> <!-- 正常状态下圆圈的颜色 -->

    <attr name="selectColor" format="color" /> <!-- 选中状态下圆圈的颜色 -->

    <attr name="correctColor" format="color" /> <!-- 正确状态下圆圈的颜色 -->

    <attr name="wrongColor" format="color" /> <!-- 错误状态下圆圈的颜色 -->

    <attr name="lineWidth" format="dimension" /> <!-- 连线的宽度 -->

    <declare-styleable name="LockView">

        <attr name="normalColor" />

        <attr name="selectColor" />

        <attr name="correctColor" />

        <attr name="wrongColor" />

        <attr name="lineWidth" />

    </declare-styleable>

</resources>
存储每个圆圈属性的实体类 CircleRect.java 中的代码:
/**

 * 存储圆圈的各种属性的实体类

 * Created by ITGungnir on 2017/5/1.

 */

public class CircleRect {

    // 圆圈所代表的数字(1~9)

    private int code;

    // 圆心的X坐标

    private int x;

    // 圆心的Y坐标

    private int y;

    // 圆圈的当前状态

    private int state;

    public CircleRect() {

    }

    public CircleRect(int code, int x, int y, int state) {

        this.code = code;

        this.x = x;

        this.y = y;

        this.state = state;

    }

    public int getCode() {

        return code;

    }

    public void setCode(int code) {

        this.code = code;

    }

    public int getX() {

        return x;

    }

    public void setX(int x) {

        this.x = x;

    }

    public int getY() {

        return y;

    }

    public void setY(int y) {

        this.y = y;

    }

    public int getState() {

        return state;

    }

    public void setState(int state) {

        this.state = state;

    }

}
主界面布局文件 activity_main.xml 中的代码:
<?xml version="1.0" encoding="utf-8"?>

<RelativeLayout xmlns:android="http://schemas.android.com/apk/res/android"

    xmlns:app="http://schemas.android.com/apk/res-auto"

    android:id="@+id/activity_main"

    android:layout_width="match_parent"

    android:layout_height="match_parent"

    android:background="@android:color/white">

    <my.itgungnir.lockview.LockView

        android:id="@+id/lockview_main_lv_lockview"

        android:layout_width="match_parent"

        android:layout_height="match_parent"

        app:correctColor="#00FF00"

        app:lineWidth="5.0dip"

        app:normalColor="#888888"

        app:selectColor="#FFFF00"

        app:wrongColor="#FF0000" />

</RelativeLayout>
主界面JAVA文件 MainActivity.java 中的代码:
import android.support.v7.app.AppCompatActivity;

import android.os.Bundle;

import android.widget.Toast;

public class MainActivity extends AppCompatActivity {

    private LockView lockView; // 自定义九宫格手势解锁控件

    @Override

    protected void onCreate(Bundle savedInstanceState) {

        super.onCreate(savedInstanceState);

        setContentView(R.layout.activity_main);

    }

    @Override

    protected void onResume() {

        super.onResume();

        // 通过 ID 找到控件

        lockView = (LockView) findViewById(R.id.lockview_main_lv_lockview);

        // 初始化事件

        initEvents();

    }

    /**

     * 初始化事件

     */

    private void initEvents() {

        // 为LockView设置监听器

        lockView.setOnUnlockListener(new LockView.OnUnlockListener() {

            // 设置在什么情况下视为解锁成功

            @Override

            public boolean isUnlockSuccess(String result) {

                return "7415369".equals(result);

            }

            // 当解锁成功时回调的方法

            @Override

            public void onSuccess() {

                Toast.makeText(MainActivity.this, "Unlock Success!", Toast.LENGTH_SHORT).show();

            }

            // 当解锁失败时回调的方法

            @Override

            public void onFailure() {

                Toast.makeText(MainActivity.this, "Unlock Failed!", Toast.LENGTH_SHORT).show();

            }

        });

    }

}
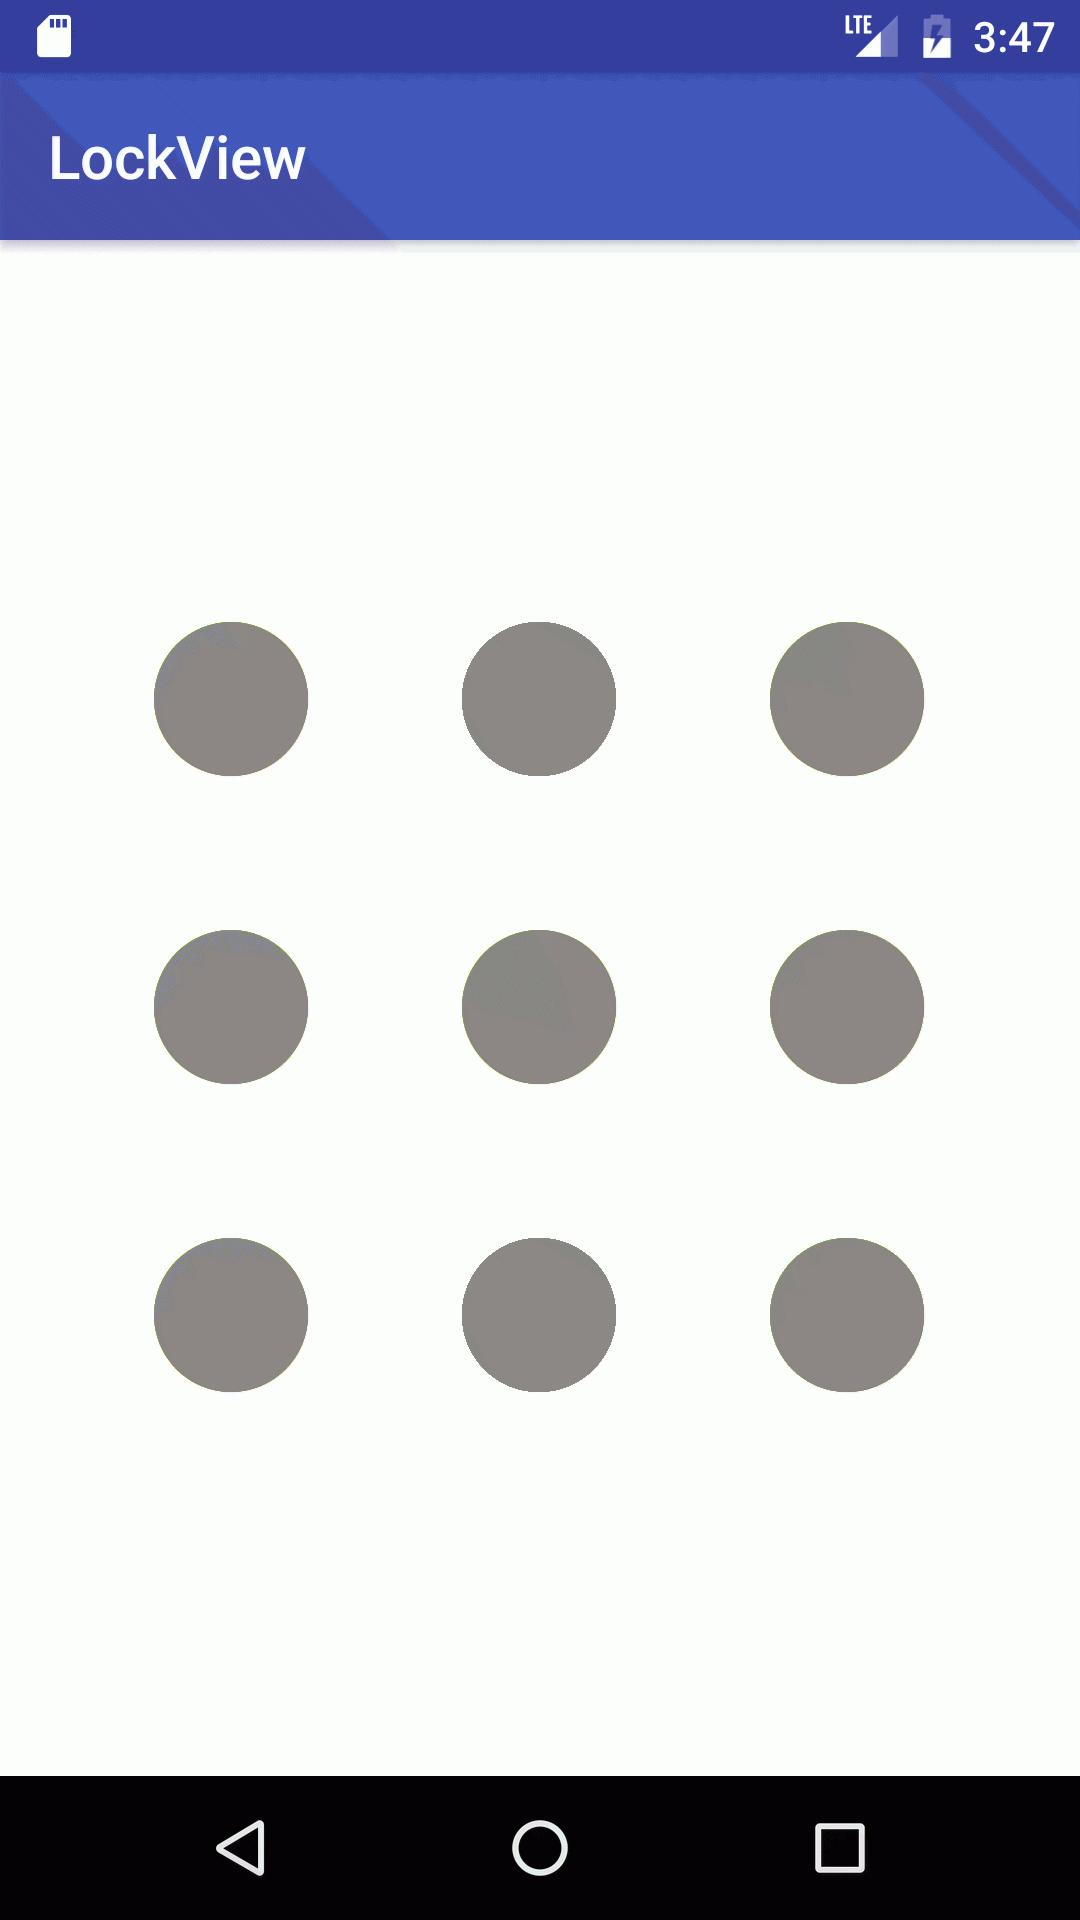
运行效果图如下所示:
【Android - 自定义View】之自定义九宫格手势解锁控件的更多相关文章
- Dialog详解(包括进度条、PopupWindow、自定义view、自定义样式的对话框)
Dialog详解(包括进度条.PopupWindow.自定义view.自定义样式的对话框) Android中提供了多种对话框,在实际应用中我们可能会需要修改这些已有的对话框.本实例就是从实际出发, ...
- Android 自定义View修炼-Android开发之自定义View开发及实例详解
在开发Android应用的过程中,难免需要自定义View,其实自定义View不难,只要了解原理,实现起来就没有那么难. 其主要原理就是继承View,重写构造方法.onDraw,(onMeasure)等 ...
- Android 自定义View 四个构造函数详解
https://blog.csdn.net/zhao123h/article/details/52210732 在开发android开发过程中,很多人都会遇到自定义view,一般都需要继承自View类 ...
- Android自定义多宫格解锁控件
在此之前,一直在想九宫格的实现方法,经过一个上午的初步研究终于完成了一个简单的N*N的宫格解锁组件,代码略显粗糙,仅仅做到简单的实现,界面等后期在做优化,纯粹是学习的目的,在算法上有点缺陷,如果有错误 ...
- Android 自定义View修炼-自定义View-带百分比进度的圆形进度条(采用自定义属性)
很多的时候,系统自带的View满足不了我们功能的需求,那么我们就需要自己来自定义一个能满足我们需求的View,自定义View我们需要先继承View,添加类的构造方法,重写父类View的一些方法,例如o ...
- Android 自定义View修炼-自定义可动画展开收缩View的实现
有时候需要点击一个view可以动画展开和收缩折叠一个View这样的效果,这样就可以直接自定义View来实现. 本例中,采用继承FrameLayout来实现自定义的ExpandView.下面将详细介绍各 ...
- Android自定义View(CustomCalendar-定制日历控件)
转载请标明出处: http://blog.csdn.net/xmxkf/article/details/54020386 本文出自:[openXu的博客] 目录: 1分析 2自定义属性 3onMeas ...
- Android自定义View(三、深入解析控件测量onMeasure)
转载请标明出处: http://blog.csdn.net/xmxkf/article/details/51490283 本文出自:[openXu的博客] 目录: onMeasure什么时候会被调用 ...
- Android中自定义View和自定义动画
Android FrameWork 层给我们提供了很多界面组件,但是在实际的商业开发中这些组件往往并不能完全满足我们的需求,这时候我们就需要自定义我们自己的视图和动画. 我们要重写系统的View就必须 ...
随机推荐
- Android自定义控件:自适应大小的文本控件
需求 自适应大小的文本: 效果图: 项目开发中,开发人员根据UI人员提供的一套尺寸,布局了一些带文本的页面, 往往会少考虑一些数据极限的问题,造成机型屏幕适配问题. 例如: 文本(或数值)长度可变,如 ...
- const var let 三者的区别
1.const定义的变量不可以修改,而且必须初始化. ;//正确 const b;//错误,必须初始化 console.log('函数外const定义b:' + b);//有输出值 b = ; con ...
- Redis bin目录和info命令
1.Redis bin目录和info命令 概述: bin目录是说我们的redis的安装目录中的bin目录,里面存放着一些可执行文件 info命令会列出当前连接的Redis实例的所有指标信息 下面我就对 ...
- 使用Typescript重构axios(十一)——接口扩展
0. 系列文章 1.使用Typescript重构axios(一)--写在最前面 2.使用Typescript重构axios(二)--项目起手,跑通流程 3.使用Typescript重构axios(三) ...
- uboot启动完成,kernel启动时lcd屏幕出现杂色解决办法
先说说开发环境吧: 1 内核:linux2.6.xx 2 uboot:买开发板带的 注释:在最后我又添加了问题得到完美解决的办法. 问题:uboot启动完成,kernel启动时lcd屏幕出现杂色(比如 ...
- python手册学习笔记2
笔记2 > http://www.pythondoc.com/pythontutorial3/datastructures.html 列表操作 list.append(x) 把一个元素添加到列表 ...
- Magicodes.Pay,打造开箱即用的统一支付库,已提供ABP模块封装
Magicodes.Pay,打造开箱即用的统一支付库,已提供ABP模块封装 简介 Magicodes.Pay,是心莱科技团队提供的统一支付库,相关库均使用.NET标准库编写,支持.NET Framew ...
- Python文件写入时的编码问题解决
如下代码: import sys import os import django root_dir = os.path.join(os.path.dirname(os.path.abspath(__f ...
- 【Java】面向对象之继承
多个类中存在相同属性和行为时,将这些内容抽取到单独一个类中,那么多个类无需再定义这些属性和行为,只要继承那一个类即可.其中如图中所示,食草动物.食肉动物.兔子.羊.狮子.豹都可以称为子类,动物类称为父 ...
- 领扣(LeetCode)两个列表的最小索引总和 个人题解
假设Andy和Doris想在晚餐时选择一家餐厅,并且他们都有一个表示最喜爱餐厅的列表,每个餐厅的名字用字符串表示. 你需要帮助他们用最少的索引和找出他们共同喜爱的餐厅. 如果答案不止一个,则输出所有答 ...