vue+springboot图片上传和显示
一、前言
在使用spring boot做后台系统,vue做前端系统,给客户开发一套系统时候,其中用到了图片上传和显示的功能。
二、环境
前端:vue

前端组件:tinymce

后台:spring boot:2.2.3
三、正文
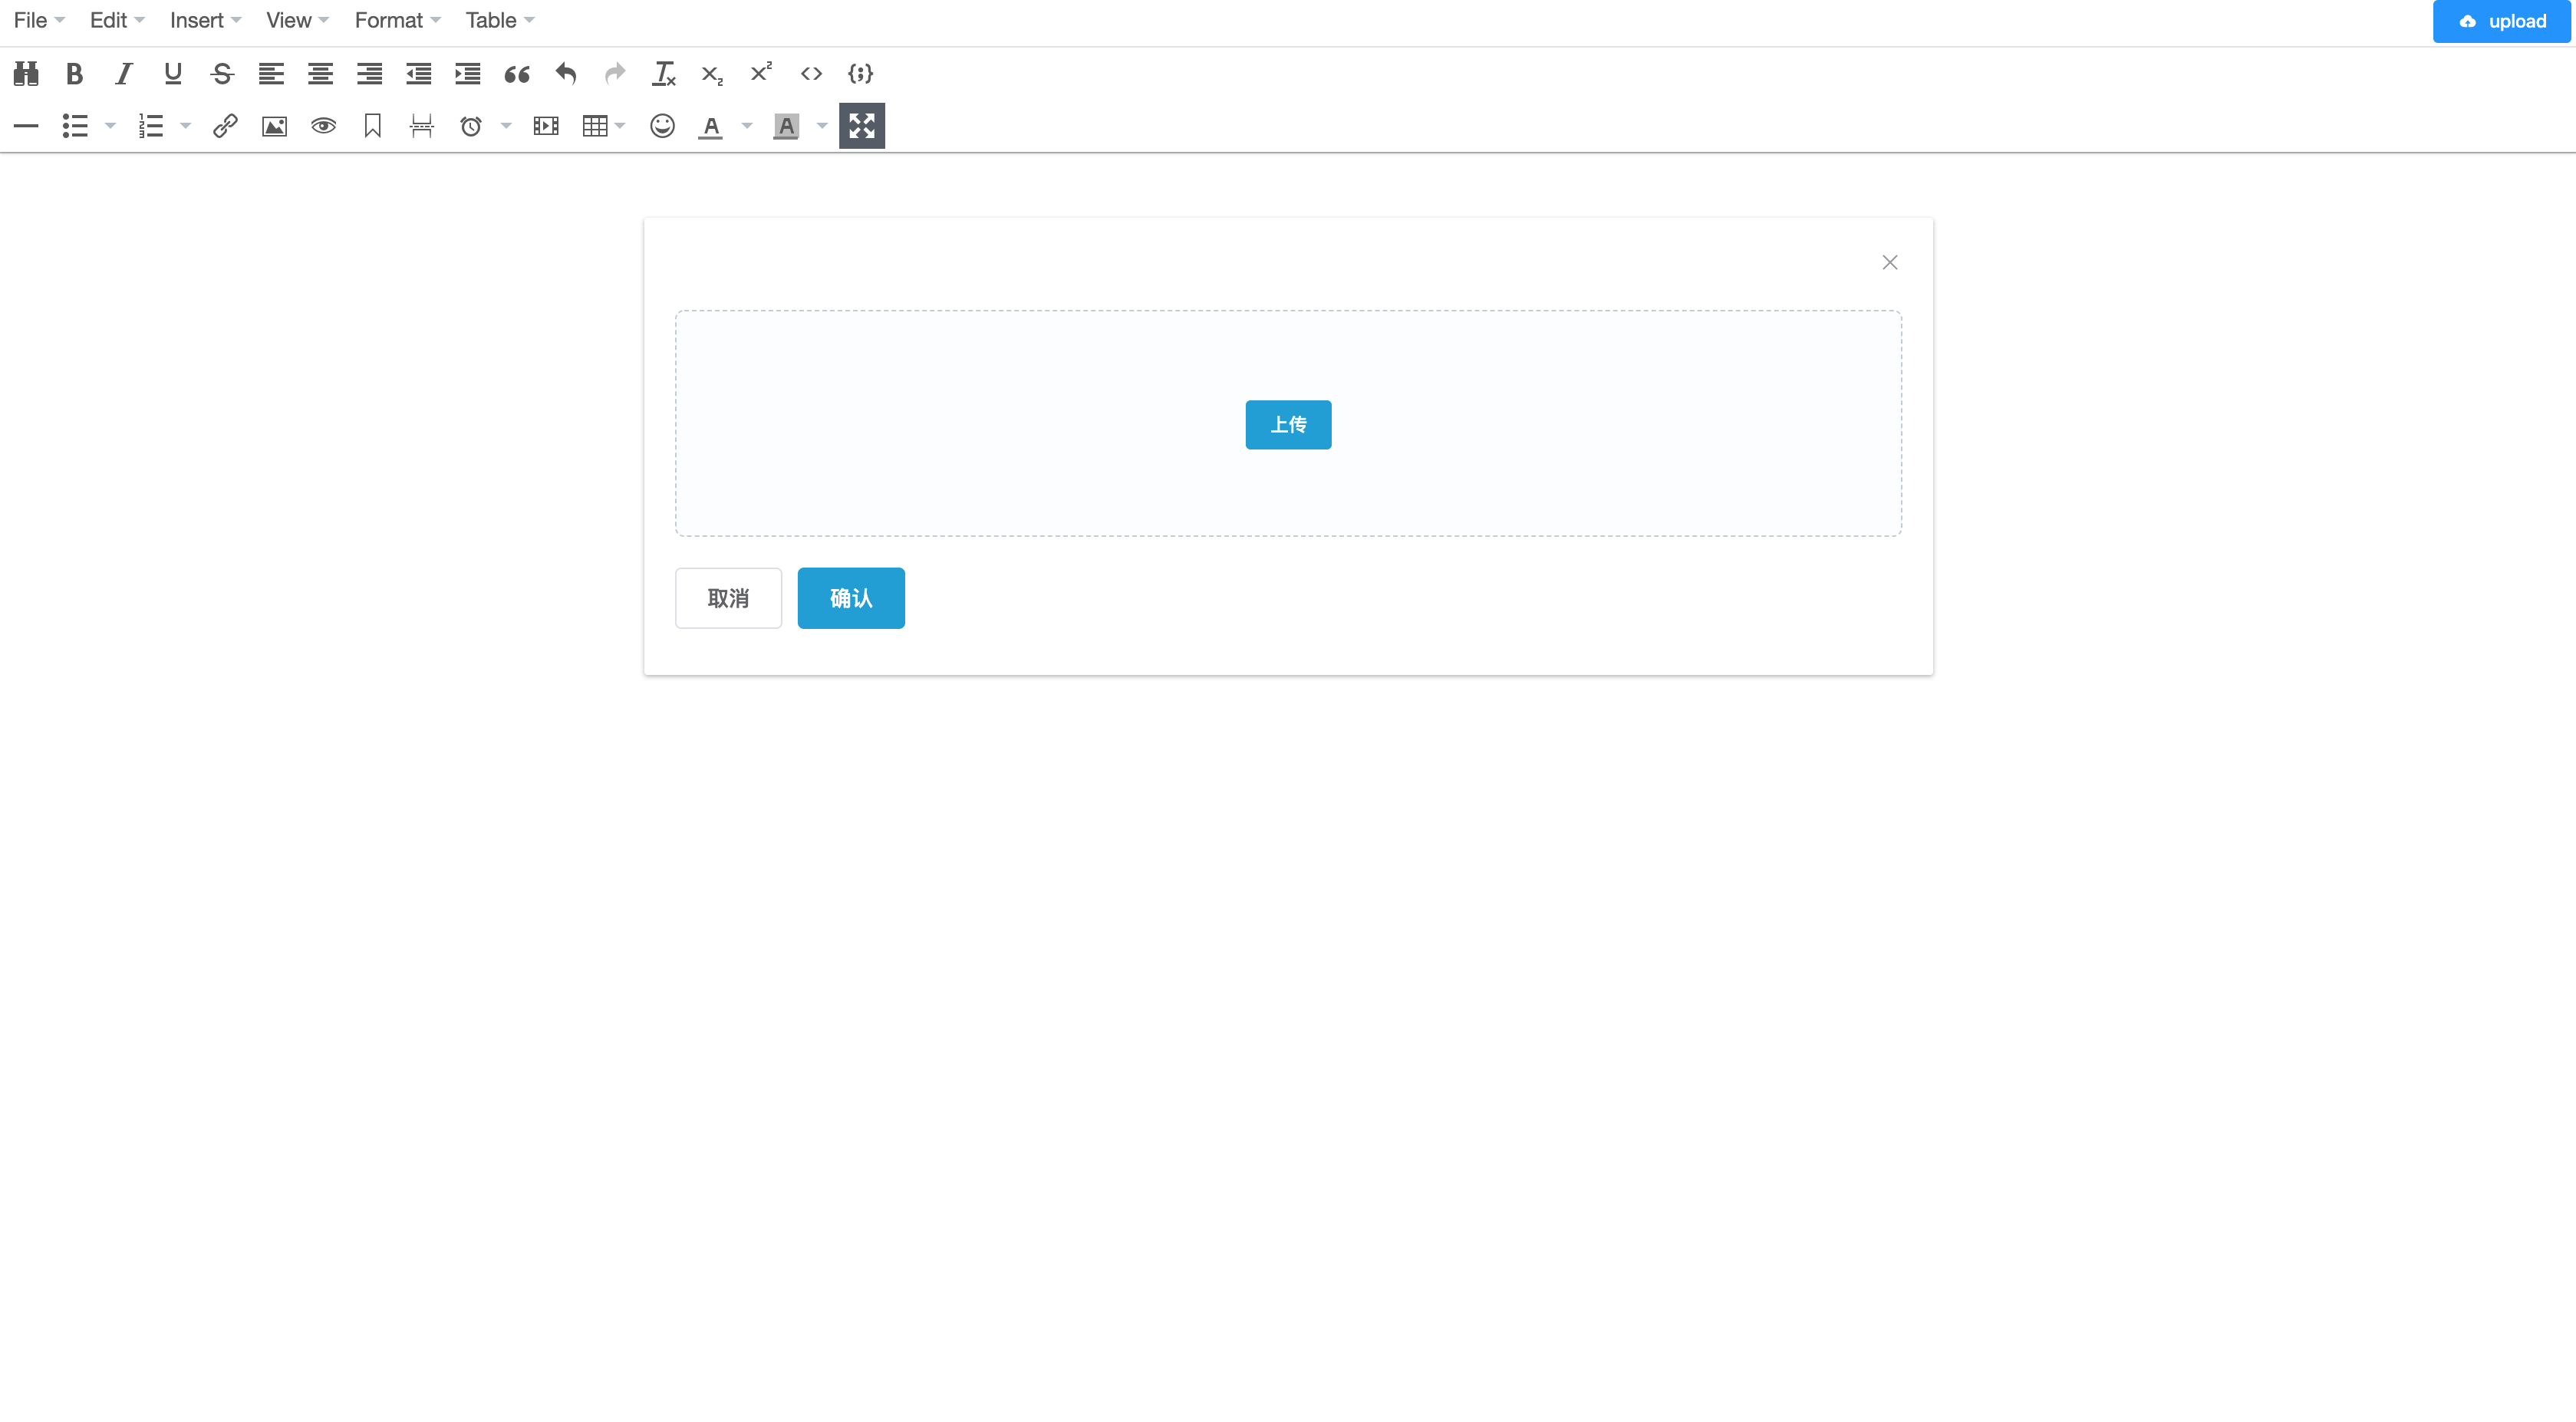
    在客户开发一套门户管理系统时,集成了tinymce组件,用于编辑内容,springboot不同于其他项目。

是集成tomcat的,文件和图片是不能直接访问的。所以我在做集成富文本编辑器时,需要处理图片的问题。

这个问题跟上传头像等显示图片的功能是类似的。下面记录详情步骤代码。
第一步:集成tinymce组件
<!--引入tinymce组件-->

import Tinymce from '@/components/Tinymce'
<!--启用tinymce组件-->

<el-form-item>

	<el-button type="primary" :loading="btnLoading" @click="onSubmit" >保 存</el-button>

</el-form-item>
<!--核心代码-->

<template>

	<div class="page-container">

		<div class="page-title-section">

		</div>

		<div class="page-content-section">

			<div class="page-content-form">

				<el-form ref="dataForm" :model="formData" :rules="formRules" label-width="180px">

                    <el-form-item>

                        <div>

                            <tinymce v-model="formData.content" :height="300" />

                        </div>

                    </el-form-item>

					<el-form-item>

	                    <el-button type="primary" :loading="btnLoading" @click="onSubmit" >保 存</el-button>

					</el-form-item>

				</el-form>

			</div>

		</div>

	</div>

</template>

<script>

import Tinymce from '@/components/Tinymce'

export default {

    name:"contentEdit",

    components: {Tinymce},

	data(){

		return{

			formData:{

                content:'',

			},

		}

	},

	created() {

	},

	mounted() {},

	activated() {},

	deactivated() {},

	methods:{

		//表单提交

		onSubmit(){

			this.$refs['dataForm'].validate((valid) => {

				if (valid) {

					this.btnLoading = true

					this.$axios({

				        url: this.formData.id == '' ? '/products/save' : '/products/edit',

				        method: 'POST',

				        params: this.formData

				    }).then(res => {

				        //处理成功回调

				        const{ state,result , errmsg} = res.data

				        if( state && state == 1 ){

				        	this.$message.success('操作成功');

				        	this.$router.push( {path:'/products/list'} )

				        }else{

				        	return this.$message.error(errmsg || '操作失败');

				        }

				    }).finally(() => {

				        this.btnLoading = false

				    })

				}

			})

		},

</script>
<!--Tinymce初始化代码-->
initTinymce() {
const _this = this
window.tinymce.init({
selector: `#${this.tinymceId}`,
language: this.languageTypeList['en'],
height: this.height,
body_class: 'panel-body ',
object_resizing: false,
toolbar: this.toolbar.length > 0 ? this.toolbar : toolbar,
menubar: this.menubar,
plugins: plugins,
end_container_on_empty_block: true,
powerpaste_word_import: 'clean',
code_dialog_height: 450,
code_dialog_width: 1000,
advlist_bullet_styles: 'square',
advlist_number_styles: 'default',
imagetools_cors_hosts: ['www.tinymce.com', 'codepen.io'],
default_link_target: '_blank',
link_title: false,
nonbreaking_force_tab: true, // inserting nonbreaking space need Nonbreaking Space Plugin
//上传图片回调
images_upload_handler:(blobInfo, success, failure) => {
var xhr, formData;
xhr = new XMLHttpRequest();
xhr.withCredentials = false;
xhr.open('POST', '/api/file/imageUpload');
xhr.onload = function () {
var json;
if (xhr.status !== 200) {
failure('HTTP Error: ' + xhr.status);
return;
}
json = JSON.parse(xhr.responseText);
// console.log(json);
json.location = util.baseURL + json.data.filename; //在该位置,如果您的后端人员返回的字段已经包含json.location信息,则该处可以省略
if (!json || typeof json.location !== 'string') {
failure('Invalid JSON: ' + xhr.responseText);
return;
}
success(json.location);
};
formData = new FormData();
formData.append('file', blobInfo.blob(), blobInfo.filename());
xhr.send(formData);
},
init_instance_callback: editor => {
if (_this.value) {
editor.setContent(_this.value)
}
_this.hasInit = true
editor.on('NodeChange Change KeyUp SetContent', () => {
this.hasChange = true
this.$emit('input', editor.getContent())
})
},
setup(editor) {
editor.on('FullscreenStateChanged', (e) => {
_this.fullscreen = e.state
})
}
// 整合七牛上传
// images_dataimg_filter(img) {
// setTimeout(() => {
// const $image = $(img);
// $image.removeAttr('width');
// $image.removeAttr('height');
// if ($image[0].height && $image[0].width) {
// $image.attr('data-wscntype', 'image');
// $image.attr('data-wscnh', $image[0].height);
// $image.attr('data-wscnw', $image[0].width);
// $image.addClass('wscnph');
// }
// }, 0);
// return img
// },
// images_upload_handler(blobInfo, success, failure, progress) {
// progress(0);
// const token = _this.$store.getters.token;
// getToken(token).then(response => {
// const url = response.data.qiniu_url;
// const formData = new FormData();
// formData.append('token', response.data.qiniu_token);
// formData.append('key', response.data.qiniu_key);
// formData.append('file', blobInfo.blob(), url);
// upload(formData).then(() => {
// success(url);
// progress(100);
// })
// }).catch(err => {
// failure('出现未知问题,刷新页面,或者联系程序员')
// console.log(err);
// });
// },
})
},
destroyTinymce() {
const tinymce = window.tinymce.get(this.tinymceId)
if (this.fullscreen) {
tinymce.execCommand('mceFullScreen')
}
if (tinymce) {
tinymce.destroy()
}
},
setContent(value) {
window.tinymce.get(this.tinymceId).setContent(value)
},
getContent() {
window.tinymce.get(this.tinymceId).getContent()
},
imageSuccessCBK(arr) {
const _this = this
arr.forEach(v => {
window.tinymce.get(_this.tinymceId).insertContent(`<img class="wscnph" src="${v.url}" >`)
})
}
}
第二步:后台代码
@RequestMapping(value = "/imageUpload", method = RequestMethod.POST)

    public void imageUpload(@RequestParam("file") MultipartFile file, HttpServletRequest request, HttpServletResponse response) {

        try {

            logger.info("上传图片名 :" + file.getOriginalFilename());

            if (!file.isEmpty()) {

//				Properties p = new Properties();// 属性集合对象

//	    		String path = RedisUtil.class.getClassLoader().getResource("").getPath()+"global.properties";

//	    		FileInputStream fis = new FileInputStream(path);// 属性文件输入流

//	    		p.load(fis);// 将属性文件流装载到Properties对象中

//	            fis.close();// 关闭流

//	            String uploadPath = p.getProperty("imgUpload.url");

//				//路径名称上加上-年/月日:yyyy/MMdd

//				uploadPath += "Uploads/"+new SimpleDateFormat("yyyy").format(new Date())+ "/" +new SimpleDateFormat("MMdd").format(new Date())+"/";

                String path= request.getServletContext().getRealPath("/");

path="/Users/qinshengfei/fsdownload";

                logger.error("path:"+path);

                //路径名称上加上-年/月日:yyyy/MMdd

                String uploadPath = File.separatorChar+"Uploads"+File.separatorChar+new SimpleDateFormat("yyyy").format(new Date())+

                        File.separatorChar +new SimpleDateFormat("MMdd").format(new Date())+File.separatorChar;

                // 文件上传大小

                long fileSize = 10 * 1024 * 1024;

                //判断文件大小是否超过

                if (file.getSize() > fileSize) {

                    backInfo(response, false, 2, "");

                    return;

                }

                //获取上传文件名称

                String OriginalFilename = file.getOriginalFilename();

                //获取文件后缀名:如jpg

                String fileSuffix = OriginalFilename.substring(OriginalFilename.lastIndexOf(".") + 1).toLowerCase();

                if (!Arrays.asList(TypeMap.get("image").split(",")).contains(fileSuffix)) {

                    backInfo(response, false, 3, "");

                    return;

                }

                //判断是否有文件上传

//				if (!ServletFileUpload.isMultipartContent(request)) {

//					backInfo(response, false, -1, "");

//					return;

//				}

                // 检查上传文件的目录

                File uploadDir = new File(path+uploadPath);

                System.out.println(path+uploadPath);

                if (!uploadDir.isDirectory()) {

                    if (!uploadDir.mkdirs()) {

                        backInfo(response, false, 4, "");

                        return;

                    }

                }

                // 是否有上传的权限

                if (!uploadDir.canWrite()) {

                    backInfo(response, false, 5, "");

                    return;

                }

                // 新文件名-加13为随机字符串

                String newname = getRandomString(13) +"." + fileSuffix;

                File saveFile = new File(path+uploadPath, newname);

                try {

                    file.transferTo(saveFile);

                    backInfo(response, true, 0, uploadPath+newname);

                } catch (Exception e) {

                    logger.error(e.getMessage(), e);

                    backInfo(response, false, 1, "");

                    return;

                }

            } else {

                backInfo(response, false, -1, "");

                return;

            }

        } catch (Exception e) {

            logger.error(e.getMessage());

        }

    }

    // 返回信息

    private void backInfo(HttpServletResponse response, boolean flag, int message, String fileName) {

        fileName=fileName.replace("\\","/");

        String json = "";

        if (flag) {

            json = "{ \"status\": \"success";

        } else {

            json = "{ \"status\": \"error";

        }

        json += "\",\"fileName\": \"http://127.0.0.1:8090/file/show?fileName=" + fileName + "\",\"message\": \"" + message + "\"}";

        try {

            response.setContentType("text/html;charset=utf-8");

            response.getWriter().write(json);

        } catch (IOException e) {

            logger.error(e.getMessage(), e);

        }

    }
第三步:后台处理显示图片
 /**

     * 显示单张图片

     * @return

     */

    @RequestMapping("/show")

    public ResponseEntity showPhotos(String fileName){

        try {

            String path = "/Users/qinshengfei/fsdownload";

            // 由于是读取本机的文件,file是一定要加上的, path是在application配置文件中的路径

            logger.error("showPhotos:"+path+fileName);

            return ResponseEntity.ok(resourceLoader.getResource("file:" + path + fileName));

        } catch (Exception e) {

            return ResponseEntity.notFound().build();

        }

    }
第四步:显示效果


总结
这个例子是工作中遇到的一个问题,这里只讲述tinymce组件图片功能。同时,工作中使用使用到了vue-cropper组件,原理类似。

ps:上述代码使用中,如有问题,请联系公众号:
vue+springboot图片上传和显示的更多相关文章
- ruby on rails爬坑(三):图片上传及显示
一,问题及思路 最近在用rails + react + mysql基本框架写一个cms + client的项目,里面涉及到了图片的上传及显示,下面简单说说思路,至于这个项目的配置部署,应该会在寒假结束 ...
- 图片上传即时显示javascript代码
这是基于javascript的一种图片上传即时显示方法,测试结果IE6和火狐浏览器可以正常使用.google浏览器不兼容. 这种方法兼容性比较差,仅供参考,建议使用ajax方法来即时显示图片. 1.首 ...
- 图片上传并显示(兼容ie),图片大小判断
图片上传并显示(兼容ie),图片大小判断 HTML <div id="swf" style="margin: 0 auto;text-align: center;& ...
- SpringBoot图片上传(五) 上一篇的新版本,样式修改后的
简单描述:一次上传N张图片(N可自定义):上传完后图片回显,鼠标放到已经上传的图片上后,显示删除,点击后可以删除图片,鼠标离开后,图片恢复. 效果:一次上传多个图片后的效果 上传成功: 鼠标悬浮到图片 ...
- SpringBoot图片上传(四) 一个input上传N张图,支持各种类型
简单介绍:需求上让实现,图片上传,并且可以一次上传9张图,图片格式还有要求,网上找了一个测试了下,好用,不过也得改,仅仅是实现了功能,其他不尽合理的地方,还需自己打磨. 代码: //html<d ...
- struts中用kindeditor实现的图片上传并且显示在页面上
做公司网站的时候由于需要在内容属性中加入图片,所以就有了这个问题,本来一开始找几篇文章看都是讲修改kindeditor/jsp/file_manager_json.jsp和upload_json.js ...
- ueditor图片上传和显示问题
图片上传: 这段是contorller代码 @RequestMapping(value = "/uploadImg", method = RequestMethod.POST) @ ...
- MVC图片上传并显示缩略图
前面已经说了怎么通过MVC来上传文件,那么这次就说说如何上传图片然后显示缩略图,这个的实用性还是比较大.用UpLoad文件夹来保存上传的图片,而Temp文件夹来保存缩略图,前面文件上传部分就不再重复了 ...
- django 图片上传与显示
由于图片上传的需要,学习了一波上传 1. 上传 前端代码 <form action="写上相应的定向位置" method="post" enctype=& ...
- H5 利用vue实现图片上传功能。
H5的上传图片如何实现呢? 以下是我用vue实现的图片上传功能,仅供参考. <!DOCTYPE html> <html> <head> <meta chars ...
随机推荐
- Collectors.toMap的暗坑与避免方式
使用Java的stream中的Collectors可以很方便地做容器间的转换,可以少写很多代码.但是其中有暗含的坑需要注意和避免,本文探讨Collectors.toMap(JDK8版本). Colle ...
- Excel-批量填充数字
1.一般情况下,都是使用鼠标左右键拖动来实现数据的填充的 2.但是填充1200列,下拉拖动就非常麻烦,可以首先定位到A200. 在屏幕左侧中央处找到剪切板下方的"A1"字样,鼠标单 ...
- 【Flink入门修炼】1-3 Flink WordCount 入门实现
本篇文章将带大家运行 Flink 最简单的程序 WordCount.先实践后理论,对其基本输入输出.编程代码有初步了解,后续篇章再对 Flink 的各种概念和架构进行介绍. 下面将从创建项目开始,介绍 ...
- 序列化协议:Protobuf入门
偶然在网上清华大学电子系科协软件部2023暑期培训的内容中发现了这个东西,后面随着了解发现以后学习有关项目时会用到,便写个随笔记录一下这次学习的经历.作为一种序列化协议,与使用文本方式存储的xml.j ...
- look命令
look命令 look命令用于查询单词,仅需指定欲查询的字首字符串,它会显示所有开头字符串符合该条件的单词. 语法 look [-bdf] [-t char] string [file ...] 参数 ...
- ORACLE SEQUENCE 详解
1. About Sequences(关于序列) 序列是数据库对象一种.多个用户可以通过序列生成连续的数字以此来实现主键字段的自动.唯一增长,并且一个序列可为多列.多表同时使用. 序列消除了串行 ...
- sentry-cli 的 windows 安装
项目搭建时,发现在使用高版本 sentry-cli 上传 pdb 文件后会报 404 错误,同事猜测高版本的 sentry-cli 会返回错误的地址,建议我用低版本的试一下 依据教程,我在 windo ...
- [BUUCTF][Web][ACTF2020 新生赛]Include 1
打开靶机对应的url 显示一个tips 超链接 点击访问超链接,对应Url为 http://469398f2-5677-4270-a4a4-55c5e4a7504a.node4.buuoj.cn:81 ...
- 项目实战:Qt+ffmpeg摄像头检测工具
若该文为原创文章,未经允许不得转载原博主博客地址:https://blog.csdn.net/qq21497936原博主博客导航:https://blog.csdn.net/qq21497936/ar ...
- django中model聚合使用
from django.db.models.functions import Cast, Coalesce, Concat, ConcatPair, Greatest # Cast,类型转换 q1 = ...
