Neural Style学习3——操作
Basic usage:
th neural_style.lua -style_image <image.jpg> -content_image <image.jpg>
OpenCL usage with NIN Model (This requires you download the NIN Imagenet model files as described above):
th neural_style.lua -style_image examples/inputs/picasso_selfport1907.jpg -content_image examples/inputs/brad_pitt.jpg -output_image profile.png -model_file models/nin_imagenet_conv.caffemodel -proto_file models/train_val.prototxt -gpu 0 -backend clnn -num_iterations 1000 -seed 123 -content_layers relu0,relu3,relu7,relu12 -style_layers relu0,relu3,relu7,relu12 -content_weight 10 -style_weight 1000 -image_size 512 -optimizer adam
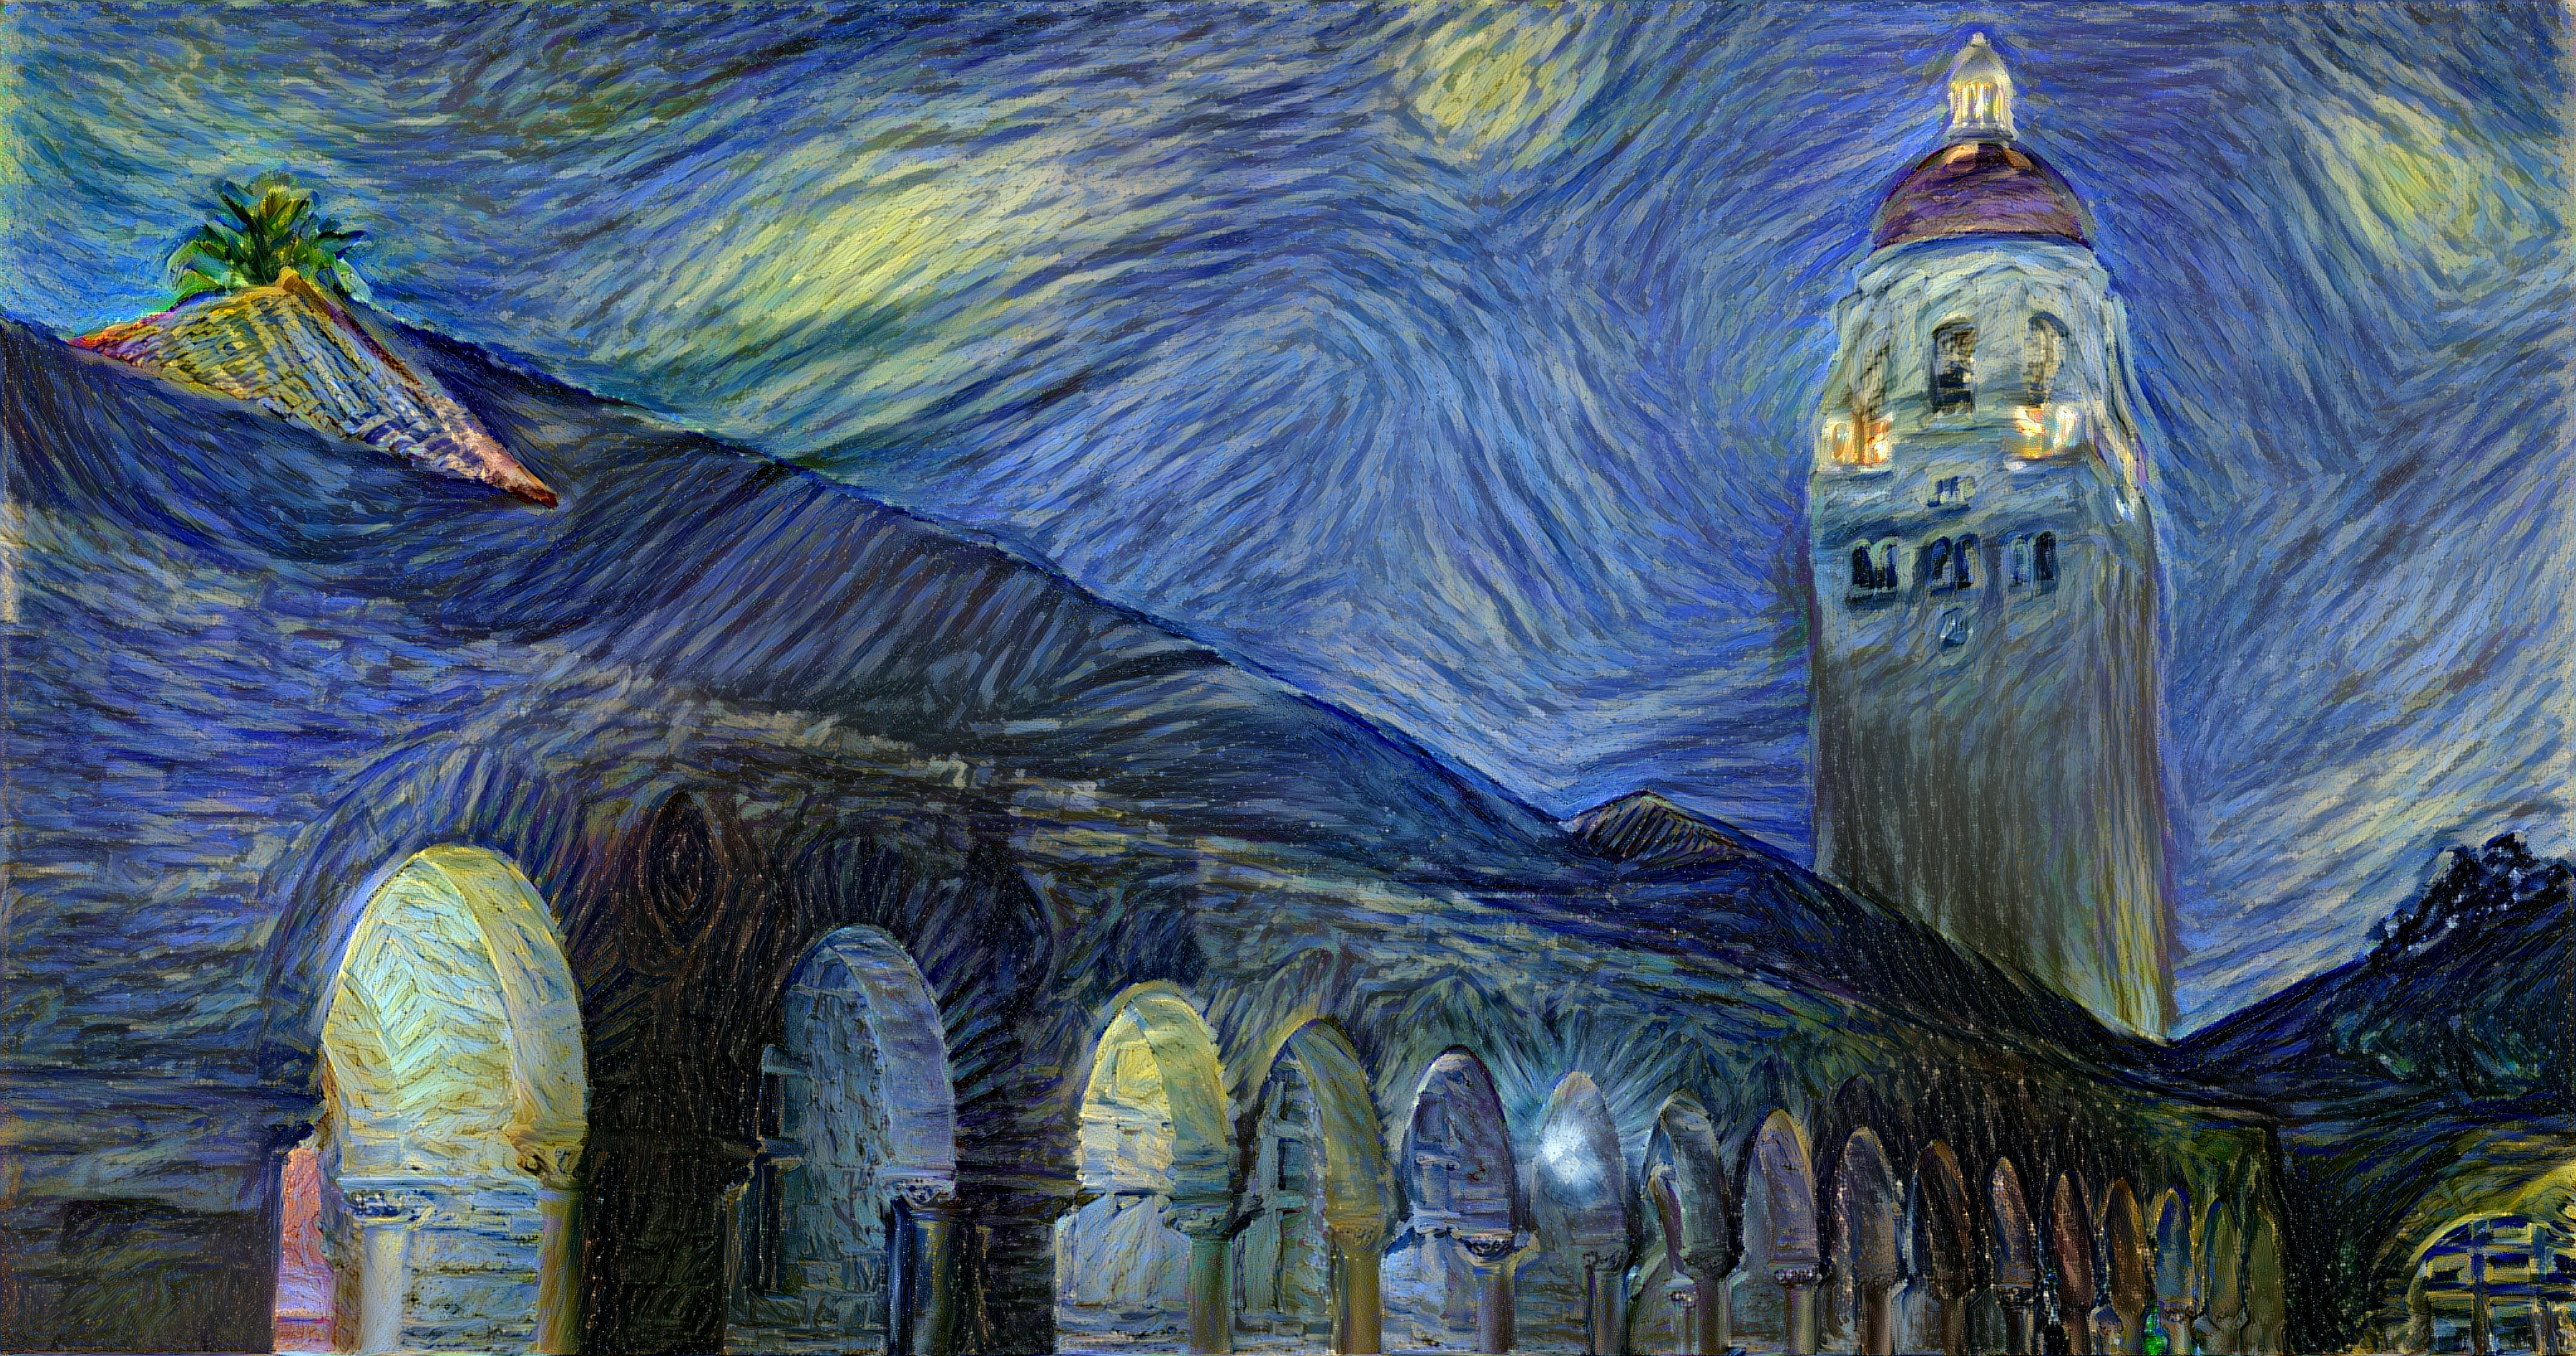
To use multiple style images, pass a comma-separated list like this:
-style_image starry_night.jpg,the_scream.jpg.
Note that paths to images should not contain the ~ character to represent your home directory; you should instead use a relative
path or a full absolute path.
Options:
-image_size: Maximum side length (in pixels) of of the generated image. Default is 512.-style_blend_weights: The weight for blending the style of multiple style images, as a
comma-separated list, such as-style_blend_weights 3,7. By default all style images
are equally weighted.-gpu: Zero-indexed ID of the GPU to use; for CPU mode set-gputo -1.
Optimization options:
-content_weight: How much to weight the content reconstruction term. Default is 5e0.-style_weight: How much to weight the style reconstruction term. Default is 1e2.-tv_weight: Weight of total-variation (TV) regularization; this helps to smooth the image.
Default is 1e-3. Set to 0 to disable TV regularization.-num_iterations: Default is 1000.-init: Method for generating the generated image; one ofrandomorimage.
Default israndomwhich uses a noise initialization as in the paper;image
initializes with the content image.-optimizer: The optimization algorithm to use; eitherlbfgsoradam; default islbfgs.
L-BFGS tends to give better results, but uses more memory. Switching to ADAM will reduce memory usage;
when using ADAM you will probably need to play with other parameters to get good results, especially
the style weight, content weight, and learning rate; you may also want to normalize gradients when
using ADAM.-learning_rate: Learning rate to use with the ADAM optimizer. Default is 1e1.-normalize_gradients: If this flag is present, style and content gradients from each layer will be
L1 normalized. Idea from andersbll/neural_artistic_style.
Output options:
-output_image: Name of the output image. Default isout.png.-print_iter: Print progress everyprint_iteriterations. Set to 0 to disable printing.-save_iter: Save the image everysave_iteriterations. Set to 0 to disable saving intermediate results.
Layer options:
-content_layers: Comma-separated list of layer names to use for content reconstruction.
Default isrelu4_2.-style_layers: Comma-separated list of layer names to use for style reconstruction.
Default isrelu1_1,relu2_1,relu3_1,relu4_1,relu5_1.
Other options:
-style_scale: Scale at which to extract features from the style image. Default is 1.0.-original_colors: If you set this to 1, then the output image will keep the colors of the content image.-proto_file: Path to thedeploy.txtfile for the VGG Caffe model.-model_file: Path to the.caffemodelfile for the VGG Caffe model.
Default is the original VGG-19 model; you can also try the normalized VGG-19 model used in the paper.-pooling: The type of pooling layers to use; one ofmaxoravg. Default ismax.
The VGG-19 models uses max pooling layers, but the paper mentions that replacing these layers with average
pooling layers can improve the results. I haven't been able to get good results using average pooling, but
the option is here.-backend:nn,cudnn, orclnn. Default isnn.cudnnrequires
cudnn.torch and may reduce memory usage.
clnnrequires cltorch and clnn-cudnn_autotune: When using the cuDNN backend, pass this flag to use the built-in cuDNN autotuner to select
the best convolution algorithms for your architecture. This will make the first iteration a bit slower and can
take a bit more memory, but may significantly speed up the cuDNN backend.
Frequently Asked Questions
Problem: Generated image has saturation artifacts:

Solution: Update the image packge to the latest version: luarocks install image
Problem: Running without a GPU gives an error message complaining about cutorch not found
Solution:
Pass the flag -gpu -1 when running in CPU-only mode
Problem: The program runs out of memory and dies
Solution: Try reducing the image size: -image_size 256 (or lower). Note that different image sizes will likely
require non-default values for -style_weight and -content_weight for optimal results.
If you are running on a GPU, you can also try running with -backend cudnn to reduce memory usage.
Problem: Get the following error message:
models/VGG_ILSVRC_19_layers_deploy.prototxt.cpu.lua:7: attempt to call method 'ceil' (a nil value)
Solution: Update nn package to the latest version: luarocks install nn
Problem: Get an error message complaining about paths.extname
Solution: Update torch.paths package to the latest version: luarocks install paths
Problem: NIN Imagenet model is not giving good results.
Solution: Make sure the correct -proto_file is selected. Also make sure the correct parameters for -content_layers and -style_layers are set. (See OpenCL usage example above.)
Problem: -backend cudnn is slower than default NN backend
Solution: Add the flag -cudnn_autotune; this will use the built-in cuDNN autotuner to select the best convolution algorithms.
Memory Usage
By default, neural-style uses the nn backend for convolutions and L-BFGS for optimization.
These give good results, but can both use a lot of memory. You can reduce memory usage with the following:
- Use cuDNN: Add the flag
-backend cudnnto use the cuDNN backend. This will only work in GPU mode. - Use ADAM: Add the flag
-optimizer adamto use ADAM instead of L-BFGS. This should significantly
reduce memory usage, but may require tuning of other parameters for good results; in particular you should
play with the learning rate, content weight, style weight, and also consider using gradient normalization.
This should work in both CPU and GPU modes. - Reduce image size: If the above tricks are not enough, you can reduce the size of the generated image;
pass the flag-image_size 256to generate an image at half the default size.
With the default settings, neural-style uses about 3.5GB of GPU memory on my system;
switching to ADAM and cuDNN reduces the GPU memory footprint to about 1GB.
Speed
Speed can vary a lot depending on the backend and the optimizer.
Here are some times for running 500 iterations with -image_size=512 on a Maxwell Titan X with different settings:
-backend nn -optimizer lbfgs: 62 seconds-backend nn -optimizer adam: 49 seconds-backend cudnn -optimizer lbfgs: 79 seconds-backend cudnn -cudnn_autotune -optimizer lbfgs: 58 seconds-backend cudnn -cudnn_autotune -optimizer adam: 44 seconds-backend clnn -optimizer lbfgs: 169 seconds-backend clnn -optimizer adam: 106 seconds
Here are the same benchmarks on a Pascal Titan X with cuDNN 5.0 on CUDA 8.0 RC:
-backend nn -optimizer lbfgs: 43 seconds-backend nn -optimizer adam: 36 seconds-backend cudnn -optimizer lbfgs: 45 seconds-backend cudnn -cudnn_autotune -optimizer lbfgs: 30 seconds-backend cudnn -cudnn_autotune -optimizer adam: 22 seconds
Multi-GPU scaling
You can use multiple GPUs to process images at higher resolutions; different layers of the network will be
computed on different GPUs. You can control which GPUs are used with the -gpu flag, and you can control
how to split layers across GPUs using the -multigpu_strategy flag.
For example in a server with four GPUs, you can give the flag -gpu 0,1,2,3 to process on GPUs 0, 1, 2, and
3 in that order; by also giving the flag -multigpu_strategy 3,6,12 you indicate that the first two layers
should be computed on GPU 0, layers 3 to 5 should be computed on GPU 1, layers 6 to 11 should be computed on
GPU 2, and the remaining layers should be computed on GPU 3. You will need to tune the -multigpu_strategy
for your setup in order to achieve maximal resolution.
We can achieve very high quality results at high resolution by combining multi-GPU processing with multiscale
generation as described in the paper
Controlling Perceptual Factors in Neural Style Transfer by Leon A. Gatys,
Alexander S. Ecker, Matthias Bethge, Aaron Hertzmann and Eli Shechtman.
Here is a 3620 x 1905 image generated on a server with four Pascal Titan X GPUs:
The script used to generate this image can be found here.
Neural Style学习3——操作的更多相关文章
- Neural Style学习2——环境安装
neural-style Installation This guide will walk you through the setup for neural-style on Ubuntu. Ste ...
- Neural Style学习1——简介
该项目是Github上面的一个开源项目,其利用卷积神经网络的理论,参照论文A Neural Algorithm of Artistic Style,可以实现一种效果:两张图片,一张取其内容,另一张取其 ...
- 课程四(Convolutional Neural Networks),第四 周(Special applications: Face recognition & Neural style transfer) —— 2.Programming assignments:Art generation with Neural Style Transfer
Deep Learning & Art: Neural Style Transfer Welcome to the second assignment of this week. In thi ...
- Neural Style论文笔记+源码解析
引言 前面在Ubuntu16.04+GTX1080配置TensorFlow并实现图像风格转换中介绍了TensorFlow的配置过程,以及运用TensorFlow实现图像风格转换,主要是使用了文章A N ...
- [C4W4] Convolutional Neural Networks - Special applications: Face recognition & Neural style transfer
第四周:Special applications: Face recognition & Neural style transfer 什么是人脸识别?(What is face recogni ...
- 【原创】梵高油画用深度卷积神经网络迭代十万次是什么效果? A neural style of convolutional neural networks
作为一个脱离了低级趣味的码农,春节假期闲来无事,决定做一些有意思的事情打发时间,碰巧看到这篇论文: A neural style of convolutional neural networks,译作 ...
- 项目总结四:神经风格迁移项目(Art generation with Neural Style Transfer)
1.项目介绍 神经风格转换 (NST) 是深部学习中最有趣的技术之一.它合并两个图像, 即 内容图像 C(content image) 和 样式图像S(style image), 以生成图像 G(ge ...
- 【原创】梵高油画用深度卷积神经网络迭代10万次是什么效果? A neural style of convolutional neural networks
作为一个脱离了低级趣味的码农,春节假期闲来无事,决定做一些有意思的事情打发时间,碰巧看到这篇论文: A neural style of convolutional neural networks,译作 ...
- fast neural style transfer图像风格迁移基于tensorflow实现
引自:深度学习实践:使用Tensorflow实现快速风格迁移 一.风格迁移简介 风格迁移(Style Transfer)是深度学习众多应用中非常有趣的一种,如图,我们可以使用这种方法把一张图片的风格“ ...
随机推荐
- OpenGL渲染流程
一.什么是openGL OpenGL被定义为“图形硬件的一种软件接口”.从本质上说,它是一个3D图形和模型库,具有高度的可移植性,具有非常快的速度. 二.管线 管线这个术语描述了opengl渲染的整个 ...
- IOS开发基础知识--碎片13
1:运行程序报the file couldn't be opened because you don't have permission to view it 解决办法:项目—>targets- ...
- ListView控件
打气筒工具:将R.layout.item_listview布局添加到相应的view控件里面 View view=LayoutInflater.from(ScondPro.this).inflate ...
- iOS 系统根据导航栏和状态栏自动修改布局
问题 条件:1.有一个全屏大小的带导航的controller 2.隐藏导航栏,最顶上还会留出状态栏的位置,而不是全屏显示 解决方法 self.automaticallyAdjustsScrollVie ...
- MySQL frm+ibd文件还原data的办法【数据恢复】
MySQL frm+ibd文件还原data的办法[数据恢复] 此方法只适合innodb_file_per_table = 1 当误删除ibdata 该怎么办? 如下步骤即可恢复: 1 ...
- MongoDB学习笔记~MongoVUE对数据进行查询,排序和按需显示
回到目录 对于MongoDB这个非关系型数据库(NoSql)来说,找一个IDE工具不是很容易,还好被我找到了,它就是大名鼎鼎的MongoVUE,它可以对mongodb数据表进行增删改查,下面我主要说一 ...
- docker核心原理
容器概念. docker是一种容器,应用沙箱机制实现虚拟化.能在一台宿主机里面独立多个虚拟环境,互不影响.在这个容器里面可以运行着我饿们的业务,输入输出.可以和宿主机交互. 使用方法. 拉取镜像 do ...
- 使用GDB调试程序
GDB(GNU Debuger)是Linux中的一个功能强大的调试器.GDB可以让你查看程序的内部结构,打印变量值,设置断点,单步调试源码,运行时修改变量值,路径跟踪,线程切换,显示汇编代码等. 编译 ...
- [Django]Django1.8修改MySQL已存在表的问题?
前言:django1.8版本出现这种问题,关于标题不好命令,直接看正文问题描述! 问题描述: 在已经生成了models.py中表的情况下,更改了modes.py中的表,但是syncdb不起作用报错.于 ...
- python 利用 setup.py 手动安装django_chartit
手动安装django_chartit库 1 下载压缩包 2 解压到python安装目录下,文件夹名为django_chartit,并检查文件夹下是否有setup.py文件 3 在cmd中进入djang ...