angular2 + bootstrap +jquery 实例
一、Create a project process:
1.use Angular CLI to create an Angular Project "demo":
need the commmand of "ng new demo" to produce demo project.
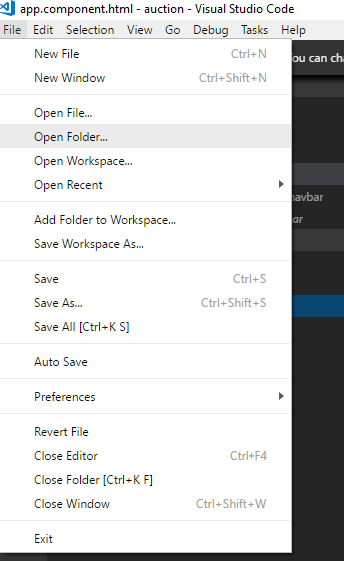
2.load the project to VSCode
click the File,select "Open Folder"
select import project "demo"
3.Configuration and install plugins in “demo” project
Use “npm install bootstrap@3” command to produce bootstrap@3.3.7(node_modules)
Use “npm install jquery” command to produce jquery(node_modules)
Use “npm install angular-in-memory-web-api” command to intall angular-in-memory-web-api
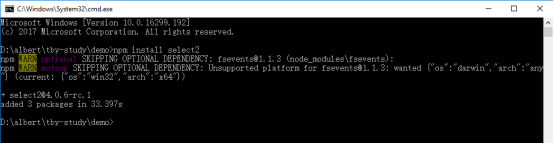
Use “npm install select2” command to install “select2”(node_modules)
E.g: install select2:
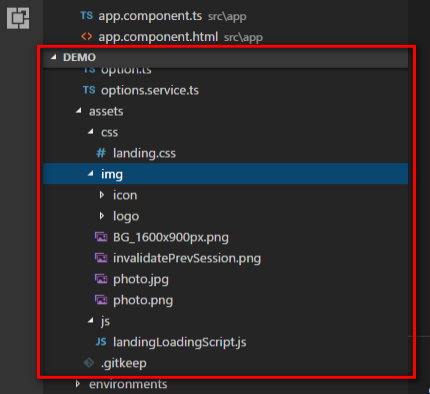
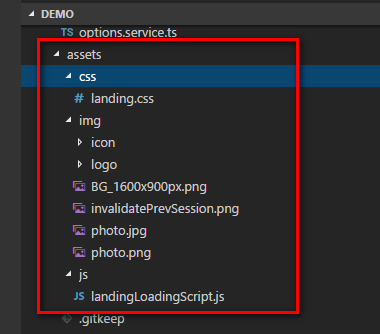
4. In the assets directory,add css, img, js three documents, the contents of the three documents are as follows:
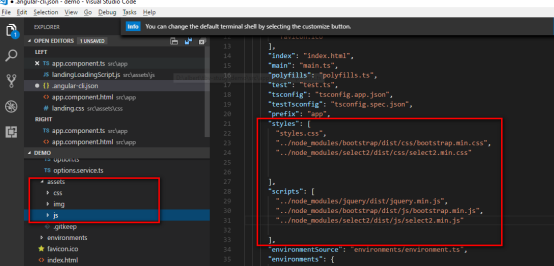
5.Configuration angular-cli.json
Import:
1. "styles": [
"../node_modules/bootstrap/dist/css/bootstrap.min.css",
"../node_modules/select2/dist/css/select2.min.css",
]
2. "scripts": [
"../node_modules/jquery/dist/jquery.min.js",
"../node_modules/bootstrap/dist/js/bootstrap.min.js",
"../node_modules/select2/dist/js/select2.min.js",
]
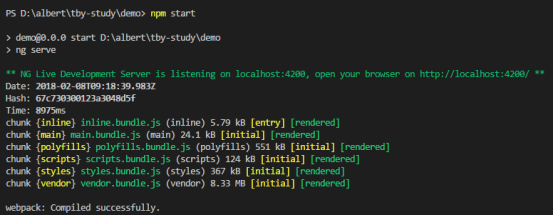
6.Startup project
input the command "npm start" to startup project.
二、Define UI Interface and decorate UI Interface
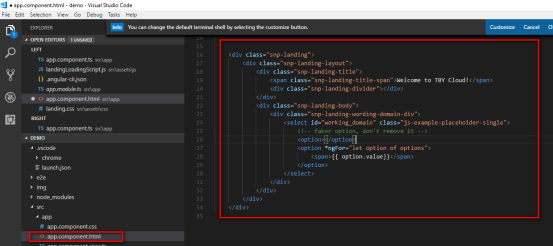
1.Define UI interface in app.component.html:
2.In assets directory, css file into a “landing.css style”, img file into the relevant pictures, js file into a “landingLoadingScript.js” script. These things are used to decorate UI inferface.
3.Configuration angular-cli.json:
Import:
"styles": [
"assets/css/landing.css" ]
"scripts": [
"assets/js/landingLoadingScript.js" ]

4.Show UI inferface:
三、Get data from a mock server, the in-memory web API.
1. Define a class
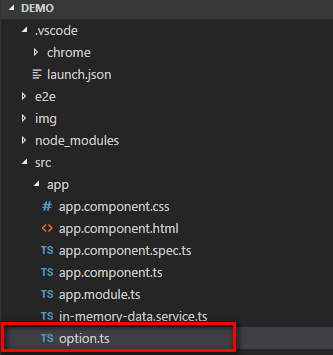
1.new a file that name is “option.ts”.
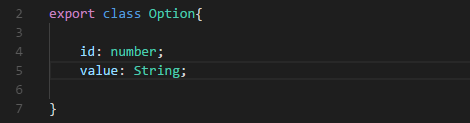
2.In “options.ts”, define a class “Option”
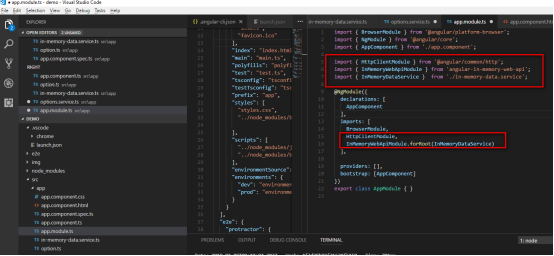
3.Import InMemoryWebApiModule and add it to the module's imports array and Import HttpClientModule and add it to the module's imports array.
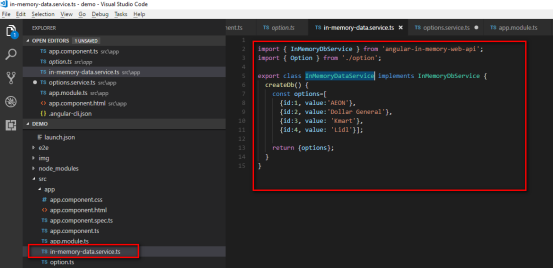
4.The forRoot () configuration method requires an instance of the InMemoryDataService class to populate the in-memory database with data.so,we need to define a InMemoryDataService class to initialize the data.
5.Get data from web api in app.component.ts:
(1) Import { Option } from ‘./option’ and import { HttpClient } from ‘@angular/common/http’ and import { OnInit } from ‘@angular/core’.
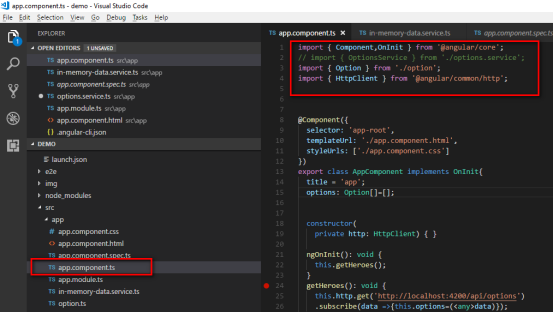
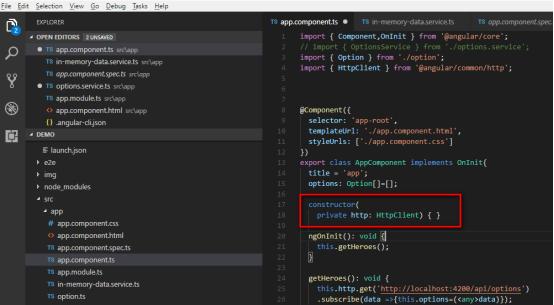
(2) Constructs an httpClient object:
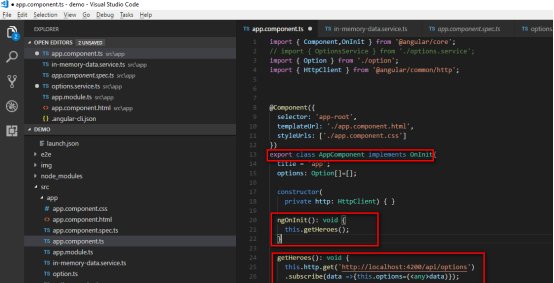
(3) AppComponent need to implement the angular ngOnInit lifecycle hook and implement “ngOnInit()” method. We've written a logical “ngOnInit” method with fetch data. Angular will call it at the right time. We get the data from the emulation server by calling getHeroes (),and through the get () method to send the request and through subscribe() method to get the data to the parameters “options”.
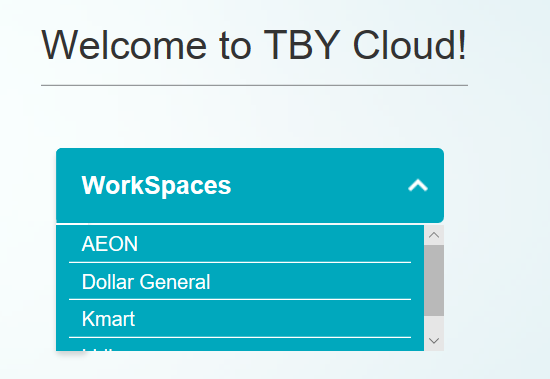
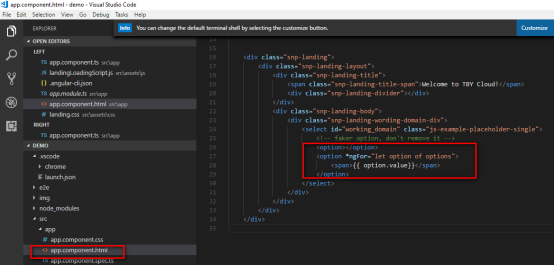
(4) Bind data to app.component.html with the options data in app.component.ts:use * ngFor to loop through the data in options:
(4) Save, the browser will automatically refresh (provided you have executed the npm start command),The results shown:

angular2 + bootstrap +jquery 实例的更多相关文章
- Bootstrap历练实例:轮播(carousel)
<!DOCTYPE html><html><head><meta http-equiv="Content-Type" content=&q ...
- Bootstrap历练实例:响应式导航(带有表单)
<!DOCTYPE html><html><head><meta http-equiv="Content-Type" content=&q ...
- Bootstrap历练实例:响应式导航
<!DOCTYPE html><html lang="zh-cn"><head><meta http-equiv="Conten ...
- Bootstrap 历练实例-轮播(carousel)插件的事件
事件 下表列出了轮播(Carousel)插件中要用到的事件.这些事件可在函数中当钩子使用. 事件 描述 实例 slide.bs.carousel 当调用 slide 实例方法时立即触发该事件. $(' ...
- Bootstrap 历练实例-轮播(carousel)插件方法
方法 下面是一些轮播(Carousel)插件中有用的方法: 方法 描述 实例 .carousel(options) 初始化轮播为可选的 options 对象,并开始循环项目. $('#identifi ...
- Bootstrap 历练实例 - 折叠(Collapse)插件事件
事件 下表列出了折叠(Collapse)插件中要用到的事件.这些事件可在函数中当钩子使用. 事件 描述 实例 show.bs.collapse 在调用 show 方法后触发该事件. $('#ident ...
- Bootstrap 历练实例 - 折叠(Collapse)插件方法
方法 下面是一些折叠(Collapse)插件中有用的方法: 方法 描述 实例 Options:.collapse(options) 激活内容为可折叠元素.接受一个可选的 options 对象. $(' ...
- Bootstrap历练实例:简单的可折叠
<!DOCTYPE html><html><head><meta http-equiv="Content-Type" content=&q ...
- Bootstrap 历练实例 - 按钮(Button)插件复选框
复选框(Checkbox) 您可以创建复选框按钮 组,并通过向 btn-group 添加 data 属性 data-toggle="buttons" 来添加复选框按钮组的切换. & ...
随机推荐
- C#多线程(14):任务基础②
目录 判断任务状态 再说父子任务 组合任务/延续任务 复杂的延续任务 并行(异步)处理任务 并行(同步)处理任务 并行任务的 Task.WhenAny 并行任务状态 循环中值变化问题 定时任务 Tas ...
- Java 基础之详解 Java 反射机制
一.什么是 Java 的反射机制? 反射(Reflection)是Java的高级特性之一,是框架实现的基础,定义:JAVA反射机制是在运行状态中,对于任意一个类,都能够知道这个类的所有属性和方法: ...
- Java 基础之详解 Java IO
Java IO基本概念 Java IO:即Java输入/输出系统,区分Java的输入和输出:把自己当成程序, 当你从外边读数据到自己这里就用输入(InputStream/Reader), 向外边写数据 ...
- nginx 配置大吞吐量
ng做反向代理服务是如果没有这两行配置吞吐量到8000-10000就上不去. proxy_http_version 1.1; # 后端配置支持HTTP1.1,必须配 proxy_set_header ...
- git取消跟踪(unversion)
有时候我们会git add了一些不想跟踪的文件,通过下面的命令可以在没提交前从index里删掉跟踪记录(保留本地文件) git rm –cached 文件名
- 虚拟化KVM之概述(一)
云计算基本概述 云计算是一种按使用量付费的模式,这种模式提供可用的.便捷的.按需的网络访问,进入可配置的计算资源共享池(资源包括网络,服务器,存储,应用程序,服务),这些资源能够被快速提供,只需投入很 ...
- JAVA企业级应用TOMCAT实战(三)
JVM优化涉及到两大方面我个人的理解 .如何分配JVM的内存空间 .我应该使用什么垃圾回收器 JVM产生的垃圾需要回收.回收有不同的回收器. JVM的调优需要了解各个垃圾回收机制的原理. 终极目标:降 ...
- Phaser都不懂,还学什么多线程
前面的文章中我们讲到了CyclicBarrier.CountDownLatch的使用,这里再回顾一下CountDownLatch主要用在一个线程等待多个线程执行完毕的情况,而CyclicBarrier ...
- 【批处理】TXT文件批量转HTML文件工具
说到批量转html文件,相信喜欢看小说或经常制作电子书和教程的朋友应该很熟悉.因为,我们每次都会面临成千上万的txt文件,要将其转换为能正确显示的html文件是很麻烦的.当然,现在有很多的软件也可以实 ...
- CentOS 6.5下通过yum安装MongoDB记录
安装MongoDB 1.创建repo vi /etc/yum.repos.d/mongodb-org-3.6.repo [mongodb-org-3.6] name=MongoDB Repos ...