9、SpringBoot整合之SpringBoot整合SpringSecurity
SpringBoot整合SpringSecurity
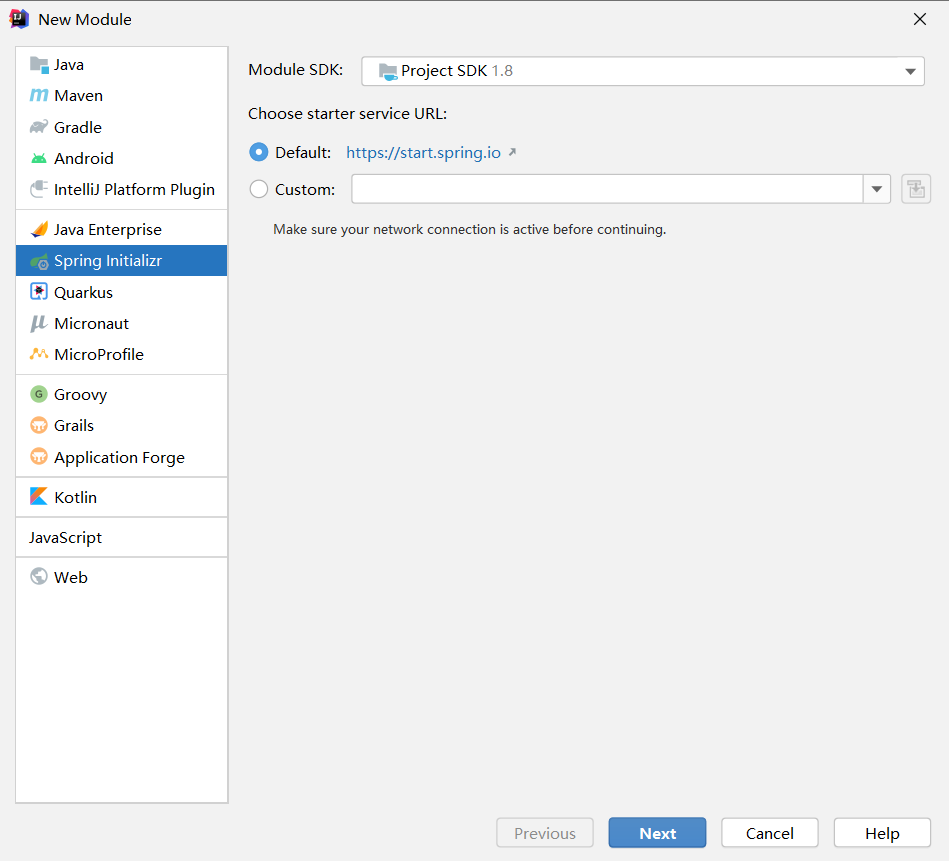
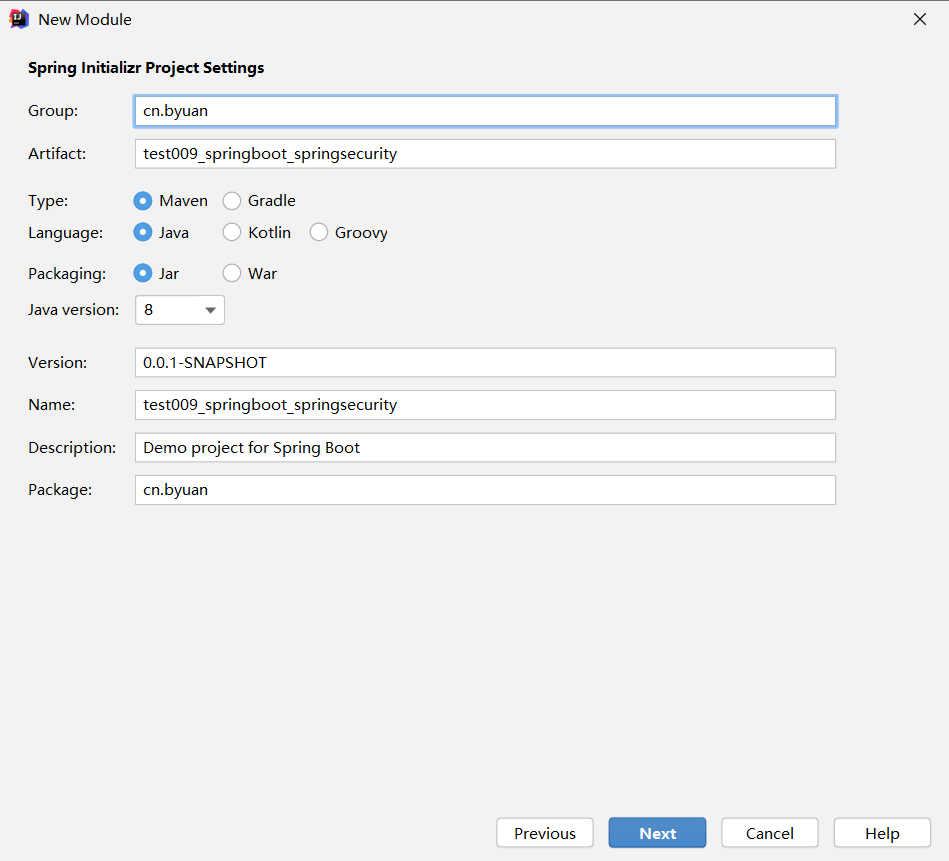
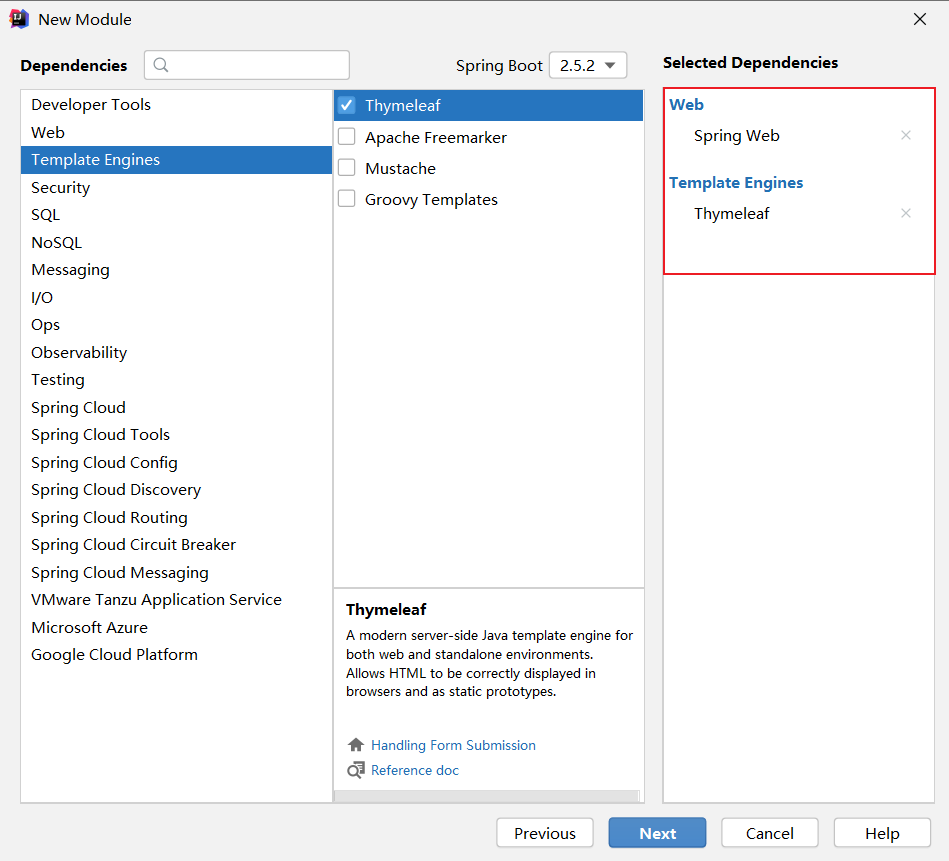
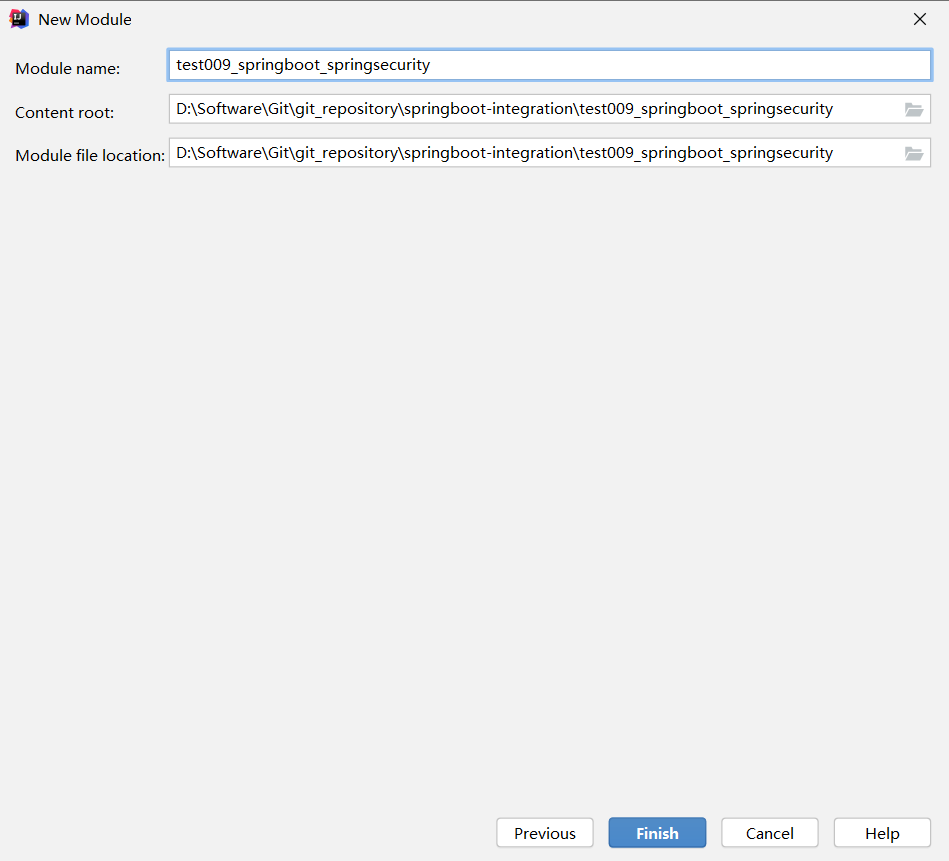
一、创建项目,选择依赖
选择Spring Web、Thymeleaf即可
二、在pom文件中导入相关依赖
<!-- 导入SpringSecurity的启动器 -->

<dependency>

    <groupId>org.springframework.boot</groupId>

    <artifactId>spring-boot-starter-security</artifactId>

</dependency>
三、在resources\templates下准备页面
目录结构如下

index.html
<!DOCTYPE html>

<html lang="en" xmlns:th="http://www.thymeleaf.org">

<head>

    <meta charset="UTF-8">

    <title>index</title>

</head>

<body>

    <div  align="center">

        <h1>Welcome to index</h1>

        <div>

            <!-- 这里的url是controller层的url -->

            <a th:href="@{/level_1/gotoHtml}">请求level_1</a>

        </div>

        <div>

            <a th:href="@{/level_2/gotoHtml}">请求level_2</a>

        </div>

        <div>

            <a th:href="@{/level_3/gotoHtml}">请求level_3</a>

        </div>

        <!-- 为稍后SpringSecurity的退出登录功能做准备 -->

        <a th:href="@{/logout}">登出</a>

    </div>

</body>

</html>
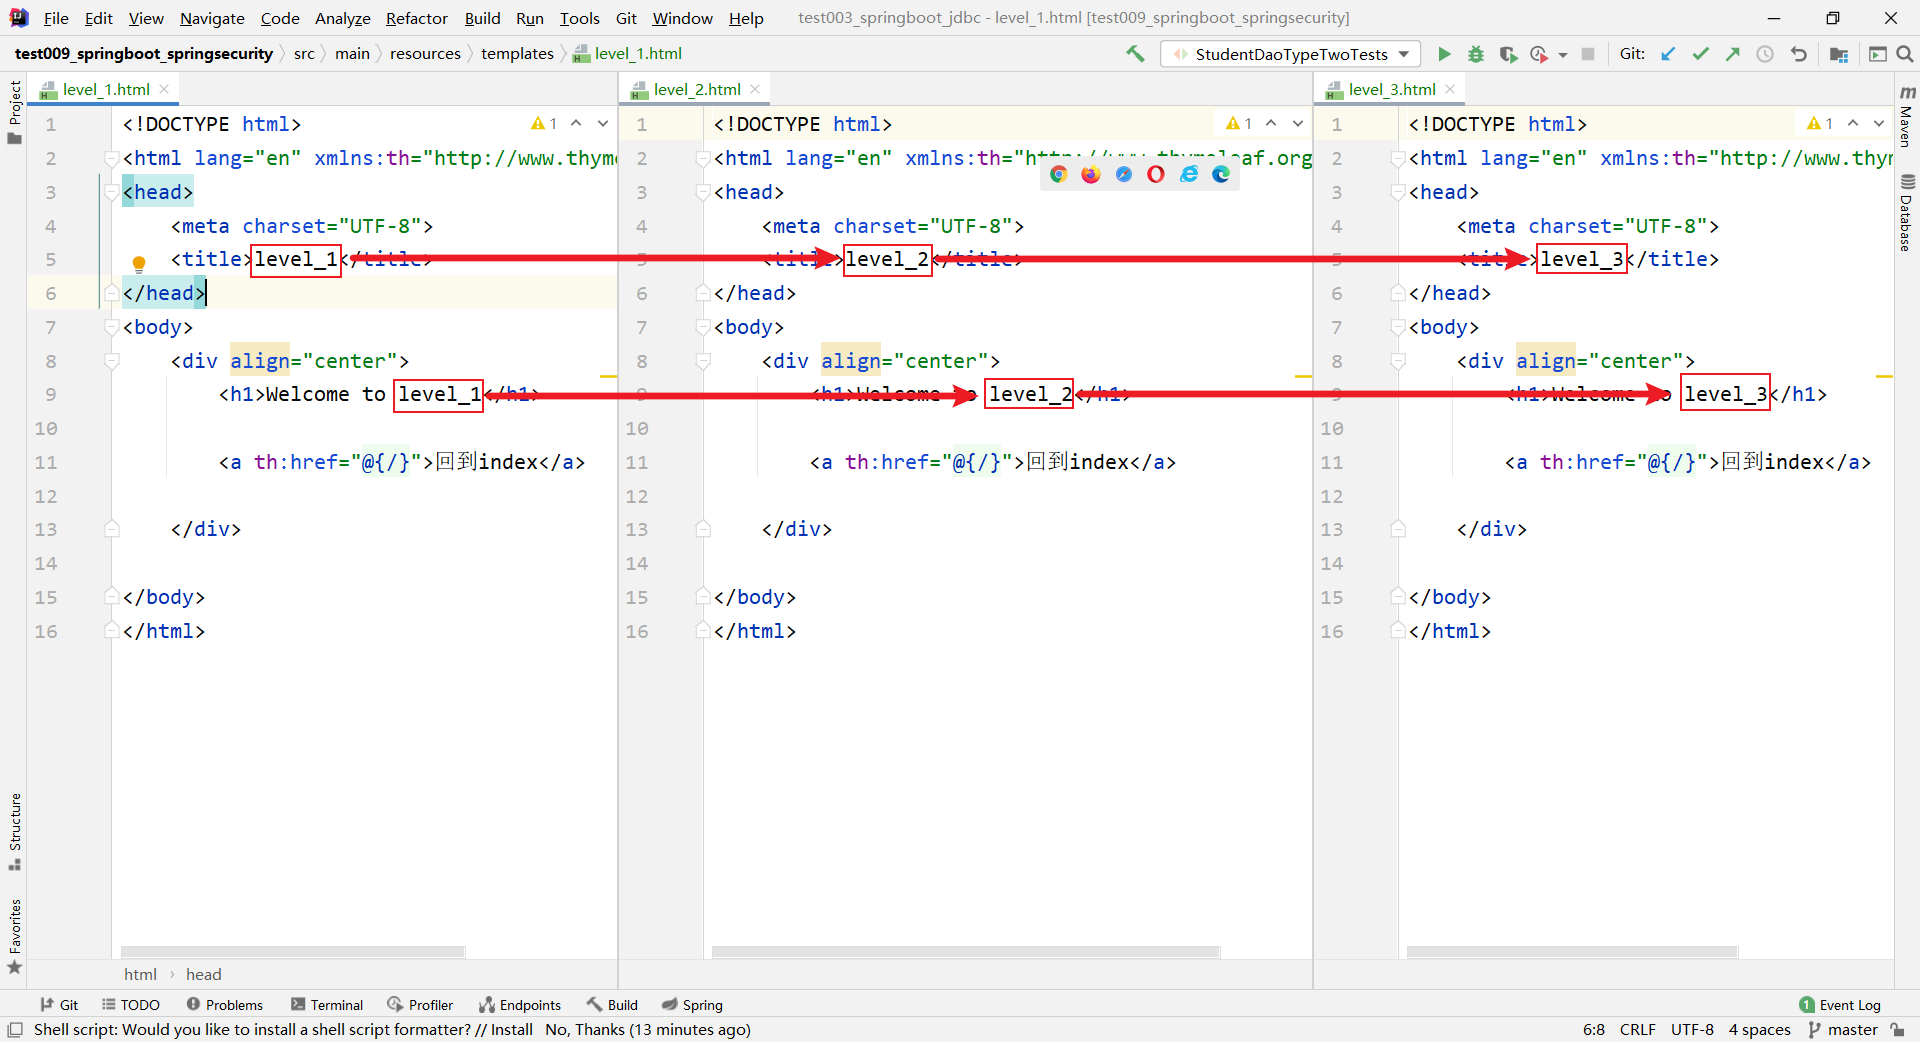
level_1.html、level_2.html、level_3.html内容相同,在此不多赘述,将数字部分替换即可
<!DOCTYPE html>

<html lang="en" xmlns:th="http://www.thymeleaf.org">

<head>

    <meta charset="UTF-8">

    <title>level_1</title>

</head>

<body>

    <div align="center">

        <h1>Welcome to level_1</h1>

        <a th:href="@{/}">回到index</a>

    </div>

</body>

</html>
四、构建controller层
package cn.byuan.controller;

import org.springframework.stereotype.Controller;

import org.springframework.web.bind.annotation.RequestMapping;

@Controller

public class LevelAction {

    @RequestMapping({"/", "/index", "index.html"})

    public String goToIndex(){

        return "index";

    }

//    这里的url就是上面index.html中a标签中出现的url

    @RequestMapping("/level_1/gotoHtml")

    public String goToLevel1(){

        return "level_1";

    }

    @RequestMapping("/level_2/gotoHtml")

    public String goToLevel2(){

        return "level_2";

    }

    @RequestMapping("/level_3/gotoHtml")

    public String goToLevel3(){

        return "level_3";

    }

}
五、创建配置类,进行SpringSecurity的相关配置
SpringSecrity的两大核心:认证(Authentication)、授权(Authorization)
SpringSecurity的主要类
| 主要类 | 含义 |
|---|---|
| @EnableWebSecurity | 开启WebSecurity |
| WebSecurityConfigurerAdapter | 自定义security策略 |
| AuthenticationManagerBuilder | 自定义认证策略 |
创建配置类
package cn.byuan.config;

import org.springframework.security.config.annotation.web.configuration.EnableWebSecurity;

import org.springframework.security.config.annotation.web.configuration.WebSecurityConfigurerAdapter;

@EnableWebSecurity// 开启WebSecurity模块

public class SecurityConfig extends WebSecurityConfigurerAdapter {

}
**光标移入花括号内,按下 ctrl + o **
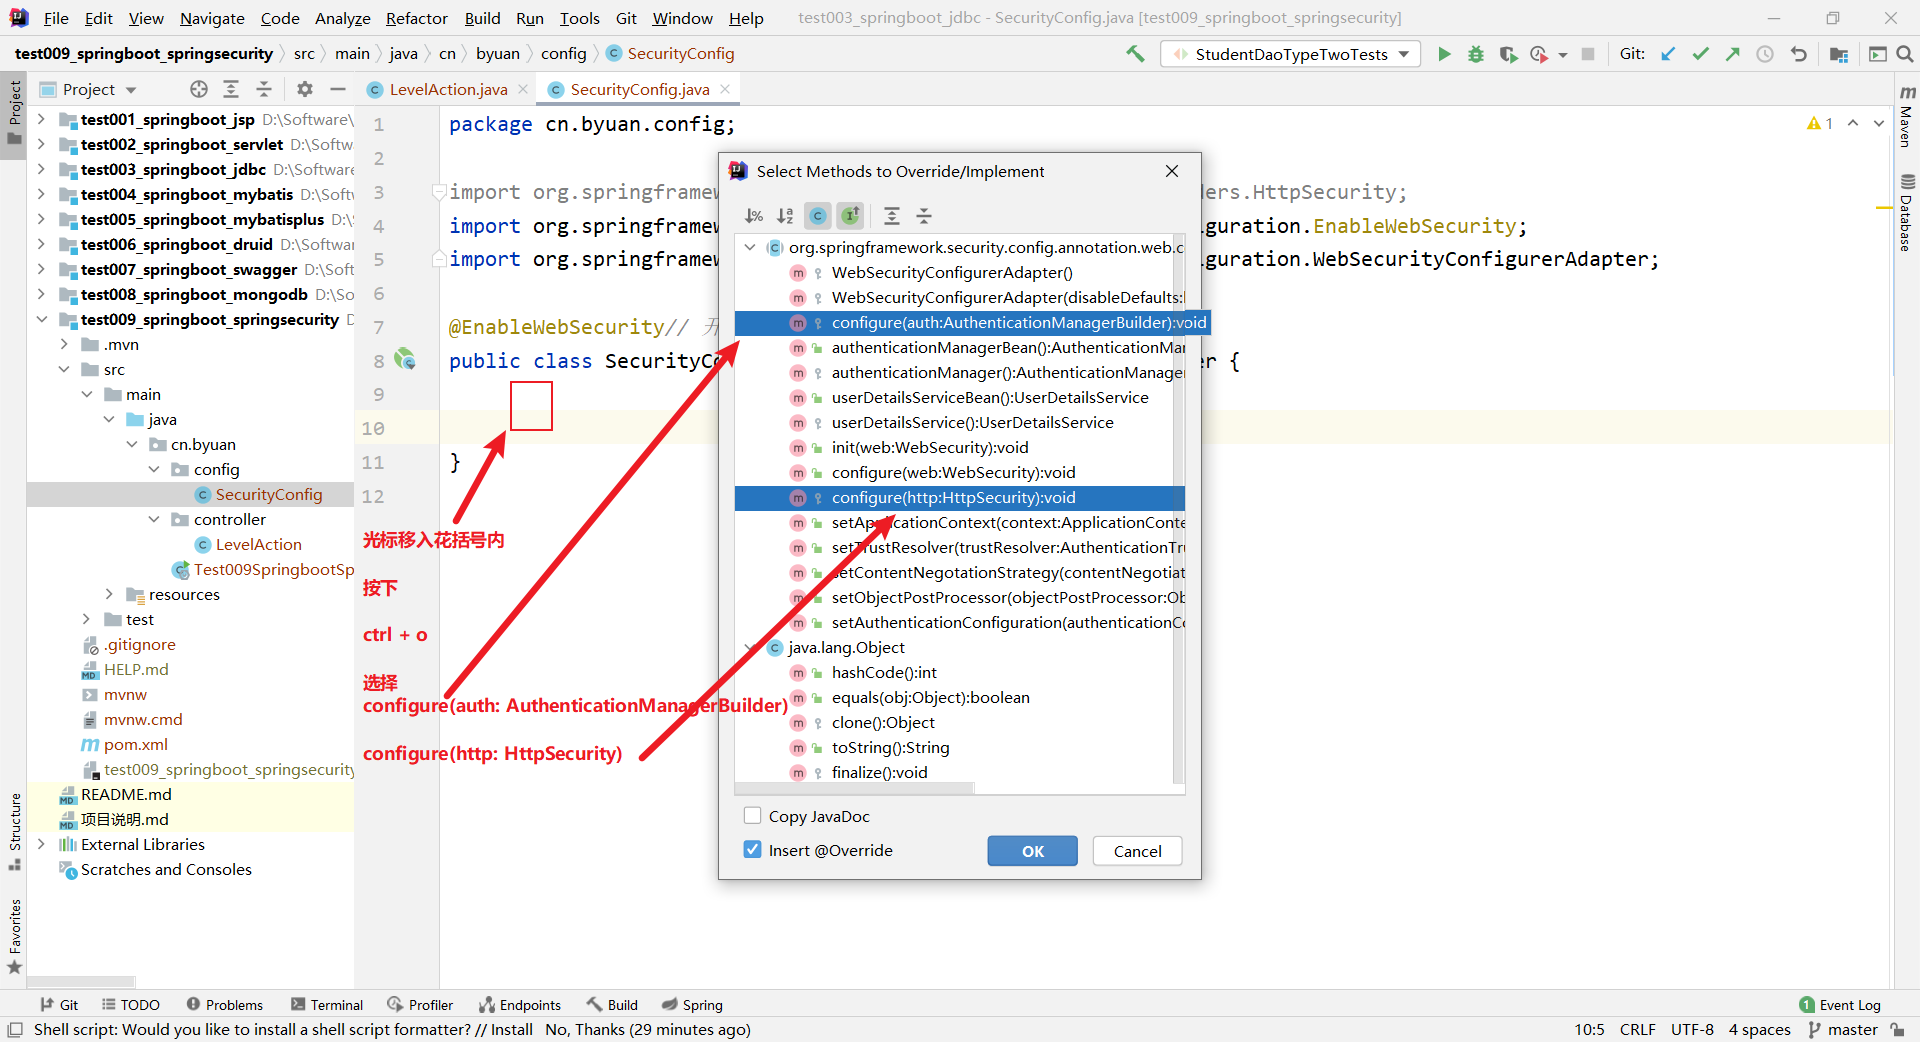
package cn.byuan.config;

import org.springframework.security.config.annotation.authentication.builders.AuthenticationManagerBuilder;

import org.springframework.security.config.annotation.web.builders.HttpSecurity;

import org.springframework.security.config.annotation.web.configuration.EnableWebSecurity;

import org.springframework.security.config.annotation.web.configuration.WebSecurityConfigurerAdapter;

import org.springframework.security.crypto.bcrypt.BCryptPasswordEncoder;

@EnableWebSecurity// 开启WebSecurity模块

public class SecurityConfig extends WebSecurityConfigurerAdapter {

    /*

     * 配置授权规则

     * */

    @Override

    protected void configure(HttpSecurity http) throws Exception {

//        添加请求授权规则

        http.authorizeRequests()

                .antMatchers("/").permitAll()// 首页所有人都可以访问

                .antMatchers("/level_1/**").hasRole("vip1")// level_1下的所有请求, vip1用户才可以访问

                .antMatchers("/level_2/**").hasRole("vip2")// level_2下的所有请求, vip2用户才可以访问

                .antMatchers("/level_3/**").hasRole("vip3");// level_3下的所有请求, vip3用户才可以访问

        http.formLogin();// 开启登录页面, 即无权限的话跳转到登录页面, 默认地址: /login, 这是为了有人直接访问权限范围内某一url

        http.logout().logoutSuccessUrl("/");// 注销后跳转到首页

        http.rememberMe();// 开启记住我功能, 默认保存两周, 底层使用cookie机制实现

    }

    /*

     * 配置认证规则

     *

     * 在新版本的SpringSecurity中新增了许多加密方法, 不使用加密的话就会出现异常

     * 这里我们在内存中对用户进行模拟, 真正的开发过程中会使用数据库

     *

     * */

    @Override

    protected void configure(AuthenticationManagerBuilder auth) throws Exception {

        auth.inMemoryAuthentication()

                .passwordEncoder(new BCryptPasswordEncoder())

                .withUser("root").password(new BCryptPasswordEncoder().encode("root")).roles("vip1", "vip2", "vip3")

                .and()

                .withUser("zlf").password(new BCryptPasswordEncoder().encode("zlf")).roles("vip1", "vip2")

                .and()

                .withUser("user").password(new BCryptPasswordEncoder().encode("user")).roles("vip1");

    }

}
六、测试
打开浏览器,输入地址:http://localhost:8080/ 敲击回车

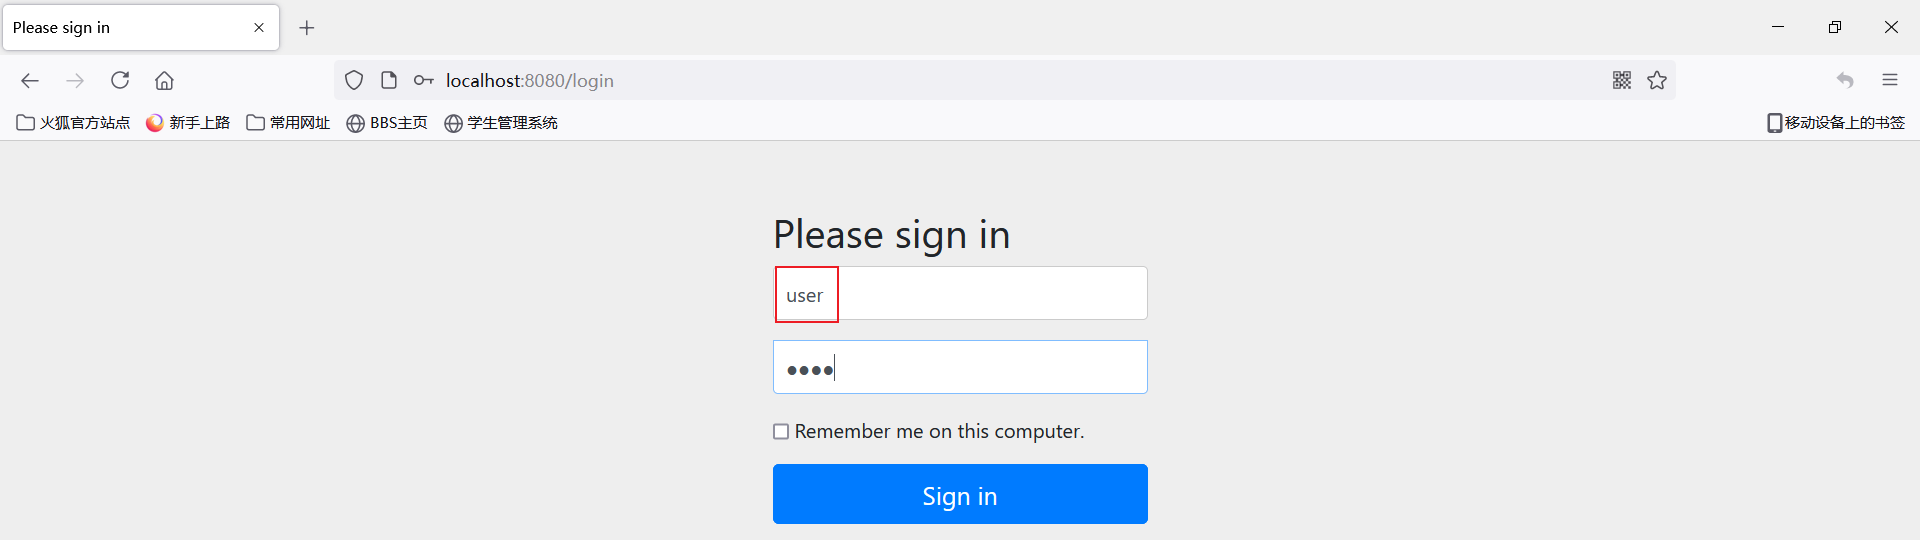
点击:请求level_1,会自动跳转至登录页面,输入账号、密码,点击Sign in
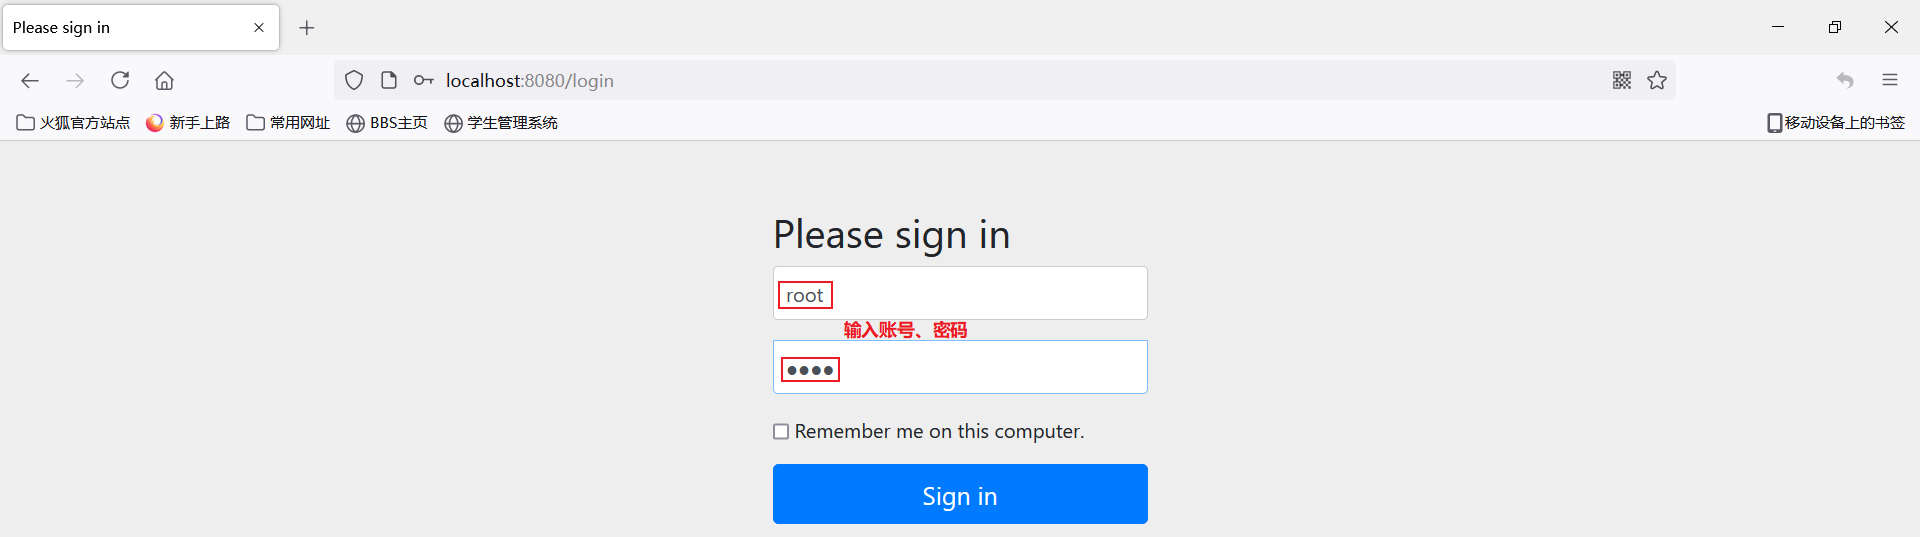
由于root拥有所有页面的访问权限,因此访问成功

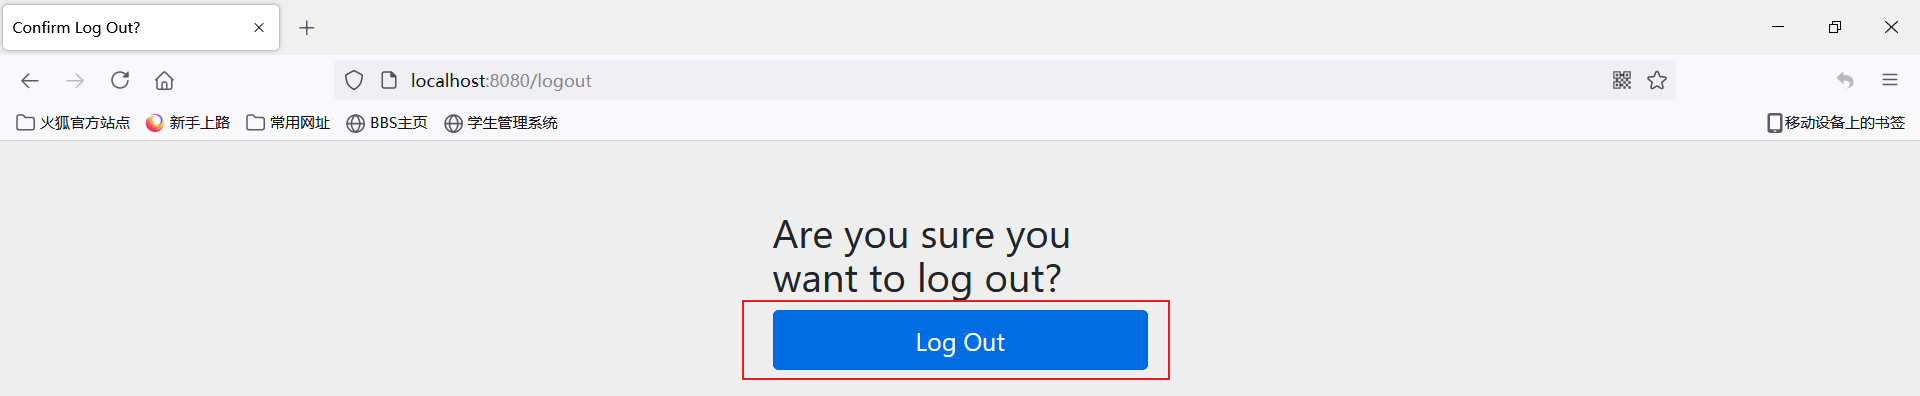
点击回到index,点击退出登录,切换其他账号进行测试

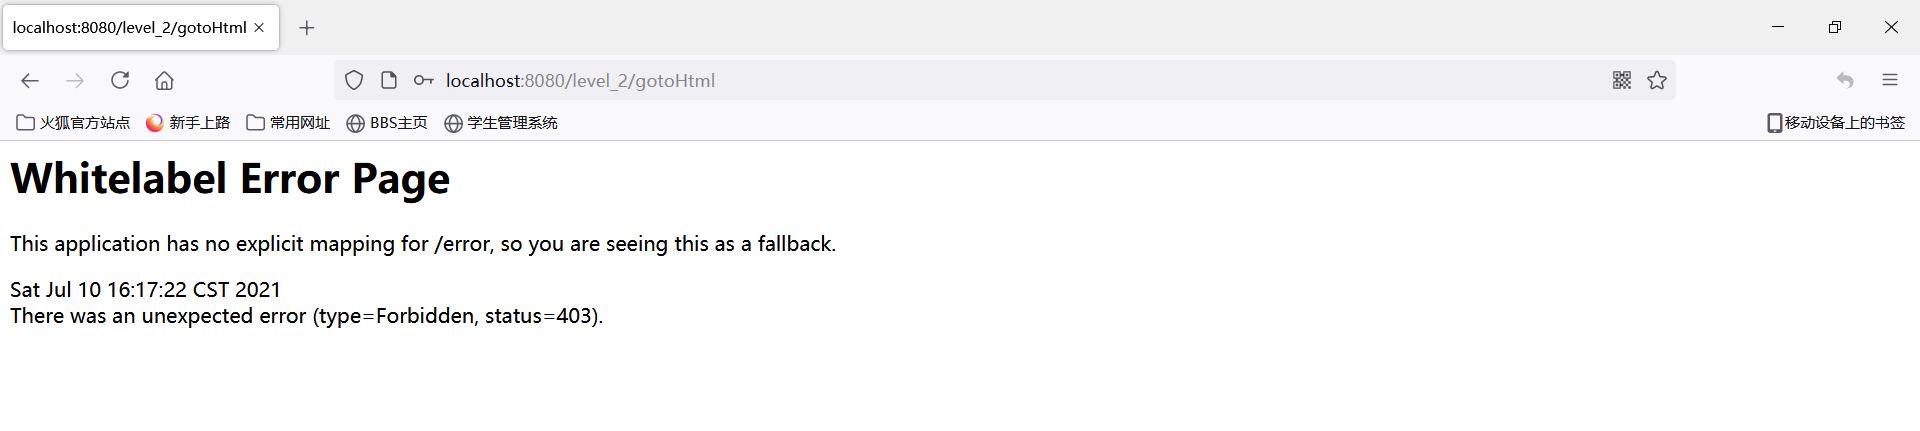
这次我们使用user账号来访问level_2,user只有level_1的访问权限
可以看到,如果没有权限访问指定的url,那么会报错误:403
源码地址:https://github.com/byuan98/springboot-integration/tree/master/test009_springboot_springsecurity
9、SpringBoot整合之SpringBoot整合SpringSecurity的更多相关文章
- (七) SpringBoot起飞之路-整合SpringSecurity(Mybatis、JDBC、内存)
兴趣的朋友可以去了解一下前五篇,你的赞就是对我最大的支持,感谢大家! (一) SpringBoot起飞之路-HelloWorld (二) SpringBoot起飞之路-入门原理分析 (三) Sprin ...
- (八) SpringBoot起飞之路-整合Shiro详细教程(MyBatis、Thymeleaf)
兴趣的朋友可以去了解一下前几篇,你的赞就是对我最大的支持,感谢大家! (一) SpringBoot起飞之路-HelloWorld (二) SpringBoot起飞之路-入门原理分析 (三) Sprin ...
- (九) SpringBoot起飞之路-整合/集成Swagger 2 And 3
兴趣的朋友可以去了解一下其他几篇,你的赞就是对我最大的支持,感谢大家! (一) SpringBoot起飞之路-HelloWorld (二) SpringBoot起飞之路-入门原理分析 (三) Spri ...
- springboot+jpa+mysql+swagger整合
Springboot+jpa+MySQL+swagger整合 创建一个springboot web项目 <dependencies> <dependency> < ...
- java框架之SpringBoot(12)-消息及整合RabbitMQ
前言 概述 大多数应用中,可通过消息服务中间件来提升系统异步通信.扩展解耦的能力. 消息服务中两个重要概念:消息代理(message broker)和目的地(destination).当消息发送者发送 ...
- java框架之SpringBoot(13)-检索及整合Elasticsearch
ElasticSearch介绍 简介 我们的应用经常需要使用检索功能,开源的 Elasticsearch 是目前全文搜索引擎的首选.它可以快速的存储.搜索和分析海量数据.SpringBoot 通过整合 ...
- Springboot 2.0.4 整合Mybatis出现异常Property 'sqlSessionFactory' or 'sqlSessionTemplate' are required
在使用Springboot 2.0.4 整合Mybatis的时候出现异常Property 'sqlSessionFactory' or 'sqlSessionTemplate' are require ...
- SpringBoot Druid整合,SpringBoot 集成Druid
SpringBoot Druid整合,SpringBoot 集成Druid ================================ ©Copyright 蕃薯耀 2018年4月8日 http ...
- SpringBoot+SpringMVC+MyBatis快速整合搭建
作为开发人员,大家都知道,SpringBoot是基于Spring4.0设计的,不仅继承了Spring框架原有的优秀特性,而且还通过简化配置来进一步简化了Spring应用的整个搭建和开发过程.另外Spr ...
- SpringBoot:4.SpringBoot整合Mybatis实现数据库访问
在公司项目开发中,使用Mybatis居多.在 SpringBoot:3.SpringBoot使用Spring-data-jpa实现数据库访问 中,这种jpa风格的把sql语句和java代码放到一起,总 ...
随机推荐
- 攻防世界(九)PHP2
攻防世界系列:PHP2 1.打开什么信息也没有. 尝试各种首页index.php index.html 加 [F12]没有结果,最后发现是index.phps .phps文件是什么? phps文件就 ...
- 2019年又迎来Hi1620,鲲鹏920则是Hi1620系列的正式品牌和型号
据记者了解,2013年华为就发布了Hi1610,2014年的Hi1612是ARM64位CPU,2016年的Hi1616是首颗支持多路的ARM处理器,2019年又迎来Hi1620,鲲鹏920则是Hi16 ...
- 细谈select函数(C语言) -(转自 piaojun_pj的专栏)
Select在Socket编程中还是比较重要的,可是对于初学Socket的人来说都不太爱用Select写程序,他们只是习惯写诸如connect.accept.recv或recvfrom这样的阻塞程序( ...
- 微信引流的方式 PC控制手机的方式
http://www.yunjing100.cn/ 云鲸一百 小萝卜 http://www.xiaoluobei.com/
- Django优雅集成MongoDB
Django优雅集成MongoDB 将Django与MongoDB集成 在不更改Django ORM的情况下,将MongoDB用作Django项目的后端数据库.使用Django Admin在Mon ...
- 如何选择视觉CV光源颜色
如何选择视觉CV光源颜色 一.光源颜色分类 光源颜色的选择对机器视觉光源有什么影响及意义呢,常用的光源颜色有白色(W).蓝色(B).红色(R).绿色(G).红外光(IR).紫外光(UV),这六种颜色. ...
- CodeGen API分析
CodeGen API分析 作为使用命令行界面的替代方法,开发人员可以使用核心CodeGen环境编写自定义工具或实用程序来生成代码,从而将CodeGen更紧密地集成到开发环境中. 为了实现这一点,Co ...
- Mac设置charles证书信任
- Tomcat配置probe详细过程(步骤加截图)
1.先下载probe.war包,点击probe.war进行下载:附上下载地址:https://github.com/psi-probe/psi-probe/releases 2.将probe.war包 ...
- 菜鸟刷题路:剑指 Offer 09. 用两个栈实现队列
剑指 Offer 09. 用两个栈实现队列 用两个栈实现一个队列.队列的声明如下,请实现它的两个函数 appendTail 和 deleteHead ,分别完成在队列尾部插入整数和在队列头部删除整数的 ...