opencv 3 core组件进阶(3 离散傅里叶变换;输入输出XML和YAML文件)
离散傅里叶变换
#include "opencv2/core/core.hpp"

#include "opencv2/imgproc/imgproc.hpp"

#include "opencv2/highgui/highgui.hpp"

#include <iostream>

using namespace cv;

//-----------------------------------【ShowHelpText( )函数】----------------------------------

//		 描述:输出一些帮助信息

//----------------------------------------------------------------------------------------------

void ShowHelpText()

{

	//输出欢迎信息和OpenCV版本

	printf("\n\n\t\t\t   当前使用的OpenCV版本为:" CV_VERSION);

	printf("\n\n  ----------------------------------------------------------------------------\n");

}

//--------------------------------------【main( )函数】-----------------------------------------

//          描述:控制台应用程序的入口函数,我们的程序从这里开始执行

//-------------------------------------------------------------------------------------------------

int main()

{

	//【1】以灰度模式读取原始图像并显示

	Mat srcImage = imread("1.jpg", 0);

	if (!srcImage.data) { printf("读取图片错误,请确定目录下是否有imread函数指定图片存在~! \n"); return false; }

	imshow("原始图像", srcImage);

	ShowHelpText();

	//【2】将输入图像延扩到最佳的尺寸,边界用0补充

	int m = getOptimalDFTSize(srcImage.rows);

	int n = getOptimalDFTSize(srcImage.cols);

	//将添加的像素初始化为0.

	Mat padded;

	copyMakeBorder(srcImage, padded, 0, m - srcImage.rows, 0, n - srcImage.cols, BORDER_CONSTANT, Scalar::all(0));

	//【3】为傅立叶变换的结果(实部和虚部)分配存储空间。

	//将planes数组组合合并成一个多通道的数组complexI

	Mat planes[] = { Mat_<float>(padded), Mat::zeros(padded.size(), CV_32F) };

	Mat complexI;

	merge(planes, 2, complexI);

	//【4】进行就地离散傅里叶变换

	dft(complexI, complexI);

	//【5】将复数转换为幅值,即=> log(1 + sqrt(Re(DFT(I))^2 + Im(DFT(I))^2))

	split(complexI, planes); // 将多通道数组complexI分离成几个单通道数组,planes[0] = Re(DFT(I), planes[1] = Im(DFT(I))

	magnitude(planes[0], planes[1], planes[0]);// planes[0] = magnitude

	Mat magnitudeImage = planes[0];

	//【6】进行对数尺度(logarithmic scale)缩放

	magnitudeImage += Scalar::all(1);

	log(magnitudeImage, magnitudeImage);//求自然对数

	//【7】剪切和重分布幅度图象限

	//若有奇数行或奇数列,进行频谱裁剪

	magnitudeImage = magnitudeImage(Rect(0, 0, magnitudeImage.cols & -2, magnitudeImage.rows & -2));

	//重新排列傅立叶图像中的象限,使得原点位于图像中心

	int cx = magnitudeImage.cols / 2;

	int cy = magnitudeImage.rows / 2;

	Mat q0(magnitudeImage, Rect(0, 0, cx, cy));   // ROI区域的左上

	Mat q1(magnitudeImage, Rect(cx, 0, cx, cy));  // ROI区域的右上

	Mat q2(magnitudeImage, Rect(0, cy, cx, cy));  // ROI区域的左下

	Mat q3(magnitudeImage, Rect(cx, cy, cx, cy)); // ROI区域的右下

	//交换象限(左上与右下进行交换)

	Mat tmp;

	q0.copyTo(tmp);

	q3.copyTo(q0);

	tmp.copyTo(q3);

	//交换象限(右上与左下进行交换)

	q1.copyTo(tmp);

	q2.copyTo(q1);

	tmp.copyTo(q2);

	//【8】归一化,用0到1之间的浮点值将矩阵变换为可视的图像格式

	//此句代码的OpenCV2版为:

	//normalize(magnitudeImage, magnitudeImage, 0, 1, CV_MINMAX);

	//此句代码的OpenCV3版为:

	normalize(magnitudeImage, magnitudeImage, 0, 1, NORM_MINMAX);

	//【9】显示效果图

	imshow("频谱幅值", magnitudeImage);

	waitKey();

	return 0;

}
详解:md,粘了也看不懂,不粘了
输入输出XML和YAML文件
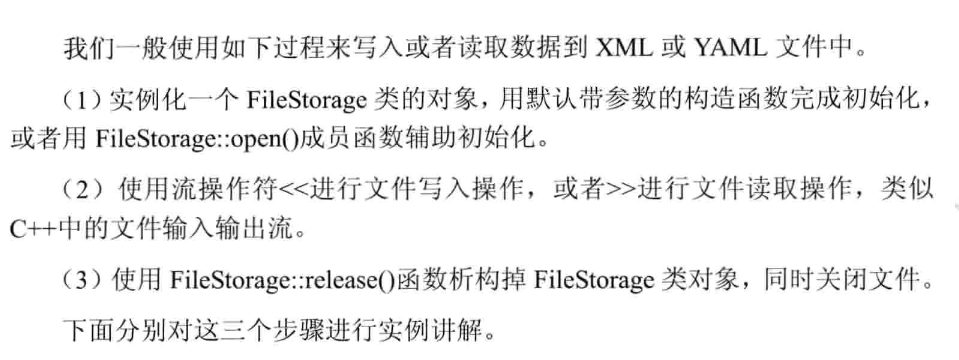
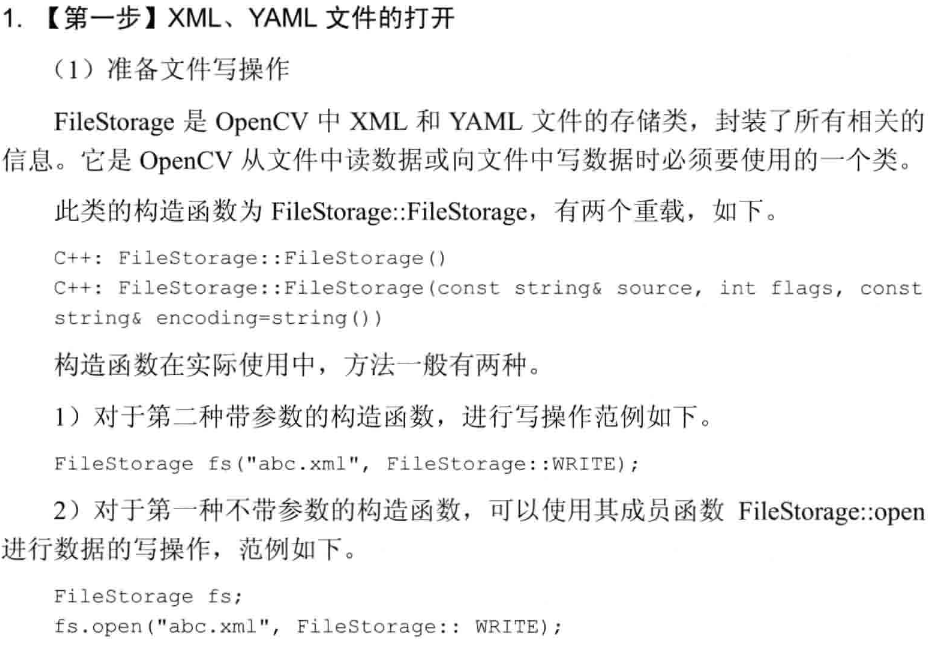
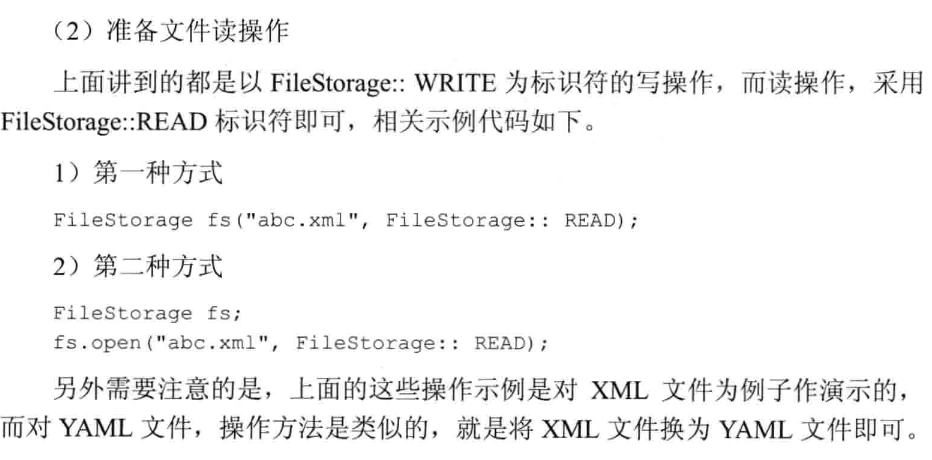
【第二步】进行文件读写操作
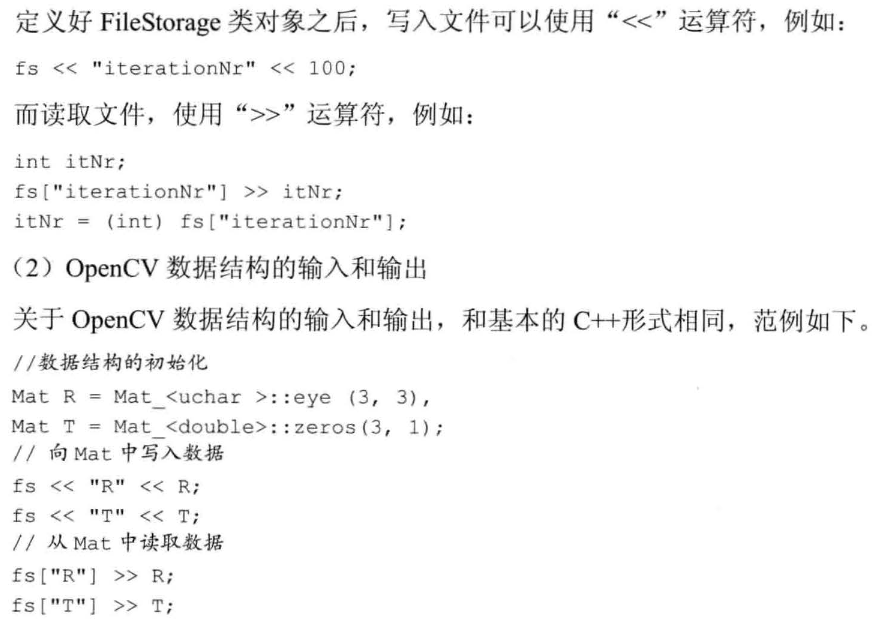
(1)文本和数字的输入和输出

写入
#define _CRT_SECURE_NO_WARNINGS
#include "opencv2/opencv.hpp"
#include <time.h>
using namespace cv;
//-----------------------------------【ShowHelpText( )函数】----------------------------------
// 描述:输出一些帮助信息
//----------------------------------------------------------------------------------------------
void ShowHelpText()
{
//输出欢迎信息和OpenCV版本
printf("\n\n\t\t\t 当前使用的OpenCV版本为:" CV_VERSION);
printf("\n\n ----------------------------------------------------------------------------\n");
}
//-----------------------------------【main( )函数】--------------------------------------------
// 描述:控制台应用程序的入口函数,我们的程序从这里开始
//-----------------------------------------------------------------------------------------------
int main()
{
//改变console字体颜色
system("color 5F");
ShowHelpText();
//初始化
FileStorage fs("test.yaml", FileStorage::WRITE);
//开始文件写入
fs << "frameCount" << 5;
time_t rawtime; time(&rawtime);
fs << "calibrationDate" << asctime(localtime(&rawtime));
Mat cameraMatrix = (Mat_<double>(3, 3) << 1000, 0, 320, 0, 1000, 240, 0, 0, 1);
Mat distCoeffs = (Mat_<double>(5, 1) << 0.1, 0.01, -0.001, 0, 0);
fs << "cameraMatrix" << cameraMatrix << "distCoeffs" << distCoeffs;
fs << "features" << "[";
for (int i = 0; i < 3; i++)
{
int x = rand() % 640;
int y = rand() % 480;
fs << "{:" << "x" << x << "y" << y << "lbp" << "[:";
uchar lbp = rand() % 256;
for (int j = 0; j < 8; j++)
fs << ((lbp >> j) & 1);
fs << "]" << "}";
}
fs << "]";
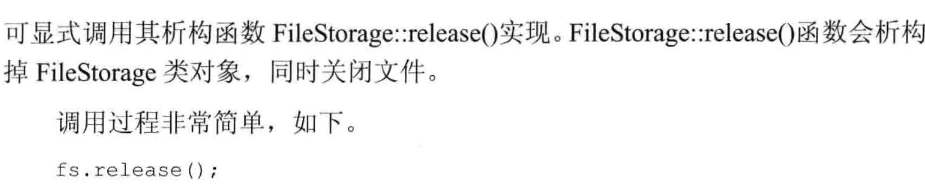
fs.release();
printf("\n文件读写完毕,请在工程目录下查看生成的文件~");
getchar();
return 0;
}
读取
#include "opencv2/opencv.hpp"
#include <time.h>
using namespace cv;
using namespace std;
//-----------------------------------【ShowHelpText( )函数】----------------------------------
// 描述:输出一些帮助信息
//----------------------------------------------------------------------------------------------
void ShowHelpText()
{
//输出欢迎信息和OpenCV版本
printf("\n\n\t\t\t 当前使用的OpenCV版本为:" CV_VERSION );
printf("\n\n ----------------------------------------------------------------------------\n\n");
}
int main( )
{
//改变console字体颜色
system("color 6F");
ShowHelpText();
//初始化
FileStorage fs2("test.yaml", FileStorage::READ);
// 第一种方法,对FileNode操作
int frameCount = (int)fs2["frameCount"];
std::string date;
// 第二种方法,使用FileNode运算符> >
fs2["calibrationDate"] >> date;
Mat cameraMatrix2, distCoeffs2;
fs2["cameraMatrix"] >> cameraMatrix2;
fs2["distCoeffs"] >> distCoeffs2;
cout << "frameCount: " << frameCount << endl
<< "calibration date: " << date << endl
<< "camera matrix: " << cameraMatrix2 << endl
<< "distortion coeffs: " << distCoeffs2 << endl;
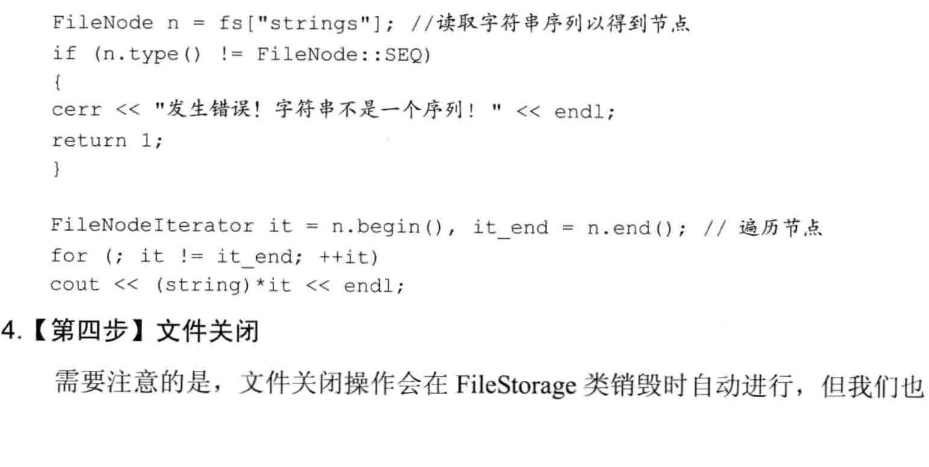
FileNode features = fs2["features"];
FileNodeIterator it = features.begin(), it_end = features.end();
int idx = 0;
std::vector<uchar> lbpval;
//使用FileNodeIterator遍历序列
for( ; it != it_end; ++it, idx++ )
{
cout << "feature #" << idx << ": ";
cout << "x=" << (int)(*it)["x"] << ", y=" << (int)(*it)["y"] << ", lbp: (";
// 我们也可以使用使用filenode > > std::vector操作符很容易的读数值阵列
(*it)["lbp"] >> lbpval;
for( int i = 0; i < (int)lbpval.size(); i++ )
cout << " " << (int)lbpval[i];
cout << ")" << endl;
}
fs2.release();
//程序结束,输出一些帮助文字
printf("\n文件读取完毕,请输入任意键结束程序~");
getchar();
return 0;
}
opencv 3 core组件进阶(3 离散傅里叶变换;输入输出XML和YAML文件)的更多相关文章
- opencv 3 core组件进阶(2 ROI区域图像叠加&图像混合;分离颜色通道、多通道图像混合;图像对比度,亮度值调整)
ROI区域图像叠加&图像混合 #include <opencv2/core/core.hpp> #include <opencv2/highgui/highgui.hpp&g ...
- opencv 3 core组件进阶(1 访问图像中的像素)
访问图像像素的三类方法 ·方法一 指针访问:C操作符[ ]; ·方法二 迭代器iterator; ·方法三 动态地址计算. #include <opencv2/core/core.hpp> ...
- OpenCV之Core组件进阶
颜色空间缩减 利用C++类型转换时向下取整操作,实现定义域内颜色缩减.表达式如下 Inew = (Iold/10)*10 简单的颜色空间缩减算法可由以下两步组成: (1)遍历图像矩阵的每个元素 (2) ...
- OpenCV 输入输出XML和YAML文件
#include <opencv2/core/core.hpp> #include <iostream> #include <string> using names ...
- OpenCV——输入输出XML和YAML文件
- opencv core组件进阶
1.图像在内存中存储方式,图像矩阵的大小取决于颜色模型,取决于所有的通道数:还有重要的颜色空间缩减的概念:因为如果是RGB的话,使用uchar的话,就有256^3的结合方法.所以要用到颜色缩减的方法, ...
- core组件进阶
访问图像像素 存储方式 BGR连续存储有助于提升图像扫描速度. isContinuous()判断是否是连续存储. 颜色空间缩减 仅用这些颜色中具有代表性的很小的部分,就足以达到同样的效果. 将现有颜色 ...
- OPENCV(3) —— 对XML和YAML文件实现I/O 操作
XML\YAML文件在OpenCV中的数据结构为FileStorage string filename = "I.xml"; FileStorage fs(filename, Fi ...
- OpenCV之XML和YAML文件读写
FileStorage类 该类有两个构造函数 FileStorage::FileStorage() FileStorage::FileStorage(const string& source, ...
随机推荐
- vmware14安装centos7的步骤(图文详解)
一.centos的安装 centos分为桌面版和黑屏版(命令行版):在这里我使用的是命令行版. 这里选择安装程序光盘映像文件,文件就是centos7的iso文件. 虚拟机的名称和位置自行设置; 虚拟机 ...
- 盘点那些适配Linux的国产常用软件
前几天,10月24日,在这个程序员的节日里,腾讯时隔十一年,更新了QQ for Linux.瞬间,各大技术论坛,群聊,关于Linux的新QQ的话题不断.为什么QQ这么多年不更新QQ for Linux ...
- Python小工具:利用ffmpy3库3秒钟将视频转换为音频
作者 | pk 哥 来源公众号 | Python知识圈(ID:PythonCircle) 最近,有读者微信上私聊我,想让我写一篇视频批量转换成音频的文章,我答应了,周末宅家里把这个小工具做出来了. 这 ...
- uni-app swiper设置自定义高度
话不多少先上图, 大家可以看到图片中红色区域是头部区域,黄色区域则是我们要滑动的区域. 大家可以在uni-app官网上看到swiper高度是默认100%,而swiper-item则是要有固定宽高的,要 ...
- Java8系列 (二) Stream流
概述 Stream流是Java8新引入的一个特性, 它允许你以声明性方式处理数据集合, 而不是像以前的指令式编程那样需要编写具体怎么实现. 比如炒菜, 用指令式编程需要编写具体的实现 配菜(); 热锅 ...
- 玩转OneNET物联网平台之HTTP服务③ —— OneNet智能灯 HTTP版本
授人以鱼不如授人以渔,目的不是为了教会你具体项目开发,而是学会学习的能力.希望大家分享给你周边需要的朋友或者同学,说不定大神成长之路有博哥的奠基石... QQ技术互动交流群:ESP8266&3 ...
- 部署acfs笔记
acfs问题分析 环境描述 某电力项目创建了两个磁盘组,分别是OGGEXT和OGGREP,利用这两个磁盘组划分了两个acfs文件系统,之后,cloud监控就一直在报磁盘空间不足,但是这两个文件系统的使 ...
- git命令(转)
git工作模式 工作区(代码) 暂存区 版本区(提交区.历史区) 初始化 git config --global user.name *** git config --global user.emai ...
- Unity常用协程功能封装
# 1.前言unity开发过程中,经常用到一些特定的协程功能,比如延时触发.等待触发.重复操作等.unity自带Invoke以及InvokeRepeating方法,但这些方法均采用反射机制,性能消耗, ...
- Andriod项目结构
在Android Studio第一次创建一个项目,点击左侧的Project选项卡,在Project窗口下有几个不同的视图,默认的是名为Android的视图: 对于大部分的开发工作,我们只要在Andro ...