.Net Core 部署 CentOs7+Nginx
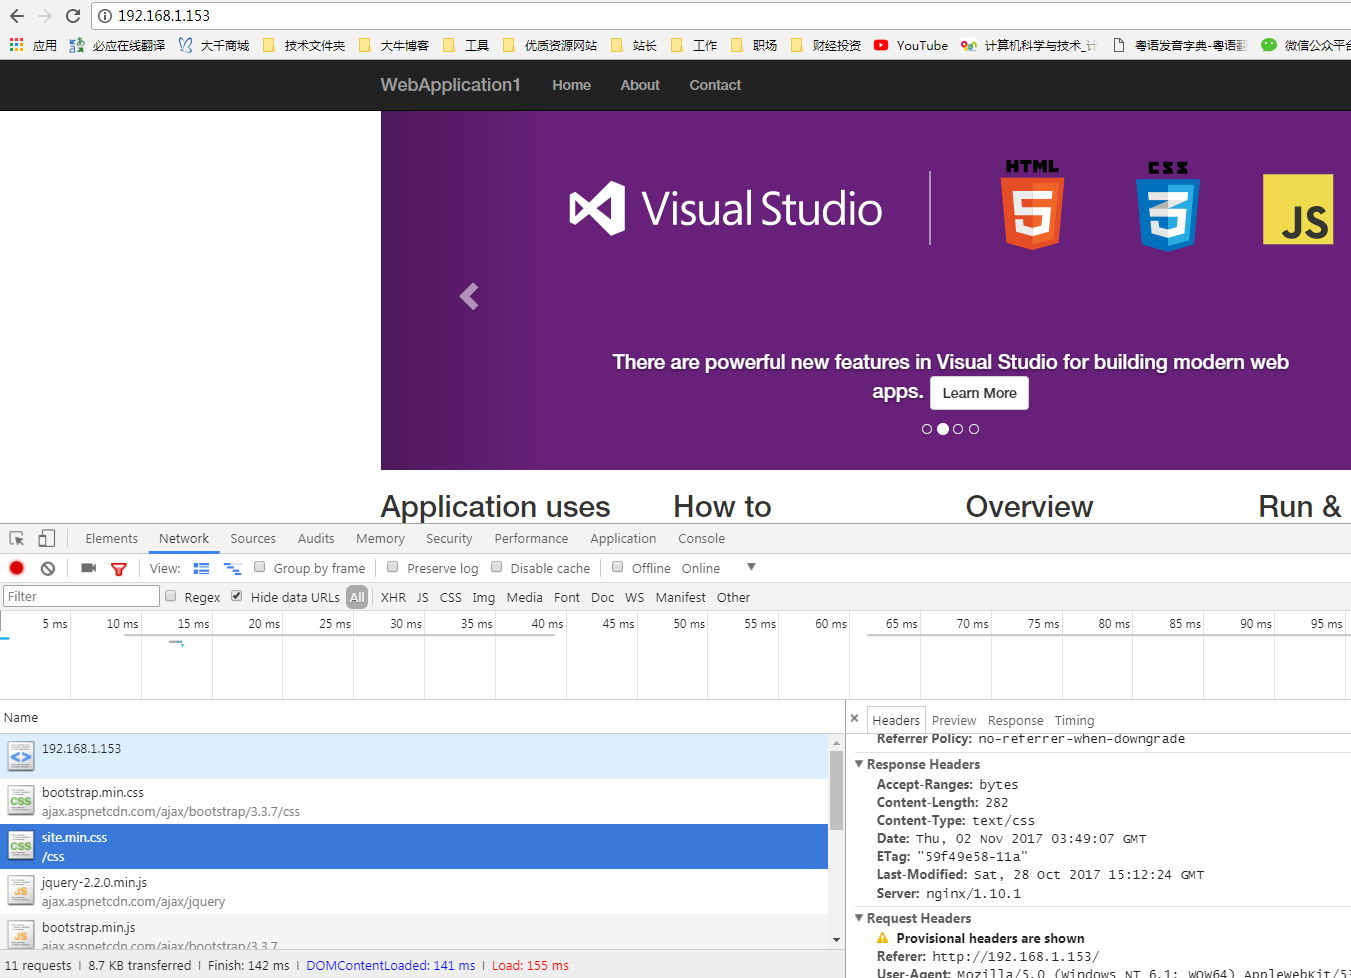
先爆图

由于是初学者,部署出来这个界面也不容易,此前第一步弄了个这个出来

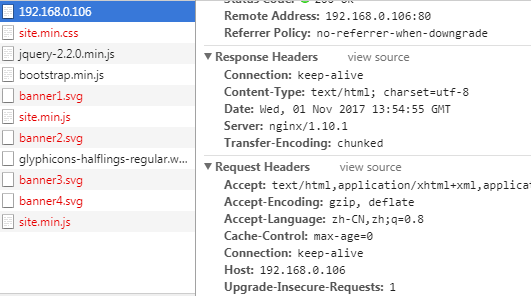
动态的没问题,然后静态资源死活就是不出来,弄了两个小时没有结果,带着遗憾睡了个觉
试验1:
server {

   listen ;

   location / {

   root /usr/myweb/wwwroot/;

   proxy_pass http://localhost:5000; # 刚才设置的地址端口

   proxy_http_version 1.1;

   proxy_set_header Upgrade $http_upgrade;

   proxy_set_header Connection keep-alive;

   proxy_set_header Host $host;

   proxy_cache_bypass $http_upgrade;

  }

}
查看结果 404
试验2:
server {

   listen ;

   root /usr/myweb/wwwroot/;

   location / {

   proxy_pass http://localhost:5000; # 刚才设置的地址端口

   proxy_http_version 1.1;

   proxy_set_header Upgrade $http_upgrade;

   proxy_set_header Connection keep-alive;

   proxy_set_header Host $host;

   proxy_cache_bypass $http_upgrade;

  }

}
查看结果 还是 404
因为网上那些部署.net core 成功的都好像没遇到这情况一样的,不知道是怎么回事,查看了好多文章都没有结果
后面转变思路,既然.net core 的没有 ,那就查查其他的 nginx+apache , tomcat这些,只要的代理转发的应该都会有这情况的吧
果然我看到了这个词:静态和动态资源分离,ok 就查这个方向的东西了,因为显然我的.net core 宿主显然是无法定位到静态资源了
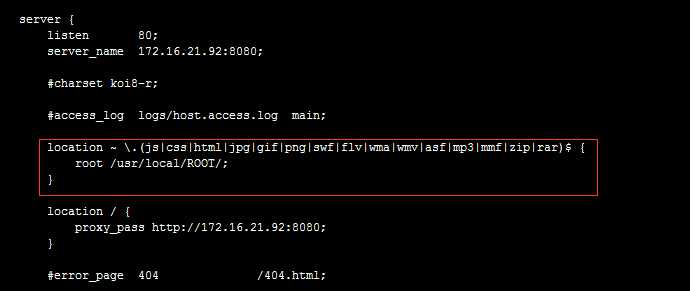
不然也不会怎么搞都出不来,那么把动态跟静态资源分开处理应该可以的,接着找到了这个图

Nginx-location配置指南
https://www.server110.com/nginx/201402/6372.html
我也跟着写了一段
server {

  listen ;

  location ~.*(js|css|svg)$ {

      root /usr/myweb/wwwroot/;

  }

  location / {

  proxy_pass http://localhost:5000; # 刚才设置的地址端口

  proxy_http_version 1.1;

  proxy_set_header Upgrade $http_upgrade;

  proxy_set_header Connection keep-alive;

  proxy_set_header Host $host;

  proxy_cache_bypass $http_upgrade;

  }

}
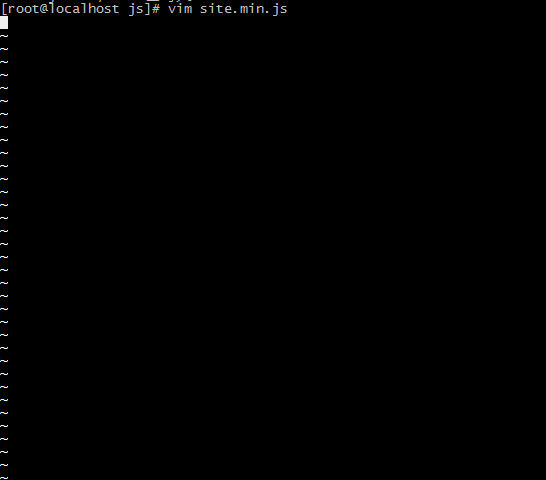
带着满满的期望再来查看一下,把静态资源挨个点了一下,哎,这个js干嘛是空的

不会是还不能处理js吧,不对,要先看下这个文件先

哦,原来是个空的js,完美解决。
高手勿喷,小弟linux加.net core 新手
.Net Core 部署 CentOs7+Nginx的更多相关文章
- Python 3之Django2部署(centos7+nginx+python3+django2.0)
前置工具,系统为centos7.5,为了方便管理,可以安装宝塔免费版本 首先, yum install -y wget && wget -O install.sh http://dow ...
- .net core 部署 centos7 初试
最近抽时间搞搞.net core,这方面已经有很多先驱人物贡献了好多文章了,今天沿着前辈们走的坑自己再淌一下...... 注意开头说的使用centos7,我电脑之前全是6.几的版本,然后就一头雾水的搞 ...
- asp.net core 2.1 部署 centos7
asp.net core 2.1 部署 centos7 Kestrel 非常适合从 ASP.NET Core 提供动态内容. 但是,Web 服务功能不像服务器(如 IIS.Apache 或 Nginx ...
- ASP.NET Core Docker jexus nginx部署-CentOS实践版
本文用图文的方式记录了我自己搭建centos+asp.net core + docker + jexus + nginx的整个过程,希望对有同样需求的朋友有一定的参考作用. 本文主要内容如下: cen ...
- .net core 2.2 部署CentOS7(5)部署.net core mvc
目录: .net core 2.2 部署CentOS7(1)安装虚拟机 .net core 2.2 部署CentOS7(2)给虚拟机安装CentOS7 .net core 2.2 部署CentOS7( ...
- .net core 2.2 部署CentOS7(4)CentOS7下载并安装.NET SDK(软件开发工具包)
目录: .net core 2.2 部署CentOS7(1)安装虚拟机 .net core 2.2 部署CentOS7(2)给虚拟机安装CentOS7 .net core 2.2 部署CentOS7( ...
- .net core 2.2 部署CentOS7(3)安装Xshell操控CentOS7
目录: .net core 2.2 部署CentOS7(1)安装虚拟机 .net core 2.2 部署CentOS7(2)给虚拟机安装CentOS7 .net core 2.2 部署CentOS7( ...
- .net core 2.2 部署CentOS7(2)给虚拟机安装CentOS7
目录: .net core 2.2 部署CentOS7(1)安装虚拟机 .net core 2.2 部署CentOS7(2)给虚拟机安装CentOS7 .net core 2.2 部署CentOS7( ...
- .net core 2.2 部署CentOS7(1)安装虚拟机
目录: .net core 2.2 部署CentOS7(1)安装虚拟机 .net core 2.2 部署CentOS7(2)给虚拟机安装CentOS7 .net core 2.2 部署CentOS7( ...
随机推荐
- element-UI使用中:el-input type为textarea时@change无法触发?
自己瞎尝试解决了的.官方文档上居然没写@input事件,醉了.
- mysql 1194 – Table ‘tbl_video_info’ is marked as crashed and should be repaired 解决方法
执行REPAIR TABLE `tbl_vedio_info`; 然后就可以了
- 2018-2019-20175315 实验一 《Java开发环境的熟悉》实验报告
2018-2019-20175315实验一 <Java开发环境的熟悉>实验报告 一.实验内容及步骤 实验1 1.用mkdir建立“20175303exp1”的目录 2.在“20175303 ...
- Spring Tools4
Spring Tools4是一个集成了STS插件的Eclipse,所以下载之后就不需要再下载eclipse. 访问 https://spring.io/tools/ 点击“Download STS4 ...
- QT学习之解决QT中QIcon图标不显示的问题
第一种:图标存放目录问题 :/文件夹名称/文件名 如:文件夹为:/img 文件名为:a.png 路径: :/img/a.png 这里注意前面的":". 第二种:编译生成 ...
- MQTT控制---subscribe
连接服务端 客户端向服务端发送SUBSCRIBE报文用于创建一个或多个订阅. 固定报头 报头长度:2 Bytes 1.报头控制类型(0x82) 报文SUBSCRIBE控制报固定报头的第3.2.1.0位 ...
- 对于JavaBean+Servlet+SqlServer的代码总结和打包调用
日期:2019.3.24 博客期:049 星期日 说起来我已经说过很多次前台的应用技术了呢!这一次我是要将这一部分打包,做成配套的制作工具: 当前我已经打包成功,想要下载的同学可以进入我的GitHub ...
- java----代码打包
打包 文件生成在out目录下 D:\IDEA代码\out\artifacts\IDEA_jar 注意打包好像只能打包src下面的代码 不在src目录下的一些文件,自己文件添加到打包好的目录下 可以选择 ...
- Springboot 打jar包分离lib,配置文件正确方式
文章来源:https://my.oschina.net/xiaozhutefannao/blog/1932764 POM.xml <?xml version="1.0" en ...
- python爬虫之如何随机更换User-Agent
python爬虫爬取网站内容时,如果什么也没带,即不带报头headers,往往会被网站管理维护人员认定为机器爬虫.因为,此时python默认的user-agent如Python-urllib/2.1一 ...
