android开发学习——day8
关于UI学习的总结
EditText的练习
MainActivity.java代码
package test.example.com.ch02_button;

import android.support.v7.app.AppCompatActivity;

import android.os.Bundle;

import android.view.View;

import android.widget.TextView;

public class MainActivity extends AppCompatActivity {

    @Override

    protected void onCreate(Bundle savedInstanceState) {

        super.onCreate(savedInstanceState);

        setContentView(R.layout.activity_main);

    }

    int size=30;//字体大小,初值为30

    public void bigger(View v){

        TextView txv;

        txv= (TextView) findViewById(R.id.txv);//强制类型转换

        txv.setTextSize(++size);

    }

    public void smaller(View v){

        if(size>30){

            TextView txv= (TextView) findViewById(R.id.txv);

            txv.setTextSize(--size);

        }

    }

}
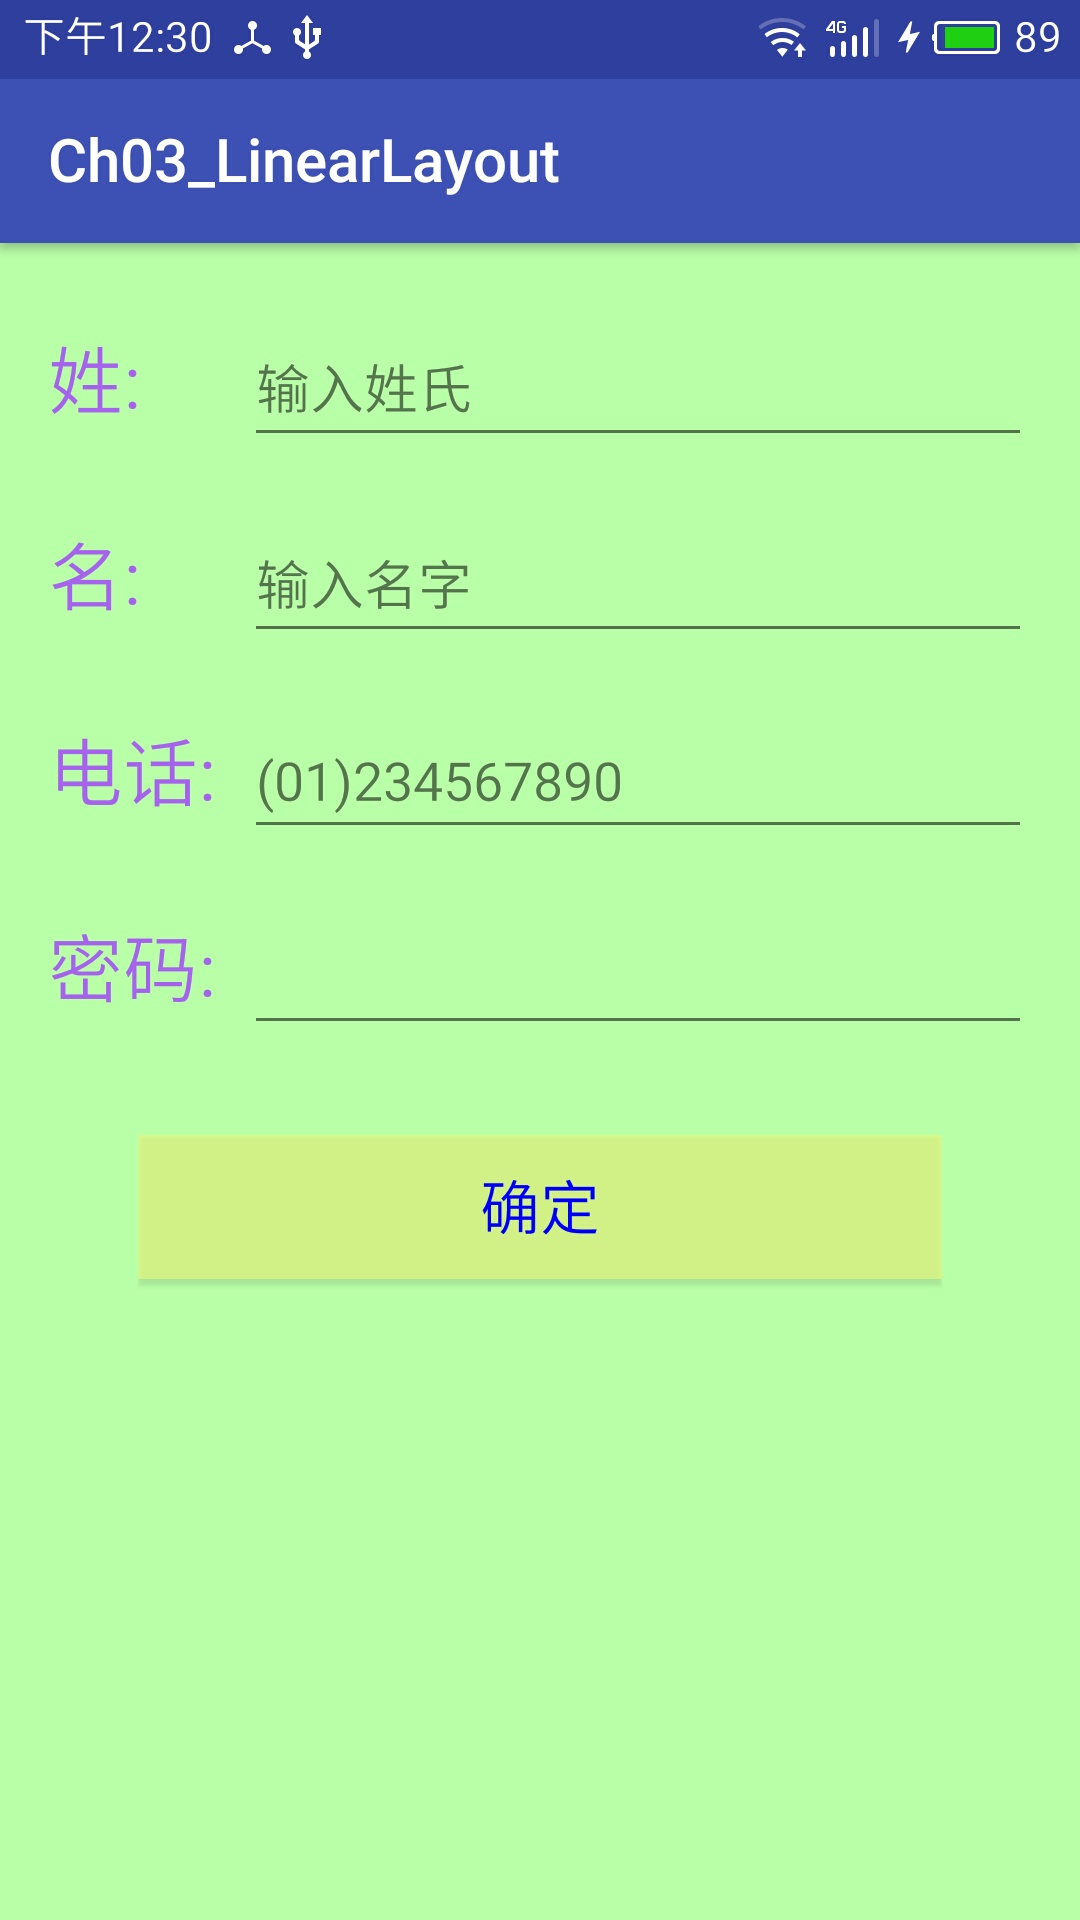
电话簿UI练习
1.利用属性设置布局
2.按比例排布控件
3.改变控件字体颜色以及背景颜色
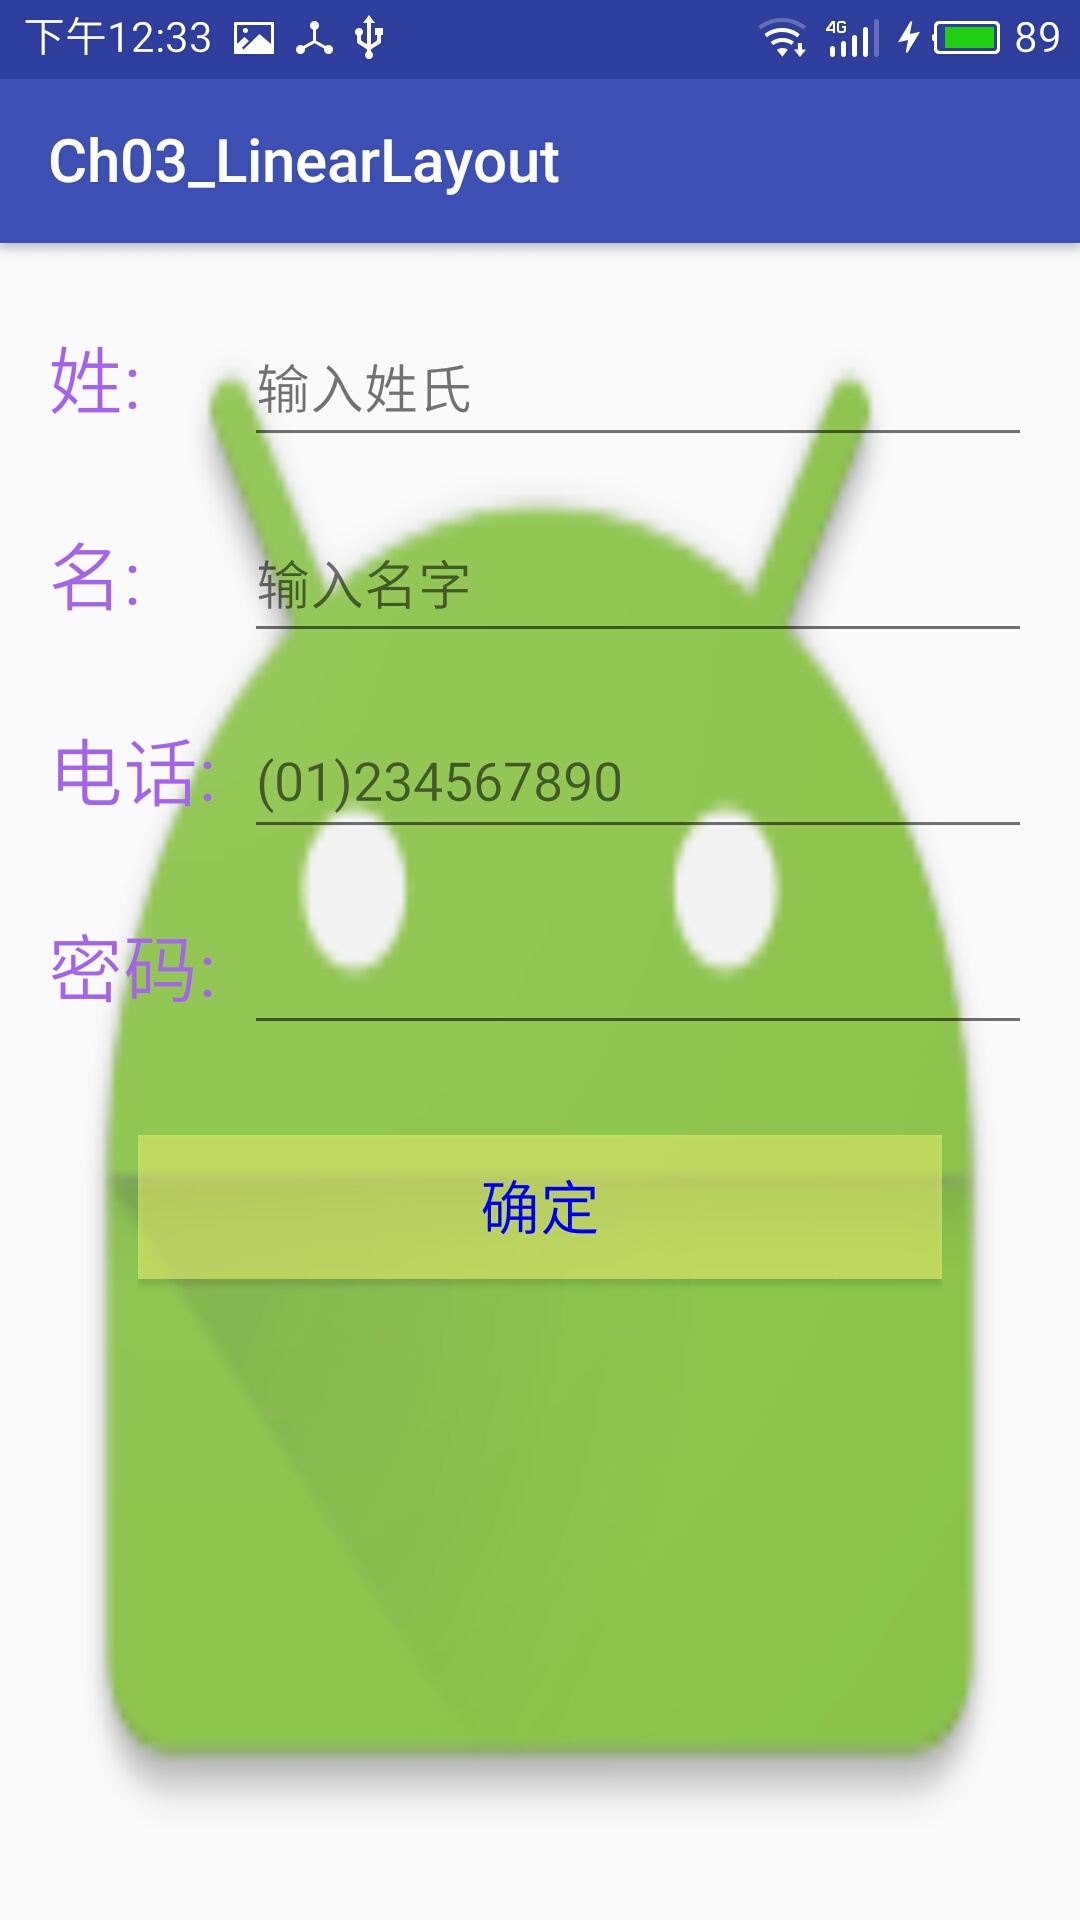
4.插入背景图片
activity_main.xml代码
<?xml version="1.0" encoding="utf-8"?>

<LinearLayout xmlns:android="http://schemas.android.com/apk/res/android"

    xmlns:tools="http://schemas.android.com/tools"

    android:id="@+id/activity_main"

    android:orientation="vertical"

    android:layout_width="match_parent"

    android:layout_height="match_parent"

    android:background="@mipmap/ic_launcher"

    android:paddingBottom="@dimen/activity_vertical_margin"

    android:paddingLeft="@dimen/activity_horizontal_margin"

    android:paddingRight="@dimen/activity_horizontal_margin"

    android:paddingTop="@dimen/activity_vertical_margin"

    tools:context="test.example.com.ch03_linearlayout.MainActivity">

    <LinearLayout

        android:orientation="horizontal"

        android:paddingTop="10dp"

        android:paddingBottom="10dp"

        android:layout_width="match_parent"

        android:layout_height="wrap_content">

        <TextView

            android:layout_width="0dp"

            android:layout_height="wrap_content"

            android:layout_weight="1"

            android:textColor="#ffa763ee"

            android:text="@string/firstname"

            android:textSize="25dp"/>

        <EditText

            android:layout_width="0dp"

            android:layout_height="wrap_content"

            android:inputType="textPersonName"

            android:text=""

            android:ems="10"

            android:id="@+id/editText"

            android:layout_weight="4"

            android:hint="输入姓氏"

            android:ellipsize="end"

            android:singleLine="true" />

    </LinearLayout>

    <LinearLayout

        android:layout_width="match_parent"

        android:layout_height="wrap_content"

        android:paddingTop="10dp"

        android:paddingBottom="10dp"

        android:orientation="horizontal">

        <TextView

            android:layout_width="0dp"

            android:layout_height="wrap_content"

            android:layout_weight="1"

            android:textColor="#ffa763ee"

           android:text="@string/lastname"

            android:textSize="25dp"/>

        <EditText

            android:layout_width="0dp"

            android:layout_height="wrap_content"

            android:inputType="textPersonName"

            android:text=""

            android:ems="10"

            android:id="@+id/editText1"

            android:layout_weight="4"

            android:hint="输入名字"

            android:ellipsize="end"

            android:singleLine="true" />

    </LinearLayout>

    <LinearLayout

        android:layout_width="match_parent"

        android:layout_height="wrap_content"

        android:paddingTop="10dp"

        android:paddingBottom="10dp"

        android:orientation="horizontal">

        <TextView

            android:layout_width="0dp"

            android:layout_height="wrap_content"

            android:layout_weight="1"

            android:textColor="#ffa763ee"

            android:text="@string/tel"

            android:textSize="25dp"/>

        <EditText

            android:layout_width="0dp"

            android:layout_height="wrap_content"

            android:inputType="phone"

            android:text=""

            android:ems="10"

            android:id="@+id/editText2"

            android:layout_weight="4"

            android:ellipsize="end"

            android:singleLine="true"

            android:hint="(01)234567890" />

    </LinearLayout>

    <LinearLayout

        android:layout_width="match_parent"

        android:layout_height="wrap_content"

        android:paddingTop="10dp"

        android:paddingBottom="10dp"

        android:orientation="horizontal">

    <TextView

        android:text="@string/psw"

        android:layout_width="0dp"

        android:layout_height="wrap_content"

        android:layout_weight="1"

        android:textColor="#ffa763ee"

        android:id="@+id/textView"

        android:textSize="25dp"/>

        <EditText

            android:layout_width="0dp"

            android:layout_height="wrap_content"

            android:inputType="textPassword"

            android:ems="10"

            android:id="@+id/editText4"

            android:layout_weight="4"

            android:ellipsize="end"

            android:singleLine="true" />

    </LinearLayout>

<LinearLayout

    android:orientation="vertical"

    android:layout_width="match_parent"

    android:layout_height="wrap_content"

    android:paddingTop="20dp"

    android:paddingBottom="20dp"

    android:paddingRight="30dp"

    android:paddingLeft="30dp">

    <Button

        android:text="确定"

        android:layout_width="match_parent"

        android:layout_height="wrap_content"

        android:textSize="20sp"

        android:textColor="#00F"

        android:background="#80feff79"

        android:id="@+id/button"

        android:onClick="onClick" />

    <TextView

        android:layout_width="match_parent"

        android:layout_height="wrap_content"

        android:textSize="30dp"

        android:id="@+id/textView3" />

</LinearLayout>

</LinearLayout>
MainActivity.java代码
package test.example.com.ch03_linearlayout; import android.support.v7.app.AppCompatActivity;
import android.os.Bundle;
import android.view.View;
import android.widget.EditText;
import android.widget.TextView; public class MainActivity extends AppCompatActivity {
EditText firstname,lastname,tel;
TextView txv;
@Override
protected void onCreate(Bundle savedInstanceState) {
super.onCreate(savedInstanceState);
setContentView(R.layout.activity_main);
firstname=(EditText)findViewById(R.id.editText);
lastname=(EditText)findViewById(R.id.editText1);
tel=(EditText)findViewById(R.id.editText2);
txv=(TextView)findViewById(R.id.textView3);
}
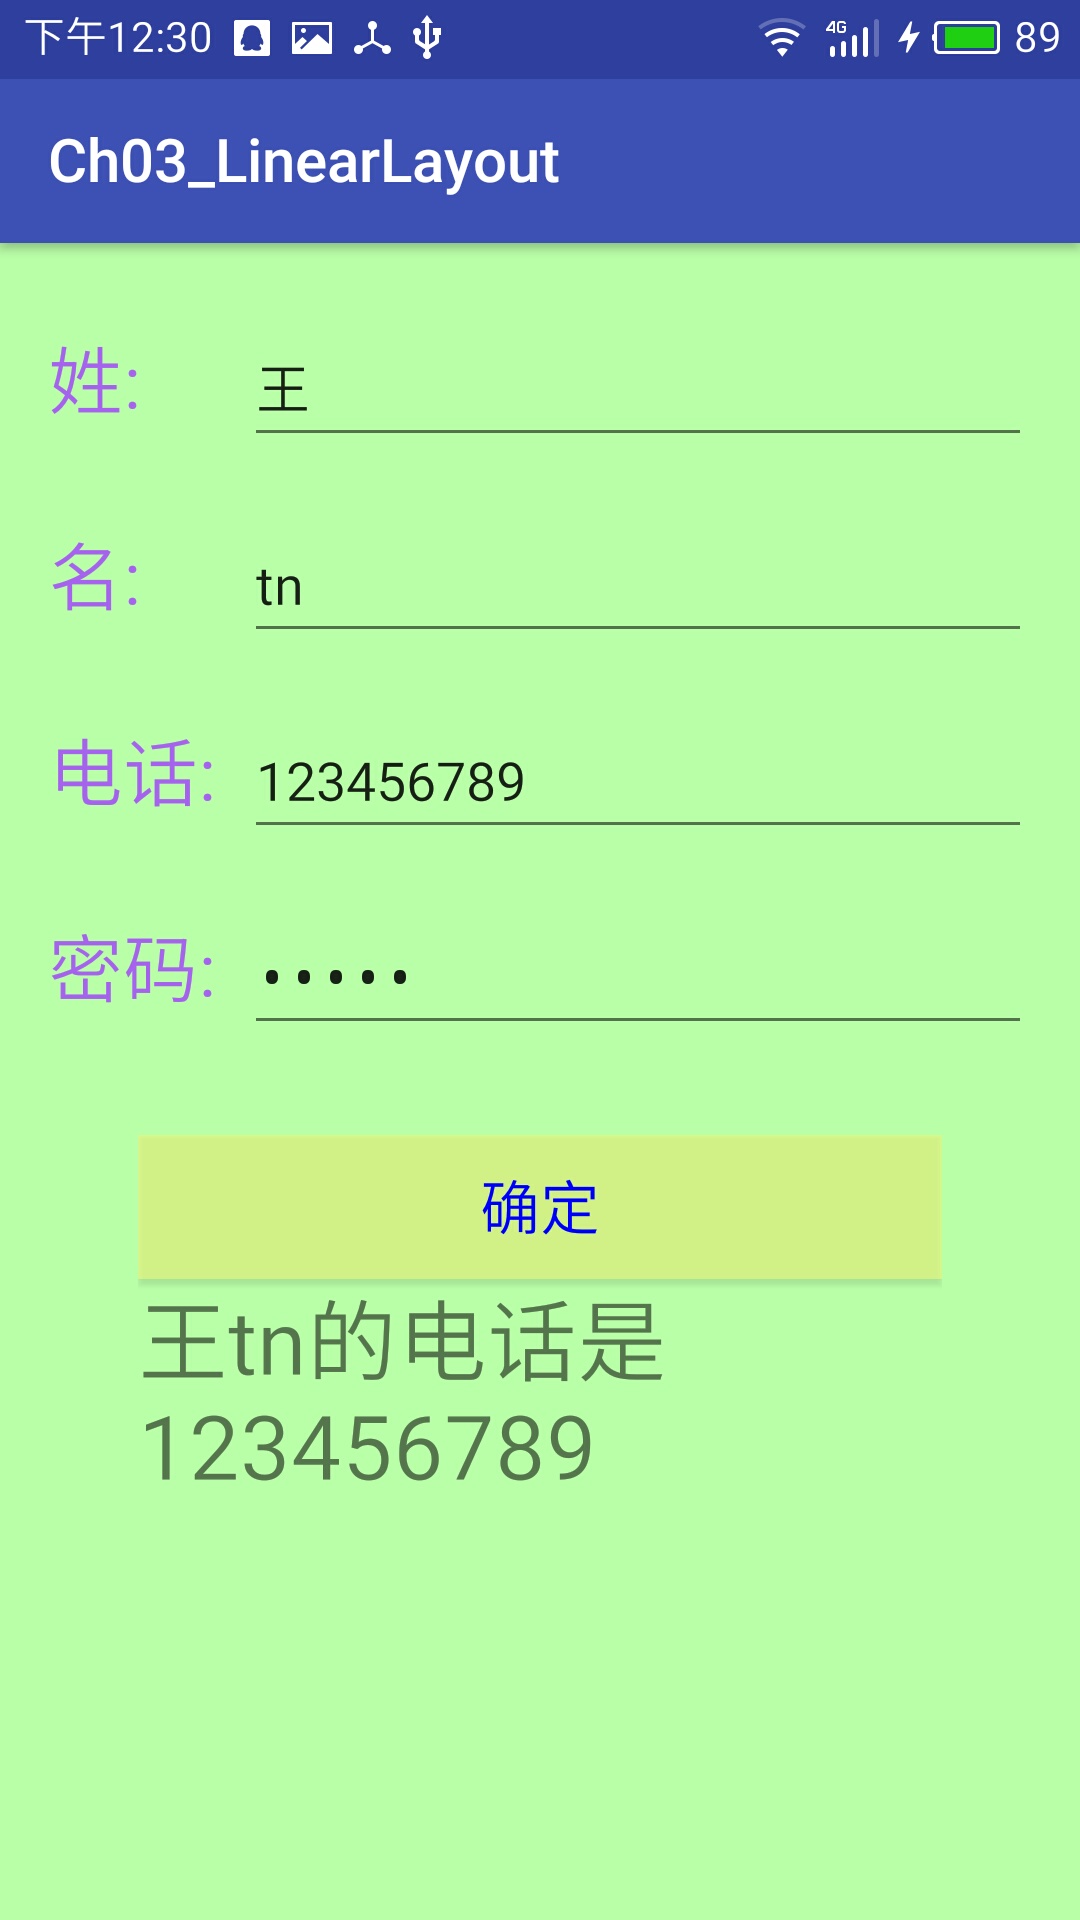
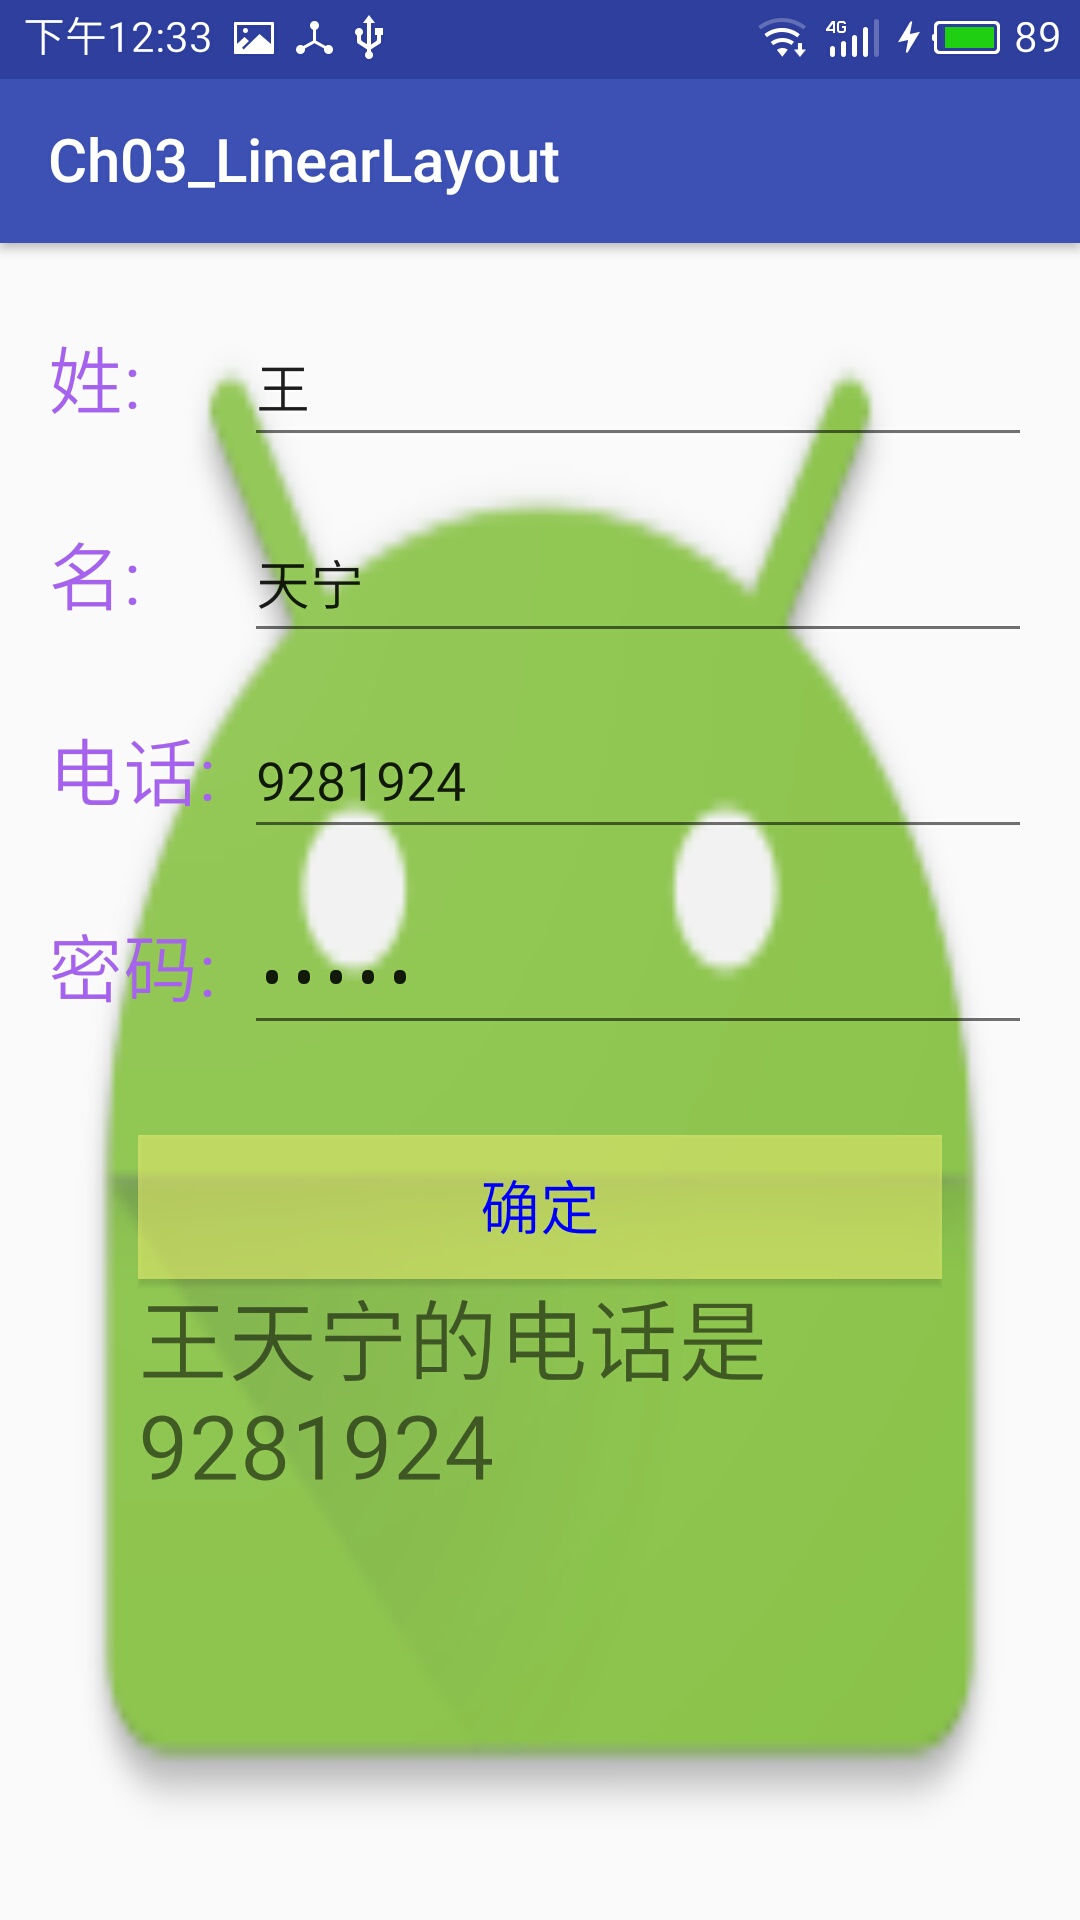
public void onClick(View v){
txv.setText(firstname.getText().toString()+lastname.getText().toString()+"的电话是"+tel.getText());
}
}
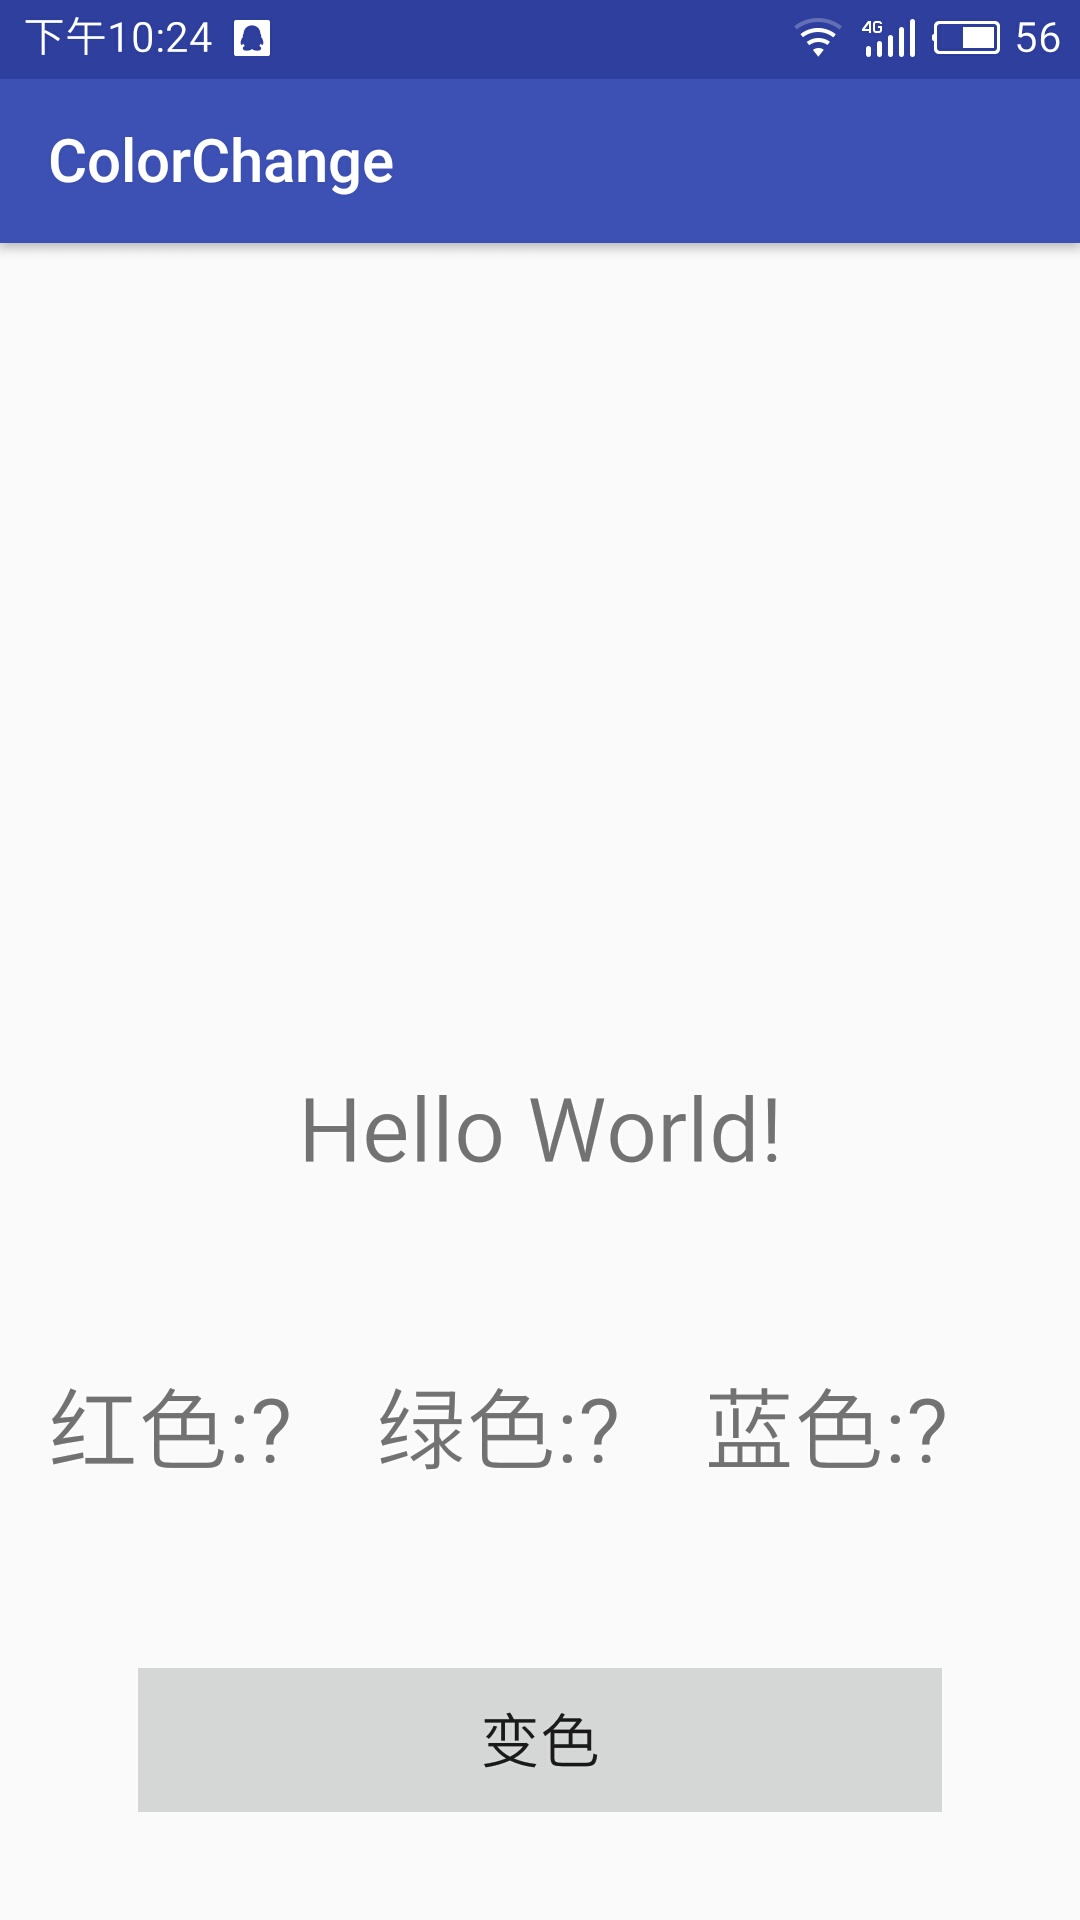
变色程序
activity_main.xml代码
<?xml version="1.0" encoding="utf-8"?>

<LinearLayout xmlns:android="http://schemas.android.com/apk/res/android"

    xmlns:tools="http://schemas.android.com/tools"

    android:id="@+id/activity_main"

    android:layout_width="match_parent"

    android:layout_height="match_parent"

    android:orientation="vertical"

    android:paddingBottom="@dimen/activity_vertical_margin"

    android:paddingLeft="@dimen/activity_horizontal_margin"

    android:paddingRight="@dimen/activity_horizontal_margin"

    android:paddingTop="@dimen/activity_vertical_margin"

    tools:context="test.example.com.chameleon_test.MainActivity">

    <LinearLayout

        android:id="@+id/colorblock"

        android:layout_weight="1"

        android:orientation="horizontal"

        android:layout_width="match_parent"

        android:layout_height="0dp"

        android:paddingTop="20dp"

        android:paddingBottom="20dp">

    </LinearLayout>

    <LinearLayout

        android:id="@+id/hello"

        android:orientation="horizontal"

        android:layout_width="match_parent"

        android:layout_height="wrap_content"

        android:paddingTop="20dp"

        android:paddingBottom="20dp">

<TextView

    android:id="@+id/hhh"

    android:textSize="30dp"

    android:text="Hello World!"

    android:gravity="center"

    android:layout_width="match_parent"

    android:layout_height="wrap_content" />

    </LinearLayout>

    <LinearLayout

        android:orientation="horizontal"

        android:layout_width="match_parent"

        android:layout_height="wrap_content"

        android:paddingTop="40dp"

        android:paddingBottom="20dp">

        <TextView

            android:id="@+id/txvR"

            android:text="@string/red"

            android:textSize="30dp"

            android:layout_width="0dp"

            android:layout_height="wrap_content"

            android:layout_weight="1"/>

        <TextView

            android:id="@+id/txvG"

            android:text="@string/green"

            android:textSize="30dp"

            android:layout_width="0dp"

            android:layout_height="wrap_content"

            android:layout_weight="1"/>

        <TextView

            android:id="@+id/txvB"

            android:text="@string/blue"

            android:textSize="30dp"

            android:layout_width="0dp"

            android:layout_height="wrap_content"

            android:layout_weight="1"/>

    </LinearLayout>

    <LinearLayout

        android:orientation="horizontal"

        android:layout_width="match_parent"

        android:layout_height="wrap_content"

        android:paddingTop="40dp"

        android:paddingBottom="20dp"

        android:paddingRight="30dp"

        android:paddingLeft="30dp">

    <Button

        android:text="@string/change"

        android:textSize="20dp"

        android:layout_width="match_parent"

        android:layout_height="wrap_content"

        android:id="@+id/button"

        android:onClick="changecolor" />

    </LinearLayout>

</LinearLayout>
MainActivity.java代码
package test.example.com.chameleon_test; import android.graphics.Color;
import android.support.v7.app.AppCompatActivity;
import android.os.Bundle;
import android.view.View;
import android.widget.TextView; import java.util.Random; public class MainActivity extends AppCompatActivity { TextView red,green,blue,hh;
View Colorblock;
@Override
protected void onCreate(Bundle savedInstanceState) {
super.onCreate(savedInstanceState);
setContentView(R.layout.activity_main);
red=(TextView)findViewById(R.id.txvR);
green=(TextView)findViewById(R.id.txvG);
blue=(TextView)findViewById(R.id.txvB);
hh=(TextView)findViewById(R.id.hhh);
Colorblock=findViewById(R.id.colorblock);
}
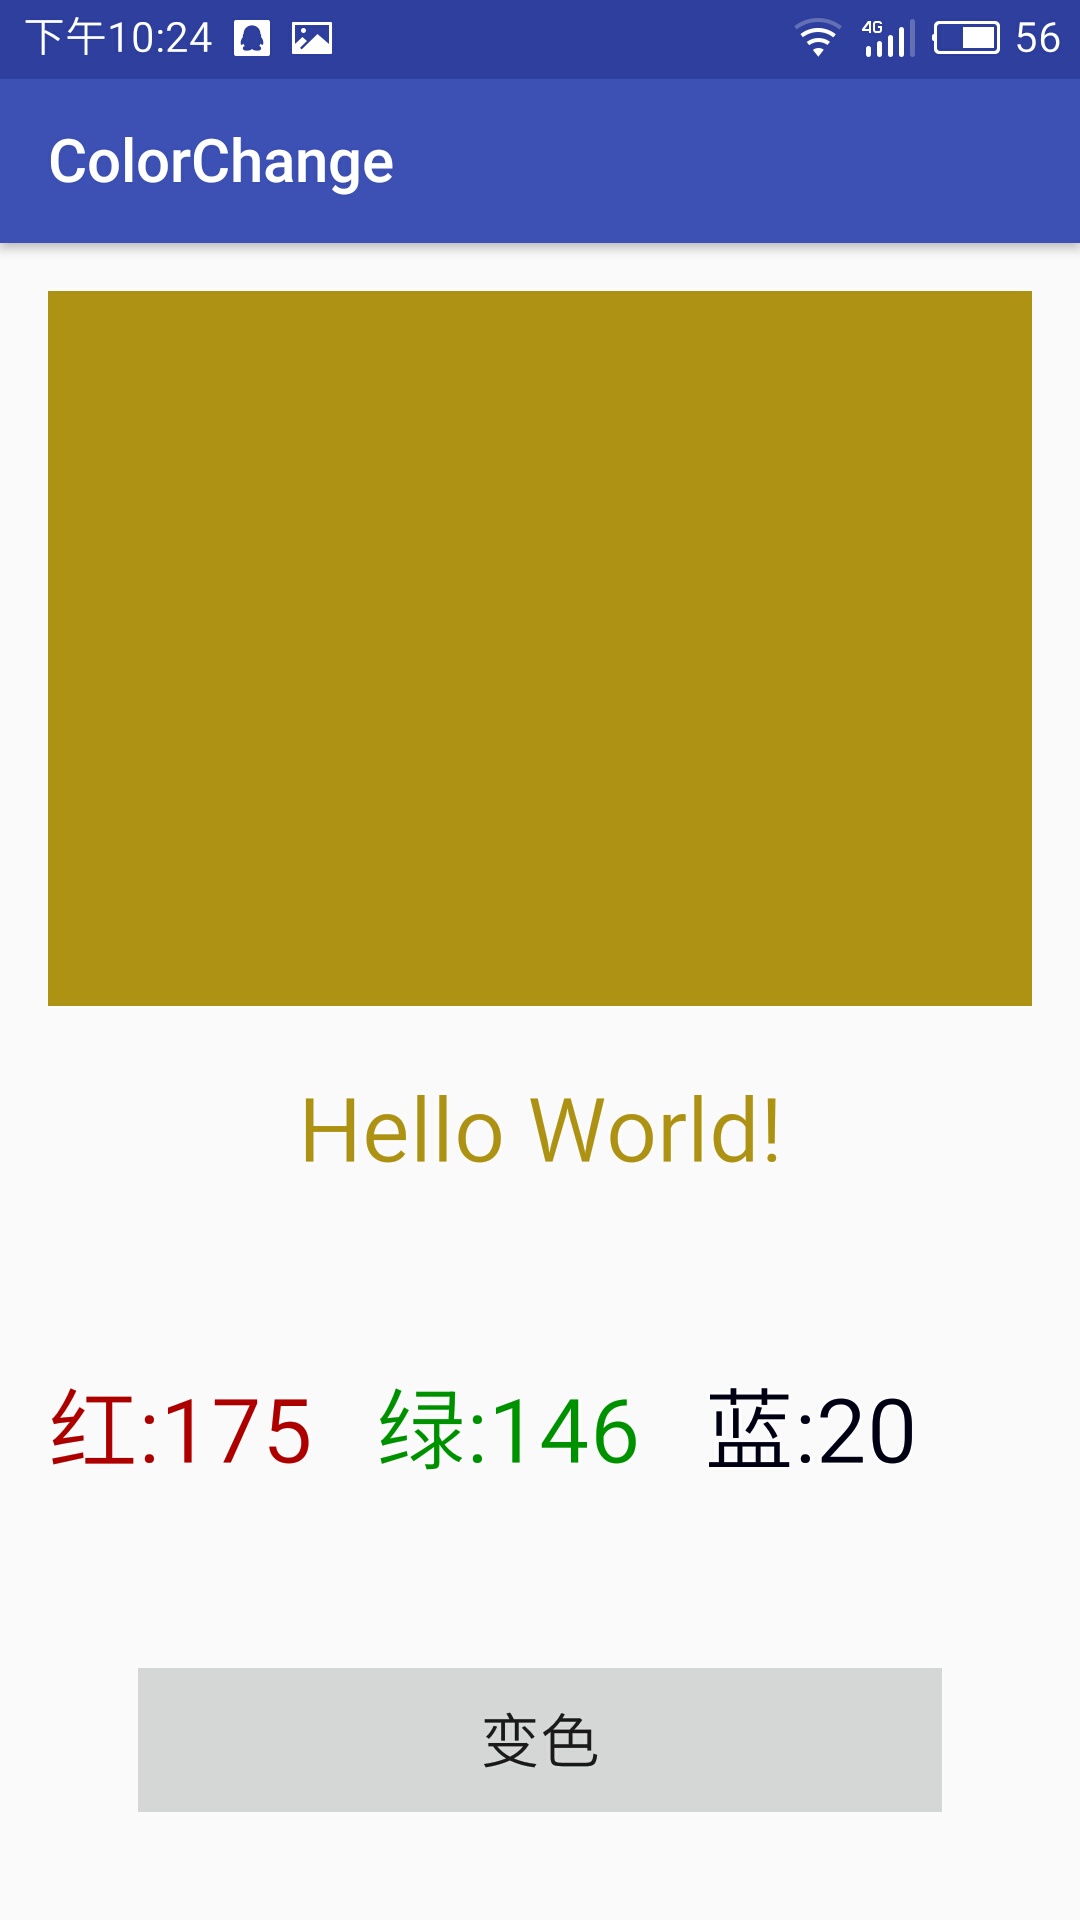
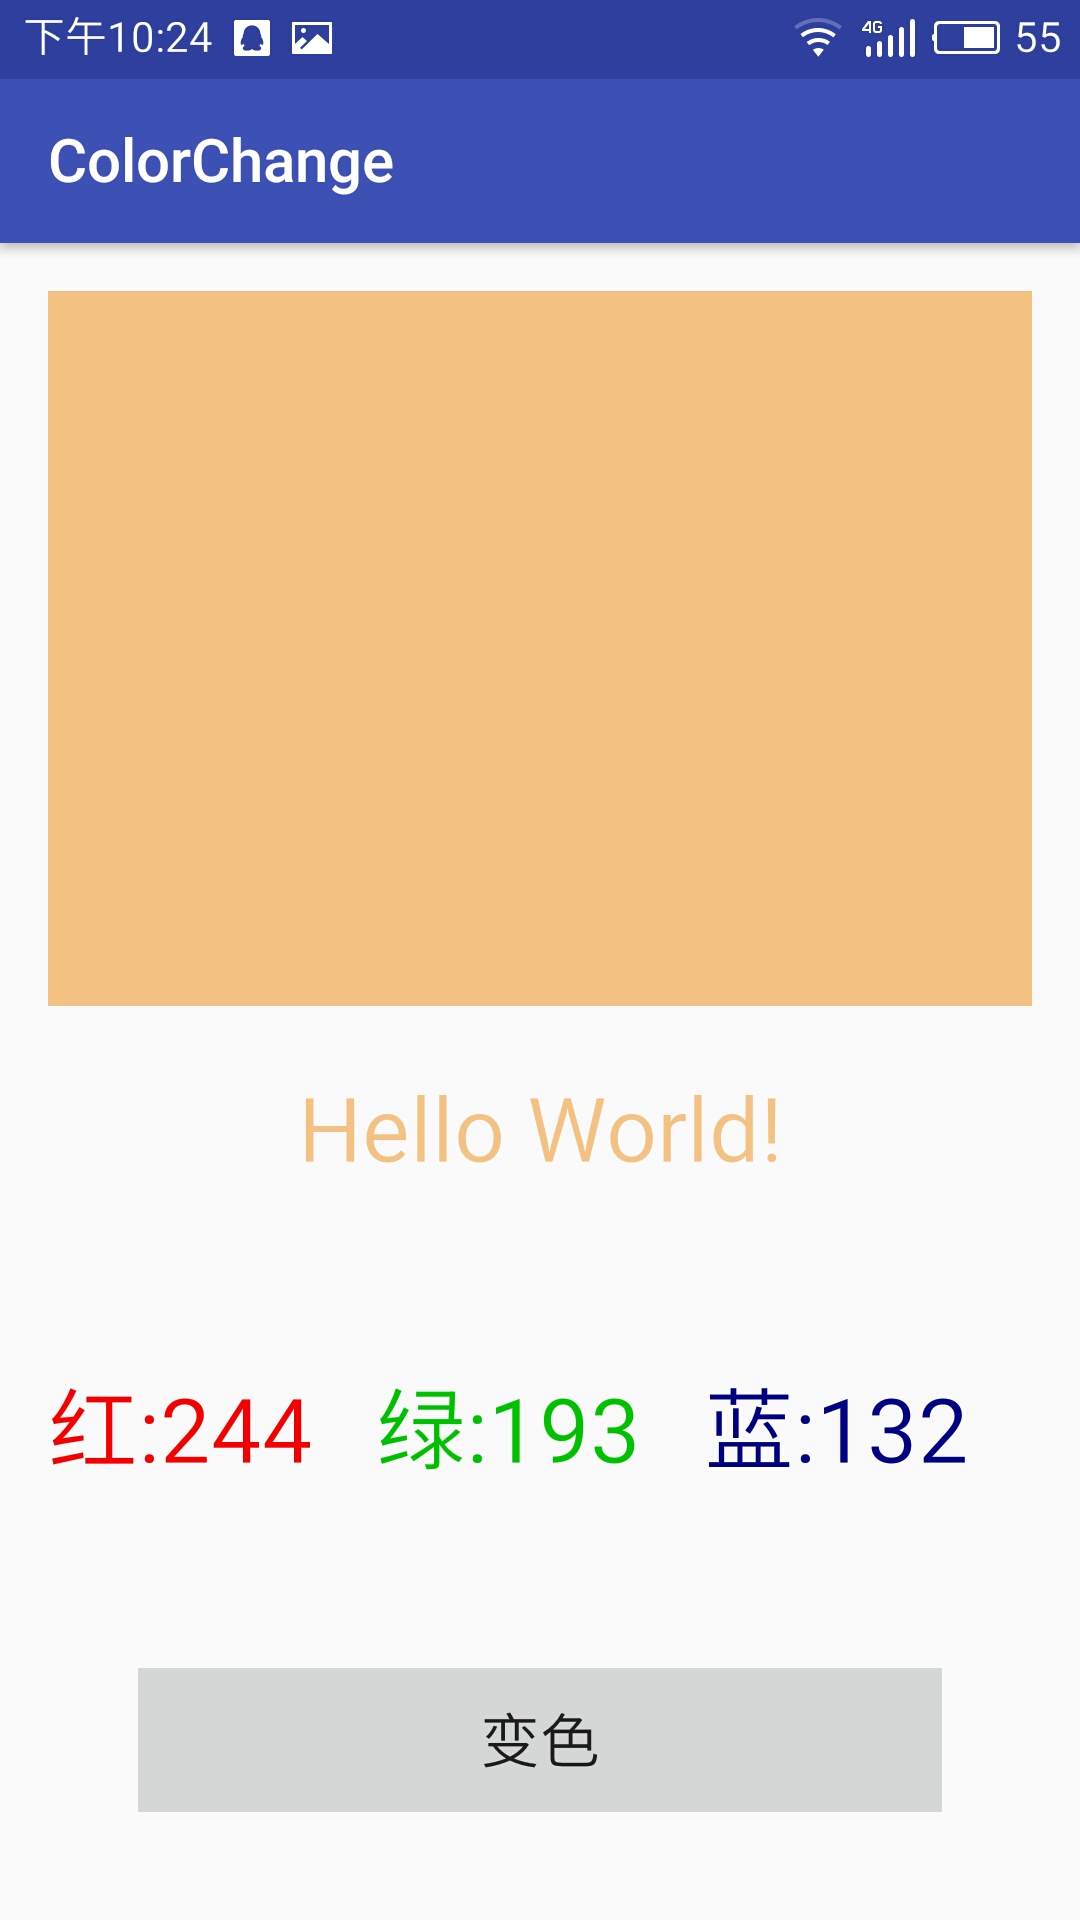
public void changecolor(View v){
Random x=new Random();
int r=x.nextInt(256);
red.setText("红:"+r);
red.setTextColor(Color.rgb(r,0,0)); int g=x.nextInt(256);
green.setText("绿:"+g);
green.setTextColor(Color.rgb(0,g,0)); int b=x.nextInt(256);
blue.setText("蓝:"+b);
blue.setTextColor(Color.rgb(0,0,b));
Colorblock.setBackgroundColor(Color.rgb(r,g,b));
hh.setTextColor(Color.rgb(r,g,b));
}
}
下划线的解决问题
EidtText和textview中内容过长的话自动换行,使用android:ellipsize与android:singleine可以解决,使只有一行。
EditText不支持marquee
用法如下:
在xml中
android:ellipsize = "end" 省略号在结尾
android:ellipsize = "start" 省略号在开头
android:ellipsize = "middle" 省略号在中间
android:ellipsize = "marquee" 跑马灯
android:singleline = "true"
android开发学习——day8的更多相关文章
- Android开发学习之路-RecyclerView滑动删除和拖动排序
Android开发学习之路-RecyclerView使用初探 Android开发学习之路-RecyclerView的Item自定义动画及DefaultItemAnimator源码分析 Android开 ...
- Android开发学习路线图
Android开发学习方法: Android是一个比较庞大的体系,从底层的Linux内核到上层的应用层,各部分的内容跨度也比较大.因此,一个好的学习方法对我们学习Android开发很重要. 在此建议, ...
- android开发学习笔记000
使用书籍:<疯狂android讲义>——李刚著,2011年7月出版 虽然现在已2014,可我挑来跳去,还是以这本书开始我的android之旅吧. “疯狂源自梦想,技术成就辉煌.” 让我这个 ...
- Android开发学习总结(一)——搭建最新版本的Android开发环境
Android开发学习总结(一)——搭建最新版本的Android开发环境(转) 最近由于工作中要负责开发一款Android的App,之前都是做JavaWeb的开发,Android开发虽然有所了解,但是 ...
- Android开发学习之LauncherActivity开发启动的列表
Android开发学习之LauncherActivity开发启动的列表 创建项目:OtherActivity 项目运行结果: 建立主Activity:OtherActivity.java [jav ...
- 最实用的Android开发学习路线分享
Android开发学习路线分享.Android发展主导移动互联发展进程,在热门行业来说,Android开发堪称火爆,但是,虽然Android有着自身种种优势,但对开发者的专业性要求也是极高,这种要求随 ...
- Android开发学习必备的java知识
Android开发学习必备的java知识本讲内容:对象.标识符.关键字.变量.常量.字面值.基本数据类型.整数.浮点数.布尔型.字符型.赋值.注释 Java作为一门语言,必然有他的语法规则.学习编程语 ...
- Android开发学习之路--基于vitamio的视频播放器(二)
终于把该忙的事情都忙得差不多了,接下来又可以开始good good study,day day up了.在Android开发学习之路–基于vitamio的视频播放器(一)中,主要讲了播放器的界面的 ...
- Android开发学习之路--Android Studio cmake编译ffmpeg
最新的android studio2.2引入了cmake可以很好地实现ndk的编写.这里使用最新的方式,对于以前的android下的ndk编译什么的可以参考之前的文章:Android开发学习之路– ...
随机推荐
- Django缓存设置
由于Django构建得是动态网站,每次客户端请求都要严重依赖数据库,当程序访问量大时,耗时必然会更加明显,最简单解决方式是使用:缓存,缓存将一个某个views的返回值保存至内存或者memcache中, ...
- linux增加,删除用户组,解压缩命令,VIM使用命令
ln -s 建立软连接 ln -s /usr/bin/fdfs_trackerd /usr/local/bin ln -s /usr/bin/stop.sh /usr/ ...
- 706. Design HashMap 实现哈希表
[抄题]: public MyHashMap() { 主函数里面是装非final变量的,如果没有,可以一个字都不写 } [暴力解法]: 时间分析: 空间分析: [优化后]: 时间分析: 空间分析: ...
- LWIP学习
转自:https://blog.csdn.net/kzq_qmi/article/details/46900589 数据包pbuf: LwIP采用数据结构 pbuf 来描述数据包,其结构如下: ...
- 将VSCode设置成中文语言环境
VSCode是一款轻量级的好用的编译软件,今天小编来将软件默认的英文语言环境变为我们熟悉的中文语言环境. 工具/原料 电脑一台 安装有VSCode 方法/步骤 首先打开VSCode软件,可 ...
- Delphi 域名解析为IP地址
花生壳:1.LJSZForm-Lable1-Caption改成 “IP地址或域名:”2.LJSZForm-BitBtn1Click-注释掉--else if IsIP(Trim(IPEdit.Text ...
- Spring 框架XML文件的配置文件
<?xml version="1.0" encoding="UTF-8"?><beans xmlns:xsi="http://www ...
- Python12/10--前端之display/overflow使用/清浮动的方式
display: 1.inline 同行显示,当一行显示不下.多余的就会换行显示, 不支持的css样式:不支持宽高,不支持行高(行高会映射给父级) 不支持margin上下,content由 文本内容撑 ...
- APP微信支付报错《商户号该产品权限未开通,请前往商户平台>产品中心检查后重试》
问题 最近项目使用MUI,HBuilder.开发打包H5的app 在开发H5 plus支付的时候,遇到以下问题: App微信支付调官方的统一下单接口返回错误信息 {return_msg=商户号该产品权 ...
- 2019swpuj2ee作业3
静态页面: 在网站设计中,纯粹html格式的网页通常被称为“静态网页”,早期的网站一般都是由静态网页制作的.静态网页是相对于动态网页而言,是指没有后台数据库.不含程序和不可交互的网页.你编的是什么它显 ...