vim开发配置
需求:使用vim开发python,可以进行简单配置
cd 到用户宿主目录下

vim .vimrc 粘贴以下内容:

版本一:
set encoding=utf-8
"去掉vi的一致性"
set nocompatible
"显示行号"
set number
set nobackup
set nowb
set noswapfile
set noundofile
set showcmd
" 隐藏滚动条"
"set guioptions-=r
"set guioptions-=L
"set guioptions-=b
"隐藏顶部标签栏"
"set showtabline=0
"设置字体"
"set guifont=Monaco:h13
syntax on "开启语法高亮"
"let g:solarized_termcolors=256 "solarized主题设置在终端下的设置"
set background=dark "设置背景色"
"colorscheme ron
"colorscheme peaksea
set nowrap "设置不折行"
set fileformat=unix "设置以unix的格式保存文件"
set cindent "设置C样式的缩进格式"
set tabstop=4 "设置table长度"
set softtabstop=4
set noexpandtab
set shiftwidth=4 "同上"
set showmatch "显示匹配的括号"
set scrolloff=5 "距离顶部和底部5行"
set laststatus=2 "命令行为两行"
set fenc=utf-8 "文件编码"
set backspace=2
set mouse=c "启用鼠标"
set selection=exclusive
set selectmode=mouse,key
"set matchtime=5
set ignorecase "忽略大小写"
"set incsearch
set hlsearch "高亮搜索项"
"set noexpandtab "不允许扩展table"
set whichwrap+=<,>,h,l
set autoread
"set cursorline "突出显示当前行"
"set cursorcolumn "突出显示当前列"
" C++ part
set exrc
set secure
augroup project
autocmd!
autocmd BufRead,BufNewFile *.h,*.c set filetype=c.doxygen
autocmd BufRead,BufNewFile *.hpp,*.cpp set filetype=cpp.doxygen
augroup END
set makeprg=make\ -C\ -j64
nnoremap <F3> :make!<cr>
"Vundle
filetype off
set rtp+=~/.vim/bundle/Vundle.vim
call vundle#begin()
Plugin 'VundleVim/Vundle.vim'
Plugin 'Valloric/YouCompleteMe'
Plugin 'Lokaltog/vim-powerline'
Plugin 'scrooloose/nerdtree'
Plugin 'Yggdroot/indentLine'
Plugin 'jiangmiao/auto-pairs'
Plugin 'tell-k/vim-autopep8'
Plugin 'scrooloose/nerdcommenter'
call vundle#end()
filetype plugin indent on
"按F5运行python"
map <F5> :Autopep8<CR> :w<CR> :call RunPython()<CR>
function RunPython()
let mp = &makeprg
let ef = &errorformat
let exeFile = expand("%:t")
setlocal makeprg=python\ -u
set efm=%C\ %.%#,%A\ \ File\ \"%f\"\\,\ line\ %l%.%#,%Z%[%^\ ]%\\@=%m
silent make %
copen
let &makeprg = mp
let &errorformat = ef
endfunction
"按F9运行python调试"
map <F9> :Autopep8<CR> :w<CR> :call RunPythonDebug()<CR>
function RunPythonDebug()
let mp = &makeprg
let ef = &errorformat
let exeFile = expand("%:t")
setlocal makeprg=python\ -m\ pdb
set efm=%C\ %.%#,%A\ \ File\ \"%f\"\\,\ line\ %l%.%#,%Z%[%^\ ]%\\@=%m
silent make %
copen
let &makeprg = mp
let &errorformat = ef
endfunction
"YouCompleteMe
"默认配置文件路径"
let g:ycm_global_ycm_extra_conf = '~/.vim/bundle/YouCompleteMe/third_party/ycmd/examples/.ycm_extra_conf.py'
"打开vim时不再询问是否加载ycm_extra_conf.py配置"
let g:ycm_confirm_extra_conf=0
set completeopt=longest,menu
"python解释器路径"
let g:ycm_path_to_python_interpreter='/usr/bin/python'
"是否开启语义补全"
let g:ycm_seed_identifiers_with_syntax=1
"是否在注释中也开启补全"
let g:ycm_complete_in_comments=1
let g:ycm_collect_identifiers_from_comments_and_strings = 0
"开始补全的字符数"
let g:ycm_min_num_of_chars_for_completion=2
"补全后自动关机预览窗口"
let g:ycm_autoclose_preview_window_after_completion=1
" 禁止缓存匹配项,每次都重新生成匹配项"
let g:ycm_cache_omnifunc=0
"字符串中也开启补全"
let g:ycm_complete_in_strings = 1
"离开插入模式后自动关闭预览窗口"
autocmd InsertLeave * if pumvisible() == 0|pclose|endif
"回车即选中当前项"
"inoremap <expr> <CR> pumvisible() ? '<C-y>' : '\<CR>'
"上下左右键行为"
inoremap <expr> <Down> pumvisible() ? '\<C-n>' : '\<Down>'
inoremap <expr> <Up> pumvisible() ? '\<C-p>' : '\<Up>'
inoremap <expr> <PageDown> pumvisible() ? '\<PageDown>\<C-p>\<C-n>' : '\<PageDown>'
inoremap <expr> <PageUp> pumvisible() ? '\<PageUp>\<C-p>\<C-n>' : '\<PageUp>'
"YouCompleteMe clang settings
let g:clang_format#style_options = {
\ "AccessModifierOffset" : -4,
\ "AllowShortIfStatementsOnASingleLine" : "true",
\ "AlwaysBreakTemplateDeclarations" : "true",
\ "Standard" : "C++11"}
let g:clang_format#auto_format=1
"Nerd tree
"F2开启和关闭树"
map <F2> :NERDTreeToggle<CR>
let NERDTreeChDirMode=1
"显示书签"
let NERDTreeShowBookmarks=1
"设置忽略文件类型"
let NERDTreeIgnore=['\~$', '\.pyc$', '\.swp$']
"窗口大小"
let NERDTreeWinSize=25
"缩进指示线"
let g:indentLine_char='┆'
let g:indentLine_enabled = 1
"autopep8设置"
let g:autopep8_disable_show_diff=1
autocmd Filetype python noremap <buffer> <F8> :call Autopep8()<CR>
map <F4> <leader>ci <CR>
版本二:
" 高亮当前行

set cursorline

" 将 TAB 设为四个空格的宽度

set tabstop=

" 自动缩进

set autoindent

" 自动缩进四个空格

set shiftwidth=

" 使用空格代替 TAB

set expandtab

" 定义 PythonHeader() 函数用于自动插入 Python 文件头

function PythonHeader()

call setline(, "# -*- coding: utf-8 -*-")

normal G

normal o

normal o

endfunc

" 新建 py 结尾的文件时自动调用 PythonHeader() 函数

autocmd BufNewFile *.py call PythonHeader()

" 按下 F5 自动执行当前 Python 文件

map <F5> :!clear ;python % <CR>

版本三:
"去掉vi的一致性"
set nocompatible
"显示行号"
set number
"隐藏滚动条"
set guioptions-=r
set guioptions-=L
set guioptions-=b
"隐藏顶部标签栏"
set showtabline=0
"设置字体"
set guifont=Monaco:h13
syntax on "开启语法高亮"
let g:solarized_termcolors=256 "solarized主题设置在终端下的设置"
set background=dark "设置背景色"
"colorscheme solarized"
set nowrap "设置不折行"
set fileformat=unix "设置以unix的格式保存文件"
set cindent "设置C样式的缩进格式"
set tabstop=4 "设置table长度"
set shiftwidth=4 "同上"
set showmatch "显示匹配的括号"
set scrolloff=5 "距离顶部和底部5行"
set laststatus=2 "命令行为两行"
set fenc=utf-8 "文件编码"
set backspace=2
set mouse=a "启用鼠标"
set selection=exclusive
set selectmode=mouse,key
set matchtime=5
set ignorecase "忽略大小写"
set incsearch
set hlsearch "高亮搜索项"
set noexpandtab "不允许扩展table"
set whichwrap+=<,>,h,l
set autoread
set cursorline "突出显示当前行"
set cursorcolumn "突出显示当前列"
"按F5运行python"
map <F5> :Autopep8<CR> :w<CR> :call RunPython()<CR>
function RunPython()
let mp = &makeprg
let ef = &errorformat
let exeFile = expand("%:t")
setlocal makeprg=python\ -u
set efm=%C\ %.%#,%A\ \ File\ \"%f\"\\,\ line\ %l%.%#,%Z%[%^\ ]%\\@=%m
silent make %
copen
let &makeprg = mp
let &errorformat = ef
endfunction
二,插件安装
,安装
git clone https://github.com/VundleVim/Vundle.vim.git ~/.vim/bundle/Vundle.vim
# 若提醒目录不存在请先自行新建目录
# 在.vimrc文件中添加以下配置
# 版本一中已包含此项内容
filetype off
set rtp+=~/.vim/bundle/Vundle.vim
call vundle#begin()
Plugin 'VundleVim/Vundle.vim'
Plugin '你的插件'
call vundle#end()
filetype plugin indent on
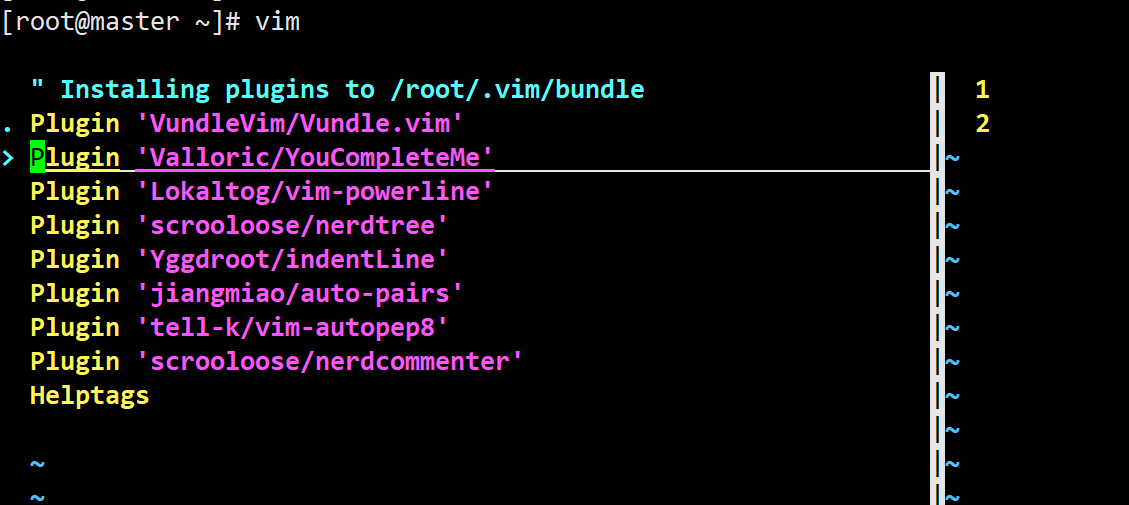
,添加完.vimrc的的配置后,保存退出,重新打开vim输入:
:PluginInstall
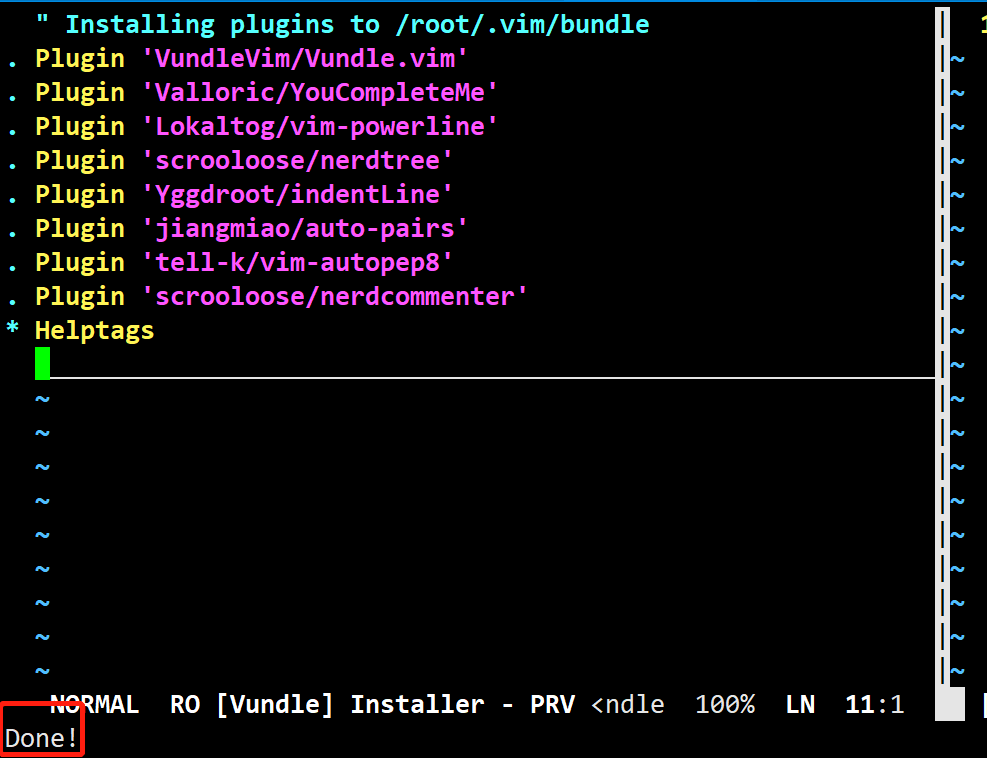
3,当看到命令行出现Done!就代表所有插件安装完成啦!
youcompleteme 插件极难安装,需要等很久!!!
4,可以从git下载源码编译,python最高3.4,本次编译耗费不少时间,最好降低python版本为2.7.5后成功。

编译参考文章:https://www.v2ex.com/t/341751
vim开发配置的更多相关文章
- vim 开发配置(转载)
原文:http://www.cnblogs.com/ma6174/archive/2011/12/10/2283393.html 花了很长时间整理的,感觉用起来很方便,共享一下. 我的vim配置主要有 ...
- cocos2dx 开发配置的一些环境变量(mac/linux)
通常开发需要配置一些环境变量,下面把我电脑的部分配置分析一下. 1.android开发配置,ndk,sdk,ant 2.cocos2dx开发配置,cocos2d-x export COCOS2DX_R ...
- 【vim环境配置】在centos6.4上配置vim的一些零碎记录
上一篇日志已经step by step地实录了如何在本机mac上配置vim开发环境已经各种插件. 有了一定经验之后,开始在实验室远程server上centos6.4的环境下配置vim环境. 这台机器是 ...
- 我的vim开发环境搭建:C/C++/Go,持续更新中
懒得在github博客上折腾评论功能,先借用博客园推广下,虽然好像也没什么用. 我的vim开发环境搭建(1): 准备工作 我的vim开发环境搭建(2): 常用的vim插件 我的vim开发环境搭建(3) ...
- [编译] 7、在Linux下搭建安卓APP的开发烧写环境(makefile版-gradle版)—— 在Linux上用命令行+VIM开发安卓APP
April 18, 2020 6:54 AM - BEAUTIFULZZZZ 目录 0 前言 1 gradle 安装配置 1.1 卸载系统默认装的gradle 1.2 下载对应版本的二进制文件 1.3 ...
- [转] vim自定义配置 和 在ubnetu中安装vim
Ubuntu 12.04安装vim和配置 问题: ubuntu默认没有安装vim,出现: jyg@ubuntu:~$ vim test.cThe program 'vim' can be foun ...
- 为了让vi命令也可以使用vim的配置,需要修改 vi /etc/bashrc 增加一行 alias vi='vim'此时,经过上面配置已经可以显示语法高亮了
为了让vi命令也可以使用vim的配置,需要修改 vi /etc/bashrc 增加一行 aliasvi='vim'此时,经过上面配置已经可以显示语法高亮了
- WCF分布式开发步步为赢(2)自定义托管宿主WCF解决方案开发配置过程详解
上一节<WCF分布式框架基础概念>我们介绍了WCF服务的概念和通信框架模型,并给出了基于自定义托管服务的WCF程序的实现代码.考虑到WCF分布式开发项目中关于托管宿主服务配置和客户端添加引 ...
- 在Mac OS X中使用VIM开发STM32(2)
本文原创于http://www.cnblogs.com/humaoxiao,非法转载者请自重! 在我先前的博文⎣在Mac OS X中使用VIM开发STM32(1)⎤中,我们安装完成了MACVIM,这一 ...
随机推荐
- JS---client系列
offset系列:获取元素的宽,高,left,top, offsetParent offsetWidth:元素的宽,有边框 offsetHeight:元素的高,有边框 offsetLeft:元素距 ...
- 多线程之CountDownLatch
下面请看一个应用场景:有1个driver和5个worker,需要满足以下两点要求: 当driver完成了全部的工作之后才允许worker们开始工作: 当所有的worker都完成了自己的工作之后,dri ...
- IPC 进程间通信方式——共享内存
共享内存 共享内存区域是被多个进程共享的一部分物理内存. 多个进程都可以把共享内存映射到自己的虚拟空间.所有用户空间的进程要操作共享内存,都要将其映射到自己的虚拟空间,通过映射的虚拟内存空间地址去操作 ...
- 【leetcode】1234. Replace the Substring for Balanced String
题目如下: You are given a string containing only 4 kinds of characters 'Q', 'W', 'E' and 'R'. A string i ...
- mysql ef vs
https://www.cnblogs.com/dux2013/archive/2017/12/11/8025077.html
- 字符串之format整理
format 用法 本文根据官方文档及自己理解整理,只整理出自己可以理解的部分,h因个人水平有限,难免有所错误和纰漏,欢迎批评指正. 格式{ [field_name] ["!" c ...
- ABP .net Core MQTT+signalr通讯
abp版本: 4.3.0.0 .net core 版本 2.2 1.Mqtt 1.1 添加程序集:M2MqttDotnetCore(差点以为没有.net core 的) 2.2 实现代码:抄了个单例模 ...
- AbpUser 扩展
AbpUser表存放的信息比较少,现扩展一下信息 1.在Core层添加UserExtend 类,继承 AbpUser<User>,写入以上各项属性字段,并添加Discriminator 字 ...
- MongoDB下载以及安装
一.下载与安装 1.安装Mongo MongoDB下载地址:https://www.mongodb.com/download-center?jmp=tutorials#community 运行安装程序 ...
- Topcoder SRM 674 Div.2题解
T1 解题思路 这题应该不是很难,主要是题意理解问题. 注意给出的两个数组里映射关系已经对应好了,只要判断是否为双射即可 参考程序 #include <bits/stdc++.h> usi ...