nRF5 SDK for Mesh(四) 源码编译
The mesh library and example applications can be built using either CMake or SEGGER Embedded Studio.
Using CMake provides the possiblity to build both for host (unit tests) and target, while SEGGER Embedded Studio provides a way of quickly getting the example code up and running with full debug capability.
Before you continue, check Installing the mesh toolchain ro instructions on setting up the development environment for mesh.
编译 MESH 协议栈
可以使用CMake或SEGGER嵌入式Studio构建网格库和示例应用程序。使用CMake提供了为主机(单元测试)和目标构建的可能性,而SEGGER嵌入式Studio提供了一种快速获取示例代码并运行完全调试功能的方法。在继续之前,请检查安装网格工具链的指令,以设置网格的开发环境。
Building with SEGGER Embedded Studio
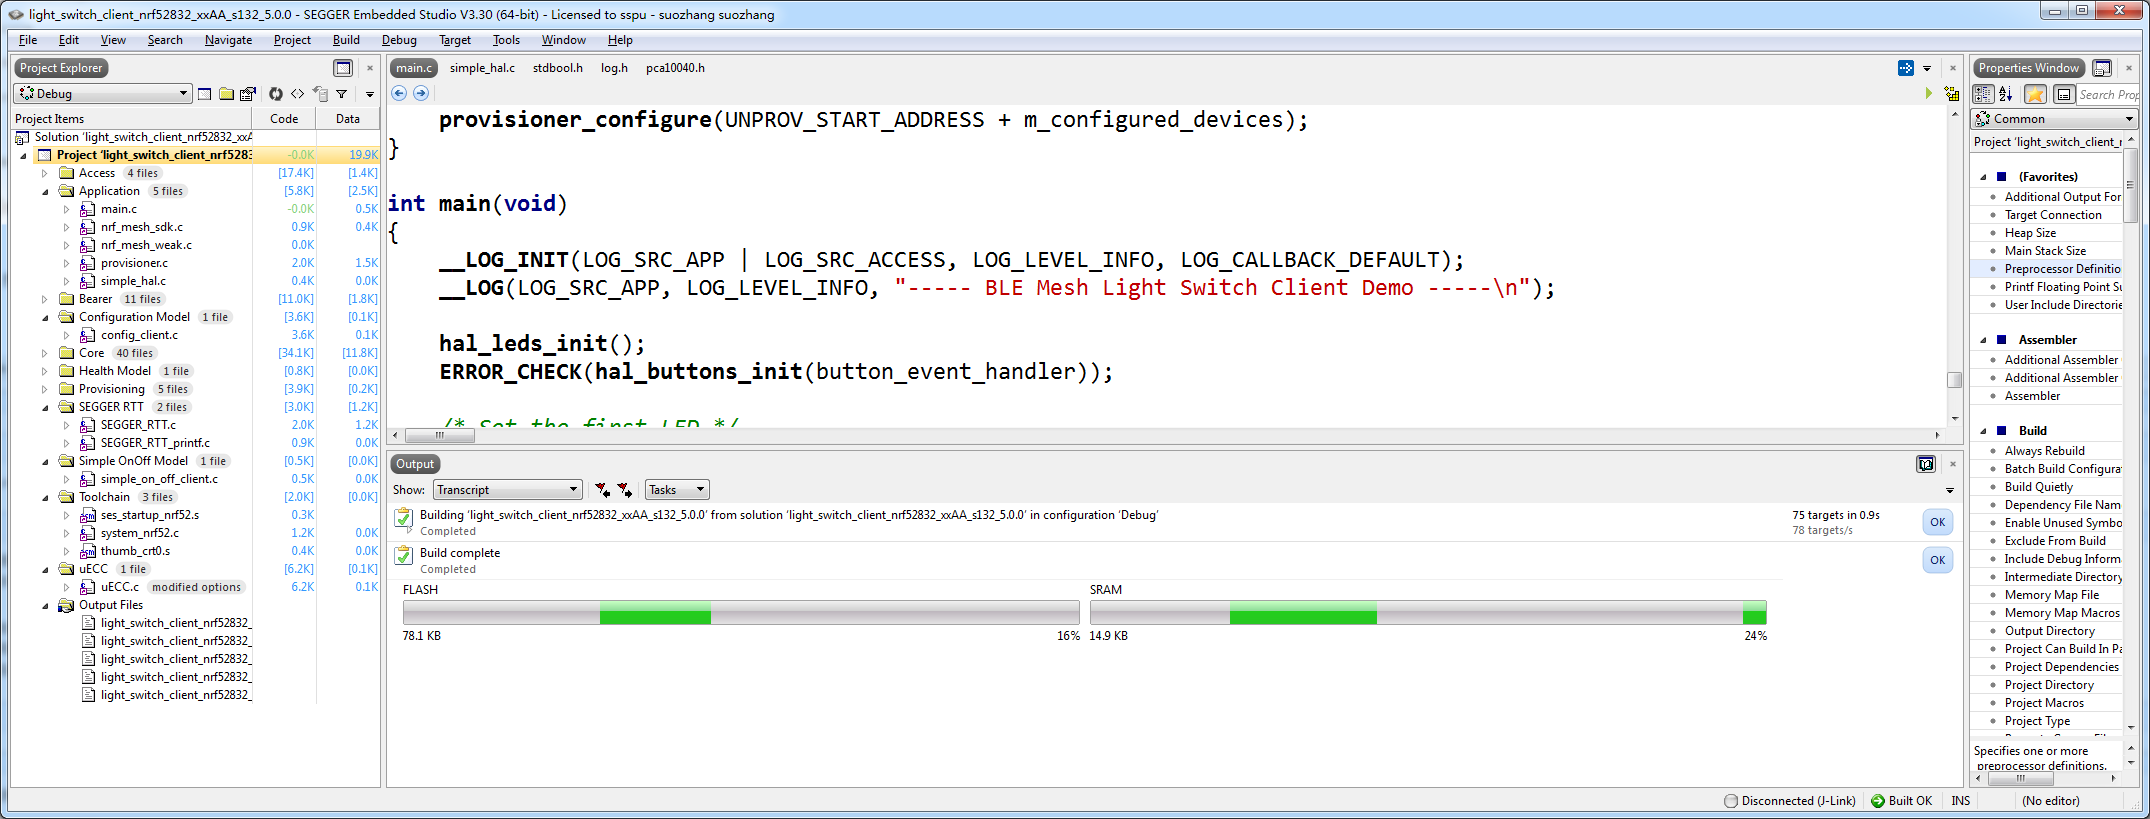
To build with SEGGER Embedded Studio, open one of the project files located in the examples/ folder, e.g.,examples/light_switch/client/light_switch_client_nrf52832_xxAA_s132_5_0_0.emProject.
To compile the example, go to Build -> Build light_switch_client_nrf52832_xxAA_s132_5.0.0. After the compilation is complete, first erase the device using Target -> Erase all and run the example with Debug -> Go. This will download the matching SoftDevice and the compiled example and start the debugger. When the download is complete select Debug -> Goagain to start the code execution.
Building with CMake
From About CMake:
CMake is an extensible, open-source system that manages the build process in an operating system and in a compiler-independent manner.
In other words, CMake does not build from the source directly, but generates the native build tool files (for example, a set of Makefiles or a build.ninja configuration). Which build tool to target is controlled via the -G argument, for example: -G Ninja, -G "Unix Makefiles" and many more. CMake can generate IDE project files for IDEs such as Eclipse as well. However, this guide only targets Ninja and GNU Make.
Important: All examples built by the CMake-generated build system do not include the SoftDevice as part of the generated HEX files. Therefore, the SoftDevice must already be present on the device before flashing the HEX file for the example mesh application.
Generating build files
Important: In this section, we are genating build files for the Ninja build tool. On Debian/Linux, you may drop the
-G Ninjaargument as the default generator is for Unix Makefiles and use themakecommand instead ofninja.
Good practice is to create a build folder in the root directory for the mesh stack repository, where all artifacts generated by the Ninja build system are stored, such as:
mesh-btle $ mkdir build

mesh-btle $ cd build
Before you can build with Ninja, you must generate the correct build files with CMake:
build$ cmake -G Ninja -DTOOLCHAIN=gccarmemb -DPLATFORM=nrf52840_xxAA ..
Based on the options given in the command line arguments, four main parameters are set:
TOOLCHAINgccarmembfor the GNU ARM Embedded toolchainarmccfor the Keil ARMCC toolchainclangfor the Clang compiler (with GNU ARM Embedded assembler and linker)
PLATFORMnrf51422_xxACnrf52832_xxAAnrf52840_xxAA
BOARD: valid board combination based on platform typeSOFTDEVICE: valid SoftDevice based on platform type
The build system will ensure a valid BOARD and SOFTDEVICE for each given platform. Calling cmake -G Ninja .. will default to thenrf52832_xxAA platform with the S132 v5.0.0 SoftDevice and the GNU ARM Embedded Toolchain.
After the Ninja build files are generated, running ninja will build all the targets (examples and libraries). Documentation can be built with ninja doc. If you have PC-Lint installed, the sources can be linted using the ninja lint command. To see a list of available build targets, run the following command:
build $ ninja help
To build a specific target from this list, run, for example, ninja mesh_core_nrf52840_xxAA if the current platform is nrf52840_xxAA.
CMake generates Ninja build files in the folder in which CMake is run (but not in any of its subfolders), so all targets must be built from that directory. In other words, in-directory building is not supported and running ninja in one of the example folders will result in an error message generated by the Ninja build system.
However, the mesh stack can be built from its root directory as well, which will place the generated artifacts in the folder where the source files are kept:
mesh-btle $ cmake -G Ninja    # Generate build files

mesh-btle $ ninja
By default, CMake is configured to build for target using the GNU ARM Embedded toolchain. To build with ARMCC instead, setTOOLCHAIN to armcc:
mesh-btle $ mkdir build && cd build         # Create a build directory

build $ cmake -G Ninja -DTOOLCHAIN=armcc .. # Generate build files

build $ ninja
Generating SEGGER Embedded Studio project files
Warning: The generator will overwrite any existing projects, please back up existing projects before running the generator.
It is possible to generate SEGGER Embedded Studio project files using the CMake build system. With the optionGENERATE_SES_PROJECTS enabled, CMake will generate a SEGGER Embedded Studio project based on the current settings. For example, to generate a project for nrf51422_xxAC using the S110 SoftDevice, run CMake in your build directory like this:
cmake -G Ninja -DGENERATE_SES_PROJECTS=ON -DPLATFORM=nrf51422_xxAC -DSOFTDEVICE=s110_8.0.0 ..
Useful CMake command line options
CMake allows you to generate project files in release or debug configurations. To do so, use the -DCMAKE_BUILD_TYPE option:
build $ cmake -DCMAKE_BUILD_TYPE=Release .. # Generates build files in release mode

build $ cmake -DCMAKE_BUILD_TYPE=Debug ..   # Generates build files in debug mode
The default build type is Debug if the CMake project is a Git repository (contains a .git directory), otherwise it is set toRelWithDebInfo.
Building the documentation
To build all documentation (API documentation and internal documentation), call the build system with the target doc.
build $ ninja doc
The Doxygen documentation is generated in <build folder>/doc/offline/html.
Unit test build (host)
The nRF5 SDK for Mesh contains a set of unit tests that verify module behavior. These unit tests run on the host system (i.e. PC, not the nRF5 device), and are built with GCC. See Installing the mesh toolchain for toolchain requirements.
The nRF5 SDK for Mesh depends on two frameworks for unit testing:
- Unity is the unit testing framework that is used for running the tests.
- CMock is used by the unit tests to generate mocks.
Note that an installation of Git is required to download these modules.
CMock bundles Unity as a submodule, thus in the same directory as the nRF5 SDK for Mesh, make sure to clone the CMock repository recursively:
$ git clone https://github.com/ThrowTheSwitch/CMock.git --recursive cmock
The directory structure should now look like this:
.

+-- cmock/

+-- nrf5_sdk_for_bluetooth_mesh/
Enter the nrf5_sdk_for_bluetooth_mesh directory, and make a new build directory, e.g. build_host:
nrf5_sdk_for_bluetooth_mesh $ mkdir -p build_host && cd build_host
To build for host, so that the unit tests can be run, set the option BUILD_HOST to ON and provide the path to CMock using theCMOCK_ROOT option. Note that all paths given to CMake must use forward slashes ('/') as directory separators.
build_host $ cmake -G Ninja -DBUILD_HOST=ON -DCMOCK_ROOT=<dir/cmock> ..
If a different version of Unity from the one included as a submodule in CMock is wanted, this can be specified by passing -DUNITY_ROOT=<dir/unity> to CMake. Note that the two paths can be set permanently with environmental variables (UNITY_ROOTand CMOCK_ROOT), and CMake is set up to look for CMock in the directory above the nrf5_sdk_for_bluetooth_mesh, so if the instructions above have been followed, both these variables are redundant.
Build all the unit tests with ninja:
build_host $ ninja
To run the tests, run ctest (bundled with CMake) or call ninja test in the build directory.
build_host $ ctest # Run all unit tests
我 没有 选择 CMAKE 工具 ,反而选择的 是 jlink 公司给 NRF 提供 的 免费软件,
SEGGER Embedded Studio
下载 安装 即可 ,然后 将下载的 MESH 源码 放在 非中文目录下 ,打开 examples/light_switch/client/light_switch_client_nrf52832_xxAA_s132_5_0_0.emProject
编译即可。
nRF5 SDK for Mesh(四) 源码编译的更多相关文章
- edgedb 内部pg 数据存储的探索 (四) 源码编译
edgedb 基于python开发,同时源码重包含了好多子项目,以下进行简单的源码编译 clone 代码 需要递归处理,加上recursive,比较慢稍等 git clone --recursiv ...
- nRF5 SDK for Mesh(一) 介绍和下载源码
一: 官网介绍地址:http://www.nordicsemi.com/Products/Bluetooth-low-energy/nRF5-SDK-for-Mesh Nordic offers a ...
- Android源码浅析(四)——我在Android开发中常用到的adb命令,Linux命令,源码编译命令
Android源码浅析(四)--我在Android开发中常用到的adb命令,Linux命令,源码编译命令 我自己平时开发的时候积累的一些命令,希望对你有所帮助 adb是什么?: adb的全称为Andr ...
- nRF5 SDK for Mesh(三) Installing the mesh toolchain 安装编译工具链
Installing the mesh toolchain To build the example applications, a toolchain based on either CMake o ...
- 第四次作业;创建raid5,源码编译安装;磁盘配额
创建raid5 格式化 ext4 创建物理卷: 创建卷组: 创建逻辑卷: 格式化 ext4 挂载 开机自启动 创建raid配置文件 源码编译安装: 创建本地yum仓库 umount /dev/sr0 ...
- Android源码分析(四)-----Android源码编译及刷机步骤
一 : 获取源码: 每个公司服务器地址不同,以如下源码地址为例: http://10.1.14.6/android/Qualcomm/msm89xx/branches/msm89xx svn环境执行: ...
- 十四.自定义yum仓库、源码编译安装
pc7:192.168.4.7 1.自定义yum仓库1.1 源码仓库下:/root/tools/other]# createrepo .]# ls ntfs-3g-2014.2.15-6.el6.x8 ...
- XMPP即时通讯协议使用(四)——Openfire服务器源码编译与添加消息记录保存
下载Openfire源码 下载地址:https://www.igniterealtime.org/downloads/index.jsp,当前最新版本为:4.2.3 Eclipse上部署Openfir ...
- android源码编译1
一.环境说明: 1.liunx系统:Ubuntu12.04 2.jdk:sun-java6-jdk 3.g++4.5 gcc4.5 二.android源码的目录结构 |-- Makefile |-- ...
随机推荐
- sublime设置不提示更新
sublime 作为轻量级的编辑器非常好用,时不时提醒购买还好 但是经常还提醒更新就不能接受了 解决方法: Just go to Preferences -> Settings-User and ...
- Effective C++ .47 traits与模板特化
#include <iostream> #include <cstdlib> #include <string> using namespace std; temp ...
- 【零基础学习FreeRTOS嵌入式系统】之一:FreeRTOS环境搭建
[零基础学习FreeRTOS嵌入式系统]之一:FreeRTOS环境搭建 一:FreeRTOS系统下载 在官网上https://www.freertos.org/,找到下载入口. 或直接进入下载地址ht ...
- html-路径的介绍
一.绝对路径 绝对路径是指文件在硬盘上真正存在的路径 - D:\Java\JavaWeb\day01\a.jpg - http://www.baidu.com/b.jpg 二.相对路径 一个文件相对于 ...
- bootstrap学习笔记(菜单.按钮)
下拉菜单 <div class="dropdown"> <button class="btn btn-default dropdown-toggle&q ...
- LintCode2016年8月8日算法比赛----等价二叉树
等价二叉树 题目描述 检查两棵二叉树是否等价.等价意思是说,首先两棵二叉树必须拥有相同的结构,并且每个对应位置上的节点上的数据相等. 样例 1 1 / \ / \ 2 2 and 2 2 / / 4 ...
- PHP匿名函数(闭包)
匿名函数(Anonymous functions),也叫闭包函数(closures),允许 临时创建一个没有指定名称的函数.最经常用作回调函数(callback)参数的值.当然,也有其它应用的情况. ...
- flask请求流程
- c#之委托详解(Delegate)
一.委托的概念 在我们学习委托之前,我们来了解下,什么是委托呢? 官方概念:委托是一种安全地封装方法的类型,它与 C 和 C++ 中的函数指针类似.与 C 中的函数指针不同,委托是面向对象的.类型安全 ...
- Tcpdump一些常用指令
1.tcpdump安装:yum install tcpdump 2.关键字介绍 类型关键字: 指定主机 host 192.168.1.111 指定网络地址 net 202.0.0.0 指定端口 por ...