centos7安装kvm环境采用网桥模式并创建虚拟机制作openstack需要的镜像
初始环境的安装:centos7 mini iso镜像进行安装的系统
采用的环境是vm该软件,联网方式NAT模式下配置的静态ip(如何在NAT模式下配置静态ip参考之前的文章)
1、由于要安装kvm环境,首先确认是否开启了虚拟机
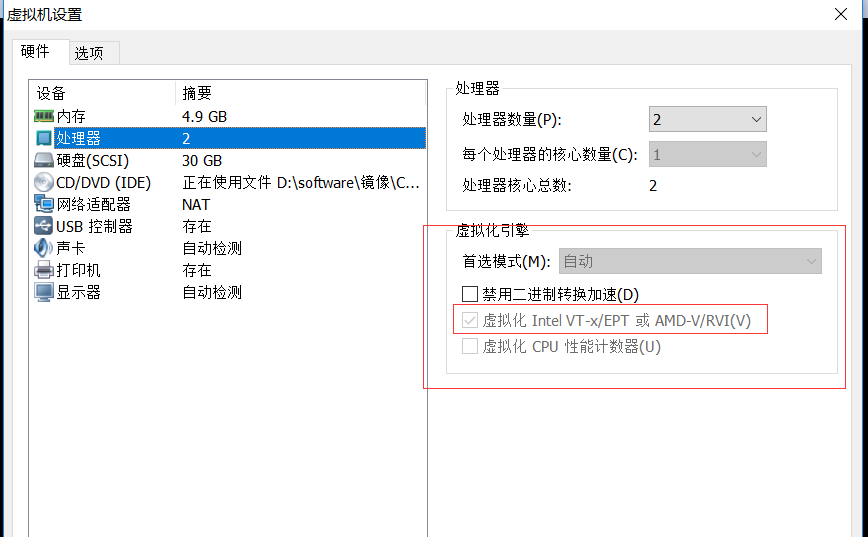
将图中的地方打上勾
2、安装kvm环境这里采用使用vnc连接的方式进行创建虚拟机,所以这里采用安装桌面环境,并安装vnc
# yum groupinstall "Desktop" "GNOME Desktop"   安装桌面环境

# yum install tigervnc
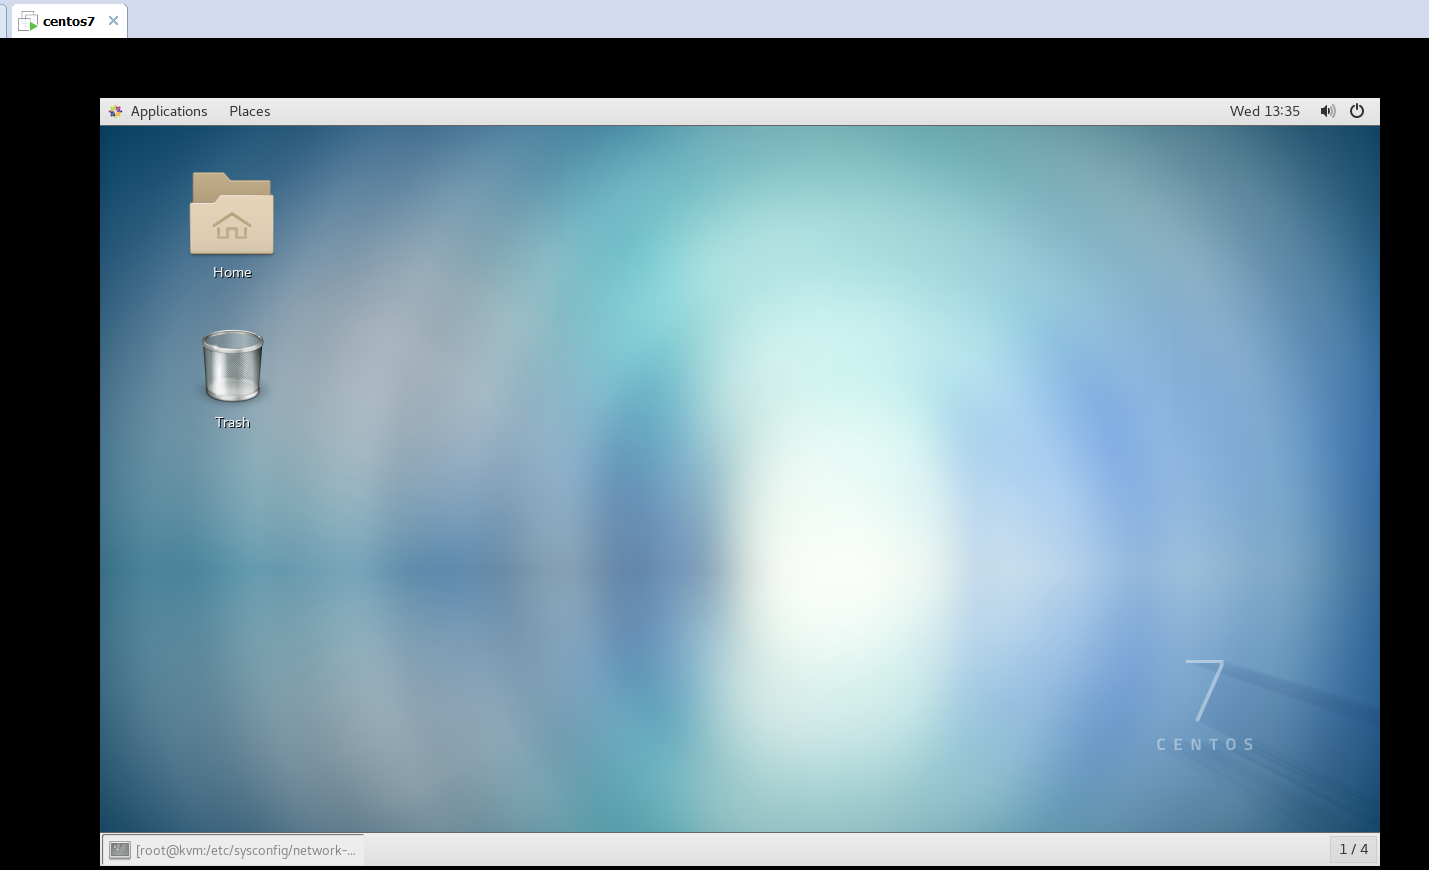
3、centos7默认启动级别是3,所以这里需要进行修改到5
设置centos7启动级别:5

systemctl set-default graphical.target

# reboot  查看是否完成桌面环境
中间图形安装这里省略,结果为:
4、将网络配置为网桥模式:
# cd /etc/sysconfig/network-scripts

# cp ifcfg-ens33 ifcfg-br0
两个配置文件的设置如下:
[root@kvm network-scripts]# cat ifcfg-br0

TYPE=Bridge

BOOTPROTO=none

UUID=3a9cfe3f-505f-4d4c-8fc0-fc86f2b218f3

DEVICE=br0

ONBOOT=yes

IPADDR=192.168.101.12

GATEWAY=192.168.101.2

NETMASK=255.255.255.0
ens33这个配置文件如下:
[root@kvm network-scripts]# cat ifcfg-ens33

TYPE=Ethernet

BOOTPROTO=none

NAME=ens33

UUID=3a9cfe3f-505f-4d4c-8fc0-fc86f2b218f3

DEVICE=ens33

ONBOOT=yes

BRIDGE=br0
配置完成后,重启网络服务:
# systemctl restart network
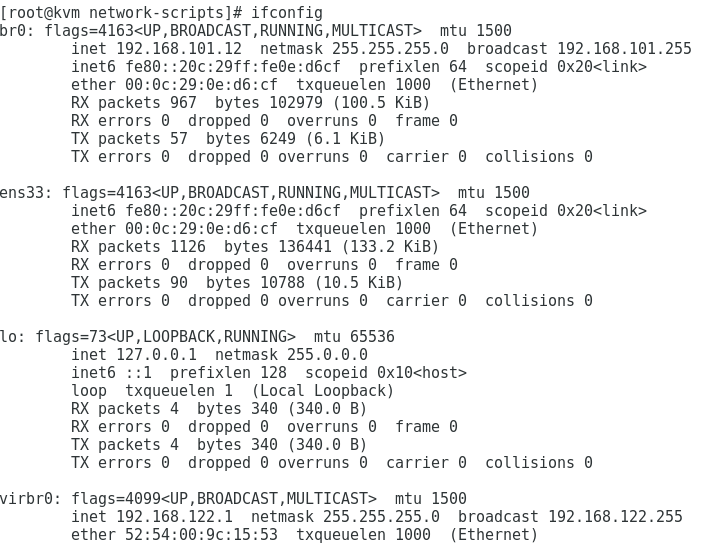
将网桥名为br0开启:
[root@kvm network-scripts]# brctl stp br0 on

[root@kvm network-scripts]# brctl show

bridge name	bridge id		STP enabled	interfaces

br0		8000.000c290ed6cf	yes		ens33

virbr0		8000.5254009c1553	yes		virbr0-nic
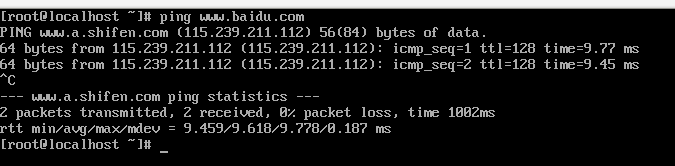
确保网络没有问题:
[root@kvm network-scripts]# cat /etc/resolv.conf

nameserver 192.168.101.2

接下来开启配置kvm需要的环境:
# yum install qemu-kvm libvirt virt-install bridge-utils virt-manager libguestfs-tools-c qemu-img
1、创建磁盘镜像文件:
# qemu-img create -f qcow2 /tmp/centos.qcow2 10G
然后将需要的镜像文件上传到tmp目录下(CentOS-7-x86_64-Minimal-1611.iso)
[root@kvm ~]# ll /tmp/

total 697452

-rw-r--r--  1 root    root         1148 Oct 23 15:52 anaconda.log

-rw-r--r--  1 root    root    713031680 Jul  3 22:27 CentOS-7-x86_64-Minimal-1611.iso

-rw-r--r--  1 root    root       197120 Oct 25 13:46 centos.qcow2
2、使用命令创建虚拟机:
# virt-install --virt-type kvm --name centos --ram 1024 --disk /tmp/centos.qcow2,format=qcow2 --network bridge=br0 --graphics vnc,listen=0.0.0.0 --noautoconsole --os-type=linux --os-variant=rhel7 --location=/tmp/CentOS-7-x86_64-Minimal-1611.iso
这里--network bridge=br0表示这里采用刚刚创建的网桥
[root@kvm ~]# virt-install --virt-type kvm --name centos --ram 1024 --disk /tmp/centos.qcow2,format=qcow2 --network bridge=br0 --graphics vnc,listen=0.0.0.0 --noautoconsole --os-type=linux --os-variant=rhel7 --location=/tmp/CentOS-7-x86_64-Minimal-1611.iso

Starting install...

Retrieving file .treeinfo...                                                                                      |  366 B  00:00:00

Retrieving file vmlinuz...                                                                                        | 5.1 MB  00:00:00

Retrieving file initrd.img...                                                                                     |  41 MB  00:00:00

Domain installation still in progress. You can reconnect to

the console to complete the installation process.
然后移动到桌面环境进行安装
首先查看vnc的5900端口是否开启:
[root@kvm ~]# netstat -tunlp

Active Internet connections (only servers)

Proto Recv-Q Send-Q Local Address           Foreign Address         State       PID/Program name

tcp        0      0 0.0.0.0:5900            0.0.0.0:*               LISTEN      24681/qemu-kvm

tcp        0      0 0.0.0.0:111             0.0.0.0:*               LISTEN      1/systemd

tcp        0      0 192.168.122.1:53        0.0.0.0:*               LISTEN      2189/dnsmasq

tcp        0      0 0.0.0.0:22              0.0.0.0:*               LISTEN      1337/sshd

tcp        0      0 127.0.0.1:631           0.0.0.0:*               LISTEN      1000/cupsd

tcp6       0      0 :::111                  :::*                    LISTEN      1/systemd

tcp6       0      0 :::22                   :::*                    LISTEN      1337/sshd

tcp6       0      0 ::1:631                 :::*                    LISTEN      1000/cupsd

udp        0      0 192.168.122.1:53        0.0.0.0:*                           2189/dnsmasq

udp        0      0 0.0.0.0:67              0.0.0.0:*                           2189/dnsmasq

udp        0      0 127.0.0.1:323           0.0.0.0:*                           705/chronyd

udp        0      0 0.0.0.0:5353            0.0.0.0:*                           671/avahi-daemon: r

udp        0      0 0.0.0.0:42824           0.0.0.0:*                           671/avahi-daemon: r

udp6       0      0 ::1:323                 :::*                                705/chronyd
可以看见5900端口已经开启了,于是使用vnc进行连接到5900端口,进行安装:
# vncviewer :5900
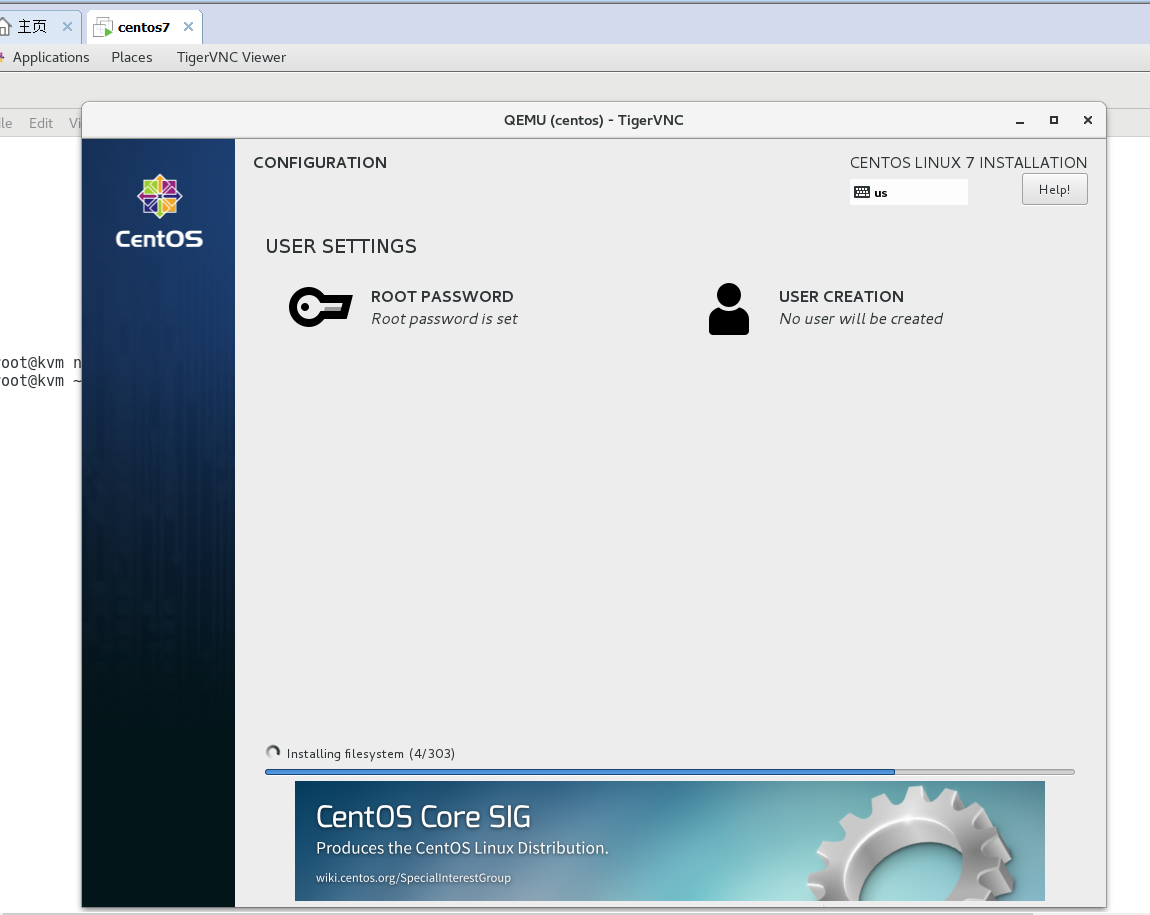
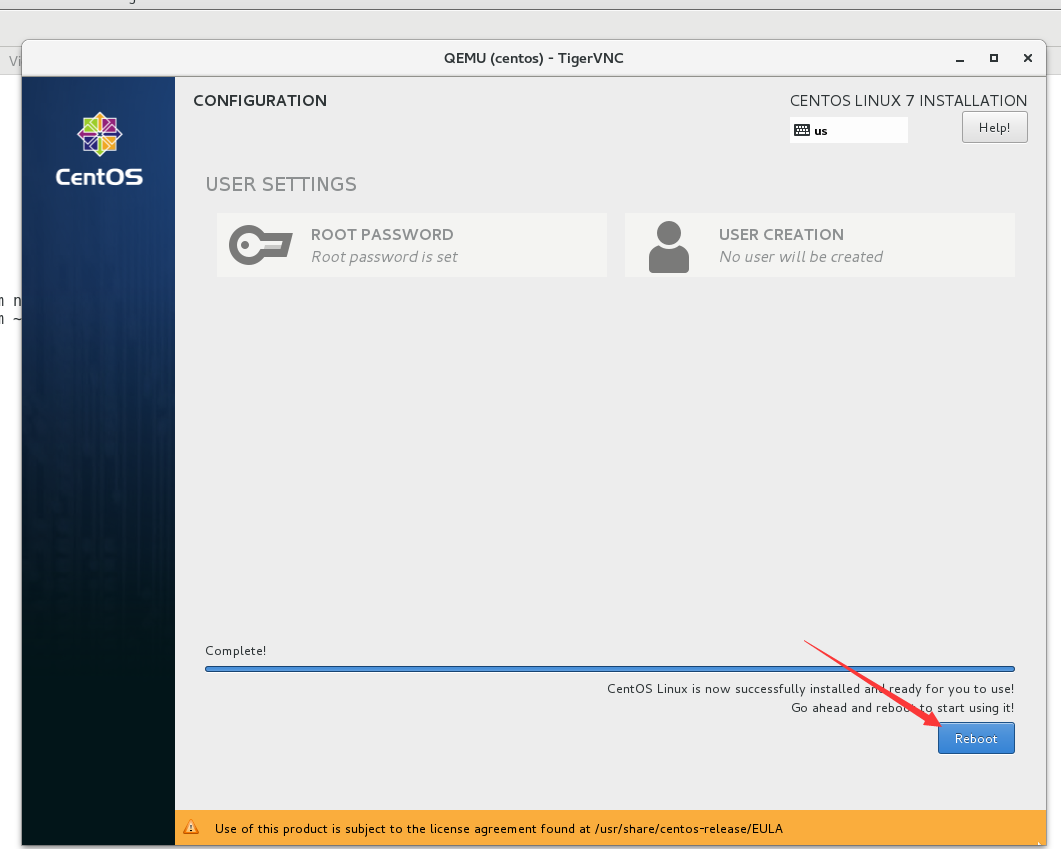
执行该命令后会弹出图形安装界面:
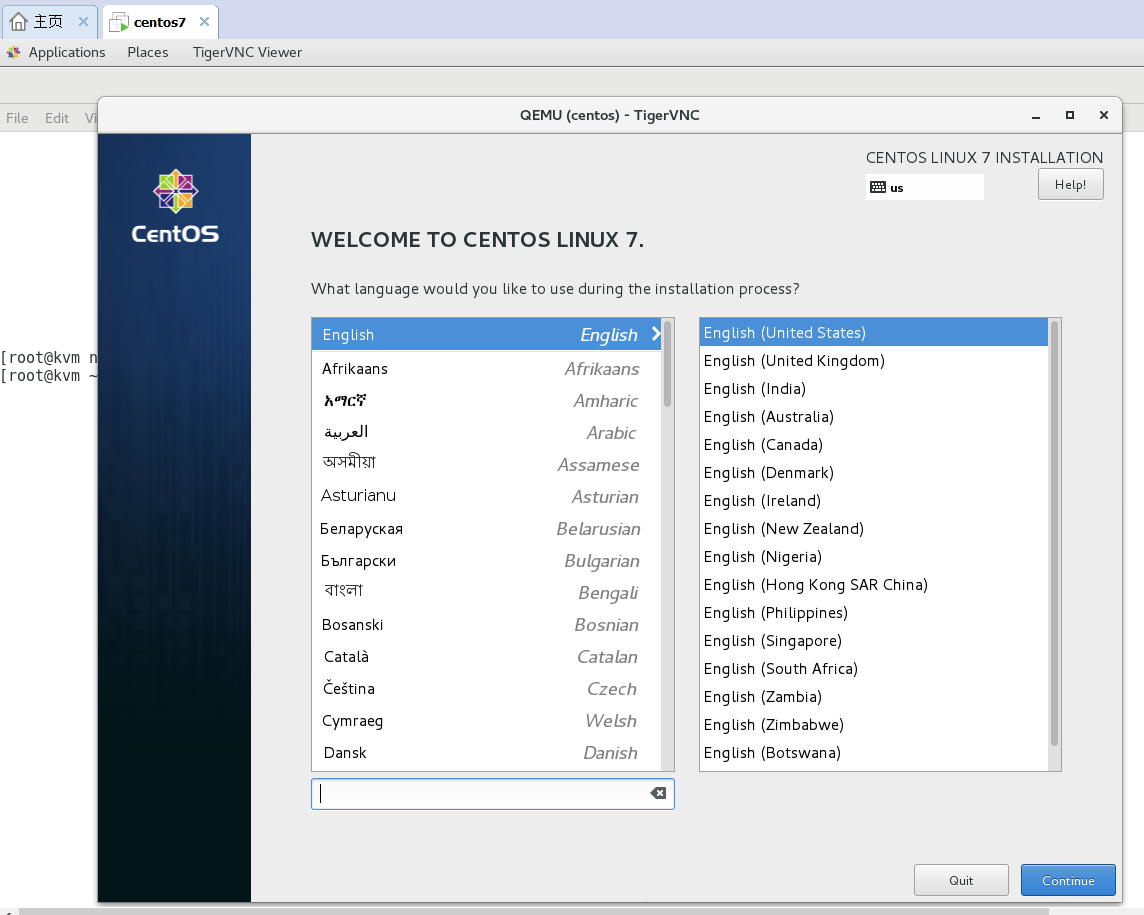
然后进行一步一步安装就行
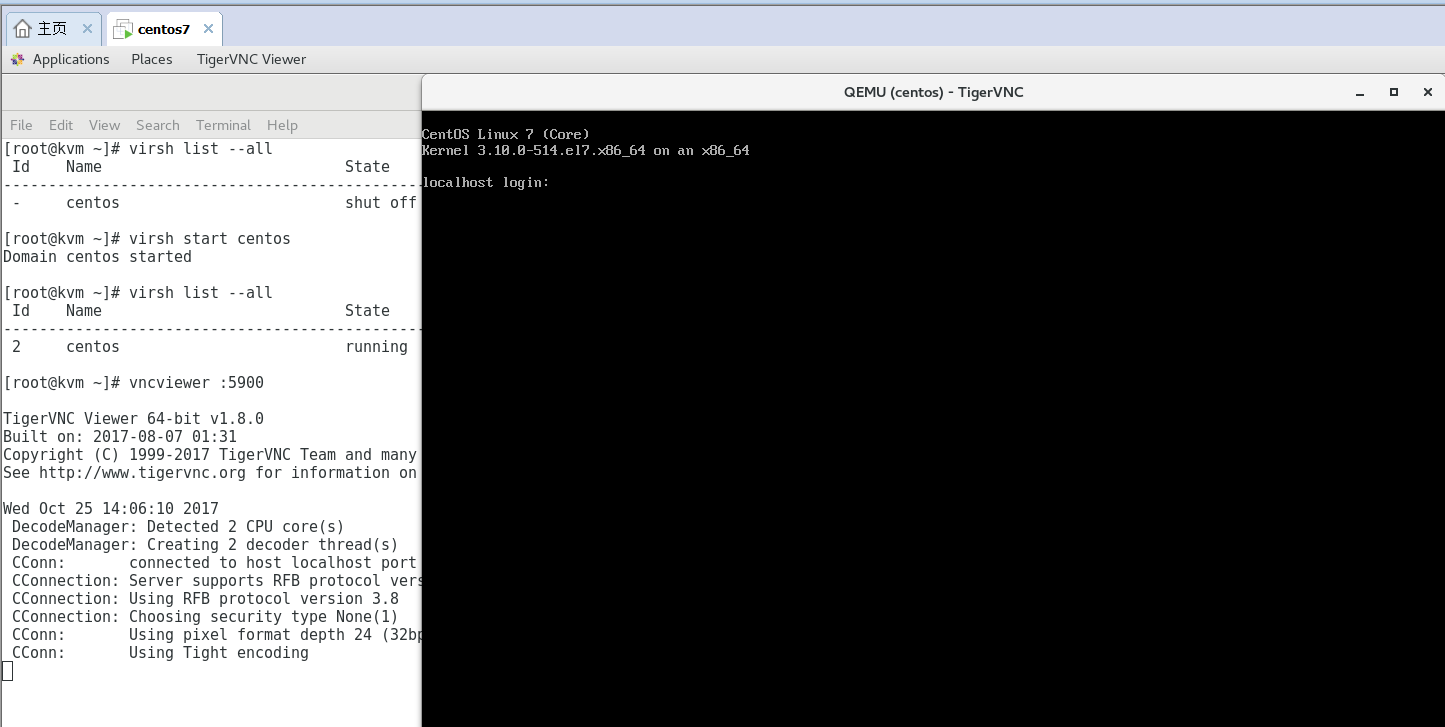
查看虚拟机状态:
[root@kvm ~]# virsh list --all

 Id    Name                           State

----------------------------------------------------

 -     centos                         shut off
将虚拟机centos开启:
[root@kvm ~]# virsh start centos

Domain centos started

[root@kvm ~]# virsh list --all

 Id    Name                           State

----------------------------------------------------

 2     centos                         running
使用vncview :5900进行连接到虚拟机:
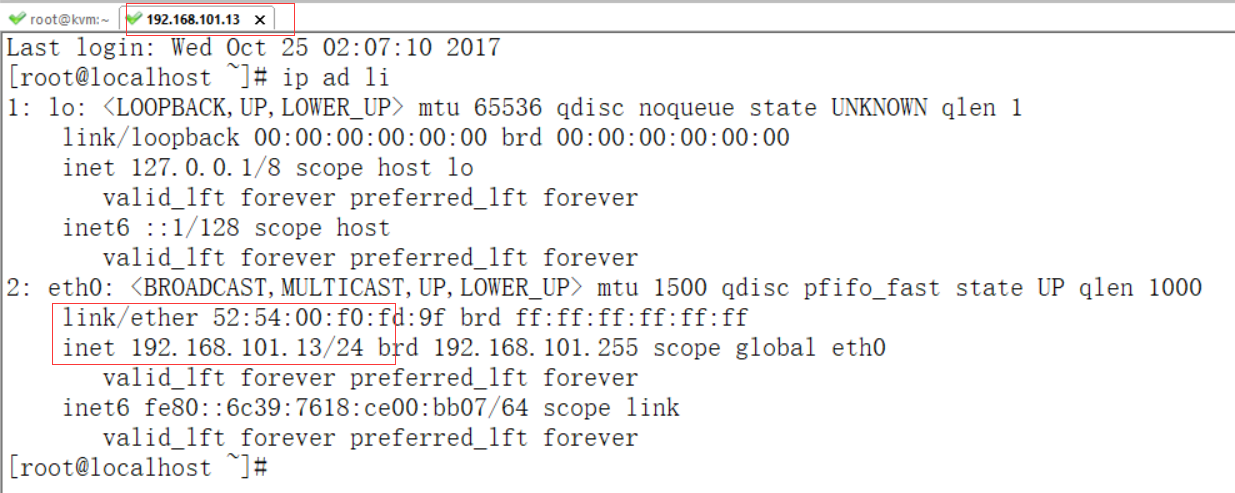
然后进行登录到虚拟机,设置虚拟机的网络:
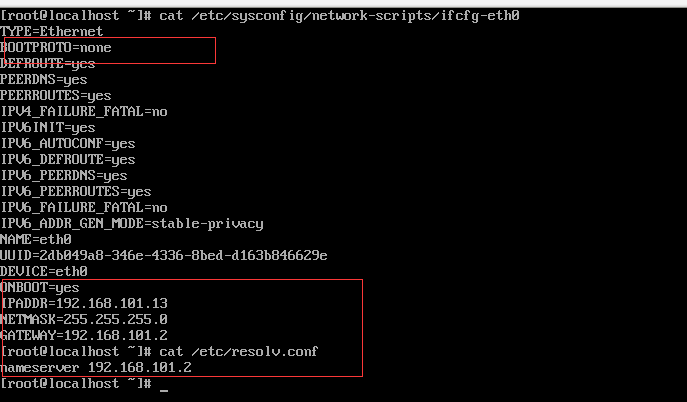
重启网络:
# systemctl restart network
然后使用ssh连接工具连接到虚拟机192.168.101.13
至此虚拟机安装完成,现在需要将此虚拟机做成镜像
kvm主机执行:
[root@kvm ~]# virsh dumpxml centos
找出使用的磁盘名称

[root@kvm ~]# virsh attach-disk --type cdrom --mode readonly centos "" hda

Disk attached successfully

[root@kvm ~]# virsh list --all

 Id    Name                           State

----------------------------------------------------

 2     centos                         running

[root@kvm ~]# virsh destroy centos

Domain centos destroyed

[root@kvm ~]# virsh list --all

 Id    Name                           State

----------------------------------------------------

 -     centos                         shut off

[root@kvm ~]# virsh start centos

Domain centos started

[root@kvm ~]# virsh list --all

 Id    Name                           State

----------------------------------------------------

 3     centos                         running
在面的操作在虚拟机中操作:
1、To enable the hypervisor to reboot or shutdown an instance, you must install and run the acpid service on the guest system.
# yum install acpid

# systemctl enable acpid
2、配置去获取matadata:
# yum install cloud-init
For example, to configure cloud-init to put the key in an account named admin, use the following syntax in the configuration file:
users:
- name: admin
3、安装cloud-utils-growpart以允许分区调整大小
# yum install cloud-utils-growpart
4、Disable the zeroconf route
# echo "NOZEROCONF=yes" >> /etc/sysconfig/network

5、Configure console
修改配置文件/etc/default/grub,将GRUB_CMDLINE_LINUX的值改为如下:
[root@localhost ~]# cat /etc/default/grub

GRUB_TIMEOUT=5

GRUB_DISTRIBUTOR="$(sed 's, release .*$,,g' /etc/system-release)"

GRUB_DEFAULT=saved

GRUB_DISABLE_SUBMENU=true

GRUB_TERMINAL_OUTPUT="console"

GRUB_CMDLINE_LINUX="crashkernel=auto rd.lvm.lv=cl/root rd.lvm.lv=cl/swap console=tty0 console=ttyS0,115200n8"

GRUB_DISABLE_RECOVERY="true"
Run the following command to save the changes:
# grub2-mkconfig -o /boot/grub2/grub.cfg

Shut down the instance
# poweroff

至此在虚拟机上面的操作就已经完成了,接下来还有几个步骤在kvm主机上执行
Clean up (remove MAC address details)
# virt-sysprep -d centos
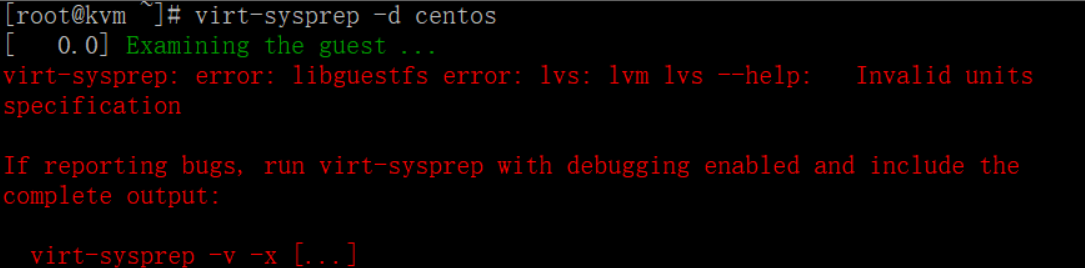
清除mac地址的这一步骤总是报错,不知啥原因,虚拟机状态为:
[root@kvm ~]# virsh list --all

 Id    Name                           State

----------------------------------------------------

 -     centos                         shut off
将mac地址如果成功清除后,执行最后一步将虚拟机取消定义:
# virsh undefine centos
最后/tmp/centos.qcow2这个镜像文件就可以作为镜像传给openstack使用了
参考文档:https://docs.openstack.org/image-guide/centos-image.html
centos7安装kvm环境采用网桥模式并创建虚拟机制作openstack需要的镜像的更多相关文章
- (转)CentOS7安装KVM虚拟机详解
原文:https://github.com/jaywcjlove/handbook/blob/master/CentOS/CentOS7%E5%AE%89%E8%A3%85KVM%E8%99%9A%E ...
- [转载]好好好centos7 安装 KVM
centos7 安装 KVM 2019-04-03 09:58:24 34 0 0 一.基础环境准备 centos7.X 最小环境安装 关闭selinux # vi /etc ...
- (亲测成功)在centos7.5上安装kvm,通过VNC远程连接并创建多台ubuntu虚拟机(ubuntu server版本)
在centos7.5上安装kvm,通过VNC远程连接并创建多台ubuntu虚拟机 前提:服务器端安装桌面版的centos系统 CentOS Linux release 7.5.1804 (Core) ...
- centos7安装kvm虚拟机
一 centos7安装kvm虚拟机 1.验证CPU是否支持KVM 结果中有vmx(Intel)或svm(AMD)字样,就说明CPU的支持的. [root@centos ~]# egrep '(vmx| ...
- CentOS7安装openjdk8+环境变量配置
CentOS7安装openjdk8+环境变量配置 步骤: 使用yum命令安装openjdk yum clean yum install -y java-1.8.0-openjdk-1.8.0.212. ...
- 完整部署CentOS7.2+OpenStack+kvm 云平台环境(4)--用OZ工具制作openstack镜像
在部署openstack云平台环境的时候,需要上传镜像到glance. 首先下载iso镜像,这里下载了centos6.5镜像,放到/usr/local/src目录下然后用OZ工具制作openstack ...
- CentOS7 安装KVM
检测 输入命令如果有输出表示CPU支持虚拟化 grep -E 'svm|vmx' /proc/cpuinfo 检查模块(保证有如下内容) lsmod | grep kvm 结果如下:(kvm_inte ...
- centos7安装kvm
一. 安装kvm前的准备工作 1. 清除iptables规则 service iptables save service iptables stop 2. 关闭selinux sed -i 's/SE ...
- Ubuntu 16.04下使用VMware安装CentOS 6.9然后在里面再安装KVM之后配置网桥无法上网的问题
别试了,这个问题无法解决,已经使用VMware安装了一层虚拟机,然后在里面再安装KVM,网络层次已经变了,即使配置了网桥同样无法上网. 可是这样试一下,不一定成功:把VMware的虚拟机绑定另一张物理 ...
随机推荐
- chkcofnig-minimal-script
author :headsen chen date: 2018-06-04 12:02:27 #!/bin/bash for i in `chkconfig --list |awk '{print ...
- JAVA编程你必须知道的那些英文单词
第一章: JDK(Java Development Kit) java开发工具包 JVM(Java Virtual Machine) java虚拟机 Javac 编译命令 ...
- greenplum-cc-web4.0监控安装
简介: 本文是基于greenplum5.7,greenplum-cc-web4.0安装的. 一.安装greenplum监控的数据库以及创建用户(在gpadmin用户下安装) 1.开启greenplum ...
- 用于把List<Object>转换成Map<String,Object>形式
/** * 用于把List<Object>转换成Map<String,Object>形式,便于存入缓存 * @author zhang_bo * @param keyName ...
- 【转载】为什么不常见include .c文件
备:对于#include <filename.h> ,编译器从标准库路径开始搜索 filename.h 对于#include “filename.h” ,编译器从用户的工作 ...
- green rgb(255, 102, 0) #FF6600
w通过元素背景色定位元素,改变其属性. style="background-color: #FF6600" <script> var w = document.quer ...
- Whether to hide the cookie from JavaScript
w禁用js访问特定cookie. https://codeigniter.com/userguide3/helpers/cookie_helper.html $this->load->he ...
- [报错]编译报错:clang: error: linker command failed with exit code 1及duplicate symbol xxxx in错误解决方法之一
今天添加了一个新类(包括m,h,xib文件),还没有调用,—编译遇到如下错误,根据错误提示, duplicate symbol param1 in: /Users/xxxx/Library/Devel ...
- Zipline入门教程
Zipline Beginner Tutorial Basics 基础 Zipline is an open-source algorithmic trading simulator written ...
- Python高级特性(2):Closures、Decorators和functools(转)
原文:Python高级特性(2):Closures.Decorators和functools 装饰器(Decorators) 装饰器是这样一种设计模式:如果一个类希望添加其他类的一些功能,而不希望通过 ...