[Angular] Component architecture and Reactive Forms
It it recommeded that when deals with form component, we can create a container component to hold state, and then create a stateless component to enpower the form.
For example:
In the example has two components, one is container component 'meal.component.ts', another is statless component 'meal-form.component.ts'.
For the container component, it talks to service:
import {Component} from '@angular/core';

import {Meal} from '../../../shared/services/meals/meals.service';

@Component({

  selector: 'meal',

  styleUrls: ['meal.component.scss'],

  template: `

    <div class="meal">

      <div class="meal__title">

        <h1>

          <img src="/img/food.svg" alt="Food">

          <span>Create meal</span>

        </h1>

      </div>

      <div>

        <meal-form

          (create)="addMeal($event)"

        ></meal-form>

      </div>

    </div>

  `

})

export class MealComponent {

  constructor() {

  }

  addMeal(meal: Meal) {

    console.log("meal", JSON.stringify(meal, null, 2))

  }

}
So 'addMeal' function will dispatch action to talk to the service.
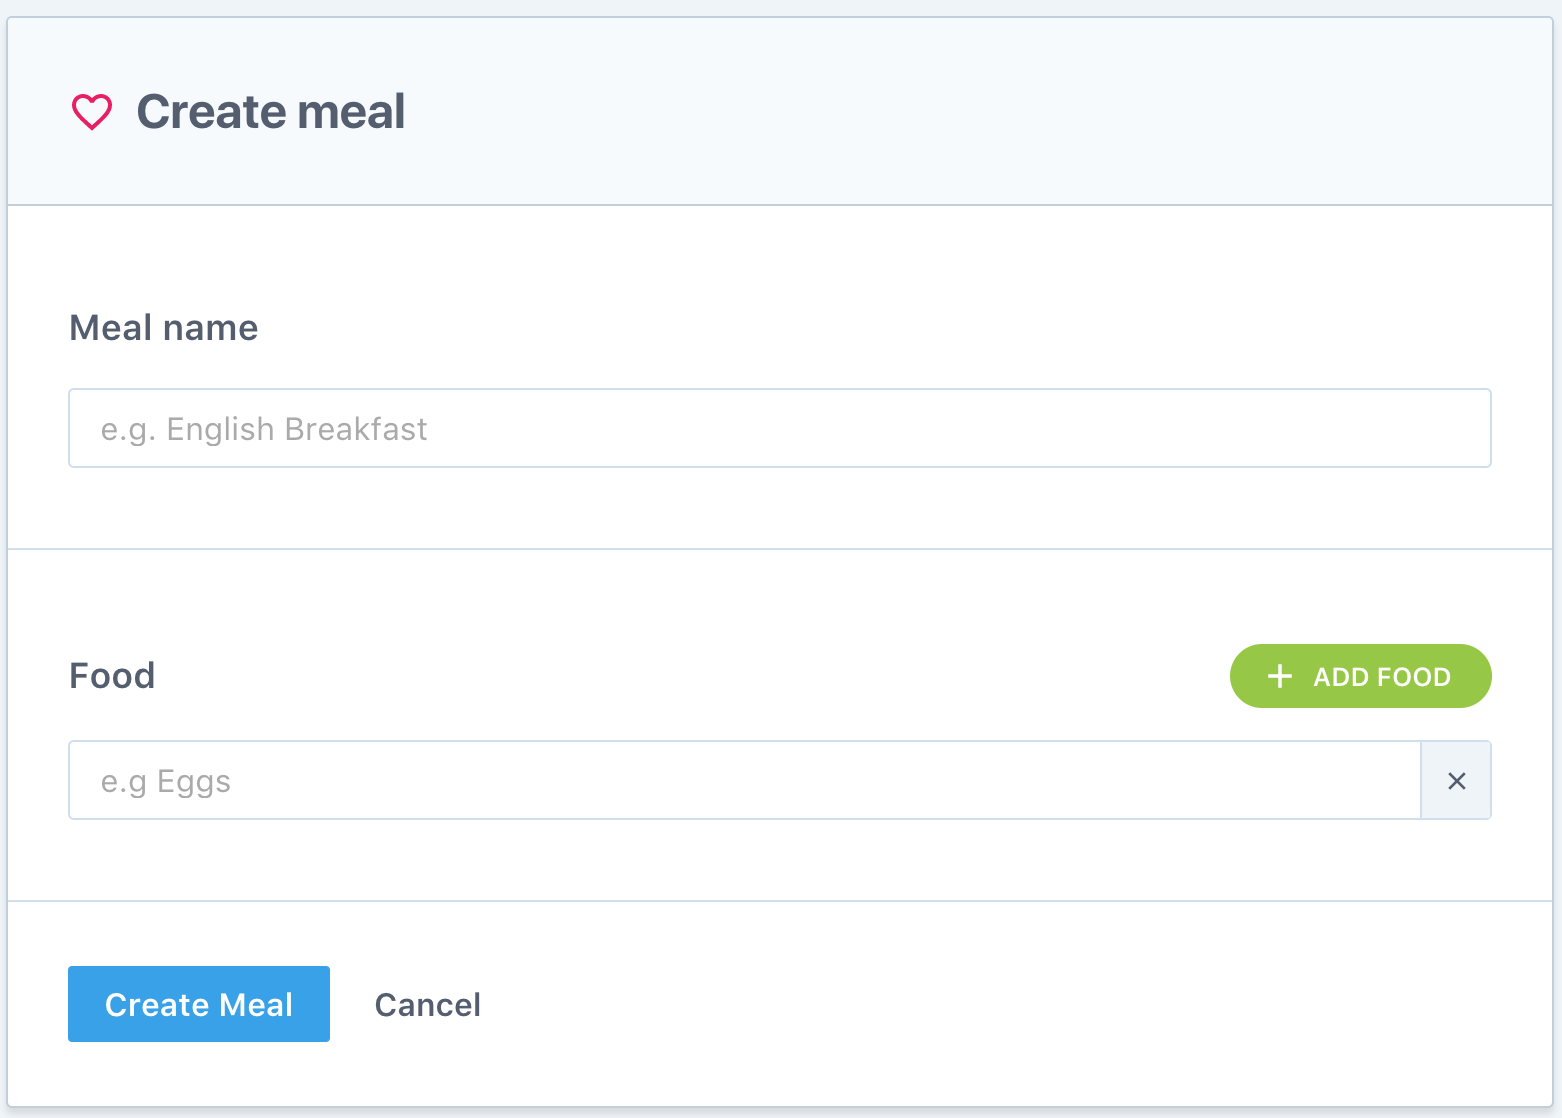
For statless component:
import {ChangeDetectionStrategy, Component, EventEmitter, Output} from '@angular/core';

import {FormBuilder, FormArray, FormGroup, FormControl, Validators} from '@angular/forms';

import {Meal} from '../../../shared/services/meals/meals.service';

@Component({

  selector: 'meal-form',

  changeDetection: ChangeDetectionStrategy.OnPush,

  styleUrls: ['meal-form.component.scss'],

  template: `

    <div class="meal-form">

      <form [formGroup]="form">

        <div class="meal-form__name">

          <label>

            <h3>Meal name</h3>

            <input type="text"

                   formControlName="name"

                   placeholder="e.g. English Breakfast">

            <div class="error" *ngIf="required">

              Workout name is required

            </div>

          </label>

        </div>

        <div class="meal-form__food">

          <div class="meal-form__subtitle">

            <h3>Food</h3>

            <button

              type="button"

              (click)="addIngredient()"

              class="meal-form__add">

              <img src="/img/add-white.svg" alt="Add food">

              Add food

            </button>

          </div>

          <div formArrayName="ingredients">

            <label *ngFor="let c of ingredients.controls; index as i;">

              <input type="text" [formControlName]="i" placeholder="e.g Eggs">

              <span

                class="meal-form__remove"

                (click)="removeIngredient(i)"

              ></span>

            </label>

          </div>

        </div>

        <div class="meal-form__submit">

          <div>

            <button type="button" class="button" (click)="createMeal()">

              Create Meal

            </button>

            <a

              [routerLink]="['../']"

              class="button button--cancel">

              Cancel

            </a>

          </div>

        </div>

      </form>

    </div>

  `

})

export class MealFormComponent {

  @Output()

  create = new EventEmitter<Meal>();

  form = this.fb.group({

    name: ['', Validators.required],

    ingredients: this.fb.array([''])

  });

  get ingredients () {

    // Type check for ingredients, mark as FormArray

    // Therefore when we use 'ingredients',

    // We can get auto complete

    return this.form.get('ingredients') as FormArray;

  }

  get required() {

    return (

      this.form.get('name').hasError('required') &&

        this.form.get('name').touched

    );

  }

  constructor(private fb: FormBuilder) {

  }

  createMeal() {

    if (this.form.valid) {

      this.create.emit(this.form.value);

    }

  }

  addIngredient() {

    // Add a new FormControl to FormArray

    this.ingredients.push(new FormControl(''));

  }

  removeIngredient(i: number) {

    this.ingredients.removeAt(i);

  }

}
It uses ReactiveForm to create form.
Things to be notice:
1. Add type check for form array:
  get ingredients () {

    // Type check for ingredients, mark as FormArray

    // Therefore when we use 'ingredients',

    // We can get auto complete

    return this.form.get('ingredients') as FormArray;

  }
Then whenever you use 'this.ingredients', it will show auto complete.
2. FormArray method:
  addIngredient() {

    // Add a new FormControl to FormArray

    this.ingredients.push(new FormControl(''));

  }

  removeIngredient(i: number) {

    this.ingredients.removeAt(i);

  }
[Angular] Component architecture and Reactive Forms的更多相关文章
- Angular Reactive Forms -- Model-Driven Forms响应式表单
Angular 4.x 中有两种表单: Template-Driven Forms - 模板驱动式表单 (类似于 AngularJS 1.x 中的表单 ) 官方文档:https://v2.angul ...
- [Angular] Create a custom validator for reactive forms in Angular
Also check: directive for form validation User input validation is a core part of creating proper HT ...
- Angular开发实践(三):剖析Angular Component
Web Component 在介绍Angular Component之前,我们先简单了解下W3C Web Components 定义 W3C为统一组件化标准方式,提出Web Component的标准. ...
- Angular之响应式表单 ( Reactive Forms )
项目结构 一 首页 ( index.html ) <!doctype html> <html lang="en"> <head> <met ...
- ng2响应式表单-翻译与概括官网REACTIVE FORMS页面
本文将半翻译半总结的讲讲ng2官网的另一个未翻译高级教程页面. 原文地址. 文章目的是使用ng2提供的响应式表单技术快速搭出功能完善丰富的界面表单组件. 响应式表单是一项响应式风格的ng2技术,本文将 ...
- Angular2响应式表单-翻译与概括官网REACTIVE FORMS页面
本文将半翻译半总结的讲讲ng2官网的另一个未翻译高级教程页面. 原文地址. 文章目的是使用ng2提供的响应式表单技术快速搭出功能完善丰富的界面表单组件. 响应式表单是一项响应式风格的ng2技术,本文将 ...
- Angular 2 Architecture Overview
Module 简单来说模块(module)就是完成共同目的的代码块,export一些内容例如一个类.函数.或值变量. component就是一个基本的Angular块,一个component类其实也是 ...
- [Angular] Refactor Angular Component State Logic into Directives
Allow the base toggle to be a tag (<toggle>) or attribute (<div toggle>). The <toggle ...
- [Angular] Component's dependency injection
An Angular service registered on the NgModule is globally visible on the entire application. Moreove ...
随机推荐
- Your Ruby version is 2.2.3, but your Gemfile specified 2.2.2
在文章 Ruby On Rails中REST API使用演示样例--基于云平台+云服务打造自己的在线翻译工具 中,从Bluemix上下载的初始Hello World演示样例代码在本地环境下运行调试时提 ...
- POJ2823 Sliding Window【双端队列】
求连续的k个中最大最小值,k是滑动的,每次滑动一个 用双端队列维护可能的答案值 假设要求最小值,则维护一个单调递增的序列 对一開始的前k个,新增加的假设比队尾的小.则弹出队尾的,直到新增加的比队尾大. ...
- .Net写的比较清晰的接口
尼玛,隔行如隔山. .Net真操蛋. /// <summary> /// 加入群 /// </summary> /// <returns></returns& ...
- tomcat指定配置文件路径方法
1.在catalina.sh 中设置JAVA_OPTS,例如: JAVA_OPTS='-server -Xms1024m -Xmx1024m -XX:NewSize=128m -XX:MaxPermS ...
- jdbc的数据库驱动类DriverManager.getConnection()详解
1.Oracle8/8i/9i数据库(thin模式) Class.forName("oracle.jdbc.driver.OracleDriver").newInstance(); ...
- dp之完全背包 hdu--2159一维数组做法
#include <iostream>#include <stdio.h>#include <string.h>using namespace std;int ma ...
- 使用Cygwin在Windows上体验Linux的快感
前言 记得大学的时候就以前使用过Cygwin,可惜当时没有发现她的美,我相信如今大多数朋友可能会更加倾向于使用Git或者干脆直接使用虚拟机以及原生Unix. 只是对于刚进入Linux的世界新人来说,使 ...
- oralce的系统用户system的输入口令怎么找回?遇见ORA-28000: the account is locked怎么解锁?
好几个月前安装的Oracle软件忽然想用就忘记了当初设置的口令了,今天查了下怎么找回. 以一个用户jqz/jqz(曾经建立的一个用户.幸亏还记得)的身份登录后: SQL> connect/as ...
- SQL分页的几种方式
1.使用Row_number() over(order by columnName)函数来作为标示分页(下面的例子都是以last_seen来排序的,要求取顺序为20-30行的数据) SELECT Us ...
- sql server try catch
一直不习惯Sql Server 2000提供的错误处理机制----繁琐,别扭...如今,Sql Server 2005提供了对Try...Catch的支持,我们总算可以象写程序一样写SQL语句了:) ...