Consul3-使用consul作为配置中心
在前面的文章中学习了consul在windows下的安装配置,然后consul作为spring boot的服务发现和注册中心,详细的参考:
https://blog.csdn.net/j903829182/article/details/80960802
https://blog.csdn.net/j903829182/article/details/80960917
在这里将学习consul作为springboot的配置中心,有spring cloud config的功能。这里还是以前面consul文章里面的代码为基础进行学习,不在进行重复的代码。
consul作为配置中心,需要引入配置的jar包,pom.xml的内如修改如下:
-
<?xml version="1.0" encoding="UTF-8"?>
-
<project xmlns="http://maven.apache.org/POM/4.0.0" xmlns:xsi="http://www.w3.org/2001/XMLSchema-instance"
-
xsi:schemaLocation="http://maven.apache.org/POM/4.0.0 http://maven.apache.org/xsd/maven-4.0.0.xsd">
-
<modelVersion>4.0.0</modelVersion>
-
-
<groupId>com.jack</groupId>
-
<artifactId>consul_study1</artifactId>
-
<version>0.0.1-SNAPSHOT</version>
-
<packaging>jar</packaging>
-
-
<name>consul_study1</name>
-
<description>Demo project for Spring Boot</description>
-
-
<!--<parent>
-
<groupId>org.springframework.boot</groupId>
-
<artifactId>spring-boot-starter-parent</artifactId>
-
<version>2.0.3.RELEASE</version>
-
<relativePath/> <!– lookup parent from repository –>
-
</parent>-->
-
-
<parent>
-
<!-- https://mvnrepository.com/artifact/org.springframework.cloud/spring-cloud-starter-parent -->
-
<groupId>org.springframework.cloud</groupId>
-
<artifactId>spring-cloud-starter-parent</artifactId>
-
<version>Finchley.RELEASE</version>
-
<relativePath/>
-
</parent>
-
<!-- https://mvnrepository.com/artifact/org.springframework.cloud/spring-cloud-starter-config -->
-
-
-
<properties>
-
<project.build.sourceEncoding>UTF-8</project.build.sourceEncoding>
-
<project.reporting.outputEncoding>UTF-8</project.reporting.outputEncoding>
-
<java.version>1.8</java.version>
-
</properties>
-
-
<dependencies>
-
<dependency>
-
<groupId>org.springframework.boot</groupId>
-
<artifactId>spring-boot-starter-web</artifactId>
-
</dependency>
-
-
<!-- https://mvnrepository.com/artifact/org.springframework.cloud/spring-cloud-starter-consul-discovery -->
-
<dependency>
-
<groupId>org.springframework.cloud</groupId>
-
<artifactId>spring-cloud-starter-consul-discovery</artifactId>
-
<!--<version>2.0.0.RELEASE</version>-->
-
</dependency>
-
-
<!--feign依赖 配置-->
-
<!-- https://mvnrepository.com/artifact/org.springframework.cloud/spring-cloud-starter-feign -->
-
<dependency>
-
<groupId>org.springframework.cloud</groupId>
-
<artifactId>spring-cloud-starter-feign</artifactId>
-
<version>1.4.5.RELEASE</version>
-
</dependency>
-
-
-
<dependency>
-
<groupId>com.jack</groupId>
-
<artifactId>consul-api</artifactId>
-
<version>1.0.0</version>
-
</dependency>
-
-
<!--consul中健康检查需要用到actuator,不添加会check failing-->
-
<!--<dependency>
-
<groupId>org.springframework.boot</groupId>
-
<artifactId>spring-boot-starter-actuator</artifactId>
-
</dependency>-->
-
-
<dependency>
-
<groupId>org.springframework.cloud</groupId>
-
<artifactId>spring-cloud-starter-consul-config</artifactId>
-
</dependency>
-
-
-
<dependency>
-
<groupId>org.springframework.boot</groupId>
-
<artifactId>spring-boot-starter-test</artifactId>
-
<scope>test</scope>
-
</dependency>
-
-
-
</dependencies>
-
-
<build>
-
<plugins>
-
<plugin>
-
<groupId>org.springframework.boot</groupId>
-
<artifactId>spring-boot-maven-plugin</artifactId>
-
</plugin>
-
</plugins>
-
</build>
-
-
-
</project>
上面主要是引入了:
-
<!-- https://mvnrepository.com/artifact/org.springframework.cloud/spring-cloud-starter-consul-discovery -->
-
<dependency>
-
<groupId>org.springframework.cloud</groupId>
-
<artifactId>spring-cloud-starter-consul-discovery</artifactId>
-
<!--<version>2.0.0.RELEASE</version>-->
-
</dependency>
1,修改配置文件
1)添加 bootstrap.yml配置文件
-
spring:
-
cloud:
-
consul:
-
host: localhost
-
#host: 00.0.100.200
-
port: 8500
-
#enabled将此值设置为“false”禁用Consul配置
-
config:
-
enabled: true #默认是true --
-
format: YAML # 表示consul上面文件的格式 有四种 YAML PROPERTIES KEY-VALUE FILES
-
#data-key: configuration #表示consul上面的KEY值(或者说文件的名字) 默认是data
-
data-key: data #表示consul上面的KEY值(或者说文件的名字) 默认是data
-
#prefix设置配置值的基本文件夹
-
#defaultContext设置所有应用程序使用的文件夹名称
-
#profileSeparator设置用于使用配置文件在属性源中分隔配置文件名称的分隔符的值
2)添加application-dev.yml配置文件,配置如下:
-
spring:
-
cloud:
-
consul:
-
host: localhost
-
port: 8500
-
discovery:
-
#healthCheckPath: ${management.contextPath}/health
-
healthCheckPath: /health
-
healthCheckInterval: 15s
-
instance-id: consul1
-
enabled: true
-
enabled: true
-
application:
-
name: consul1
-
server:
-
port: 8081
3)修改application.yml配置文件
-
spring:
-
profiles:
-
active: dev
以上就是一些配置文件的信息了,都是在resource目录下。
2,java代码
1)添加一个配置类
-
package com.jack.consul_study1.config;
-
-
import org.springframework.boot.context.properties.ConfigurationProperties;
-
-
/**
-
* create by jack 2018/7/15
-
*/
-
@ConfigurationProperties(prefix = "student")
-
public class StudentConfig {
-
private String name;
-
private int age;
-
private String sex;
-
-
public String getName() {
-
return name;
-
}
-
-
public void setName(String name) {
-
this.name = name;
-
}
-
-
public int getAge() {
-
return age;
-
}
-
-
public void setAge(int age) {
-
this.age = age;
-
}
-
-
public String getSex() {
-
return sex;
-
}
-
-
public void setSex(String sex) {
-
this.sex = sex;
-
}
-
-
@Override
-
public String toString() {
-
return "StudentConfig{" +
-
"name='" + name + '\'' +
-
", age=" + age +
-
", sex='" + sex + '\'' +
-
'}';
-
}
-
}
2)修改测试的控制器,添加测试代码
-
package com.jack.consul_study1.controller;
-
-
import com.jack.consul_study1.api.Chinese;
-
import com.jack.consul_study1.config.StudentConfig;
-
import org.springframework.beans.factory.annotation.Autowired;
-
import org.springframework.beans.factory.annotation.Value;
-
import org.springframework.web.bind.annotation.RequestMapping;
-
import org.springframework.web.bind.annotation.RestController;
-
-
/**
-
* create by jack 2018/7/8
-
*/
-
@RestController
-
@RequestMapping("/test")
-
public class TestController {
-
@Autowired
-
private Chinese chinese;
-
-
@Value("${myName}")
-
private String myName;
-
-
@Autowired
-
private StudentConfig studentConfig;
-
-
@RequestMapping("/hello")
-
public String testHello(String name){
-
System.out.println("my name is : "+myName);
-
return chinese.sayHello(name);
-
}
-
-
@RequestMapping("/myname")
-
public String testHello(){
-
System.out.println("my name is : "+myName);
-
return myName;
-
}
-
-
@RequestMapping("/config")
-
public String testConfig(){
-
System.out.println(studentConfig.toString());
-
return studentConfig.toString();
-
}
-
-
-
-
}
3)主类添加注解@EnableConfigurationProperties
-
package com.jack.consul_study1;
-
-
import com.jack.consul_study1.config.StudentConfig;
-
import org.springframework.boot.SpringApplication;
-
import org.springframework.boot.autoconfigure.SpringBootApplication;
-
import org.springframework.boot.context.properties.EnableConfigurationProperties;
-
import org.springframework.cloud.client.discovery.EnableDiscoveryClient;
-
import org.springframework.cloud.openfeign.EnableFeignClients;
-
-
-
@SpringBootApplication
-
@EnableDiscoveryClient
-
@EnableFeignClients
-
@EnableConfigurationProperties({StudentConfig.class})
-
public class ConsulStudy1Application {
-
-
public static void main(String[] args) {
-
SpringApplication.run(ConsulStudy1Application.class, args);
-
}
-
}
注意:属性配置类的class需要添加到springboot的属性配置注解里面,eg:
@EnableConfigurationProperties({StudentConfig.class})
不添加的话,不能通过@Autowired注解,注入属性配置类,那么就需要在属性配置类上使用spring的bean注解,标记时一个bean
到这里,代码已经完成了,启动consul服务器,下面在consul里面进行配置了
3,consul配置
consul作为配置中心的参考文档:https://springcloud.cc/spring-cloud-dalston.html#spring-cloud-consul-config
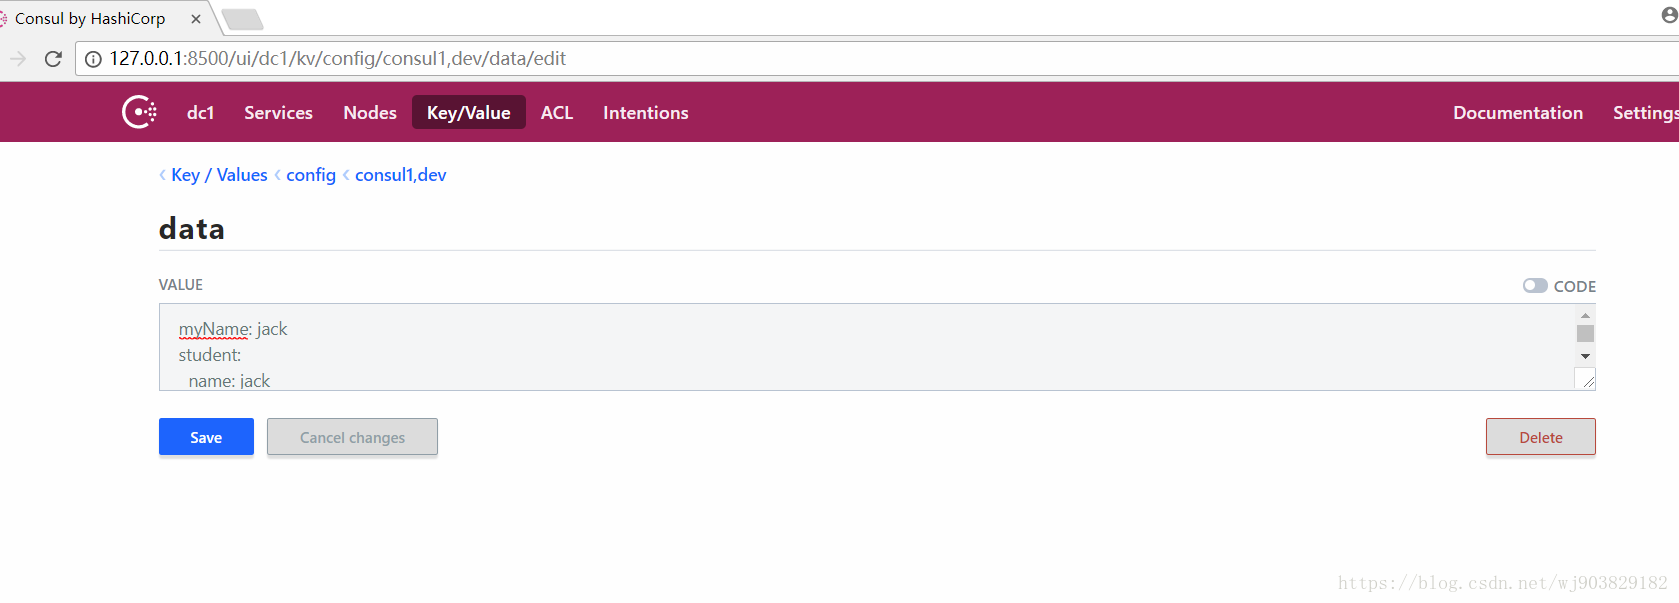
1)创建配置,如下图
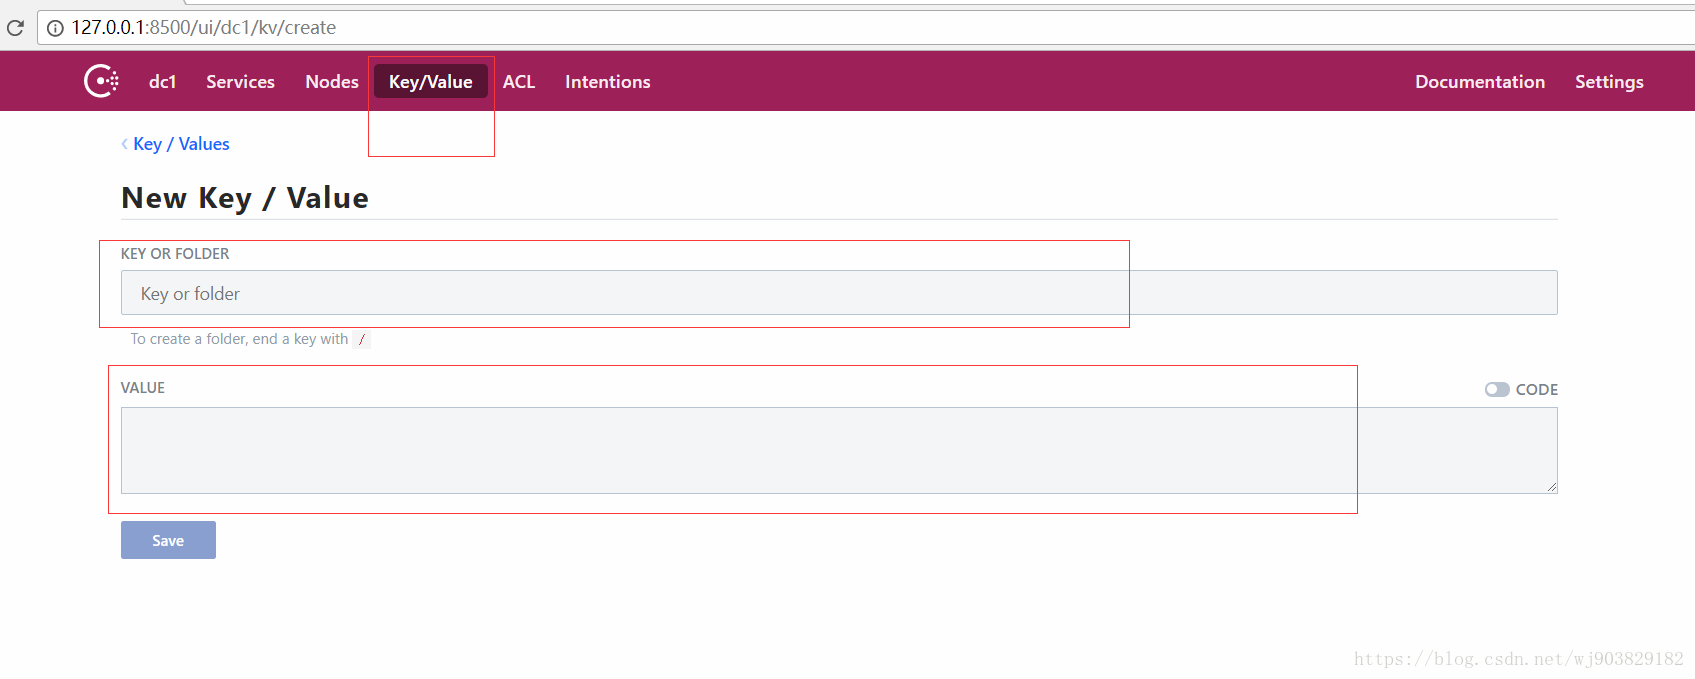
输入key和value
key为:config/consul1,dev/data
value:
myName: jack
student:
name: jack
age: 18
sex: 男
注意value用的是yml格式的配置,冒号后面有一个空格
4,运行程序测试
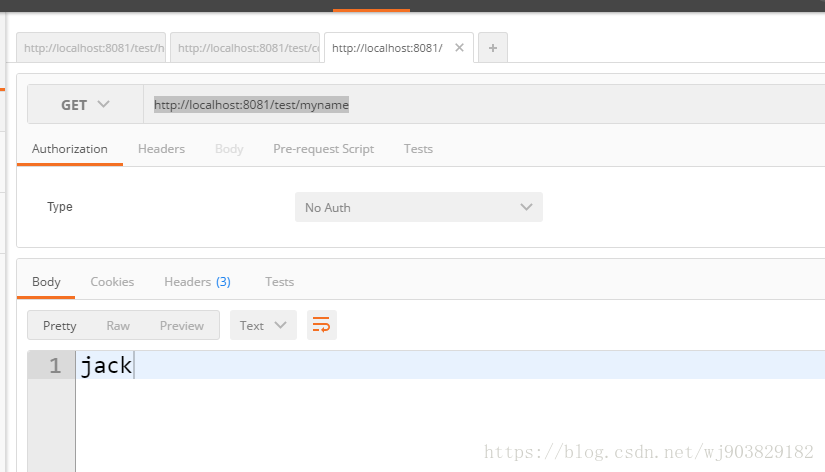
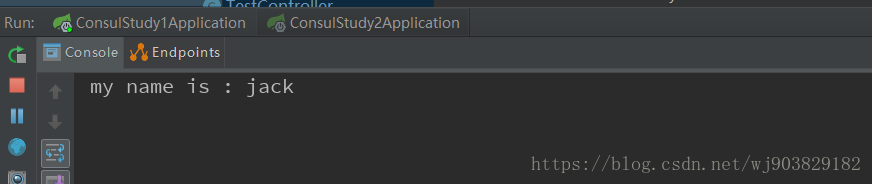
1)测试通过@Value注入
-
@Value("${myName}")
-
private String myName;
测试url:http://localhost:8081/test/myname
结果如下:
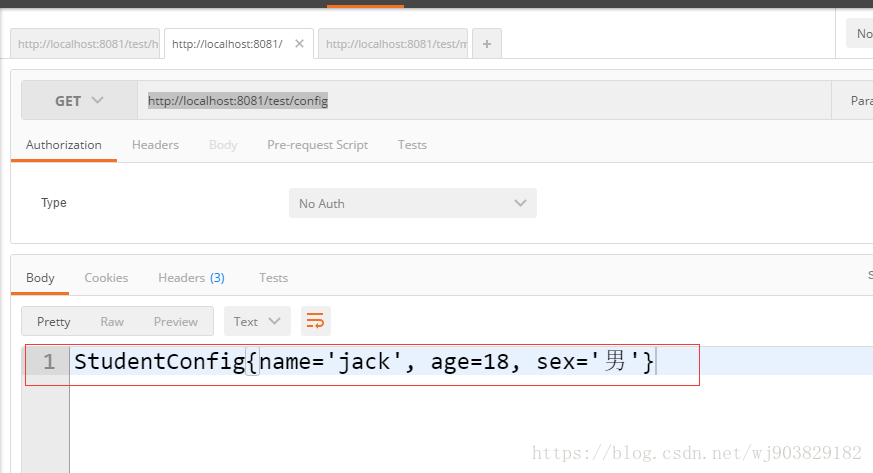
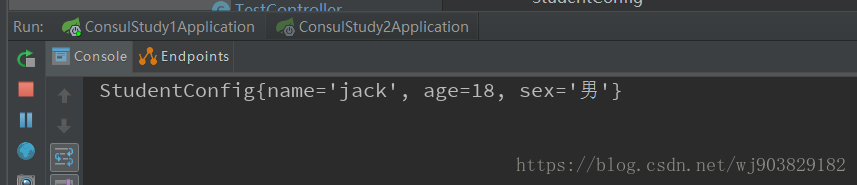
2)测试通过@ConfigurationProperties进行属性配置
测试url:http://localhost:8081/test/config
总结:
到这里consul的简单使用就完成了,consul有两个功能,一个是consul作为注册中心,另一个是consul作为配置中心。在本文中consul作为配置中心,有一个点需要注意,通过@Value注入的属性,修改consul的配置后,属性不能立即生效,需要服务重启。而通过@ConfigurationProperties注入的属性,修改consul的配置后,属性会立即生效,所以建议如果需要动态生效的配置,最好使使用@ConfigurationProperties进行属性的注入。
源代码地址:源码url
欢迎加群:331227121,一起学习交流
原文地址:https://blog.csdn.net/j903829182/article/details/81050507
Consul3-使用consul作为配置中心的更多相关文章
- Spring Cloud Consul使用——配置中心
1.pom.xml <project xmlns="http://maven.apache.org/POM/4.0.0" xmlns:xsi="http://www ...
- Consul作为配置中心,配置Asp.Net Core应用程序
前言 最近项目逐步转向基于.Net Core,目前dotnet core 虽然已出3.0了但还没有特别成熟的框架,要实现微服务,必须要解决配置中心的问题 .不管是不是微服务,节点多了配置文件一个个更改 ...
- SpringCloud使用Consul作为分布式配置中心
版权声明:本文为博主原创文章,遵循CC 4.0 BY-SA版权协议,转载请附上原文出处链接和本声明. 本文链接:https://blog.csdn.net/qq_36027670/article/de ...
- Consul微服务的配置中心体验篇
Spring Cloud Consul 项目是针对Consul的服务治理实现.Consul是一个分布式高可用的系统,具有分布式.高可用.高扩展性 Consul Consul 是 HashiCorp 公 ...
- Spring Cloud 系列之 Consul 配置中心
前面我们已经学习过 Spring Cloud Config 了: Spring Cloud 系列之 Config 配置中心(一) Spring Cloud 系列之 Config 配置中心(二) Spr ...
- Spring Cloud配置中心之Consul
Consul不仅可以作为Spring Cloud中服务的注册中心,也可以作为其配置中心,这样一个系统就可以实现服务发现和统一配置,减少系统维护的麻烦,其中在使用Consul作为配置中心使用的过程中可以 ...
- .Net Core with 微服务 - Consul 配置中心
上一次我们介绍了Elastic APM组件.这一次我们继续介绍微服务相关组件配置中心的使用方法.本来打算介绍下携程开源的重型配置中心框架 apollo 但是体系实在是太过于庞大,还是让我爱不起来.因为 ...
- 服务注册发现、配置中心集一体的 Spring Cloud Consul
前面讲了 Eureka 和 Spring Cloud Config,今天介绍一个全能选手 「Consul」.它是 HashiCorp 公司推出,用于提供服务发现和服务配置的工具.用 go 语言开发,具 ...
- Spring Boot 配置 - Consul 配置中心
▶ Spring Boot 依赖与配置 Maven 依赖 <dependencyManagement> <dependencies> <dependency> &l ...
随机推荐
- Spring的refresh()方法相关异常
如果是经常使用Spring,特别有自己新建ApplicationContext对象的经历的人,肯定见过这么几条异常消息:1.LifecycleProcessor not initialized - c ...
- STM32F4X 关于MDK上虚拟串口调试
1. 下载安装VSPD 自行百度安装后,利用VSPD将PC上的两个虚拟串口连接起来.如图我将COM1 和COM2连接起来. a. 点击Addr pair. 可以看到Virtual ports上将两个虚 ...
- visual studio 注释模板
/*----------------------------------------------------------------* 项目名称 :$rootnamespace$* 项目描述 :* 类 ...
- U-BOOT 对 Nand Flash 命令的支持
U-BOOT 对 Nand Flash 命令的支持 在 UBOOT 下对 Nand Flash 的支持主要是在命令行下实现对 nand flash 的操作.对 nand flash 实现的命令 为: ...
- thinkphp3.2.3 nginx 连接mysql 报错 new PDO 异常
在 php.ini 里重新指定mysql.sock 路径 pdo_mysql.default_socket=/Applications/XAMPP/xamppfiles/var/mysql/mysql ...
- h5对接jssdk支付分并调用开启支付分页面
1.ws.config签名 调用ticket等获取ws.config的签名,下面会调用方法再调用方法时需要再次按照调用方法的签名 wx.config({ debug: true, // 开启调试模 ...
- WPF 实现 TextBox 只能输入数字并且不能使用拷贝功能
1.代码页需要在键盘按下事件中对输入文字进行筛选,代码如下: private void tbxGoToPage_PreviewKeyDown(object sender, KeyEventArgs e ...
- python 请求测试环境的https接口地址报SSL错误验证,访问不了
解决文案: response = requests.post(url, data=payload, json=None, headers=headers,verify=False)print(resp ...
- idea-----怎样取消idea默认打开工程
怎样取消idea默认打开工程 引用:https://jingyan.baidu.com/article/656db918c05135e381249cb7.html
- csps模拟测试7273简单的操作小P的2048小P的单调数列小P的生成树
题面:https://www.cnblogs.com/Juve/articles/11678564.html 简单的操作: 考场上sb了,没看出来 如果有奇环一定不能缩成一条链,判掉奇环后就是bfs最 ...