Python的.py文件打包成exe可执行文件
前几天做了几个简单的爬虫python程序,于是就想做个窗口看看效果。
首先是,窗口的话,以前没怎么接触过,就先考虑用Qt制作简单的ui。这里用前面sinanews的爬虫脚本为例,制作一个获取当天sina头条新闻的窗口。
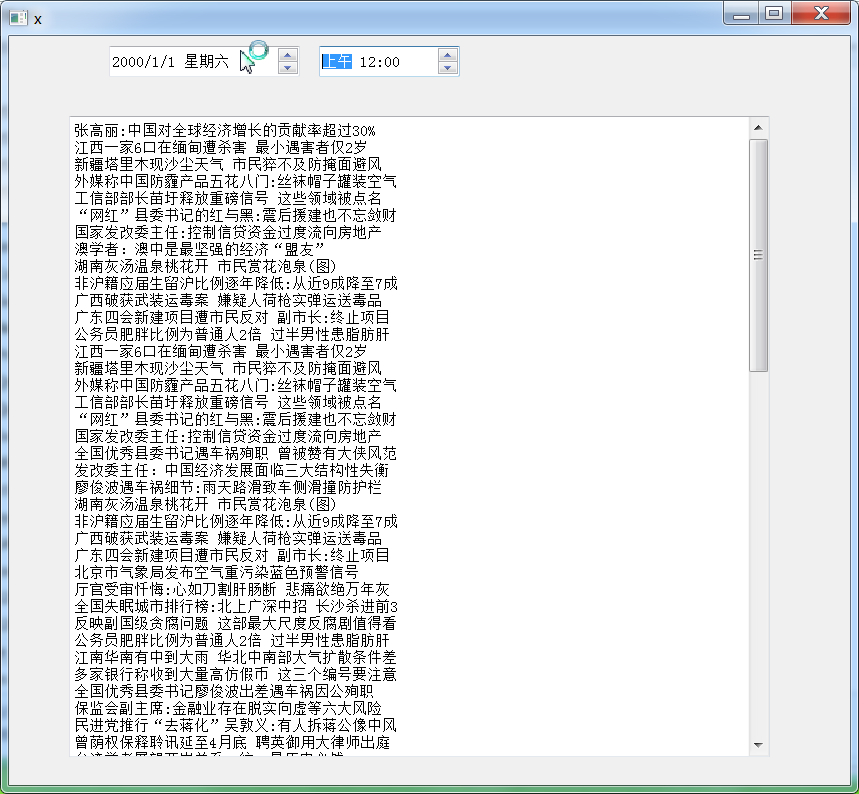
生成py文件后,运行该py文件,这里窗口我只是随便拖了几个组件进去,主要的text browser用于显示获取到的sinanews。
首先贴一下我的配置(点击即可官方下载):Python 3.3.3
PyQt5-5.2.1 for Py3.3(当安装完Python3.3后,安装对应PyQt,其会找到Python安装目录,不用更改安装目录)
Python3.3默认是没有安装pip的,需要下载get-pip.py运行之后,提示安装成功。
接下来就要安装一些必要的组件了。为了安装方便,先把pip添加进环境变量。下面我们就可以用pip命令安装组件了。
先把sina_news.py贴出来,观察需要哪些组件。
import requests

from bs4 import BeautifulSoup

res = requests.get('http://news.sina.com.cn/china/')

res.encoding = 'utf-8'

soup = BeautifulSoup(res.text,'html.parser')

for news in soup.select('.news-item'):

    if len(news.select('h2')) > 0:

        h2 = news.select('h2')[0].text

        a = news.select('a')[0]['href']

        time = news.select('.time')[0].text

        print(time,h2,a)
发现import requests,import BeautifulSoup 所以先来安装这些组件
pip install requests

pip install BeautifulSoup4
当我们把这段代码贴进窗口代码后:
x.py
# -*- coding: utf-8 -*-

# Form implementation generated from reading ui file 'x.ui'

#

# Created by: PyQt5 UI code generator 5.8.1

#

# WARNING! All changes made in this file will be lost!

import sys

import requests

from PyQt5 import QtCore, QtGui, QtWidgets

from bs4 import BeautifulSoup

class Ui_x(object):

    def getNews():

        res = requests.get('http://news.sina.com.cn/china/')

        res.encoding = 'utf-8'

        soup = BeautifulSoup(res.text,'html.parser')

        title = []

        for news in soup.select('.news-item'):

            if len(news.select('h2')) > 0:

                h2 = news.select('h2')[0].text

                title.append(h2)

                a = news.select('a')[0]['href']

                time = news.select('.time')[0].text

        return '\n'.join(title)

    def setupUi(self, x):

        x.setObjectName("x")

        x.resize(841, 749)

        self.timeEdit = QtWidgets.QTimeEdit(x)

        self.timeEdit.setGeometry(QtCore.QRect(310, 10, 141, 31))

        self.timeEdit.setObjectName("timeEdit")

        self.dateEdit = QtWidgets.QDateEdit(x)

        self.dateEdit.setGeometry(QtCore.QRect(100, 10, 191, 31))

        self.dateEdit.setObjectName("dateEdit")

        self.textBrowser = QtWidgets.QTextBrowser(x)

        self.textBrowser.setGeometry(QtCore.QRect(60, 80, 701, 641))

        self.textBrowser.setObjectName("textBrowser")

        self.retranslateUi(x)

        QtCore.QMetaObject.connectSlotsByName(x)

    def retranslateUi(self, x):

        _translate = QtCore.QCoreApplication.translate

        x.setWindowTitle(_translate("x", "x"))

if __name__ == '__main__':

    app = QtWidgets.QApplication(sys.argv)

    Form = QtWidgets.QWidget()

    ui = Ui_x()

    ui.setupUi(Form)

    Form.show()

    ui.textBrowser.setText(Ui_x.getNews())

    sys.exit(app.exec_())
如果前面顺利的话,现在用python运行x.py应该能看到显示的窗口。
下面就是打包的过程了,这里笔者用的Pyinstaller,没有安装的话,要安装一下:
pip install pyinstaller
安装完成后,cmd路径cd到x.py所在目录。打包命令:
Pyinstaller -w x.py
此时,在x.py便生成dist文件夹,打包的x.exe就在此文件夹下。双击x.exe显示效果:
当然还有许多改进的地方,比如在上面选择日期,获得指定日期的头条新闻。
笔者在这片博文主要介绍py文件的打包过程。
可能遇到的问题:
打开打包后的程序无法运行
显示:
ImportError: No module named 'queue'
During handling of the above exception, another exception occurred:
Traceback (most recent call last):
File "test.py", line 2, in <module>
File "c:\users\hasee\appdata\local\programs\python\python35-32\lib\site-packages\PyInstaller\loader\pyimod03_importers.py", line 389, in load_module
exec(bytecode, module.__dict__)
File "site-packages\requests\__init__.py", line 63, in <module>
File "c:\users\hasee\appdata\local\programs\python\python35-32\lib\site-packages\PyInstaller\loader\pyimod03_importers.py", line 389, in load_module
exec(bytecode, module.__dict__)
File "site-packages\requests\utils.py", line 24, in <module>
File "c:\users\hasee\appdata\local\programs\python\python35-32\lib\site-packages\PyInstaller\loader\pyimod03_importers.py", line 389, in load_module
exec(bytecode, module.__dict__)
File "site-packages\requests\_internal_utils.py", line 11, in <module>
File "c:\users\hasee\appdata\local\programs\python\python35-32\lib\site-packages\PyInstaller\loader\pyimod03_importers.py", line 389, in load_module
exec(bytecode, module.__dict__)
File "site-packages\requests\compat.py", line 11, in <module>
File "c:\users\hasee\appdata\local\programs\python\python35-32\lib\site-packages\PyInstaller\loader\pyimod03_importers.py", line 389, in load_module
exec(bytecode, module.__dict__)
File "site-packages\requests\packages\__init__.py", line 29, in <module>
ImportError: No module named 'urllib3'
Failed to execute script test
当然这个错误代码,当时我没有保留,这是版本不匹配造成的:
我的Pyinstaller为3.2

Python的.py文件打包成exe可执行文件的更多相关文章
- 如何把py文件打包成exe可执行文件
如何把py文件打包成exe可执行文件 1.安装 pip install pyinstaller 或者 pip install -i https://pypi.douban.com/simple pyi ...
- python的py文件打包成exe
一.首先需要安装Pyinstaller-- 使用pip来安装模块 (我电脑上装的是python的一个编译环境Anaconda,如果电脑上装的是python自带的IDE的话,就直接进入python的安装 ...
- 将python项目.py文件打包成.exe文件
安装pyinstaller包 pip3 install pyinstaller 如果不行 pip3 install pyinstaller -i https://pypi.doubanio.com/s ...
- Windows下将Python源代码.py文件封装成exe可执行文件方法
安装pyinstaller cmd中使用pip安装 pip install pyinstaller 同时会自动安装pywin32(pip真慢50M这里就走20KB),可以进行切换为国内源进行提速. 就 ...
- windows下如何将Python文件打包成.exe可执行文件
在使用Python做开发的时候,时不时会给自己编写了一些小工具辅助自己的工作,但是由于开发依赖环境问题,多数只能在自己电脑上运行,拿到其它电脑后就没法运行了.这显得很不方便,不符合我们的初衷,那么有没 ...
- PyQt(Python+Qt)学习随笔:windows下使用pyinstaller将PyQt文件打包成exe可执行文件
专栏:Python基础教程目录 专栏:使用PyQt开发图形界面Python应用 专栏:PyQt入门学习 老猿Python博文目录 在<windows下使用pyinstaller将多个目录的Pyt ...
- 如何将python3.6软件的py文件打包成exe程序
在我们完成一个Python项目或一个程序时,希望将Python的py文件打包成在Windows系统下直接可以运行的exe程序.在浏览网上的资料来看,有利用pyinstaller和cx_Freeze进行 ...
- webService接口的py文件打包成exe
(一)webService接口的py文件打包成exe,在python3.5版本.pyInstaller3.2版本.pywin32-219.win-amd64-py3.5版本打包时报错,原因可能是pyi ...
- 小白学习Python之路---py文件转换成exe可执行文件
一.背景 今天闲着无事,写了一个小小的Python脚本程序,然后给同学炫耀的时候,发现每次都得拉着其他人过来看着自己的电脑屏幕,感觉不是很爽,然后我想着网上肯定有关于Python脚本转换成可执行文件的 ...
随机推荐
- cocos2dx内存管理的个人理解
1.一帧开始之后的过程中,将所有执行到的autorelease的对象加入到池中:2.一帧结束之前取出池中的所有对象记作objs,清空池:3.对取出来的objs进行遍历,每个元素进行一次release: ...
- quagga源码学习--BGP协议路由更新
BGP的核心就是交换路由,所以关键的部分还是在路由的更新与撤销上面,这之间包含了冗长的属性,community等等处理过程,不做详述. bgp_read函数是路由更新的事件处理函数,在收到BGP_MS ...
- Linux下tomcat的安装与项目部署
最近在linux下安装了jdk,为了圆我以前的心愿,把tomcat也安装了,顺便部署个项目,也算是小又成就感 废话不说了,直接上过程 一.下载安装对应的jdk,并配置Java环境. 有关jdk的安装请 ...
- windows下搭建GO开发环境
1. Go下载 由于某些原因golang.org不能访问,可以使用下面的镜像地址进行下 http://fossies.org/windows/misc/ 我的环境是win8 64位,所以选择go1.7 ...
- TV端:通过遥控器的点击实现图片的上下左右抖动的效果
做TV端有一段时间了,我看到别的TV上有一个通过遥控器的触摸板来控制一张图片的相应方向的抖动,感觉听新奇的,就试着做了一个分享一下: 转载注明出处:http://www.cnblogs.com/hyy ...
- WPF DEV CellTemplateSelector(一个正确使用DevExpress CellTemplateSelector的Demo)
说明 我在项目中根据需求需要用到WPF Dev CellTemplateSelector时,遇到不少坑.曾一度想要放弃使用模板转换器,但又心有不甘,终于在不断努力下,达到了需求的要求.所以写下来和大家 ...
- Storyboard 自定义转场动画
在storyboard中,segue有几种不同的类型,在iphone和ipad的开发中,segue的类型是不同的.在iphone中,segue 有:push,modal,和custom三种不同的类型, ...
- linux环境下搭建 j2ee环境
一.JDK安装(安装在/usr/java目录下)1.下载:jdk-7-ea-bin-b26-linux-i586-24_apr_2008.bin地址:http://jx.newhua.com/down ...
- 深入理解javaScript的深复制和浅复制
javascript有五种基本数据类型(也就是简单数据类型),它们分别是:Undefined,Null,Boolean,Number和String.还含有一种复杂数据类型,就是对象 注意Undefin ...
- Omi教程-使用group-data通讯
写在前面 Omi框架组建间的通讯非常遍历灵活,上篇文章介绍了几种通讯方式,其中childrenData的方式可以批量传递数据给组件,但是有很多场景下data的来源不一定非要都从childrenData ...