AIDL 进程间通信的一个小小的总结
需求
项目需要,将做好的项目作为一个服务提供给另一个公司。我们需要提供一个apk,所以设计到进程间交互,不得不了解一下AIDL了。
了解一下AIDL
之前准备面试的时候,或多或少的了解了一点AIDL,不过现在忘记得差不多了。
所以网上随便找了几篇不错的文章。
一个简单的demo
自己搞了一个简单的demo。
实现了进程间通信,可以传输普通类型和实体类型。
首先是服务端。
1.第一个aidl接口。
// IMyAidlInterface.aidl

package com.xf.test1;

import com.xf.test1.IAidlCallBack;

import com.xf.test1.Entity;

// Declare any non-default types here with import statements

interface IMyAidlInterface {

    /**

     * Demonstrates some basic types that you can use as parameters

     * and return values in AIDL.

     */

    void basicTypes(int anInt, long aLong, boolean aBoolean, float aFloat,

            double aDouble, String aString);

    String getStr(String str);

    int getPid();

    Entity getEntity();

    Entity setEntity(in Entity entity);

    void registerCallBack(IAidlCallBack callback);

    void unregisterCallBack(IAidlCallBack callback);

}
2.第二个aidl接口。
// IAidlCallBack.aidl

package com.xf.test1;

import com.xf.test1.Entity;

// Declare any non-default types here with import statements

interface IAidlCallBack {

    void callBack(String name);

    void callBackEntity(in Entity entity);

}
3.第三个aidl接口。
// Person.aidl

package com.xf.test1;

parcelable Entity;
4.封装的一个IBinder。
package com.xf.test1;

import android.app.Service;

import android.content.Intent;

import android.os.IBinder;

import android.support.annotation.Nullable;

public class AIDLService extends Service {

    private AIDLImp mBinder;

    @Override

    public void onCreate() {

        super.onCreate();

        mBinder = new AIDLImp(this);

    }

    @Nullable

    @Override

    public IBinder onBind(Intent intent) {

        return mBinder;

    }

    @Override

    public void onDestroy() {

        super.onDestroy();

        mBinder.KillAll();

    }

}
5.AIDL服务。
package com.xf.test1;

import android.app.Service;

import android.content.Intent;

import android.os.IBinder;

import android.support.annotation.Nullable;

public class AIDLService extends Service {

    private AIDLImp mBinder;

    @Override

    public void onCreate() {

        super.onCreate();

        mBinder = new AIDLImp(this);

    }

    @Nullable

    @Override

    public IBinder onBind(Intent intent) {

        return mBinder;

    }

    @Override

    public void onDestroy() {

        super.onDestroy();

        mBinder.KillAll();

    }

}
6.实体类型。
package com.xf.test1;

import android.os.Parcel;

import android.os.Parcelable;

/**

 * Description: 简单实体类

 *

 * @version V1.0.0

 * Createdate: 2018/6/22

 * @author: wja 1211241203@qq.com

 */

public class Entity implements Parcelable {

    private String name;

    private int parameter1;

    private double parameter2;

    public Entity(String name){

        this.name=name;

    }

    public Entity(String name, int parameter1, double parameter2) {

        this.name = name;

        this.parameter1 = parameter1;

        this.parameter2 = parameter2;

    }

    public int getParameter1() {

        return parameter1;

    }

    public void setParameter1(int parameter1) {

        this.parameter1 = parameter1;

    }

    public double getParameter2() {

        return parameter2;

    }

    public void setParameter2(double parameter2) {

        this.parameter2 = parameter2;

    }

    public String getName() {

        return name;

    }

    public void setName(String name) {

        this.name = name;

    }

    @Override

    public int describeContents() {

        return 0;

    }

    @Override

    public void writeToParcel(Parcel dest, int flags) {

        dest.writeString(this.name);

        dest.writeInt(this.parameter1);

        dest.writeDouble(this.parameter2);

    }

    protected Entity(Parcel in) {

        this.name = in.readString();

        this.parameter1 = in.readInt();

        this.parameter2 = in.readDouble();

    }

    public static final Creator<Entity> CREATOR = new Creator<Entity>() {

        @Override

        public Entity createFromParcel(Parcel source) {

            return new Entity(source);

        }

        @Override

        public Entity[] newArray(int size) {

            return new Entity[size];

        }

    };

    @Override

    public String toString() {

        return "Entity{" +

                "name='" + name + '\'' +

                ", parameter1=" + parameter1 +

                ", parameter2=" + parameter2 +

                '}';

    }

}
7.清单文件。
<?xml version="1.0" encoding="utf-8"?>

<manifest xmlns:android="http://schemas.android.com/apk/res/android"

    package="com.xf.test1">

    <application

        android:allowBackup="true"

        android:icon="@mipmap/ic_launcher"

        android:label="@string/app_name"

        android:roundIcon="@mipmap/ic_launcher_round"

        android:supportsRtl="true"

        android:theme="@style/AppTheme">

        <activity android:name=".MainActivity">

            <!--<intent-filter>

                <action android:name="android.intent.action.MAIN" />

                <category android:name="android.intent.category.LAUNCHER" />

                <data android:scheme="com.xf.aidl.test" />

            </intent-filter>-->

        </activity>

        <service android:name=".AIDLService">

            <intent-filter>

                <action android:name="com.xf.aidl" />

                <category android:name="android.intent.category.DEFAULT" />

                <!--<action android:name="android.intent.action.MAIN" />-->

                <!--<category android:name="android.intent.category.LAUNCHER" />-->

            </intent-filter>

        </service>

    </application>

</manifest>
8.服务端如何运行(不使用启动图标的方式)

然后点击进去

9.最后点击运行,服务就安装在手机啦。
其次,是客户端。
1.客户端的aidl文件和服务端的完全一样。(当然路径可以不一样,为了方便我直接copy的,路径不一样也是可以的,测试过的)
2.然后注意实体类型所在的包一定要和服务端的一致,负责找不到这个实体的。
3.最后是客户端的主页面。
package com.xf.test2;

import android.content.ComponentName;

import android.content.Context;

import android.content.Intent;

import android.content.ServiceConnection;

import android.os.Bundle;

import android.os.IBinder;

import android.os.RemoteException;

import android.support.v7.app.AppCompatActivity;

import android.util.Log;

import android.view.View;

import com.xf.test1.Entity;

import com.xf.test1.IAidlCallBack;

import com.xf.test1.IMyAidlInterface;

import java.util.Random;

public class MainActivity extends AppCompatActivity {

    private IMyAidlInterface mIMyAidlInterfaceService;

    private ServiceConnection mServiceConnection = new ServiceConnection() {

        @Override

        public void onServiceConnected(ComponentName name, IBinder service) {

            mIMyAidlInterfaceService = IMyAidlInterface.Stub.asInterface(service);

            try {

                mIMyAidlInterfaceService.registerCallBack(mIAidlCallBack);

            } catch (RemoteException e) {

                e.printStackTrace();

            }

        }

        @Override

        public void onServiceDisconnected(ComponentName name) {

            try {

                mIMyAidlInterfaceService.unregisterCallBack(mIAidlCallBack);

            } catch (RemoteException e) {

                e.printStackTrace();

            }

            mIMyAidlInterfaceService = null;

        }

    };

    private IAidlCallBack mIAidlCallBack = new IAidlCallBack.Stub() {

        @Override

        public void callBack(String name) throws RemoteException {

            Log.e("info---->","服务端给我发消息啦:"+name);

            ToastUtil.showShort(MainActivity.this,"服务端给我发消息啦:"+name);

        }

        @Override

        public void callBackEntity(Entity entity) {

            Log.e("info---->","服务端给我发实体消息啦:"+entity.toString());

            ToastUtil.showShort(MainActivity.this,"服务端给我发实体消息啦:"+entity.toString());

        }

    };

    @Override

    protected void onCreate(Bundle savedInstanceState) {

        super.onCreate(savedInstanceState);

        setContentView(R.layout.activity_main);

    }

    @Override

    protected void onDestroy() {

        super.onDestroy();

        if (mServiceConnection != null)

            unbindService(mServiceConnection);

    }

    /**

     * 绑定服务

     * @param view

     */

    public void doClick(View view) {

        Intent intent = new Intent();

        intent.setAction("com.xf.aidl");

        intent.setPackage("com.xf.test1");

        bindService(intent, mServiceConnection, Context.BIND_AUTO_CREATE);

    }

    /**

     * 获取服务器发送过来的消息

     * @param v

     */

    public void doAction(View v) {

        if (mIMyAidlInterfaceService != null) {

            try {

                String newstr = mIMyAidlInterfaceService.getStr("Hello world");

                int pid = mIMyAidlInterfaceService.getPid();

                Log.e("info---->", newstr + " pid:" + pid);

            } catch (RemoteException e) {

                e.printStackTrace();

            }

        }

    }

    /**

     * 客户端自己设置实体,发送给服务端

     * 通过随机数设置实体参数

     * @param v

     */

    public void doActionSetEntity(View v){

        if (mIMyAidlInterfaceService != null) {

            try {

               Random random=new Random();

               mIMyAidlInterfaceService.setEntity(new Entity("客户端",random.nextInt(100),random.nextDouble()));

            } catch (RemoteException e) {

                e.printStackTrace();

            }

        }

    }

}
下面是布局文件。
<?xml version="1.0" encoding="utf-8"?>

<LinearLayout xmlns:android="http://schemas.android.com/apk/res/android"

    xmlns:app="http://schemas.android.com/apk/res-auto"

    xmlns:tools="http://schemas.android.com/tools"

    android:layout_width="match_parent"

    android:layout_height="match_parent"

    android:orientation="vertical"

    tools:context=".MainActivity">

    <RelativeLayout

        android:layout_marginTop="100dp"

        android:layout_width="match_parent"

        android:layout_height="wrap_content">

        <Button

            android:layout_width="300dp"

            android:layout_height="wrap_content"

            android:onClick="doClick"

            android:text="绑定服务"

            android:layout_centerInParent="true"

             />

    </RelativeLayout>

    <RelativeLayout

        android:layout_width="match_parent"

        android:layout_height="wrap_content">

        <Button

            android:layout_width="300dp"

            android:layout_height="wrap_content"

            android:onClick="doAction"

            android:text="获取消息"

            android:layout_centerInParent="true"

            />

    </RelativeLayout>

    <RelativeLayout

        android:layout_width="match_parent"

        android:layout_height="wrap_content">

        <Button

            android:layout_width="300dp"

            android:layout_height="wrap_content"

            android:onClick="doActionSetEntity"

            android:text="客户端设置实体"

            android:layout_centerInParent="true"

            />

    </RelativeLayout>

</LinearLayout>
运行效果是这样的:
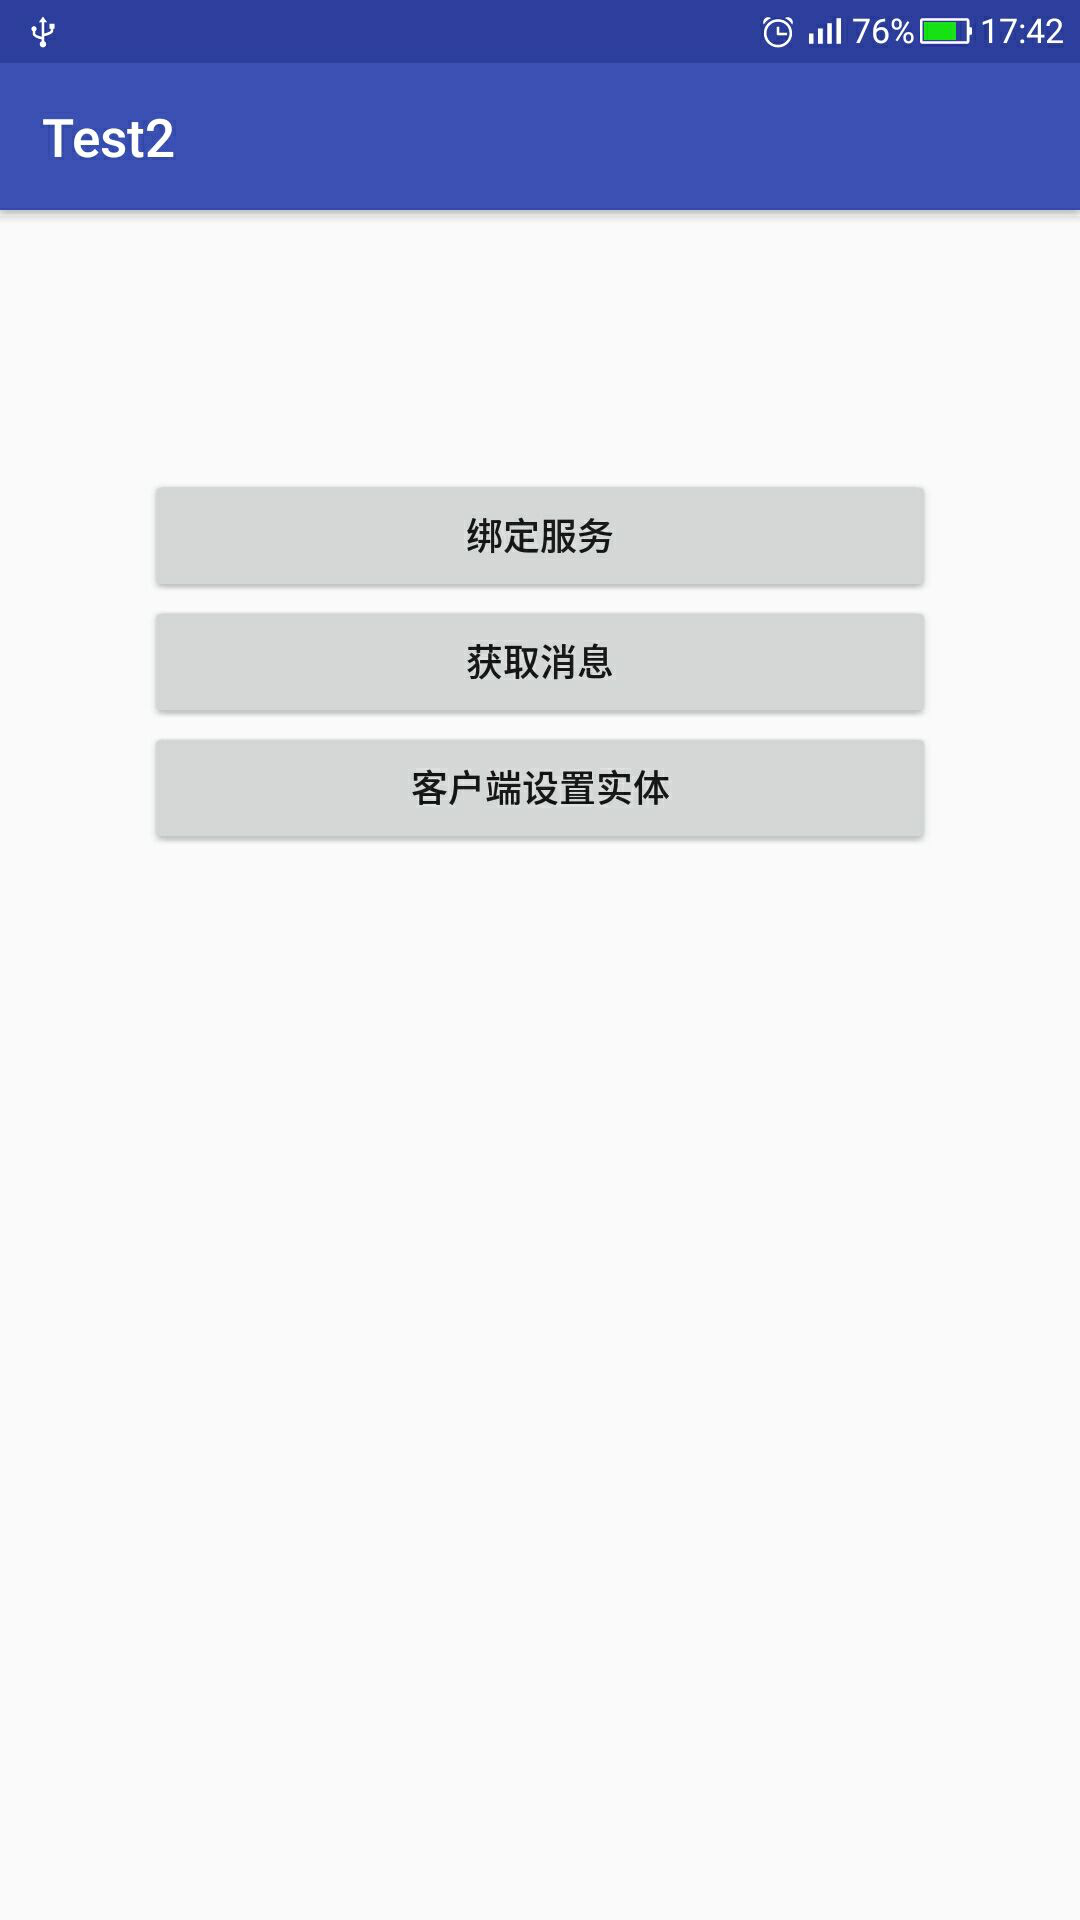
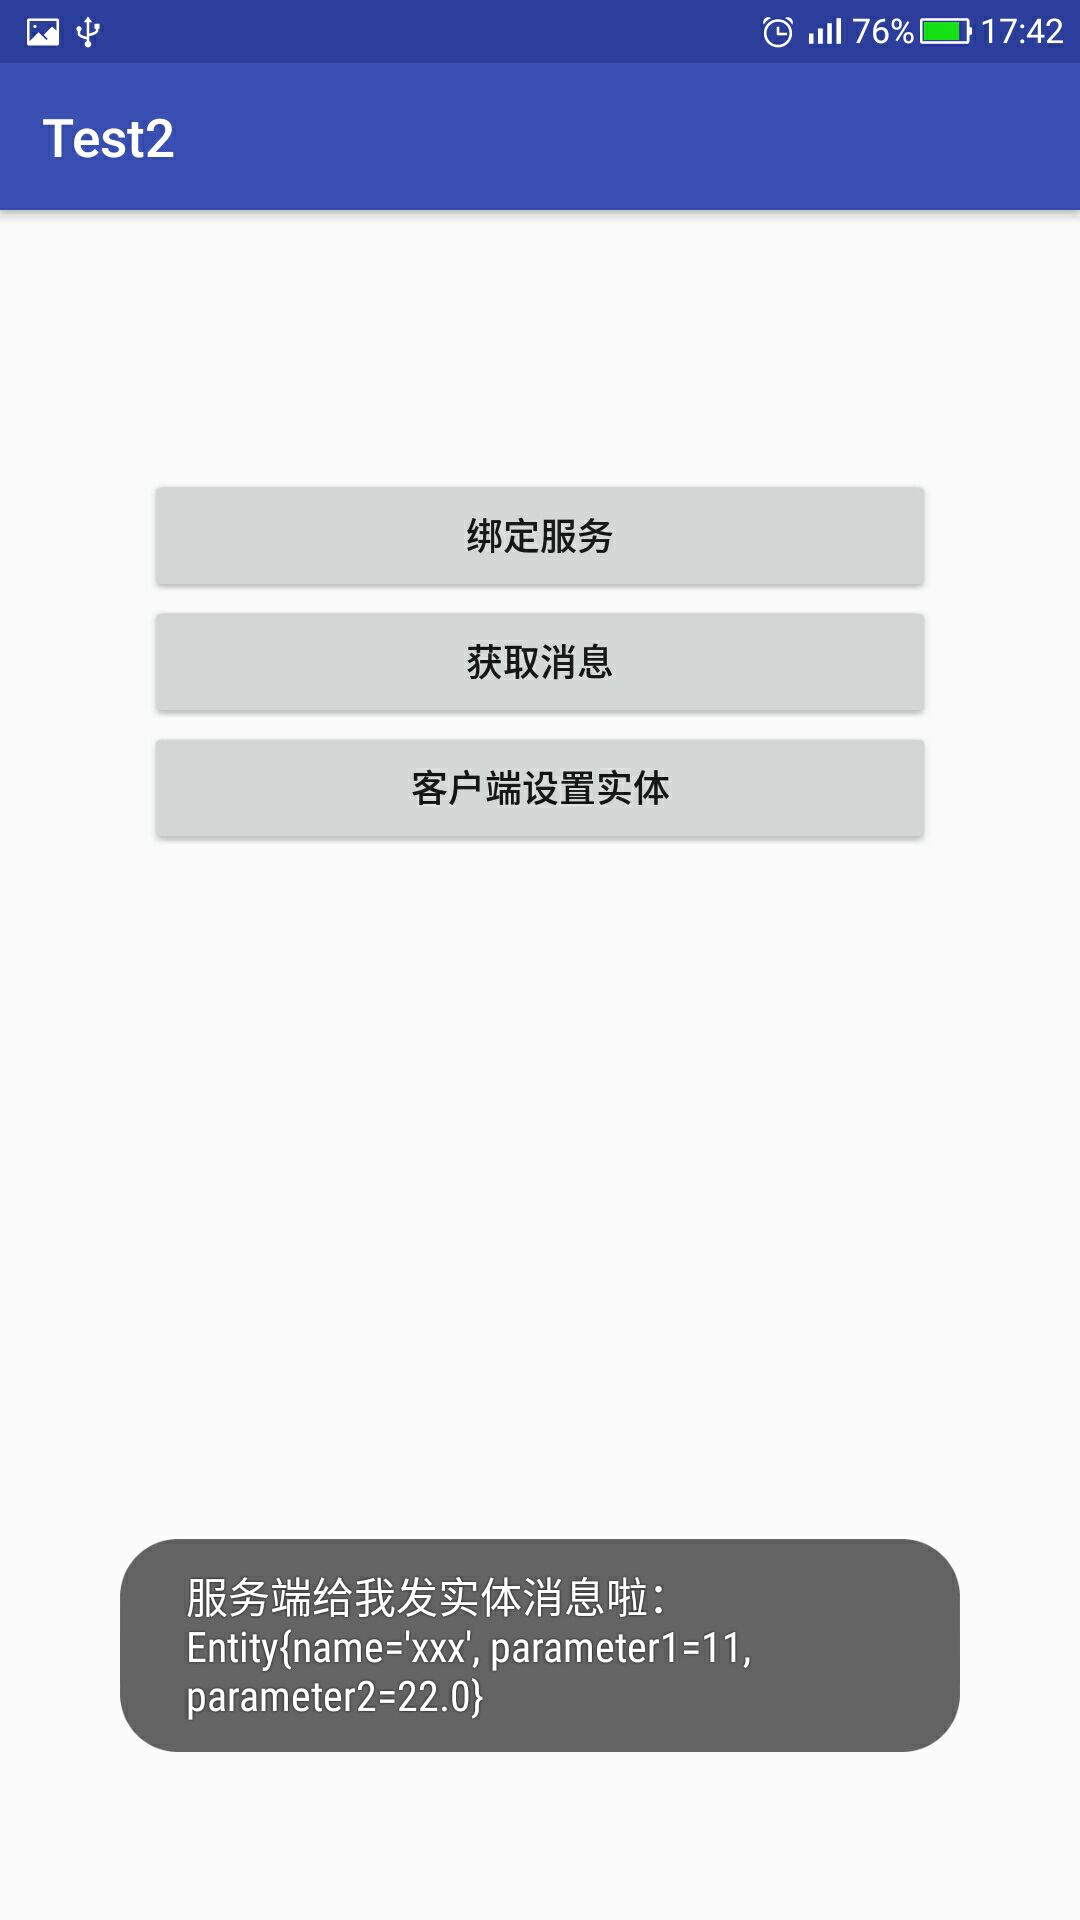

这里客户端首先需要绑定服务
点击了获取消息:直接获取服务端创建好的实体类。
点击了客户端设置实体:通过产生随机数,客户端调用aidl接口设置实体。
如果再次点击获取消息:在服务端进行判断,如果客户端设置过实体,就把该实体发送回客户端。
demo地址:https://github.com/JasonToJan/AIDLDemo
个人小结
1.首先要理解aidl是干什么的:进程间交互。不同apk实现通信。
2.为什么可以做到进程间通信了,谁给两个进程之间搭起了一座桥梁呢?AIDL,其实就是一个接口,实现进程之间对接的功能。
3.两个进程要做到通信,aidl一定要保证一致,不然就是牛头不对马嘴了。
4.aidl如何实现数据传输了,binder。所以demo就把binder直接封装起来,基本所有逻辑都在这个封装类中进行即可。
5.再深入底层,binder是如何实现数据传输的呢?这就涉及到操作系统的知识了,binder处于一个内存共享区域,可以实现进程间通信。
AIDL 进程间通信的一个小小的总结的更多相关文章
- android aidl 进程间通信需要注意的地方(android.os.TransactionTooLargeException)
转自:http://blog.sina.com.cn/s/blog_4e1e357d0102wau9.html 1.bus工程实现通过service实现aidl实体类 2.actor工程通过发起bin ...
- android中的AIDL进程间通信
关于IPC应该不用多介绍了,Android系统中的进程之间不能共享内存,那么如果两个不同的应用程序之间需要通讯怎么办呢?比如公司的一个项目要更新,产品的需求是依附于当前项目开发一个插件,但是呢这个插件 ...
- Linux 进程间通信(包含一个经典的生产者消费者实例代码)
前言:编写多进程程序时,有时不可避免的需要在多个进程之间传递数据,我们知道,进程的用户的地址空间是独立,父进程中对数据的修改并不会反映到子进程中,但内核是共享的,大多数进程间通信方式都是在内核中建立一 ...
- 无监控不运维——使用 Python 写一个小小的项目监控
在公司里做的一个接口系统,主要是对接第三方的系统接口,所以,这个系统里会和很多其他公司的项目交互.随之而来一个很蛋疼的问题,这么多公司的接口,不同公司接口的稳定性差别很大,访问量大的时候,有的不怎么行 ...
- 基于Node.js实现一个小小的爬虫
以前一直听说有爬虫这种东西,稍微看了看资料,貌似不是太复杂. 正好了解过node.js,那就基于它来个简单的爬虫. 1.本次爬虫目标: 从拉钩招聘网站中找出“前端开发”这一类岗位的信息,并作相应页面分 ...
- hibernate中HQL练习时候一个小小的错误导致语法异常
package cn.db.po.test; import java.util.List; import cn.db.po.User; import cn.db.po.biz.UserBiz; pub ...
- springmvc restful配置有一个小小的坑坑
首先web.xml配置 <!-- spring-mvc --> <servlet> <servlet-name>springServlet</servlet- ...
- [置顶] android AIDL 进程间通信
1.定义aidl文件 a.ITestService.aidl package com.open.aidl.service; import com.open.aidl.service.ITestServ ...
- 46 【golang项目】完成了一个小小的播放器功能
项目地址:https://github.com/helww/mylab/tree/master/go/player 这个项目中用到了readme说明文件是一个markdown文件. 基础的控制语法,网 ...
随机推荐
- June 22nd 2017 Week 25th Thursday
Happiness is when the desolated soul meets love. 幸福是孤寂的灵魂遭遇爱的邂逅. When living alone for a long period ...
- C++中类与结构体的区别
相信有一点专业知识的人都知道,C语言是一种结构化语言.它层次清晰,便于按模块化方式组织程序,易于调试和维护.在很大程度上,标准C++是标准C的超集.实际上,所有C程序也是C++程序,然而,两者之间有少 ...
- 「C语言」数据类型及混合运算与类型转换
深入学习C语言时,有必要先了解一下数据类型的概念,以及它们之间的混合运算与类型转换. 本篇文章便是根据<C语言程序设计教程>和在线翻阅资料后整理而出.(练习题将逐步更新) 目录: ...
- 理解Underscore中的_.bind函数
最近一直忙于实习以及毕业设计的事情,所以上周阅读源码之后本周就一直没有进展.今天在写完开题报告之后又抽空看了一眼Underscore源码,发现上次没有看明白的一个函数忽然就豁然开朗了,于是赶紧写下了这 ...
- 【DP】:CF #319 (Div. 2) B. Modulo Sum
[题目链接]:http://codeforces.com/contest/577/problem/B [相似题目]:http://swjtuoj.cn/problem/2383/ [题意]:给出n个数 ...
- Codeforces Round #533 (Div. 2) B. Zuhair and Strings 【模拟】
传送门:http://codeforces.com/contest/1105/problem/B B. Zuhair and Strings time limit per test 1 second ...
- viewsate用法
ViewState["名称"]="ssss";直接赋值取值只能在同一个页面使用, 离开页面就会失效
- 剑指offer 14 调整数组顺序使奇数位于偶数前面
牛客网上的题目还有一个额外的要求,就是不改变数组原始的前后数据,这种可以用队列来存储,或者把前后比较变为相邻的元素比较. 这个题目,主要要考察扩展性,用func函数就实现了扩展性.只需要改func函数 ...
- 解决vuex requires a Promise polyfill in this browser问题
造成这种现象的原因归根究底就是浏览器对ES6中的promise无法支持,因此需要通过引入babel-polyfill来是我们的浏览器正常使用es6的功能 首先通过npm来安装: npm install ...
- 清除IE8/IE9/IE10/IE11浏览器缓存文件 100%有效
不管你是哪个版本的IE浏览器,按照下面指示操作,都能清除掉你使用浑身解数也清不掉的缓存文件! 第一步,打开IE浏览器——工具——Internet选项 有的IE浏览器的Internet选项藏在右上角一个 ...