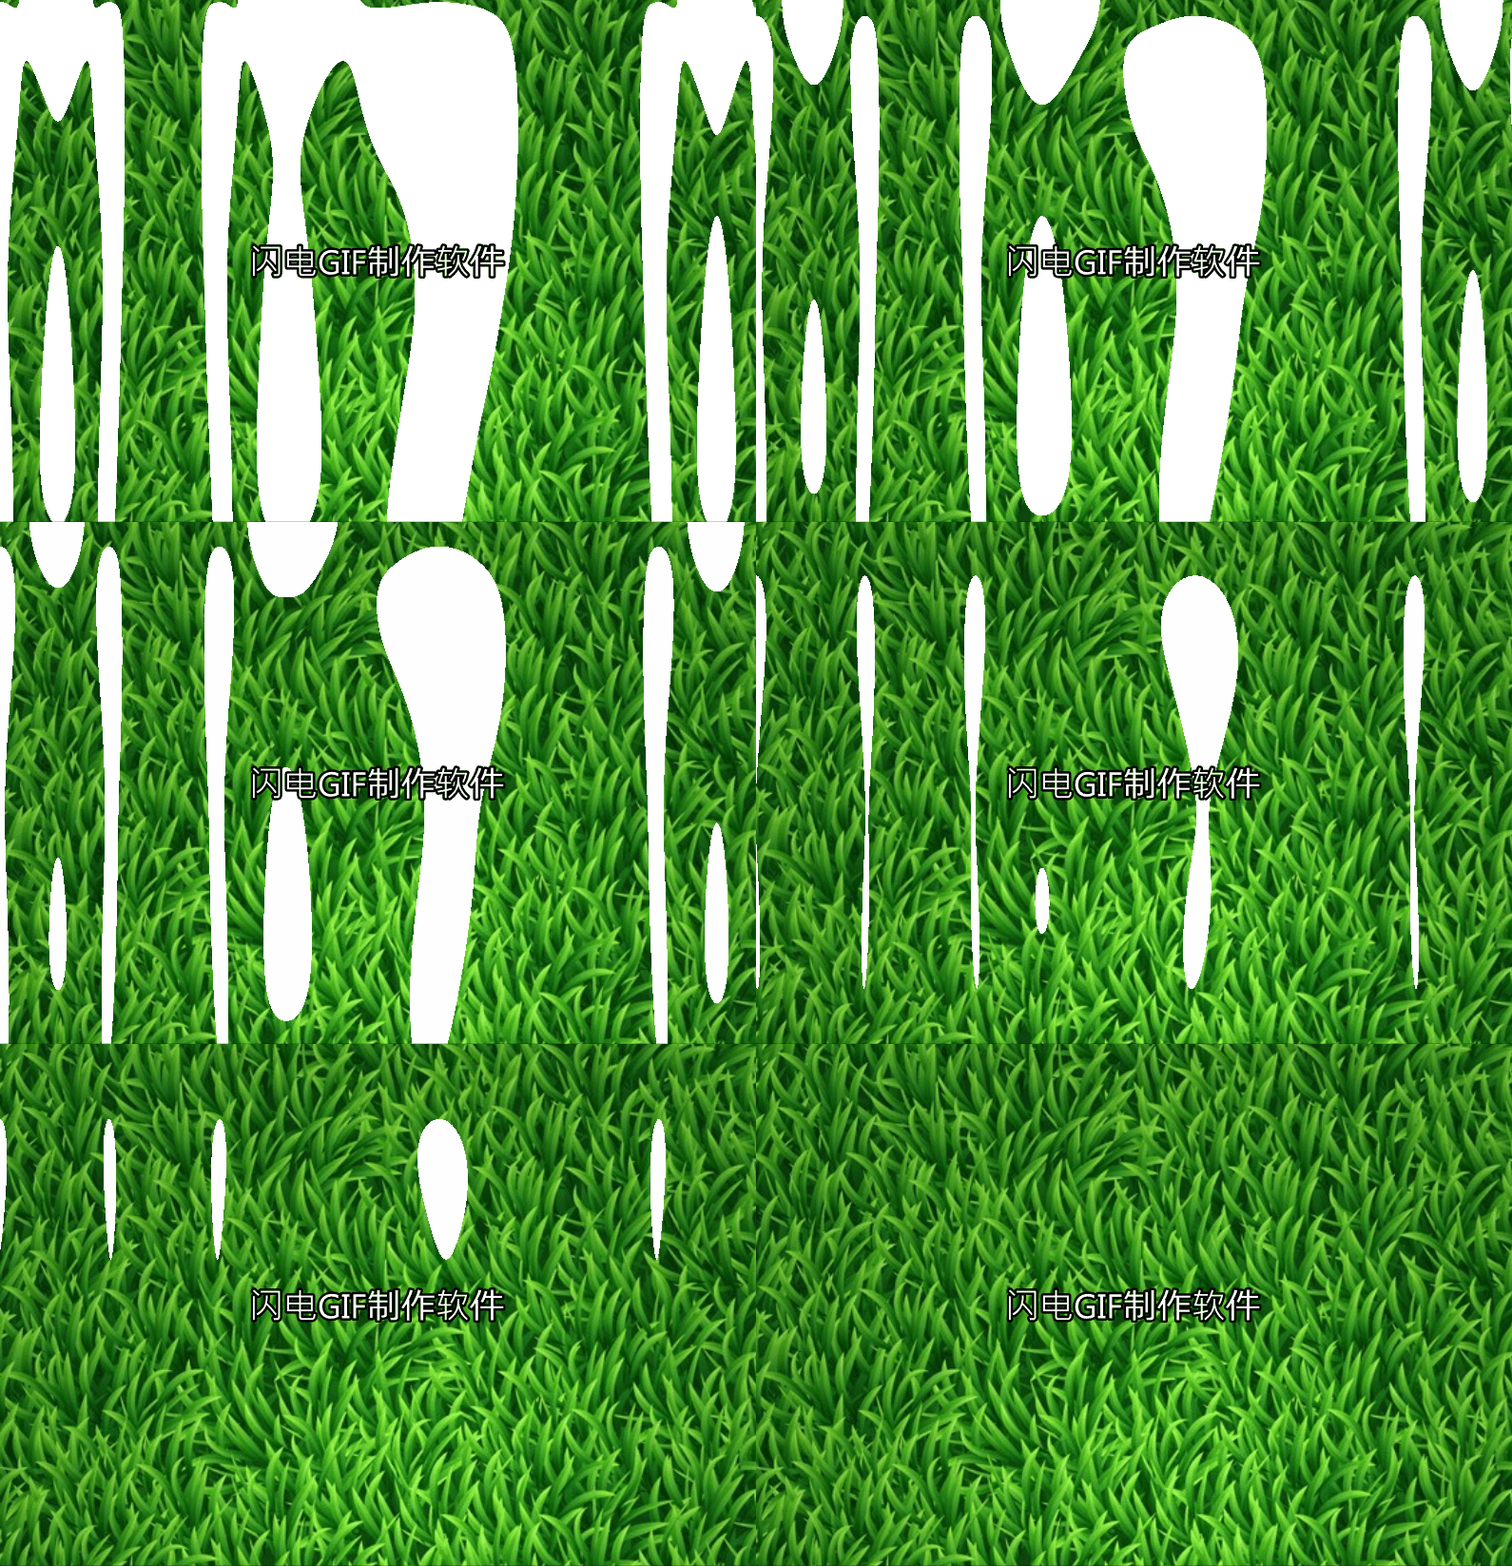
pixijs shader 贴图溶解效果教程
pixijs shader 贴图溶解效果教程

我直接贴代码了 没什么好讲解了 稍微有点基础的人应该能看懂
    const app = new PIXI.Application({ transparent: true });

        document.body.appendChild(app.view);

        // Create background image

        const background = PIXI.Sprite.from('/moban/bg_grass.jpg');

        background.width = app.screen.width;

        background.height = app.screen.height;

        app.stage.addChild(background);

        // Stop application wait for load to finish

        app.stop();

        app.loader.add('shader', '/moban/shader.frag')

            .load(onLoaded);

        let filter;

        // Handle the load completed

        function onLoaded(loader, res) {

            // Create the new filter, arguments: (vertexShader, framentSource)

            filter = new PIXI.Filter(null, res.shader.data, {

                customUniform: 0.0,

            });

            // === WARNING ===

            // specify uniforms in filter constructor

            // or set them BEFORE first use

            // filter.uniforms.customUniform = 0.0

            // Add the filter

            background.filters = [filter];

            // Resume application update

            app.start();

        }

         var i=-1.0;

        // Animate the filter

        app.ticker.add((delta) => {

            i+=0.03;

            if(i>=){

              i=;

            }

            filter.uniforms.customUniform = i;

        });
/moban/shader.frag代码如下
precision mediump float;

varying vec2 vTextureCoord;

varying vec4 vColor;

uniform sampler2D uSampler;

uniform float customUniform;

//

// Description : Array and textureless GLSL 2D simplex noise function.

//      Author : Ian McEwan, Ashima Arts.

//  Maintainer : stegu

//     Lastmod : 20110822 (ijm)

//     License : Copyright (C) 2011 Ashima Arts. All rights reserved.

//               Distributed under the MIT License. See LICENSE file.

//               https://github.com/ashima/webgl-noise

//               https://github.com/stegu/webgl-noise

//

vec3 mod289(vec3 x) {

  return x - floor(x * (1.0 / 289.0)) * 289.0;

}

vec2 mod289(vec2 x) {

  return x - floor(x * (1.0 / 289.0)) * 289.0;

}

vec3 permute(vec3 x) {

  return mod289(((x*34.0)+1.0)*x);

}

float snoise(vec2 v)

  {

  const vec4 C = vec4(0.211324865405187,  // (3.0-sqrt(3.0))/6.0

                      0.366025403784439,  // 0.5*(sqrt(3.0)-1.0)

                     -0.577350269189626,  // -1.0 + 2.0 * C.x

                      0.024390243902439); // 1.0 / 41.0

// First corner

  vec2 i  = floor(v + dot(v, C.yy) );

  vec2 x0 = v -   i + dot(i, C.xx);

// Other corners

  vec2 i1;

  //i1.x = step( x0.y, x0.x ); // x0.x > x0.y ? 1.0 : 0.0

  //i1.y = 1.0 - i1.x;

  i1 = (x0.x > x0.y) ? vec2(1.0, 0.0) : vec2(0.0, 1.0);

  // x0 = x0 - 0.0 + 0.0 * C.xx ;

  // x1 = x0 - i1 + 1.0 * C.xx ;

  // x2 = x0 - 1.0 + 2.0 * C.xx ;

  vec4 x12 = x0.xyxy + C.xxzz;

  x12.xy -= i1;

// Permutations

  i = mod289(i); // Avoid truncation effects in permutation

  vec3 p = permute( permute( i.y + vec3(0.0, i1.y, 1.0 ))

    + i.x + vec3(0.0, i1.x, 1.0 ));

  vec3 m = max(0.5 - vec3(dot(x0,x0), dot(x12.xy,x12.xy), dot(x12.zw,x12.zw)), 0.0);

  m = m*m ;

  m = m*m ;

// Gradients: 41 points uniformly over a line, mapped onto a diamond.

// The ring size 17*17 = 289 is close to a multiple of 41 (41*7 = 287)

  vec3 x = 2.0 * fract(p * C.www) - 1.0;

  vec3 h = abs(x) - 0.5;

  vec3 ox = floor(x + 0.5);

  vec3 a0 = x - ox;

// Normalise gradients implicitly by scaling m

// Approximation of: m *= inversesqrt( a0*a0 + h*h );

  m *= 1.79284291400159 - 0.85373472095314 * ( a0*a0 + h*h );

// Compute final noise value at P

  vec3 g;

  g.x  = a0.x  * x0.x  + h.x  * x0.y;

  g.yz = a0.yz * x12.xz + h.yz * x12.yw;

  return 130.0 * dot(m, g);

}

void main(void)

{

    vec2 uv = vTextureCoord;

    vec2 pos = uv;

    pos.x = snoise(vec2(pos.x * 2.0));

    float noise = snoise(pos);

    vec4 texture2 =  texture2D(uSampler,uv);

    float step = customUniform;

    gl_FragColor = texture2 * (1.0 - smoothstep(step, step, noise));

}
pixijs shader 贴图溶解效果教程的更多相关文章
- pixijs shader贴图扫光效果
pixijs shader贴图扫光效果 直接贴代码 const app = new PIXI.Application({ transparent: true }); document.body.app ...
- pixijs shader 实现图片波浪效果
const app = new PIXI.Application({ transparent: true }); document.body.appendChild(app.view); // Cre ...
- Esfog_UnityShader教程_溶解效果Dissolve
溶解效果在游戏中是很常见的,比如在一些神话或者魔法世界中,一些NPC角色在剧情需要时候会身体会渐渐的消失掉.甚至有一些更炫的,比如用火焰喷射器把目标燃尽.这些都可以用到溶解效果.这篇文章主要是讲解一下 ...
- pixijs shader fade 从左到有右淡入 从下到上淡入效果
pixijs shader fade 从左到有右淡入 从下到上淡入效果 const app = new PIXI.Application({ transparent: true }); doc ...
- pixijs shader颗粒化显示贴图
pixijs shader颗粒化显示贴图 const app = new PIXI.Application({ transparent: true }); document.body.appendCh ...
- pixijs shader 制作百叶窗效果
pixijs shader 制作百叶窗效果 直接贴代码了 const app = new PIXI.Application({ transparent: true }); document.body. ...
- Shader之溶解效果的几种实现方法
这里通过 “是否丢弃像素”的2种方法,写2个shader,效果是一样的,也提到了,丢弃某个像素的3种方式. 是否丢弃: 1.通过脚本控制shader变量判断当前是否丢弃像素,需要额外脚本: 2.sha ...
- Shader食谱 Chapter3--Toonshader卡通效果
Shader食谱 Chapter3--Toonshader卡通效果 unity shader toon 卡通Shader Shader食谱 Chapter3--Toonshader卡通效果 Over ...
- 25个CSS3 渐变和动画效果教程
随着最新版CSS3渐变和动画功能发布,Web开发者在开发的过程中有了更多的选择.实际上,已经有了一些替代的技术,目的都是使网站的建设变得简易,高效和快速.不过CSS3所提供的渐变功能有着显著的优点,特 ...
随机推荐
- node+express 配置安装以及数据解析,cookie,session
一.express安装,创建服务 (1)安装:npm install express --save(2)创建服务 server.js: const express = require('express ...
- DRF源码系列分析
DRF源码系列分析 DRF源码系列分析--版本 DRF源码系列分析--认证 DRF源码系列分析--权限 DRF源码系列分析--节流
- 在 Windows 10 上搭建 Cordova 跨平台开发 Android 环境
目录 安装 Cordova 安装 Java 和 Android 环境 创建 Cordova 应用程序 构建和运行 Cordova Cordova 简介:Cordova 原名 PhoneGap,是一个开 ...
- webpack学习_模块热替换(Hot Module Peaplacement)
模块热替换(Hot Module Replacement 或 HMR) 是webpack提供的最有用的功能之一.允许在u女性是更新各种模块,而无需进行完全刷新. 启用HMR 承接之前的代码 webpa ...
- 安卓逆向基础(001)-APK安装流程
1.在/data/app下以报名为文件夹名新建文件夹 APK包存放在这里 以及lib文件 存放so 2./data/dalvik-cache 存放dex dex是dalvik虚拟机可执行文件 3./d ...
- 一段简单的关于字符串的 Java 代码竟考察了这么多东西
下面的代码运行结果是什么?解释一下为什么会有这些差异. String s1 = "hello";String s2 = s1 + ",world";String ...
- Maven使用教程二:nexus私服搭建及使用
nexus安装 从nexus官网 下载最新的安装包 1.打开命令行,切换到nexus-3.2.1-01/bin目录下,回车.例:C:\Nexus\nexus-3.2.1-01\bin 2.输入:nex ...
- Spring与Shiro整合 静态注解授权
Spring与Shiro整合 静态注解授权 作者 : Stanley 罗昊 [转载请注明出处和署名,谢谢!] 使用Shiro的种类 首先,Shiro的授权方式共有三种: 1.编程式授权(不推荐) 2. ...
- jquery获取表单中的数据
<form> <input name="username" type="text"/&g ...
- adb shell常用命令
一.文件操作相关命令 1.文件操作命令 子命令 参数 说明 cd 无 进入目录 cat [-beflnstuv] [-B bsize] [file...] 查看文件内容-n:显示行号-b:显示行号,但 ...
