ASP.NET Core Swagger接入使用IdentityServer4 的 WebApi
写在前面
是这样的,我们现在接口使用了Ocelot做网关,Ocelot里面集成了基于IdentityServer4开发的授权中心用于对Api资源的保护。问题来了,我们的Api用了SwaggerUI做接口的自文档,那就蛋疼了,你接入了IdentityServer4的Api,用SwaggerUI调试、调用接口的话,妥妥的401,未授权啊。那有小伙伴就会说了,你SwaggerUI的Api不经过网关不就ok了?诶,好办法。但是:
- 我不想改变Url规则啊,我是
/api开头的Url都是经过网关的,如果不经过网关要加端口或者改变Url规则,会给其他部门的同事带来麻烦(多个Url规则容易混淆); - 另外是,因为生产环境是接入了IdentityServer4,我想测试环境从一开始就需要调用方熟悉接口的接入,避免平时用没有经过授权中心的Url调试,一到生产就出问题。
ok,废话讲得有点多,我们就直奔主题。
下面我们需要创建两个示例项目:
1、IdentityServer4的授权中心;
2、使用SwaggerUI做自文档的WebApi项目;
写得有点乱,本文源码地址:
https://github.com/gebiWangshushu/cnblogs-demos/tree/master/SwggerUI.IdentityServer4.Example
构建基于IdentityServer4授权中心
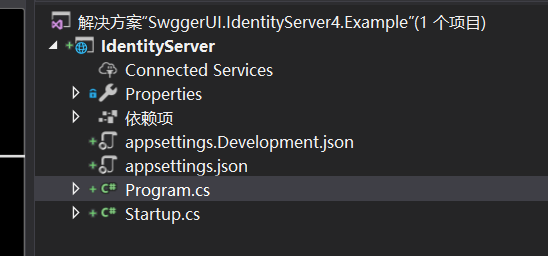
1、新建空白解决方案,并添加一个空的WebApi项目,IdentityServer
2、引用包。
Install-Package IdentityServer4
3、添加配置类:Config.cs
using IdentityServer4;

using IdentityServer4.Models;

using IdentityServer4.Test;

using System;

using System.Collections.Generic;

using System.Linq;

using System.Threading.Tasks;

namespace IdentityServer

{

    public static class Config

    {

        public static List<TestUser> GetUsers()

        {

            return new List<TestUser>

            {

                new TestUser

                {

                    SubjectId = "1",

                    Username = "alice",

                    Password = "alice"

                }

            };

        }

        public static IEnumerable<IdentityResource> GetIdentityResources()

        {

            return new IdentityResource[]

            {

                new IdentityResources.OpenId(),

                new IdentityResources.Profile(),

            };

        }

        /// <summary>

        /// API信息

        /// </summary>

        /// <returns></returns>

        public static IEnumerable<ApiResource> GetApis()

        {

            return new[]

            {

                new ApiResource("swagger_api", "Demo SwaggerUI integrat Idp")

            };

        }

        /// <summary>

        /// 客服端信息

        /// </summary>

        /// <returns></returns>

        public static IEnumerable<Client> GetClients()

        {

            return new[]

            {

                new Client

                {

                    ClientId = "swagger_client",//客服端名称

                    ClientName = "Swagger UI client",//描述

                    AllowedGrantTypes = GrantTypes.Implicit,//Implicit 方式

                    AllowAccessTokensViaBrowser = true,//是否通过浏览器为此客户端传输访问令牌

                    RedirectUris =

                    {

                        "http://localhost:5001/swagger/oauth2-redirect.html"

                    },

                    AllowedScopes = { "swagger_api" }

                }

            };

        }

    }

}
4、修改Startup.cs
using System;

using System.Collections.Generic;

using System.Linq;

using System.Threading.Tasks;

using Microsoft.AspNetCore.Builder;

using Microsoft.AspNetCore.Hosting;

using Microsoft.AspNetCore.Mvc;

using Microsoft.Extensions.Configuration;

using Microsoft.Extensions.DependencyInjection;

using Microsoft.Extensions.Logging;

using Microsoft.Extensions.Options;

namespace IdentityServer

{

    public class Startup

    {

        public IHostingEnvironment Environment { get; }

        public Startup(IHostingEnvironment environment)

        {

            Environment = environment;

        }

        public void ConfigureServices(IServiceCollection services)

        {

            services.AddMvc().SetCompatibilityVersion(CompatibilityVersion.Version_2_2);

            var builder = services.AddIdentityServer()

                    .AddInMemoryIdentityResources(Config.GetIdentityResources())

                    .AddInMemoryApiResources(Config.GetApis())

                    .AddInMemoryClients(Config.GetClients())

                    .AddTestUsers(Config.GetUsers());

            if (Environment.IsDevelopment())

            {

                builder.AddDeveloperSigningCredential();

            }

            else

            {

                throw new Exception("need to configure key material");

            }

        }

        // This method gets called by the runtime. Use this method to configure the HTTP request pipeline.

        public void Configure(IApplicationBuilder app, IHostingEnvironment env)

        {

            if (env.IsDevelopment())

            {

                app.UseDeveloperExceptionPage();

            }

            app.UseIdentityServer();

            app.UseIdentityServer();

            app.UseMvcWithDefaultRoute();

        }

    }

}
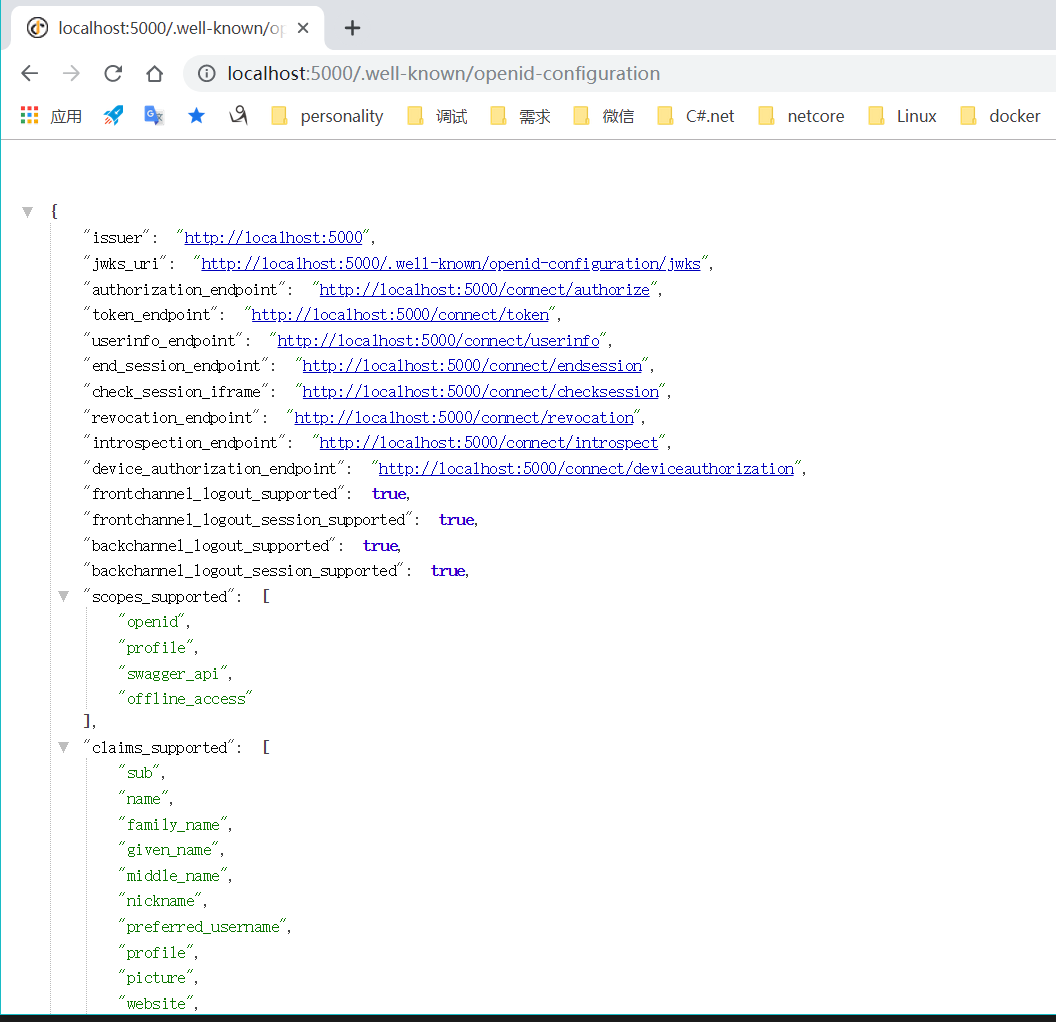
ok,跑起来了
使用SwaggerUI做自文档的WebApi项目
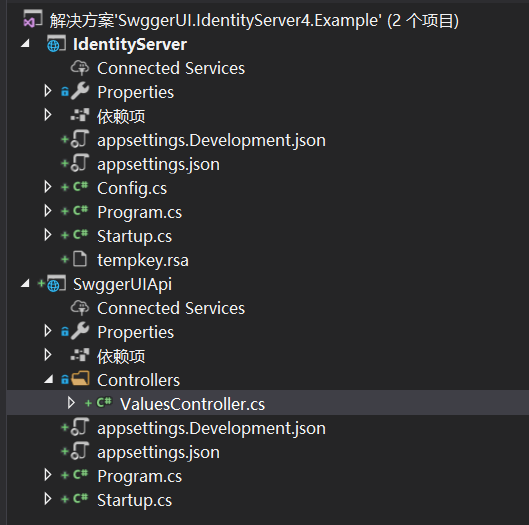
1、添加WebApi项目,SwaggerUIApi
现在项目结构这样:
2、先添加SwaggerUI,先不接入IdentityServer
修改Startup.cs
using System;

using System.Collections.Generic;

using System.IO;

using System.Linq;

using System.Reflection;

using System.Threading.Tasks;

using Microsoft.AspNetCore.Builder;

using Microsoft.AspNetCore.Hosting;

using Microsoft.AspNetCore.Mvc;

using Microsoft.Extensions.Configuration;

using Microsoft.Extensions.DependencyInjection;

using Microsoft.Extensions.Logging;

using Microsoft.Extensions.Options;

using Swashbuckle.AspNetCore.Swagger;

namespace SwggerUIApi

{

    public class Startup

    {

        public Startup(IConfiguration configuration)

        {

            Configuration = configuration;

        }

        public IConfiguration Configuration { get; }

        // This method gets called by the runtime. Use this method to add services to the container.

        public void ConfigureServices(IServiceCollection services)

        {

            services.AddMvc().SetCompatibilityVersion(CompatibilityVersion.Version_2_2);

            services.AddSwaggerGen(c =>

            {

                c.SwaggerDoc("v1", new Info

                {

                    Version = "v1",

                    Title = "ToDo API",

                    Description = "A simple example ASP.NET Core Web API",

                    TermsOfService = "None",

                    Contact = new Contact

                    {

                        Name = "Shayne Boyer",

                        Email = string.Empty,

                        Url = "https://twitter.com/spboyer"

                    },

                    License = new License

                    {

                        Name = "Use under LICX",

                        Url = "https://example.com/license"

                    }

                });

                var xmlFile = $"{Assembly.GetExecutingAssembly().GetName().Name}.xml";

                var xmlPath = Path.Combine(AppContext.BaseDirectory, xmlFile);

                c.IncludeXmlComments(xmlPath);

            });

        }

        // This method gets called by the runtime. Use this method to configure the HTTP request pipeline.

        public void Configure(IApplicationBuilder app, IHostingEnvironment env)

        {

            if (env.IsDevelopment())

            {

                app.UseDeveloperExceptionPage();

            }

            app.UseSwagger();

            // Enable middleware to serve swagger-ui (HTML, JS, CSS, etc.),

            // specifying the Swagger JSON endpoint.

            app.UseSwaggerUI(c =>

            {

                c.SwaggerEndpoint("/swagger/v1/swagger.json", "My API V1");

            });

            app.UseMvc();

        }

    }

}
得到这样的SwaggerUI:
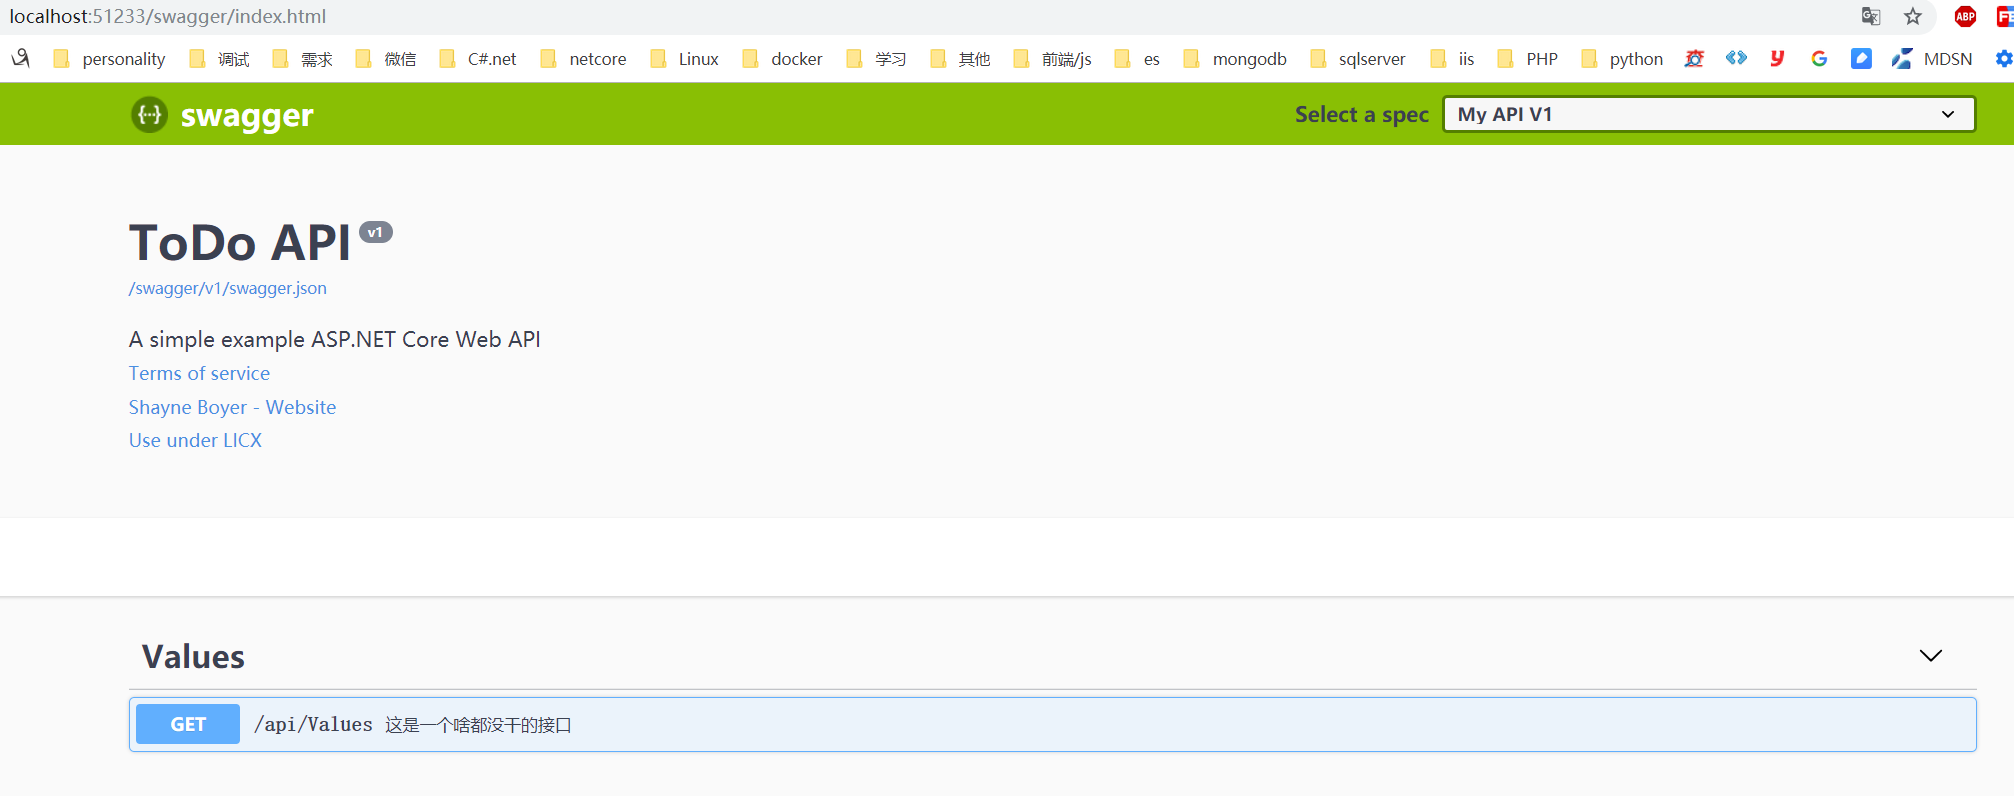
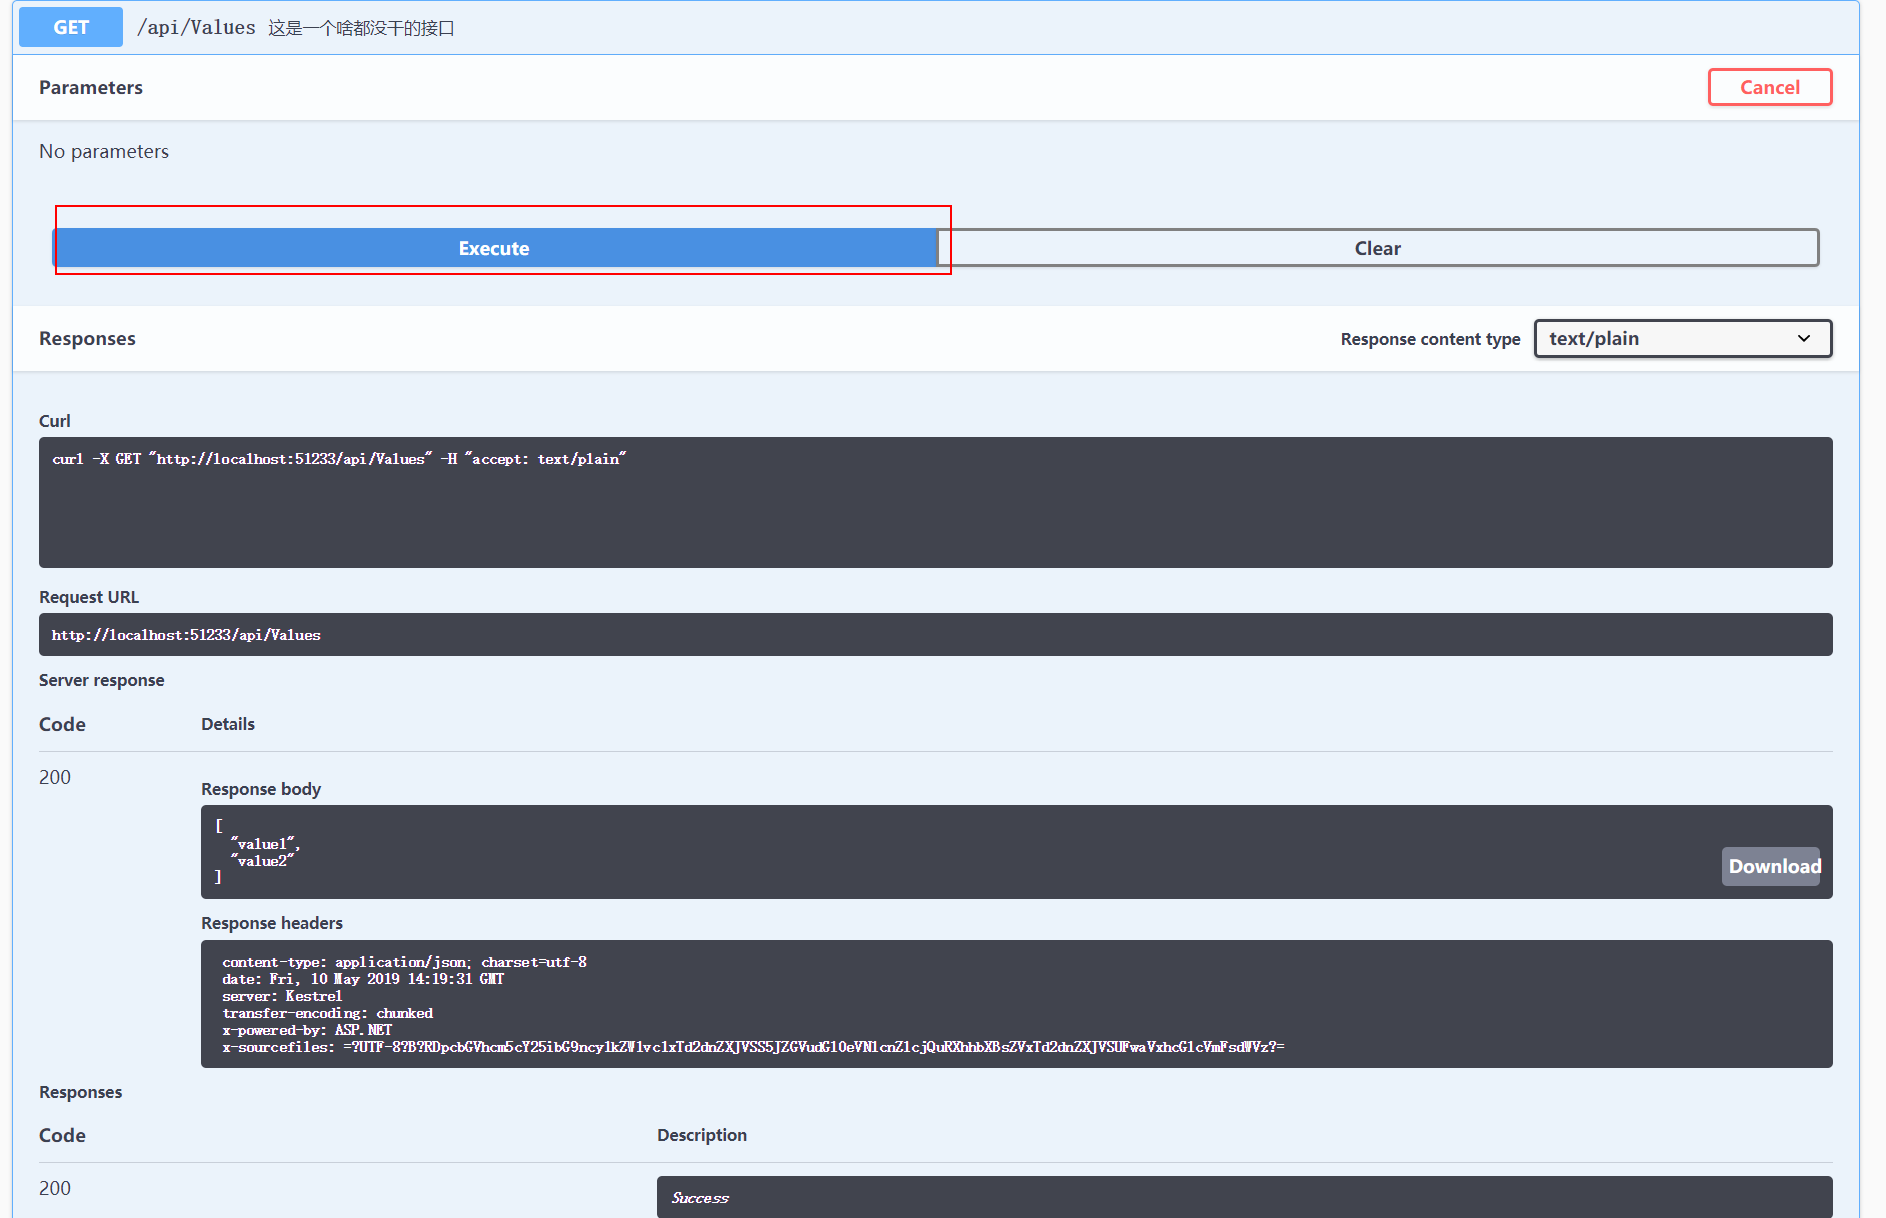
我们调用一下接口:
杠杠的200:
3、接口项目我们接入IdentityServer4
修改:Startup.cs ,ConfigureServices方法,
  services.AddAuthentication(IdentityServerAuthenticationDefaults.AuthenticationScheme)

  .AddIdentityServerAuthentication(options =>

           {

              options.Authority = "http://localhost:5000"; // IdentityServer服务器地址

              options.ApiName = "swagger_api"; // 用于针对进行身份验证的API资源的名称

              options.RequireHttpsMetadata = false; // 指定是否为HTTPS

          });
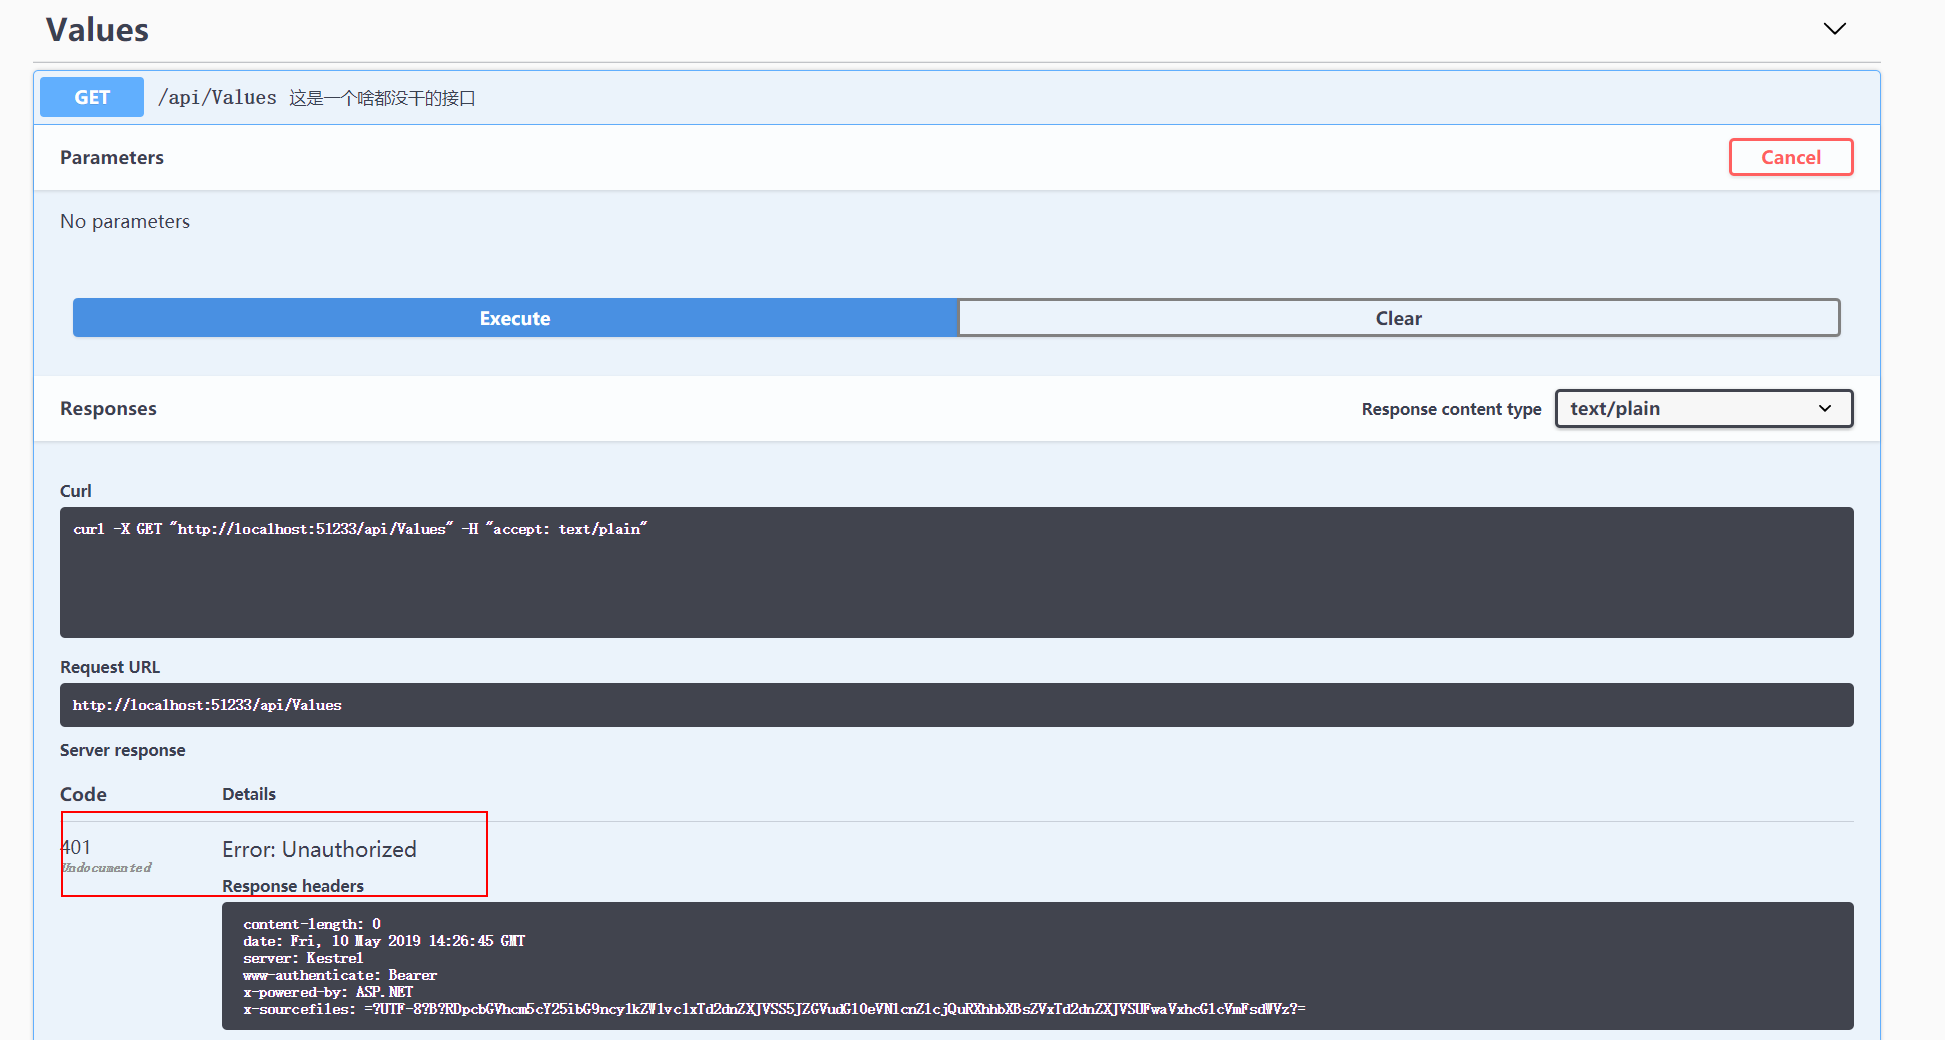
修改:Startup.cs ,Configure方法
app.UseAuthentication();
Ok,可以看到我们接口接入IdentityServer了。提示401,未授权;
3、接入IdentityServer
1、添加授权响应操作的过滤器,AuthResponsesOperationFilter.cs
using Microsoft.AspNetCore.Authorization;

using Swashbuckle.AspNetCore.Swagger;

using Swashbuckle.AspNetCore.SwaggerGen;

using System;

using System.Collections.Generic;

using System.Linq;

using System.Threading.Tasks;

namespace SwggerUIApi

{

    public class AuthResponsesOperationFilter : IOperationFilter

    {

        public void Apply(Operation operation, OperationFilterContext context)

        {

            //获取是否添加登录特性

            var authAttributes = context.MethodInfo.DeclaringType.GetCustomAttributes(true)

             .Union(context.MethodInfo.GetCustomAttributes(true))

             .OfType<AuthorizeAttribute>().Any();

            if (authAttributes)

            {

                operation.Responses.Add("401", new Response { Description = "暂无访问权限" });

                operation.Responses.Add("403", new Response { Description = "禁止访问" });

                operation.Security = new List<IDictionary<string, IEnumerable<string>>>

                {

                    new Dictionary<string, IEnumerable<string>> {{"oauth2", new[] { "swagger_api" } }}

                };

            }

        }

    }

}
2、修改Startup.cs ,ConfigureServices方法的,services.AddSwaggerGen()
配置成这样:
     services.AddSwaggerGen(c =>

            {

                c.SwaggerDoc("v1", new Info

                {

                    Version = "v1",

                    Title = "ToDo API",

                    Description = "A simple example ASP.NET Core Web API",

                    TermsOfService = "None",

                    Contact = new Contact

                    {

                        Name = "Shayne Boyer",

                        Email = string.Empty,

                        Url = "https://twitter.com/spboyer"

                    },

                    License = new License

                    {

                        Name = "Use under LICX",

                        Url = "https://example.com/license"

                    }

                });

                var xmlFile = $"{Assembly.GetExecutingAssembly().GetName().Name}.xml";

                var xmlPath = Path.Combine(AppContext.BaseDirectory, xmlFile);

                c.IncludeXmlComments(xmlPath);

                //接入identityserver

                c.AddSecurityDefinition("oauth2", new OAuth2Scheme

                {

                    Flow = "implicit", // 只需通过浏览器获取令牌(适用于swagger)

                    AuthorizationUrl = "http://localhost:5000/connect/authorize",//获取登录授权接口

                    Scopes = new Dictionary<string, string> {

                        { "swagger_api_scopde", "swagger_api access" }//指定客户端请求的api作用域。 如果为空,则客户端无法访问

                    }

                });

                c.OperationFilter<AuthResponsesOperationFilter>();

            });
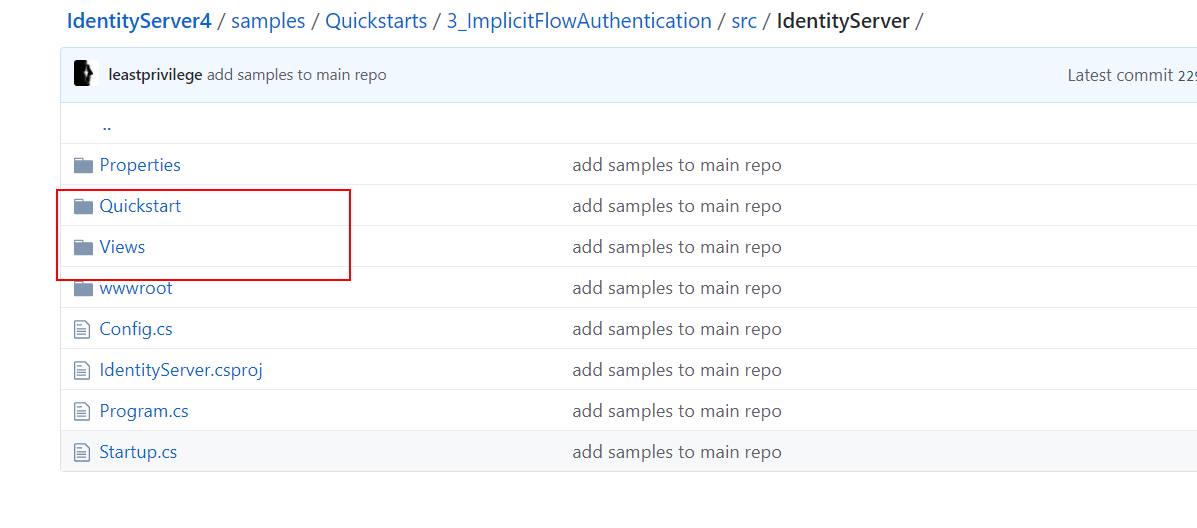
3、我们还需给授权中心添加一个登陆界面
下载这个两个文件夹,复制丢到IdentityServer项目下面:
项目结构: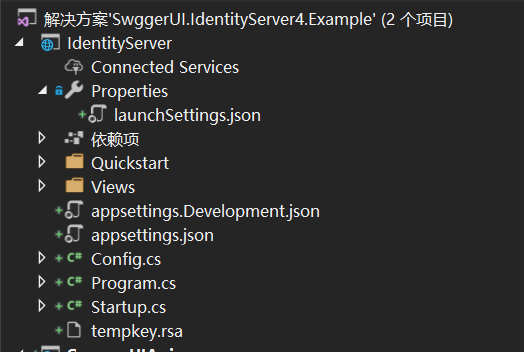
4、我们运行看看
先启动Identityserver项目
运行SwaggerUI可以看到,这两个地方了个小锁头,表示已启用安全保护:
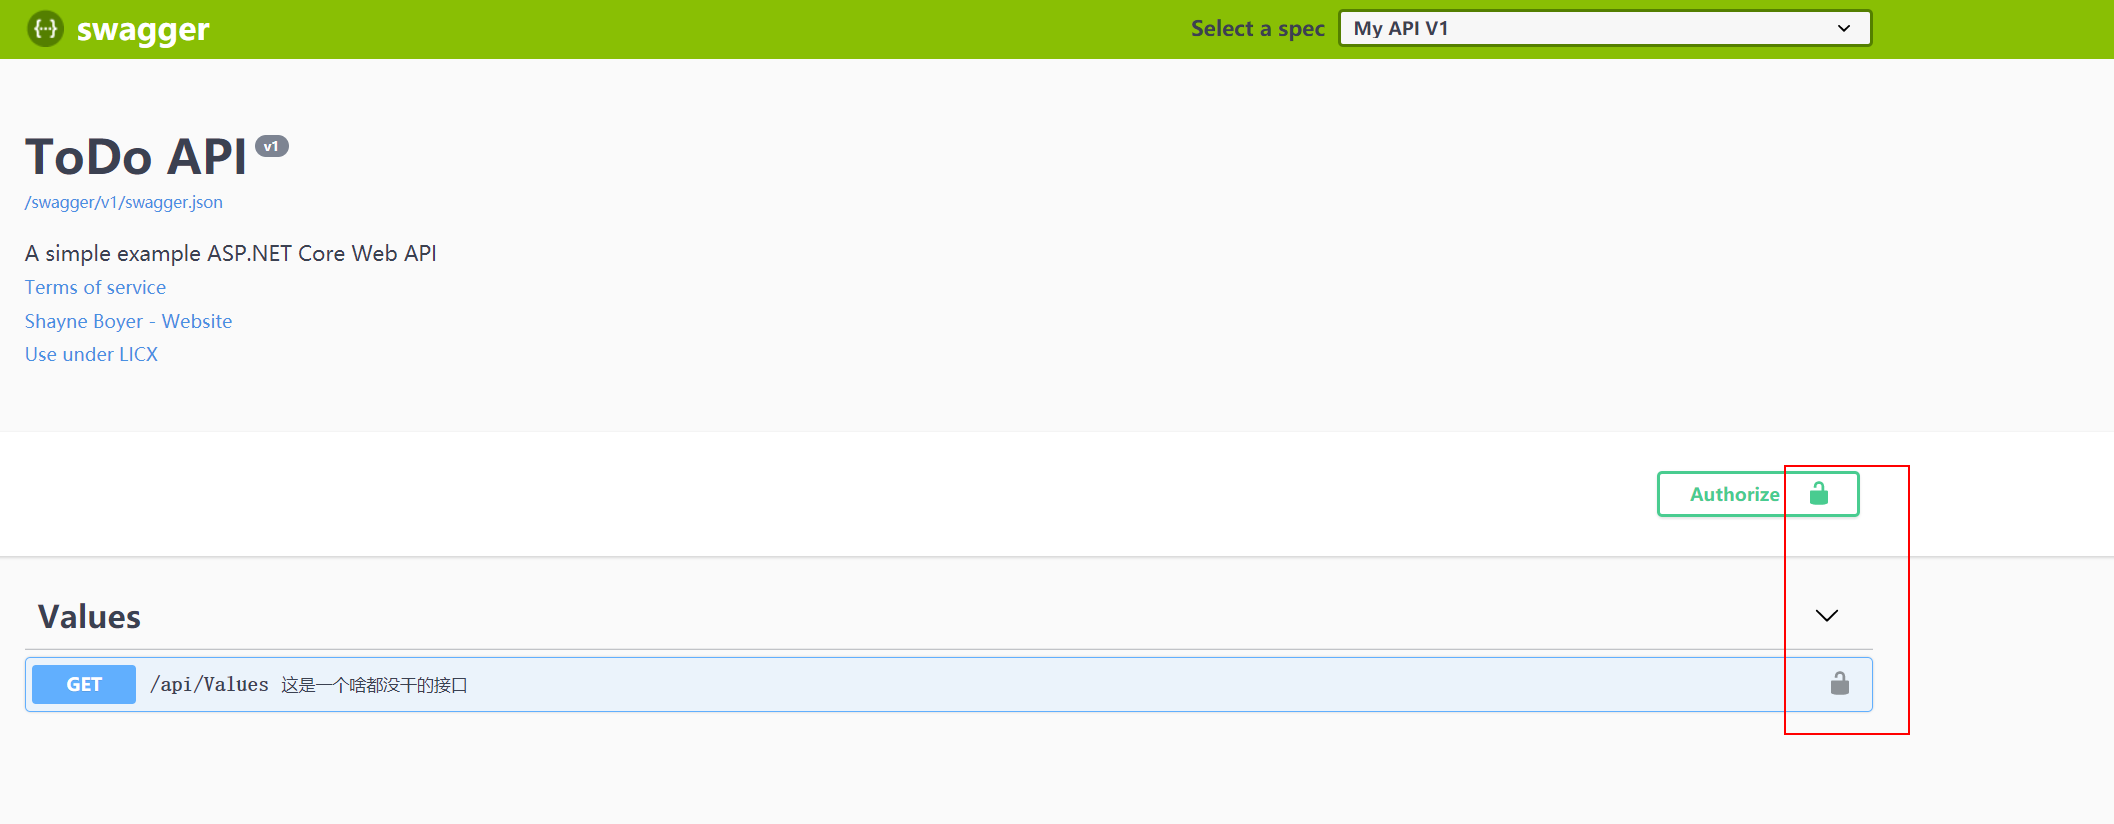
我们点一下上面的按钮:
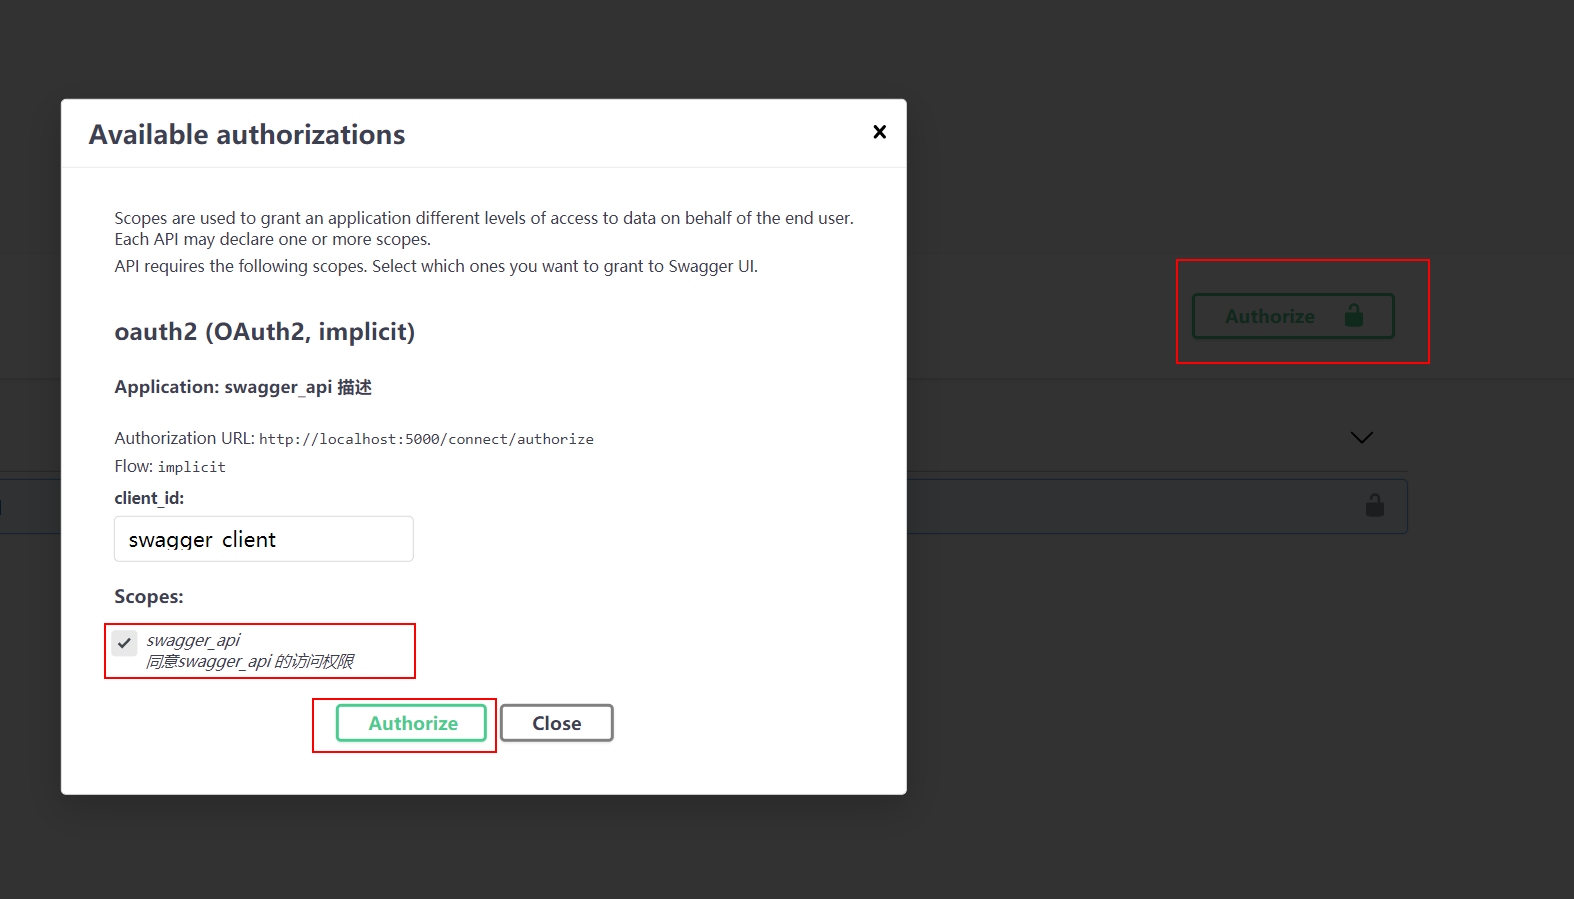
哇,我们跳到了这里:
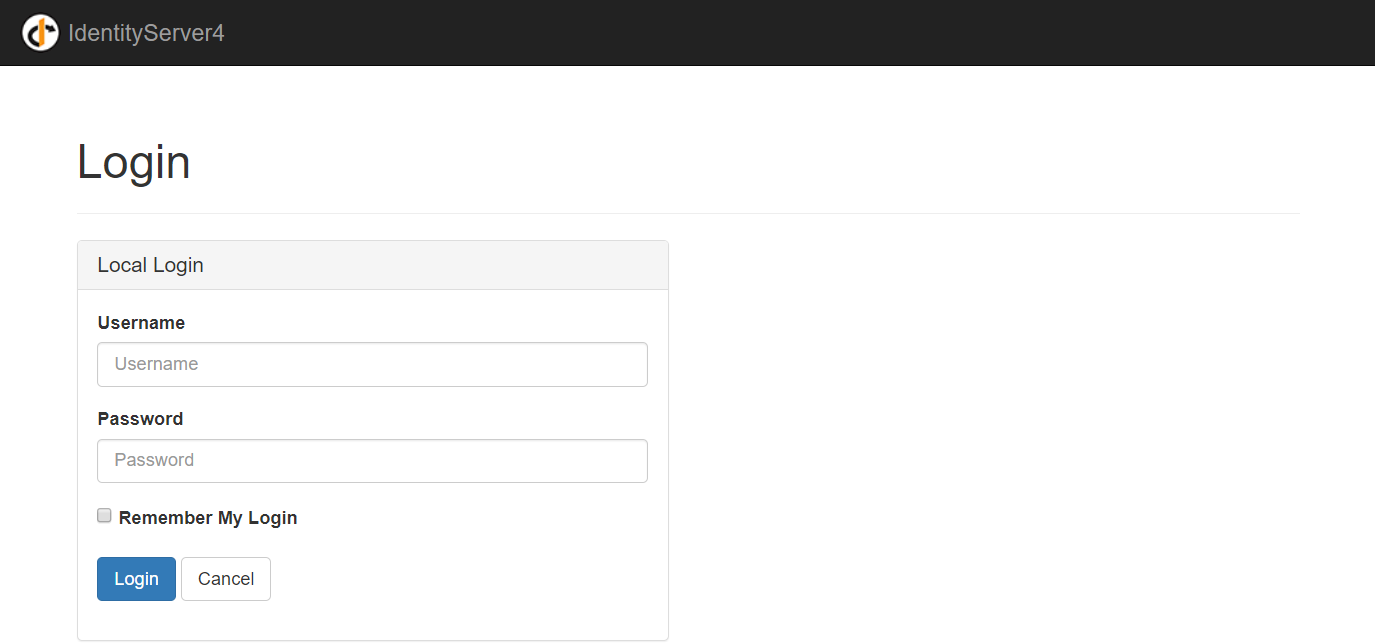
输入:alice/alice,点登录:
哇哇:

当然是Yes啦,然后这边变成这样了:
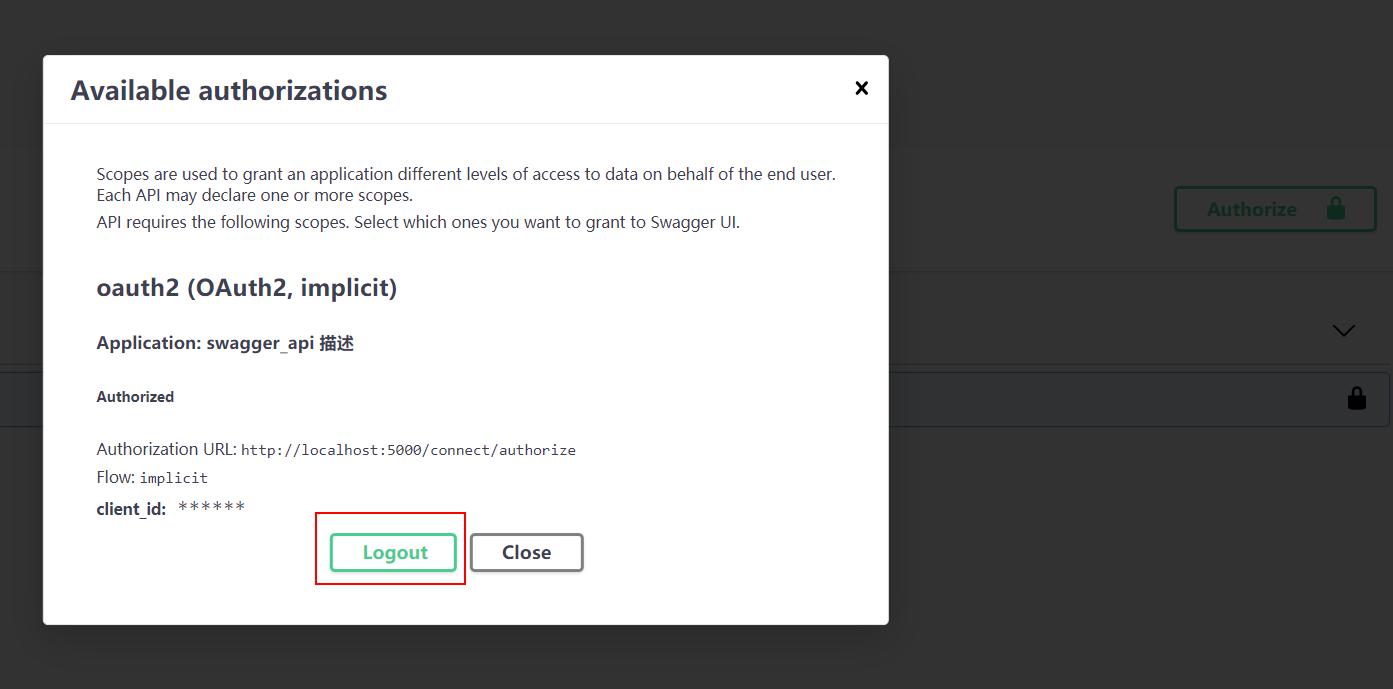
这是已获得授权状态,我们再次调用看看:
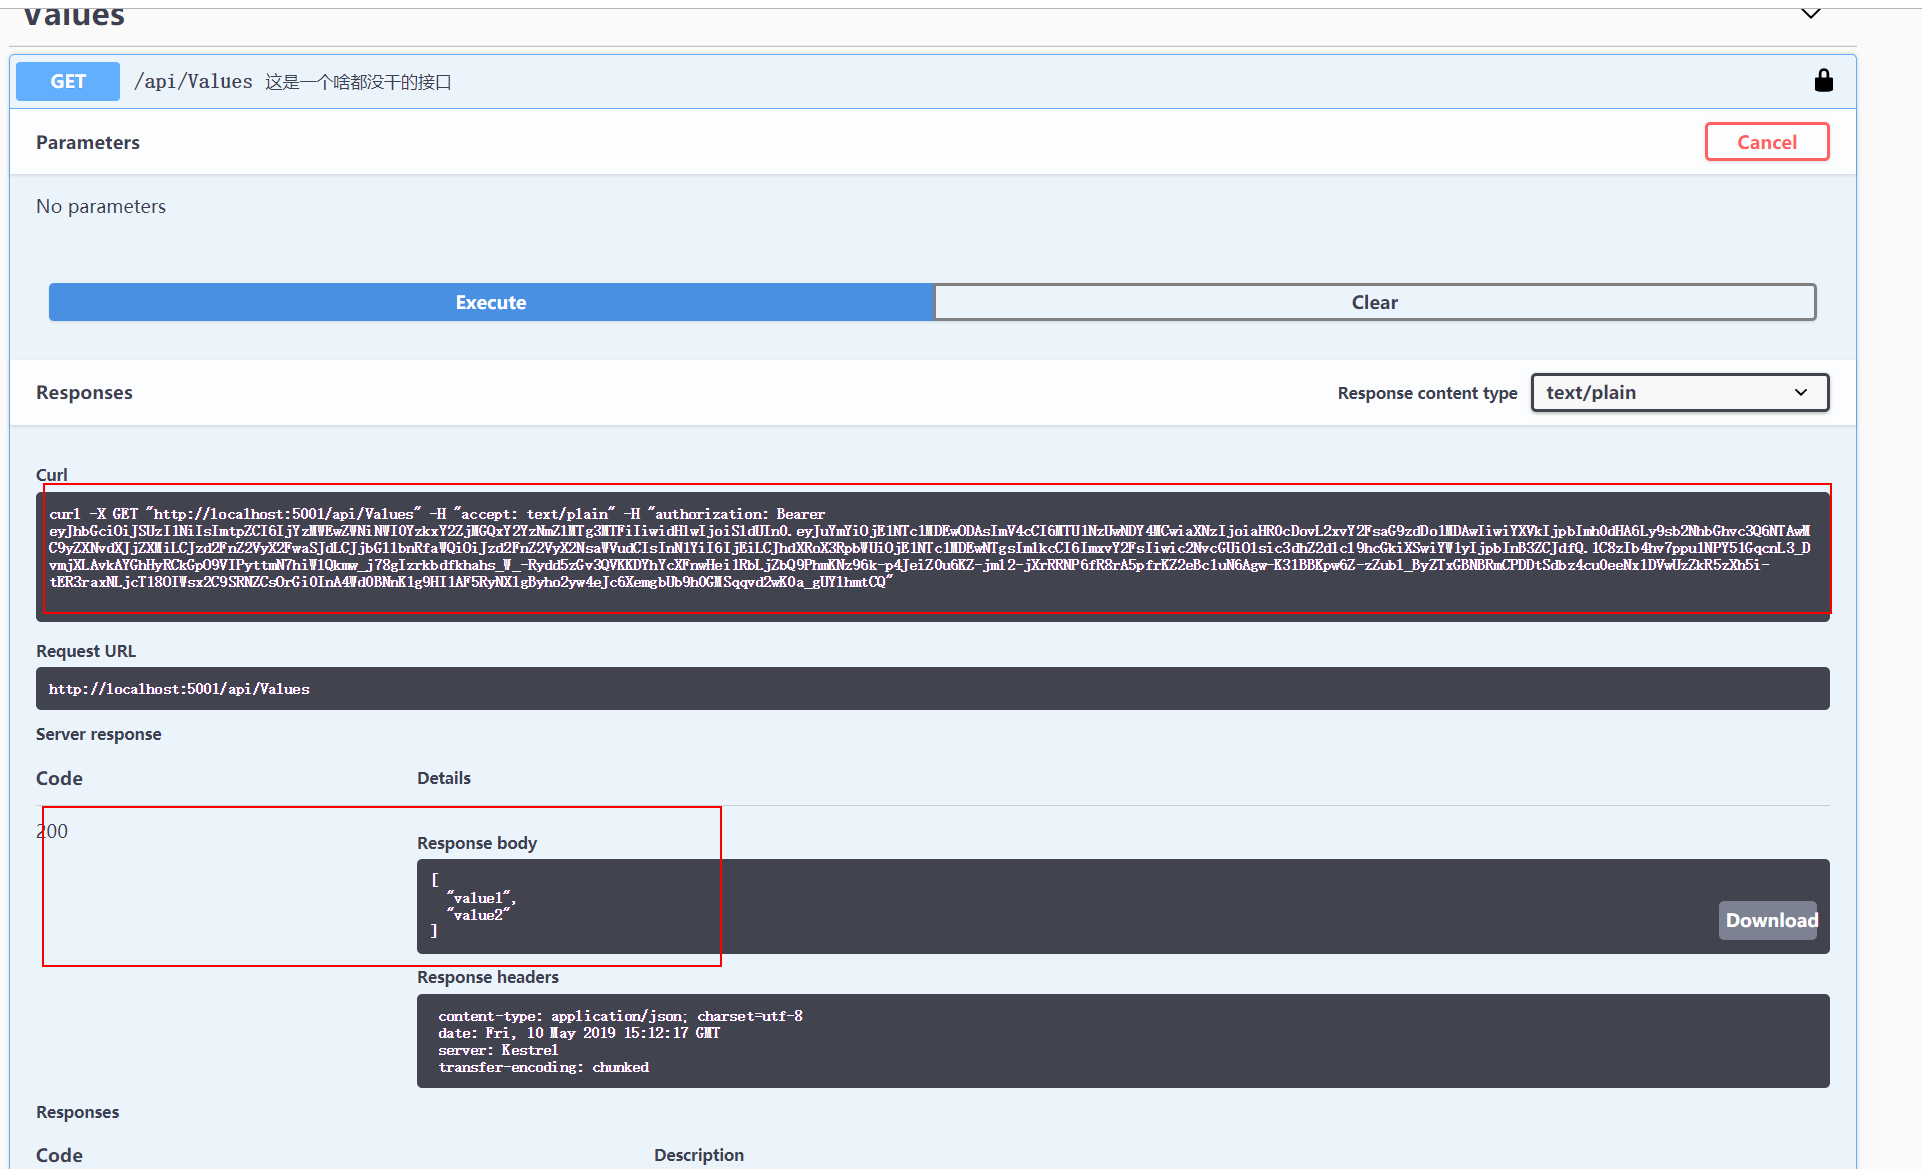
这里我们看到已经调用成功,仔细看请求,与前面简短的请求不同的是,现在请求里面带了access_token了,
这才是我们折腾这么久得来的宝贝。
总结
写得有点匆忙,希望大家能看得懂[捂脸];
源码地址:https://github.com/gebiWangshushu/cnblogs-demos/tree/master/SwggerUI.IdentityServer4.Example
参考
https://github.com/domaindrivendev/Swashbuckle.AspNetCore
https://github.com/IdentityServer/IdentityServer4
ASP.NET Core Swagger接入使用IdentityServer4 的 WebApi的更多相关文章
- Asp.Net Core SwaggerUI 接入
Asp.Net Core SwaggerUI 接入 简单了解 swagger的目的简单来说就是,不用为每个接口手动写接口文档,因为它是根据接口自动生成的,接口更改时文档也同步更新,减少了手动更新的麻烦 ...
- ASP.NET Core身份认证服务框架IdentityServer4(2)-整体介绍
一.整体情况 现代应用程序看起来更像这个: 最常见的相互作用: 浏览器与Web应用程序的通信 Browser -> Web App Web应用程序与Web API通信 基于浏览器的应用程序与We ...
- asp.net core swagger使用及注意事项
Swagger 是一个规范和完整的框架,用于生成.描述.调用和可视化 RESTful 风格的 Web 服务.是一款RESTFUL接口的文档在线自动生成+功能测试软件.主要目的是构建标准的.稳定的.可重 ...
- ASP.NET Core身份认证服务框架IdentityServer4 介绍
IdentityServer4是ASP.NET Core 2的OpenID Connect和OAuth 2.0框架.它可以在您的应用程序中提供以下功能: 它使你的应用程序具有如下特点: 认证即服务 适 ...
- Asp.Net Core: Swagger 与 Identity Server 4
Swagger不用多说,可以自动生成Web Api的接口文档和客户端调用代码,方便开发人员进行测试.通常我们只需要几行代码就可以实现这个功能: ... builder.Services.AddSwag ...
- ASP.NET Core 奇淫技巧之动态WebApi
一.前言 接触到动态WebApi(Dynamic Web API)这个词的已有几年,是从ABP框架里面接触到的,当时便对ABP的这个技术很好奇,后面分析了一波,也尝试过从ABP剥离一个出来作为独立组件 ...
- ASP.NET Core 2.2 基础知识(十三) WebAPI 概述
我们先创建一个 WebAPI 项目,看看官方给的模板到底有哪些东西 官方给出的模板: [Route("api/[controller]")] [ApiController] pub ...
- 记Asp.Net Core Swagger 使用 并带域接口处理
引用作者原话:Asp.Net的WebApi中使用Swagger作为说明和测试的页面是非常不错的,比起WebApiTestClient来至少在界面上的很大的提升.但是使用Swagger时如果只是一般的控 ...
- ASP.NET CORE Swagger
Package 添加并配置Swagger中间件 将Swagger生成器添加到方法中的服务集合中Startup.ConfigureServices: public void ConfigureServi ...
随机推荐
- WPF 精修篇 Winform 嵌入WPF控件
原文:WPF 精修篇 Winform 嵌入WPF控件 首先 创建WPF控件库 这样就有了一个WPF界面 在wpf中增加界面等 在winform中增加WPFDLL 重新生成解决方案 在左侧工具栏 出现W ...
- EF启程--概念理解(数据库连接)
简介:Entity Framework 是一种支持 .NET 开发人员使用 .NET 对象处理数据库的对象关系映射程序 (O/RM). 它不要求提供开发人员通常需要编写的大部分数据访问代码. 其中有E ...
- 通用高效字符串匹配--Sunday算法
字符串匹配(查找)算法是一类重要的字符串算法(String Algorithm).有两个字符串, 长度为m的haystack(查找串)和长度为n的needle(模式串), 它们构造自同一个有限的字母表 ...
- 设计模式之(十三)外观模式(Facade)
外观模式思想 历史上牛人中成功逆袭,实现人生辉煌的人很多,这群人最耀眼的无疑是明太祖朱元璋,从一个放牛讨饭的最低层小屌丝逆袭到人类权力顶峰开国皇帝,确实是我等膜拜的对象.在发不断的发展过程中,其实就在 ...
- Android viewPager+fragment实现滑页效果
先上图,手指在手机向左或者向右滑就可以实现相应的页面切换. 先看activity_main.xml文件,非常简单,主要是三个标题TextView和viewpager <?xml version= ...
- JavaWeb Listener之HttpSessionActivationListener ,session钝化、活化
HttpSessionActivationListener 监听HttpSession对象的活化.钝化 钝化:将HttpSession对象从内存中转移至硬盘,存储为.session文件. 活化: ...
- Java集合学习(10):hashcode() 和 equals()方法
哈希表这个数据结构想必大多数人都不陌生,而且在很多地方都会利用到hash表来提高查找效率.在Java的Object类中有一个方法: public native int hashCode(); 根据这个 ...
- iOS 上传appstore 一直卡在正在通过 App Store 进行鉴定(转)
原帖地址:https://www.jianshu.com/p/d28714f3ef74 手动操作一下执行xcode包里面的命令行操作: (1)找到前往>应用程序里面的xcode (2)显示包内容 ...
- 让configure和cmake编译时支持调试选项
在Linux先编译软件基本都是采用configure文件生成makefile,或者,cmake生成makefile文件两种方式.它们生成的makefile文件,一般默认不支持-g调试选项.但我们使用这 ...
- 【JavaScript】案例三:使用JS完成页面定时弹出广告——事件(onload)
事件(onload) *注意点: 变量加var局部变量,不加var全局变量 setInterval() 方法会不停地调用函数,直到 clearInterval() 被调用或窗口被关闭. 返回值:返回 ...