阿里云服务器Ubuntu系统搭建LNMP环境
一、Nginx 安装
更新软件源
sudo apt-get update
安装 Nginx
sudo apt-get install nginx
配置 Nginx
1.安装 sysv-rc-con
sudo apt-get install sysv-rc-conf
若未报错即安装成功,若出现以下报错
E: Unable to locate package sysv-rc-conf
打开软件源列表 sources.list 文件
sudo vim /etc/apt/sources.list
按 i 进入insert模式,在文本末尾添加如下内容:
deb http://archive.ubuntu.com/ubuntu/ trusty main universe restricted multiverse
按键盘 esc 退出输入模式
按 :wq 保存退出
(后续涉及vim命令的操作方式均同上)
更新软件源
sudo apt-get update
重新安装 sysv-rc-con
sudo apt-get install sysv-rc-conf
2.设置 Nginx 开机启动
sudo sysv-rc-conf nginx on
3.允许 Nginx 通过防火墙
sudo ufw status

sudo ufw allow 'Nginx HTTP'
4.启动 Nginx
service nginx start
5.测试 Nginx 服务正常运行
浏览器中输入服务器公网IP,页面显示如下图,即表示 Nginx 配置成功

二、MySQL安装
安装MySQL服务
sudo apt-get install mysql-server
初始无密码进入MySQL
mysql -u root -p
配置MySQL密码
# 查看初识密码策略

SHOW VARIABLES LIKE 'validate_password%';

# 设置密码等级全局参数为LOW

set global validate_password_policy=LOW;

# 设置密码长度为4

set global validate_password_length=4;

# 选择数据库mysql

use mysql;

# 修改root账户的密码为root

update mysql.user set authentication_string=password('root') where user='root' and Host ='localhost';

# 保存信息并退出

update user set plugin="mysql_native_password";

flush privileges;

quit;
三、PHP安装
安装PHP服务
sudo apt-get install php-fpm php-mysql
查看安装的PHP版本号(后续涉及到版本号的地方,需要修改为你当前的PHP版本)
# 进入PHP安装位置

cd /etc/php/

# 查看安装的PHP版本

ls

# 显示 7.2

# 表示我电脑当前安装的PHP版本是 7.2
修改PHP配置文件(注意版本号)
sudo vim /etc/php/7.2/fpm/php.ini
找到773行左右
;cgi.fix_pathinfo=1
修改为
cgi.fix_pathinfo=0
重启PHP服务(注意版本号)
sudo systemctl restart php7.2-fpm
四、配置Nginx
修改nginx配置
第一步
sudo vim /etc/nginx/sites-available/default
修改内容为(注意版本号):
server {

	listen 80 default_server;

	listen [::]:80 default_server;

	# SSL configuration

	#

	# listen 443 ssl default_server;

	# listen [::]:443 ssl default_server;

	#

	# Note: You should disable gzip for SSL traffic.

	# See: https://bugs.debian.org/773332

	#

	# Read up on ssl_ciphers to ensure a secure configuration.

	# See: https://bugs.debian.org/765782

	#

	# Self signed certs generated by the ssl-cert package

	# Don't use them in a production server!

	#

	# include snippets/snakeoil.conf;

	root /var/www/html;

	# Add index.php to the list if you are using PHP

	index index.php index.html index.htm index.nginx-debian.html;

	server_name server_domain_or_IP;

	location / {

		# First attempt to serve request as file, then

		# as directory, then fall back to displaying a 404.

		try_files $uri $uri/ =404;

	}

	# pass PHP scripts to FastCGI server

	#

	location ~ \.php$ {

		include snippets/fastcgi-php.conf;

		# With php-fpm (or other unix sockets):

		fastcgi_pass unix:/var/run/php/php7.2-fpm.sock;

		# With php-cgi (or other tcp sockets):

		#fastcgi_pass 127.0.0.1:9000;

	}

	# deny access to .htaccess files, if Apache's document root

	# concurs with nginx's one

	#

	location ~ /\.ht {

		deny all;

	}

}
第二步
sudo vim /etc/nginx/conf.d/default.conf
输入以下内容:
server {

    listen       80;

    root         /usr/share/nginx/html;

    server_name  localhost;

    #charset koi8-r;

    #access_log  /var/log/nginx/log/host.access.log  main;

    location / {

        index index.php index.html index.htm;

    }

    #error_page  404              /404.html;

    #redirect server error pages to the static page /50x.html#

    error_page   500 502 503 504  /50x.html;

    location = /50x.html {

        root   /usr/share/nginx/html;

    }

    #pass the PHP scripts to FastCGI server listening on 127.0.0.1:9000#

    location ~ .php$ {

        fastcgi_pass   127.0.0.1:9000;

        fastcgi_index  index.php;

        fastcgi_param  SCRIPT_FILENAME  $document_root$fastcgi_script_name;

        include        fastcgi_params;

    }

}
重启Nginx服务
sudo nginx -s reload
五、环境测试
创建PHP文件
sudo vim /var/www/html/info.php
输入以下内容:
<?php

	phpinfo();

?>
浏览器中输入地址访问该文件
公网IP/info.php
或
域名/info.php
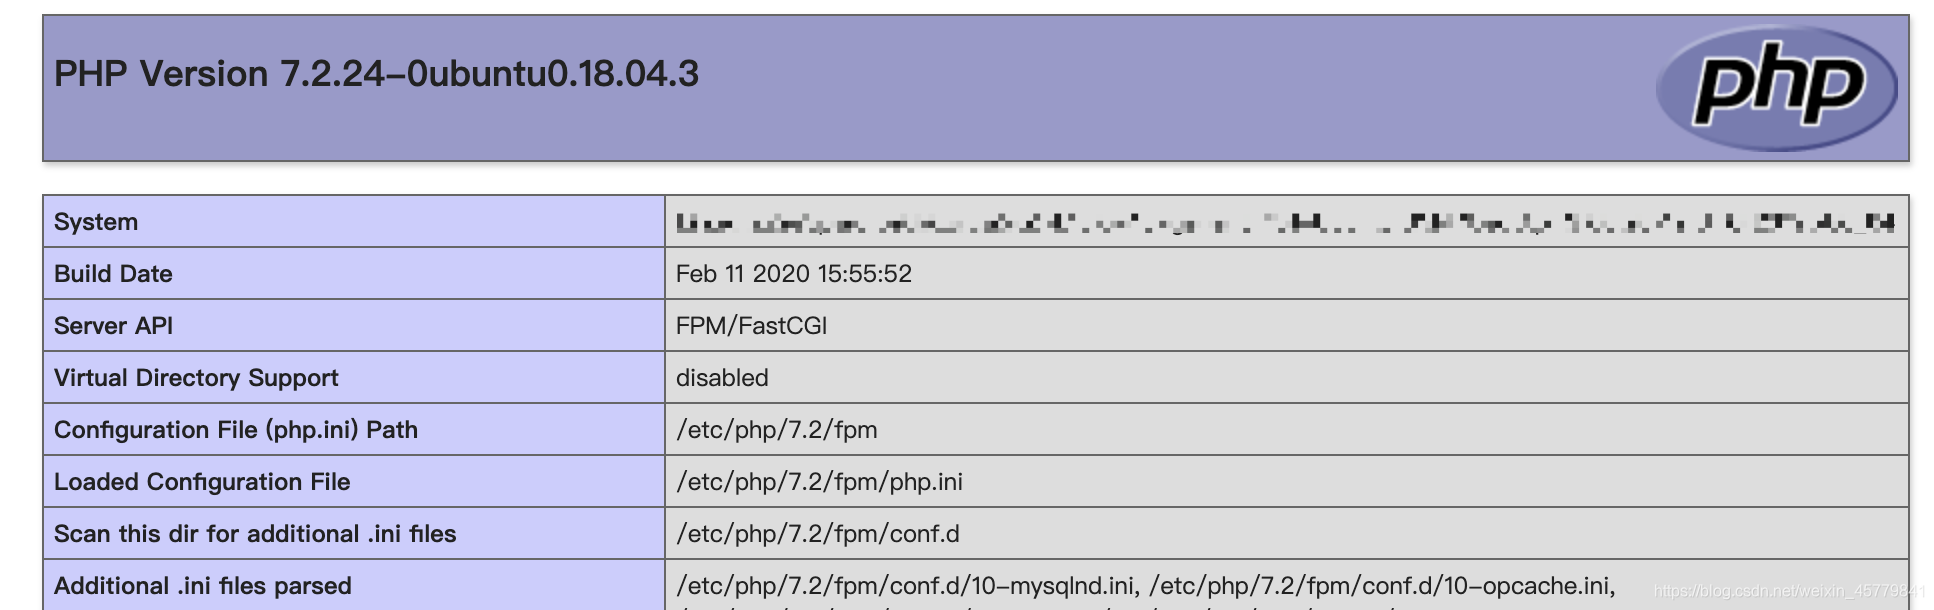
页面显示如下图,即表示LNMP环境搭建完毕
六、服务器常用路径
网页项目文件放置目录: /var/www/html
Nginx安装配置目录: /etc/nginx
PHP安装配置目录: /etc/php
Mysql安装配置目录: /etc/mysql
阿里云服务器Ubuntu系统搭建LNMP环境的更多相关文章
- 阿里云服务器ubuntu安装java运行环境
服务器 阿里云服务器ubuntu安装java运行环境 转:http://www.codingyun.com/article/45.html 今天来给大家介绍一下在阿里云ubuntu服务器下安装java ...
- ubuntu下ssh登陆阿里云服务器(ubuntu系统)中文乱码问题
研究了几天终于解决了... 原文地址: http://blog.csdn.net/a__yes/article/details/50489456 问题描述: 阿里云的服务器ubuntu系统,wind ...
- Ubuntu 系统搭建LNMP环境
当前Linux版本:Ubuntu16.04 一.安装Nginx 在终端中输入命令 " sudo apt-get install nginx ",在确认安装完成后,在浏览器中访问 l ...
- 服务器 阿里云服务器Ubuntu挂载数据盘
服务器 阿里云服务器Ubuntu挂载数据盘 转自:http://www.codingyun.com/article/24.html coding云运行在阿里云的Ubuntu 12.04 64位操作系 ...
- 阿里云服务器ubuntu安装redis2.8.13
阿里云服务器ubuntu安装redis2.8.13 2014-09-04 16:14 | coding云 | 2198次阅读 | 暂无评论 一.下载redis 可以先下载到本地,然后ftp到服 ...
- Ubuntu系统下lnmp环境搭建和Nginx多站点配置
最近需要使用Ubuntu作为服务器搭建Lnmp环境,顺便将操作过程写下来,与大家分享.如有不足之处,欢迎大家提出不同意见.(本文默认读者已经熟悉相关linux命令的使用,比如创建文件和文件夹,编辑文件 ...
- 阿里云服务器 Ubuntu 安装 LNMP
1.设定实例化服务器IP密码. 2.设定安全组件端口 80 和 3306 系统默认提供端口 22. //阿里云需要设定安全组件端口必须设定. 3.安装一键lnmp系统. 教程地址 https://ln ...
- Linux学习2-在阿里云服务器上部署禅道环境
前言 以前出去面试总会被问到:测试环境怎么搭建?刚工作1-2年不会搭建测试环境还可以原谅自己,工作3-5年后如果还是对测试环境搭建一无所知,面试官会一脸的鄙视. 本篇以最简单的禅道环境搭建为例,学习下 ...
- 阿里云服务器centos5.10安装lamp环境
==相关命令== 查看linux版本:cat /etc/redhat-release ==配置修改== 一.Apache配置 ------------------------------------- ...
随机推荐
- CSRF之POST
最近重温<白帽子讲web安全>一书,看到第4章CSRF的时候,发现有个错误的地方,第116页底部的代码中有个坑,那段代码是运行不了的.原因是在form表单中有个<input type ...
- 脸书VS微软,为何“老年创业者”更担忧AI失控?
作为互联网行业最知名的大会之一,近日举行的微软Build 2017大会,却增加了与以往不同的"调味品".除了新技术.智能硬件.系统.平台之外,微软CEO纳德拉在大会上对科技带给人类 ...
- Java入门教程一(Java简介)
什么是Java语言 Java 是由 Sun Microsystems 公司于 1995 年推出的一门面向对象程序设计语言.2010 年 Oracle 公司收购 Sun Microsystems,之后由 ...
- MySQL多表查询、事务、DCL:内含mysql如果忘记密码解决方案
MySQL多表查询.事务.DCL 多表查询 * 查询语法: select 列名列表 from 表名列表 where.... * 准备sql # 创建部门表 CREATE TABLE dept( id ...
- Sentinel Slot扩展实践-流控熔断预警实现
前言 前几天公司生产环境一个服务由于流量上升触发了 Sentinel 的流控机制,然后用户反馈访问慢,定位发现是 task 定时任务导致,后面 task 优化之后发布,流量恢复正常. 这是一个再正常不 ...
- [红日安全]Web安全Day8 - XXE实战攻防
本文由红日安全成员: ruanruan 编写,如有不当,还望斧正. 大家好,我们是红日安全-Web安全攻防小组.此项目是关于Web安全的系列文章分享,还包含一个HTB靶场供大家练习,我们给这个项目起了 ...
- VGG16等keras预训练权重文件的下载及本地存放
VGG16等keras预训练权重文件的下载: https://github.com/fchollet/deep-learning-models/releases/ .h5文件本地存放目录: Linux ...
- 基于SpringCloud搭建项目-Zuul篇(六)
本文主要介绍zuul的基本原理和在sprngcloud服务下如何使用 一.简单介绍 Zuul 是 Netflix OSS 中的一员,是一个基于 JVM 路由和服务端的负载均衡器.提供路由.监控.弹性. ...
- Matplotlib数据可视化(7):图片展示与保存
In [1]: import os import matplotlib.image as mpimg from PIL import Image import matplotlib.pyplot as ...
- js 实现弹性运动的简单应用----导航栏中弹性
<!DOCTYPE html PUBLIC "-//W3C//DTD XHTML 1.0 Transitional//EN" "http://www.w3.org/ ...