Python:pyglet学习(1):想弄点3D,还发现了pyglet
某一天,我突然喜欢上了3D,在一些scratch教程中见过一些3D引擎,找了一个简单的,结果z轴太大了,于是网上一搜,就发现了pyglet
还是先讲如何启动一个窗口
先看看官网:
Creating a window

If the Window constructor is called with no arguments, defaults will be assumed for all parameters:

window = pyglet.window.Window()

The default parameters used are:

The window will have a size of 640x480, and not be resizable.

A default context will be created using template config described in OpenGL configuration options.

The window caption will be the name of the executing Python script (i.e., sys.argv[0]).

Windows are visible as soon as they are created, unless you give the visible=False argument to the constructor. The following example shows how to create and display a window in two steps:

window = pyglet.window.Window(visible=False)

# ... perform some additional initialisation

window.set_visible()

Context configuration

The context of a window cannot be changed once created. There are several ways to control the context that is created:

Supply an already-created Context using the context argument:

context = config.create_context(share)

window = pyglet.window.Window(context=context)

Supply a complete Config obtained from a Screen using the config argument. The context will be created from this config and will share object space with the most recently created existing context:

config = screen.get_best_config(template)

window = pyglet.window.Window(config=config)

Supply a template Config using the config argument. The context will use the best config obtained from the default screen of the default display:

config = gl.Config(double_buffer=True)

window = pyglet.window.Window(config=config)

Specify a Screen using the screen argument. The context will use a config created from default template configuration and this screen:

screen = display.get_screens()[screen_number]

window = pyglet.window.Window(screen=screen)

Specify a Display using the display argument. The default screen on this display will be used to obtain a context using the default template configuration:

display = platform.get_display(display_name)

window = pyglet.window.Window(display=display)

If a template Config is given, a Screen or Display may also be specified; however any other combination of parameters overconstrains the configuration and some parameters will be ignored.
总结了就是
import pyglet as p

p.window.Window(600,600)

p.app.run()
效果:
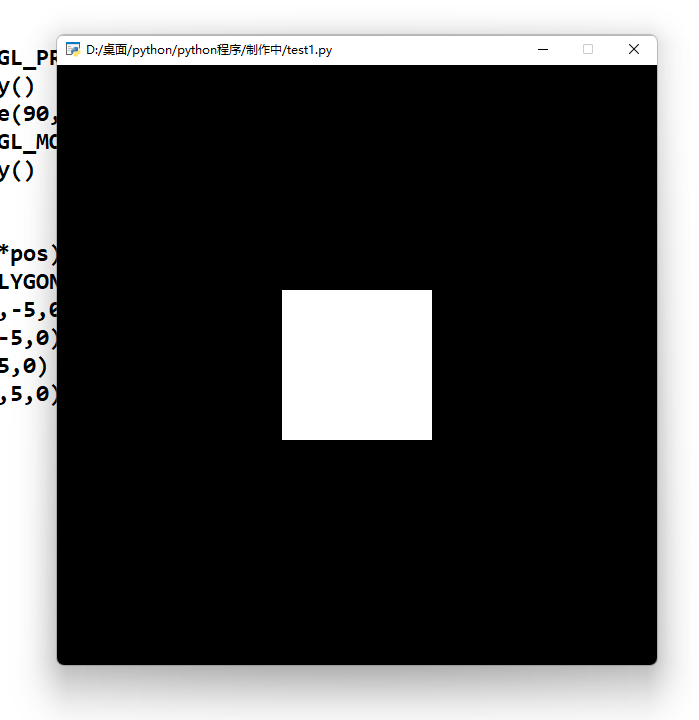
然后画个正方形
import pyglet as p

from pyglet.gl import *

win=p.window.Window(600,600)

@win.event

def on_draw():

    #(

    win.clear()

    glMatrixMode(GL_PROJECTION)

    glLoadIdentity()

    gluPerspective(90, 1, 0.1, 100)

    glMatrixMode(GL_MODELVIEW)

    glLoadIdentity()

    #)

    pos=[0,0,-20]

    glTranslatef(*pos)

    glBegin(GL_POLYGON)

    glVertex3f(-5,-5,0)

    glVertex3f(5,-5,0)

    glVertex3f(5,5,0)

    glVertex3f(-5,5,0)

    glEnd()

    glFlush()

p.app.run()
#( 和 #)中间的是固定的,不能改
glTranslatef(*pos):摄像头位置
glBegin(GL_POLYGON):开始绘制多边形
    glVertex3f(-5,-5,0)

    glVertex3f(5,-5,0)

    glVertex3f(5,5,0)

    glVertex3f(-5,5,0):给出所有坐标点,绘制图形
glEnd():结束绘制当前图形
glFlush():刷新界面

都包含在pyglet.gl里,可使用
from pyglet.gl import *
效果:
这就是本篇文章的内容
最后留个彩蛋
import pyglet

from pyglet.gl import *

pos = [0, 0, -20]

rot_y = 0

rot_x=0

rot_z=0

config = Config(sample_buffers=1, samples=8)

tela = pyglet.window.Window(height=500, width=500, #config=config)

                            )

mode=True

dotlst=[[[-5,-5,0],[5,-5,0],[5,5,0],[-5,5,0]]]

input_=""

@tela.event

def on_draw():

    global pos_z, rot_y,rot_z,rot_X

    tela.clear()

    glMatrixMode(GL_PROJECTION)

    glLoadIdentity()

    gluPerspective(90, 1, 0.1, 100)

    glMatrixMode(GL_MODELVIEW)

    glLoadIdentity()

    glTranslatef(*pos)

    glRotatef(rot_y, 0, 1, 0)

    glRotatef(rot_z,0,0,1)

    glRotatef(rot_x,1,0,0)

    glBegin(GL_POLYGON)

    glVertex3f(-5,-5,0)

    glVertex3f(5,-5,0)

    glVertex3f(5,5,0)

    glVertex3f(-5,5,0)

    glEnd()

    glFlush()

@tela.event

def on_key_press(s,m):

    global pos_z, rot_y,rot_z,rot_x

    if s == pyglet.window.key.W:

        pos[2] -= 1

    if s == pyglet.window.key.S:

        pos[2] += 1

    if s == pyglet.window.key.A:

        pos[0]-=1

    if s == pyglet.window.key.D:

        pos[0] += 1

    if s == pyglet.window.key.R:

        pos[1]-=1

    if s == pyglet.window.key.F:

        pos[1] += 1

    if s == pyglet.window.key.I:

        rot_z -= 5

    if s == pyglet.window.key.K:

        rot_z += 5

    if s == pyglet.window.key.J:

        rot_x-=5

    if s == pyglet.window.key.L:

        rot_x+= 5

    if s == pyglet.window.key.O:

        rot_y-=5

    if s == pyglet.window.key.P:

        rot_y += 5

pyglet.app.run()
WSADRFJKLIOP操作
原理下次讲
后面的出了会写在最下面的。
Python:pyglet学习(1):想弄点3D,还发现了pyglet的更多相关文章
- 开始写下自己的python的cocos2d, pyglet学习
开始写下自己的python的cocos2d, pyglet学习 2014年01月18日 13:52:36 我要做程序达人 阅读数 9051更多 分类专栏: python的cocos2d和pyglet ...
- caffe的python接口学习(4):mnist实例---手写数字识别
深度学习的第一个实例一般都是mnist,只要这个例子完全弄懂了,其它的就是举一反三的事了.由于篇幅原因,本文不具体介绍配置文件里面每个参数的具体函义,如果想弄明白的,请参看我以前的博文: 数据层及参数 ...
- Python Tutorial 学习(八)--Errors and Exceptions
Python Tutorial 学习(八)--Errors and Exceptions恢复 Errors and Exceptions 错误与异常 此前,我们还没有开始着眼于错误信息.不过如果你是一 ...
- Day1 Python基础学习
一.编程语言分类 1.简介 机器语言:站在计算机的角度,说计算机能听懂的语言,那就是直接用二进制编程,直接操作硬件 汇编语言:站在计算机的角度,简写的英文标识符取代二进制去编写程序,本质仍然是直接操作 ...
- Day1 Python基础学习——概述、基本数据类型、流程控制
一.Python基础学习 一.编程语言分类 1.简介 机器语言:站在计算机的角度,说计算机能听懂的语言,那就是直接用二进制编程,直接操作硬件 汇编语言:站在计算机的角度,简写的英文标识符取代二进制去编 ...
- python爬虫学习(1) —— 从urllib说起
0. 前言 如果你从来没有接触过爬虫,刚开始的时候可能会有些许吃力 因为我不会从头到尾把所有知识点都说一遍,很多文章主要是记录我自己写的一些爬虫 所以建议先学习一下cuiqingcai大神的 Pyth ...
- Python正则表达式学习摘要及资料
摘要 在正则表达式中,如果直接给出字符,就是精确匹配. {m,n}? 对于前一个字符重复 m 到 n 次,并且取尽可能少的情况 在字符串'aaaaaa'中,a{2,4} 会匹配 4 个 a,但 a{2 ...
- webdriver(python)学习笔记一
最近有python开发的项目,也正打算要学习自动化与python语言.因此想通过学习python版本的webdriver来一同学习. 学习过程中参考资料有乙醇的博客:https://github.co ...
- !!对python列表学习整理列表及数组详细介绍
1.Python的数组分三种类型:(详细见 http://blog.sina.com.cn/s/blog_6b783cbd0100q2ba.html) (1) list 普通的链表,初始化后可以通过特 ...
随机推荐
- CodeForces 摆烂寄录
按订正顺序排序 现在是乱排的了 完整代码占版面 所以只放 AC 记录链接 Good Bye 2021: 2022 is NEAR 这场打得真拉/tuu A. 简单签到 开场就读错题,浪费 5min / ...
- 从我做起[AutoMapper实现模块化注册自定义扩展MapTo<>()].Net Core 之二
AutoMapper实现模块化注册自定义扩展MapTo<>() 我们都知道AutoMapper是使用的最多的实体模型映射,如果没有AutoMapper做对象映射那么我们需要想一下是怎么写的 ...
- 什么是Native方法 (转)
一个Native Method就是一个java调用非java代码的接口(NDK也跟这有关吗?(疑问)一个Native Method由非java语言实现 在定义一个native method时,并不提供 ...
- WebSocket协议详解及应用
WebSocket协议详解及应用(七)-WebSocket协议关闭帧 本篇介绍WebSocket协议的关闭帧,包括客户端及服务器如何发送并处理关闭帧.关闭帧错误码及错误处理方法.本篇内容主要翻译自RF ...
- PHP中的一些常用函数收集
<?php //===============================时间日期=============================== //y返回年最后两位,Y年四位数,m月份数字 ...
- go基础——数值传递与值传递
package main import "fmt" /* 1.值类型:存储的是数值本身,数据传递给其他变量时传递的是数据的副本. int,float,string,bool,arr ...
- 洛谷P1098 [NOIP2007 提高组] 字符串的展开
题目链接:https://www.luogu.com.cn/problem/P1098 这个题出的真的很有质量,这个是我见过算是复杂的模拟题了,对付这种题,一丝都不能马虎,要想实现快捷而又简便的代码设 ...
- Scala函数高级篇
一.匿名函数 没有名字的函数就是匿名函数,格式:(x:Int)=>{函数体} x:表示输入参数类型:Int:表示输入参数类型:函数体:表示具体代码逻辑 传递匿名函数至简原则: 参数的类型可以省略 ...
- Dubbo的前世今生
搜索关注微信公众号"捉虫大师",后端技术分享,架构设计.性能优化.源码阅读.问题排查.踩坑实践. 本文已收录 https://github.com/lkxiaolou/lkxiao ...
- 暑假撸系统5- Thymeleaf 常用标签的
上次博客已经是三天前了,后期修补和细化的东西多了,进度没有前几天那么明显了.因为原来工作大多是后端居多,如果非要前台也会选择一些相对对ui依赖比较小的框架,比如extjs,所以这次的基础排版就费劲了, ...