将React Native 集成进现有OC项目中(过程记录) 、jsCodeLocation 生成方式总结
将RN集成到现有OC项目应该是最常见的,特别是已经有OC项目的,不太可能会去专门搞个纯RN的项目。又因为RN不同版本,引用的依赖可能不尽相同,所以特别说明下,本文参考的文档是React Native (0.57)相关文档。
一、准备工作
本文演示项目基于如下版本:
"react": "16.5.0",
"react-native": "0.57.1"
1、RN搭建开发环境
如果你已经创建过RN项目,并且运行成功了,那么你的环境配置应该是没有问题的,但是如果你是第一次进行学习,那么就要搭建开发环境了,具体的可以参考: React Native (0.57)开发环境搭建(过程记录)
2、安装CocoaPods
没有安装过CocoaPods的,可以参考:CocoaPods :为iOS程序提供依赖管理的工具(yoowei)
二、集成ReactNative
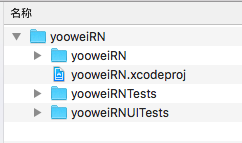
1、新建一个OC项目
任意地方,创建一个文件夹“OC项目集成RN”,创建一个yooweiRN的OC项目,用为已有OC项目。如下:
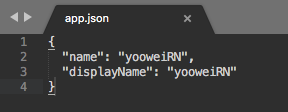
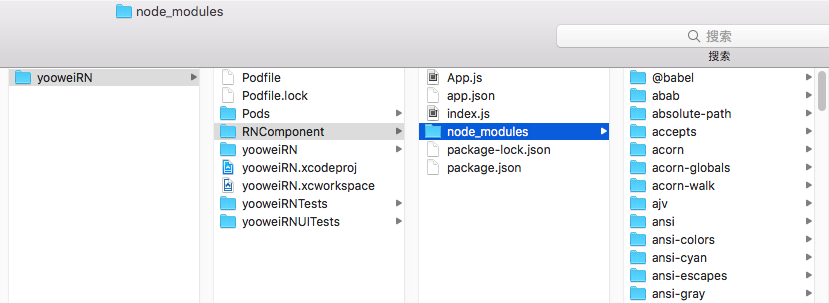
2、终端命令 cd 到该项目跟目录。创建文件夹RNComponent (文件夹名字可以自定义,主要用来存放RN相关的文件)和配置文件package.json
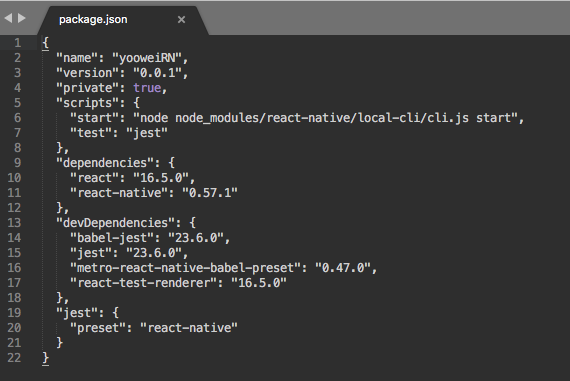
3、安装React Native依赖包
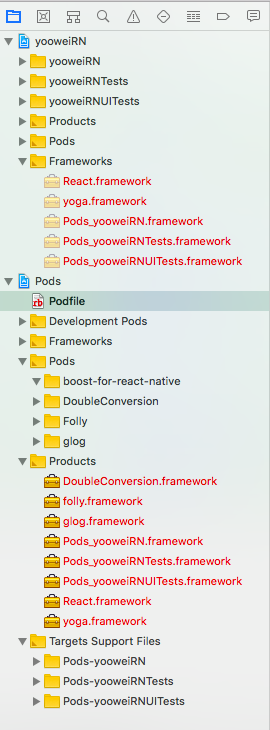
5. Cocoapods集成React Native
终端命令cd 到项目跟目录

source 'https://github.com/CocoaPods/Specs.git'
platform :ios, '9.0'
use_frameworks!
target 'yooweiRN' do
# 'node_modules'目录一般位于根目录中 。但是如果你的结构不同,那你就要根据实际路径修改下面的`:path`
pod 'React', :path => './RNComponent/node_modules/react-native', :subspecs => [
'Core',
'ART',
'RCTActionSheet',
'RCTGeolocation',
'RCTImage',
'RCTNetwork',
'RCTPushNotification',
'RCTSettings',
'RCTText',
'RCTVibration',
'RCTWebSocket',
'RCTLinkingIOS',
'RCTAnimation',
'CxxBridge',
'DevSupport',
]
pod 'yoga', :path => './RNComponent/node_modules/react-native/ReactCommon/yoga'
pod 'DoubleConversion', :podspec => './RNComponent/node_modules/react-native/third-party-podspecs/DoubleConversion.podspec'
pod 'glog', :podspec => './RNComponent/node_modules/react-native/third-party-podspecs/glog.podspec'
pod 'Folly', :podspec => './RNComponent/node_modules/react-native/third-party-podspecs/Folly.podspec'
target 'yooweiRNTests' do
inherit! :search_paths
# Pods for testing
end
target 'yooweiRNUITests' do
inherit! :search_paths
# Pods for testing
end
end
三、项目处理
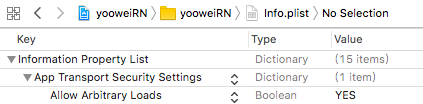
在iOS 9以上的系统中,除非明确指明,否则应用无法通过http协议连接到localhost主机。 建议在Info.plist进行如下设置,否则会报Could not connect to development server错误。

3、开启RN本地服务(cd 到RNComponent目录)
$ cd /Users/galahad/Desktop/ziliao/OC项目集成RN演练/yooweiRN/RNComponent
$ react-native start

不出意外的是下面这个场景

原因:打印日志看看
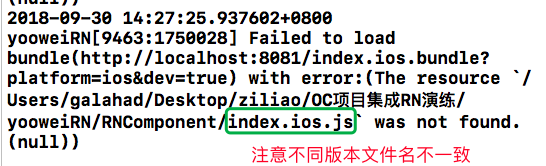
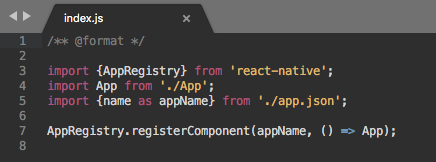
由于RN不同版本,入口文件名不同,根据实际入口文件名,修改之后。

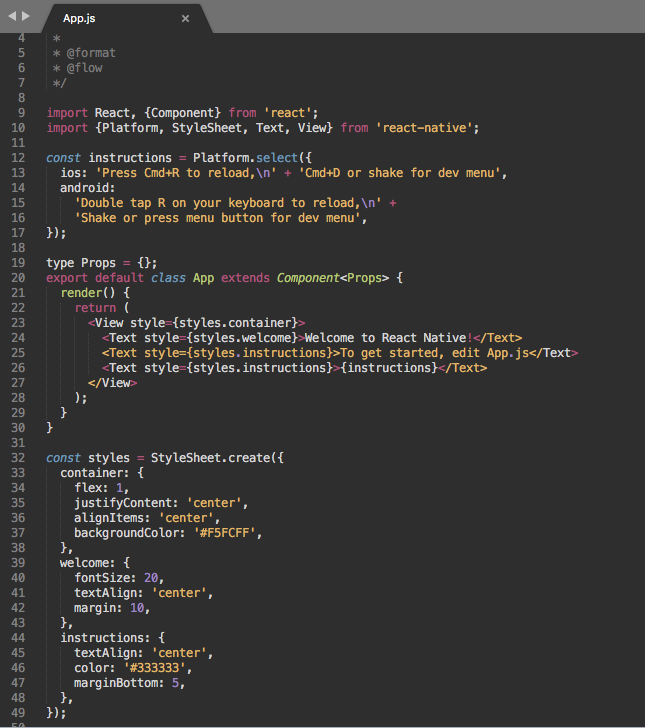
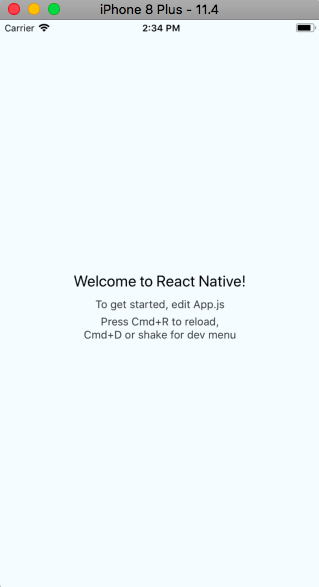
模拟器展示如下:
4G真机上面运行失败 :(正常现象)
Failed to load bundle(http://localhost:8081/index.bundle?platform=ios&dev=true) with error:(Could not connect to development server.
wifi真机上面运行失败:
Ensure the following:
- Node server is running and available on the same network - run 'npm start' from react-native root
- Node server URL is correctly set in AppDelegate
- WiFi is enabled and connected to the same network as the Node Server
URL: http://localhost:8081/index.bundle?platform=ios&dev=true Could not connect to the server.)
打开偏好设置-网络-查看当前ip地址,将项目中的localhost改为当前ip(注意,手机的wifi应当和电脑连接的是同一个网络才可以)


至此,将RN集成进OC项目中,并简单的运行起来,告一段落。下面待续......
jsCodeLocation生成方式总结:
NSURL *jsCodeLocation;
/**
* OPTION 1: development
* Load from development server. Start the server from the repository root:
* $ npm start
* To run on device, change `localhost` to the IP address of your computer, and make sure your computer and iOS device are on the same Wi-Fi network.
*/
jsCodeLocation = [NSURL URLWithString:@"http://localhost:8081/index.bundle?platform=ios&dev=true"];
/**
* OPTION 2:Release
* Load from pre-bundled file on disk. The static bundle is automatically generated by the "Bundle React Native code and images" build step when running the project on an actual device or running the project on the simulator in the "Release" build configuration.
*/
jsCodeLocation = [[NSBundle mainBundle] URLForResource:@"main" withExtension:@"jsbundle"];
另外实际项目中,还有如下写法:
#ifdef DEBUG
jsCodeLocation = [[RCTBundleURLProvider sharedSettings] jsBundleURLForBundleRoot:@"index.ios" fallbackResource:nil];
#else
jsCodeLocation = [[NSBundle mainBundle] URLForResource:@"bundle/index.ios" withExtension:@"jsbundle"];
#endif
如果项目中使用了CodePush的话,还有如下写法
#ifdef DEBUG
jsCodeLocation = [[RCTBundleURLProvider sharedSettings] jsBundleURLForBundleRoot:@"index" fallbackResource:nil];
#else
jsCodeLocation = [CodePush bundleURL];
#endif
说明:
jsCodeLocation = [[RCTBundleURLProvider sharedSettings] jsBundleURLForBundleRoot:@"index" fallbackResource:nil];去获取JS代码包URL时,会首先检查是否有正在运行的Packager Server,如果有则返回相应Packager Server中JS代码包的绝对路径;如果没有正在运行的Packager Server,则会返回一个本地JS代码包的文件路径,不传递fallbackResource参数时,默认返回 本地main.jsbundle的文件路径。将React Native 集成进现有OC项目中(过程记录) 、jsCodeLocation 生成方式总结的更多相关文章
- 将React Native集成至Android原生应用
将React Native集成至Android原生应用 Android Studio 2.1 Preview 4生成的空项目 react-native 环境 0.22.2 初次编译后apk有1.1M, ...
- Angular团队公布路线图,并演示怎样与React Native集成
本文来源于我在InfoQ中文站翻译的文章,原文地址是:http://www.infoq.com/cn/news/2015/06/angular-2-react-native-roadmap 前不久在旧 ...
- react native 0.50与OC交互 && Swift与RN交互
新公司也打算做rn,还是得捡起来再度学习.开撸! react native一个版本一个样子,之前写的rn与iOS交互系列在最新版本中有点出入(0.50.4版本).今天填一下坑. 首先上npm版本,re ...
- React Native 0.56.1初始化项目运行出现错误(Module `AccessibilityInfo` does not exist in the Haste module map)
当使用react-native init myApp初始化项目时,出现以下错误 出现以上错误的原因是因为0.56.1版本初始化项目就有问题,请见 https://github.com/facebook ...
- React Native集成Redux框架讲解与应用
学过React Native的都知道,RN的UI是根据相应组件的state进行render的,而页面又是由大大小小的组件构成,导致每个组件都必须维护自身的一套状态,因此当页面复杂化的时候,管理stat ...
- React Native环境配置、初始化项目、打包安装到手机,以及开发小知识
1.前言 环境:Win10 + Android 已经在Windows电脑上安装好 Node(v14+).Git.Yarn. JDK(v11) javac -version javac 11.0.15. ...
- React Native技术做的一个项目“微笑阅读”
最近用React Native做了一个APP应用,有点心得: React Native确实比Hybrid应用渲染快,响应快,用户体验更好: React Native比原生简单多了,会Js就可以了,开发 ...
- react native定报预披项目知识点总结
1.TextInput组件对安卓的适配问题 textInput 在iOS 显示正常,但是在android下会出现下横线,并且字会被遮盖 因此一般都这么用该组件 <TextInput style= ...
- React-Native集成到已有项目中的总结
安装Python 从官网下载并安装python 2.7.x(3.x版本不行) 安装node.js 从官网下载node.js的官方V6.X.X版本或更高版本.安装完成后检测是否安装成功:node -v ...
随机推荐
- Python自动化之traceback
import traceback try: 11/a except Exception: b = traceback.format_exc() traceback.format_exc()会存储详细的 ...
- 如何解析json字符串及返回json数据到前端
前言:最近需要实现的任务是:写若干个接口,并且接口中的请求数据是json格式,然后按照请求参数读取前端提前整理好的json数据,并且将json数据返回到服务器端. 主要的工具:Gson 2.8.2 ...
- CAN网要不要共地?
重要:CAN网要不要共地? 因为CAN传输采用差分传输的方式,即使不共地,部分情况下仍然能传输数据,但是本人以实际的经验告诉你们,一定要共地! 1. 不共地会引入共模干扰,轻则影响正常 ...
- MapReduce -- 好友推荐
MapReduce实现好友推荐: 张三的好友有王五.小红.赵六; 同样王五.小红.赵六的共同好友是张三; 在王五和小红不认识的前提下,可以通过张三互相认识,给王五推荐的好友为小红, 给小红推荐的好友是 ...
- 搞定flex布局
这几种方式的搭配使用可以轻松搞定 PC 端页面的常见需求,比如实现水平居中可以使用 margin: 0 auto,实现水平垂直同时居中可以如下设置: .dad { position: relative ...
- 什么是X86和X86-64
X86的定义 X86是一个Intel或AMD通用计算机系列的标准编号缩写,也是32位微处理器架构的一种,也标识一套通用的计算机指令集. X86-64的定义 X86-64,简称X64,是一个Intel或 ...
- Linux磁盘与文件系统管理(一)
fdisk 常用的磁盘分区工具,受mbr分区表的限制,只能给小于2TB的磁盘划分分区,如果使用fdisk对大于2TB的磁盘进行分区,虽然可以分区,但只能识别2T的空间,一般使用parted分区工具 - ...
- jQuery----操作类样式(依托开关灯案例)
在网页开发中,元素的样式可以在style标签中定义,但是有很多案例需要添加类样式或者删除类样式,可以获取元素调用css()方法改变元素样式,但是这种方法很繁杂,本文利用开关灯案例,小结使用jquery ...
- JavaWeb总结(四)
使用Servlet发送服务器端响应信息 Servlet API中定义一个专门的接口类javax.servlet.http.HttpServletResponse用于创建HTTP响应,包括HTTP协议的 ...
- 使用Nginx+uWSGI+Django方法部署Django程序
第一步先解决uwsgi与django的桥接.解决在没有nginx的情况下,如何使用uwsgi+DJANGO来实现一个简单的WEB服务器. 第二步解决uwsgi与Nginx的桥接.通过nginx与uws ...