Intel realSense ubuntu 16.04+python 环境配置指南
1. 安装librealsense2-dkms 以及librealsense2-utils
1、Register the server's public key:
sudo apt-key adv --keyserver keys.gnupg.net --recv-key C8B3A55A6F3EFCDE || sudo apt-key adv --keyserver hkp://keyserver.ubuntu.com:80 --recv-key C8B3A55A6F3EFCDE
(In case the public key still cannot be retrieved, check and specify proxy settings: export http_proxy="http://<proxy>:<port>"
, and rerun the command. See additional methods in the following link.) 2、Add the server to the list of repositories:
Ubuntu LTS:
sudo add-apt-repository "deb http://realsense-hw-public.s3.amazonaws.com/Debian/apt-repo xenial main" -u
Ubuntu LTS:
sudo add-apt-repository "deb http://realsense-hw-public.s3.amazonaws.com/Debian/apt-repo bionic main" -u 3、Install the libraries (see section below if upgrading packages):
sudo apt-get install librealsense2-dkms
sudo apt-get install librealsense2-utils
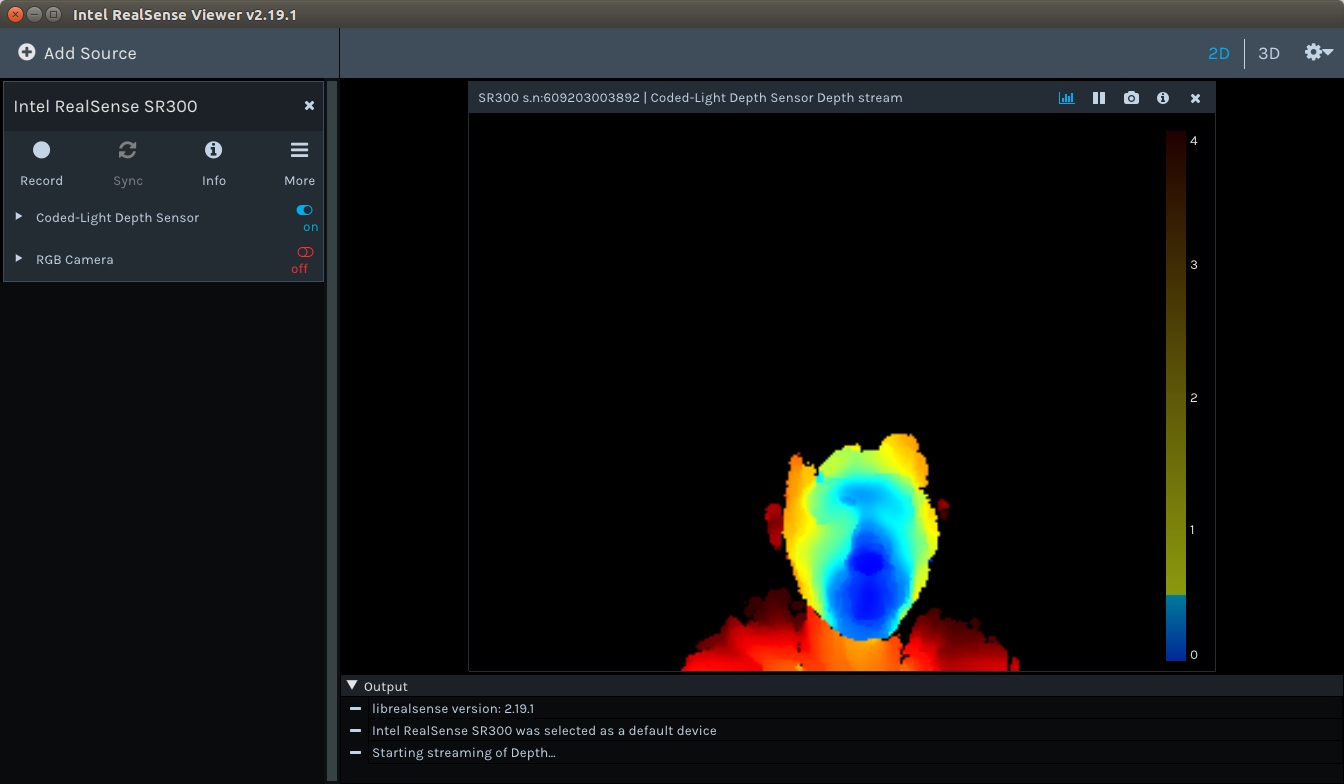
The above two lines will deploy librealsense2 udev rules, build and activate kernel modules, runtime library and executable demos and tools. Reconnect the Intel RealSense depth camera and run: realsense-viewer to verify the installation.
配置好了之后 输入realSense-viewer是这个样子~
2. 配置warpper----python环境
下载https://github.com/IntelRealSense/librealsense项目到本地
Building From Source Ubuntu 14.04/16.04 LTS Ensure apt-get is up to date

1、sudo apt-get update && sudo apt-get upgrade

Note: Use sudo apt-get dist-upgrade, instead of sudo apt-get upgrade, in case you have an older Ubuntu 14.04 version

Install Python and its development files via apt-get (Python  and  both work)


2、sudo apt-get install python python-dev or sudo apt-get install python3 python3-dev

Note: The project will only use Python  if it can't use Python 3

Run the top level CMake command with the following additional flag -DBUILD_PYTHON_BINDINGS=bool:true:

3、mkdir build

  cd build

  cmake ../ -DBUILD_PYTHON_BINDINGS=bool:true

Note: To force compilation with a specific version on a system with both Python  and Python  installed, add the following flag to CMake command: -DPYTHON_EXECUTABLE=[full path to the exact python executable]

(cmake常用套路了)

 make -j4

 sudo make install

4、update your PYTHONPATH environment variable to add the path to the pyrealsense library

export PYTHONPATH=$PYTHONPATH:/usr/local/lib

Alternatively, copy the build output (librealsense2.so and pyrealsense2.so) next to your script.

Note: Python  module filenames may contain additional information, e.g. pyrealsense2.cpython-35m-arm-linux-gnueabihf.so)
Python 接口使用的例子:
# First import the library

import pyrealsense2 as rs

try:

    # Create a context object. This object owns the handles to all connected realsense devices

    pipeline = rs.pipeline()

    pipeline.start()

    while True:

        # Create a pipeline object. This object configures the streaming camera and owns it's handle

        frames = pipeline.wait_for_frames()

        depth = frames.get_depth_frame()

        if not depth: continue

        # Print a simple text-based representation of the image, by breaking it into 10x20 pixel regions and approximating the coverage of pixels within one meter

        coverage = []*

        for y in xrange():

            for x in xrange():

                dist = depth.get_distance(x, y)

                if  < dist and dist < :

                    coverage[x/] +=

            if y% is :

                line = ""

                for c in coverage:

                    line += " .:nhBXWW"[c/]

                coverage = []*

                print(line)
Intel realSense ubuntu 16.04+python 环境配置指南的更多相关文章
- Ubuntu 16.04 ROS环境配置
最近新入职一家公司,是搞智能无人驾驶的,用的操作系统是Ubuntu和ros,之前没接触过ros系统,既然公司用那就必须的学习啊,话不多说先装它一个ros玩玩... 1. Ubuntu 安装 ROS K ...
- Ubuntu 16.04 Go环境搭建 Go环境+Sublime配置
Ubuntu 16.04 Go环境搭建 Go环境+Sublime配置 1. 安装Go 下载地址https://golang.org/dl/ (需要翻下) 下载到类似go1.8.3.linux-amd6 ...
- Ubuntu 16.04 python和OpenCV安装
Ubuntu 16.04 python和OpenCV安装:最进在做深度学习和计算机视觉的有关内容,因此要在python中用到opencv.我的电脑装的是Ubuntu 16.04,python 2.7和 ...
- 如何在Ubuntu 16.04上安装配置Redis
如何在Ubuntu 16.04上安装配置Redis Redis是一个内存中的键值存储,以其灵活性,性能和广泛的语言支持而闻名.在本指南中,我们将演示如何在Ubuntu 16.04服务器上安装和配置Re ...
- Ubuntu 16.04 samba相关配置
samba是 SMB/CIFS网络协议的重新实现,它作为NFS的补充使得在Linux和Windows系统之间进行文件共享.打印更容易实现. 相关介绍: SAMBA套件: (1)samba:这个套件主要 ...
- Ubuntu 16.04 root环境变量不生效问题解决方案
在Ubuntu 16.04中配置JDK环境变量,但是在切换到root时不生效 . 在/etc/profile中添加如下: export JAVA_HOME=/opt/java/jdk1..0_151 ...
- Ubuntu 16.04 服务器上配置使用 Docker
Docker基础概念 在使用Docker之前,我们先了解下几个Docker的核心概念 Docker Daemon Docker引擎,就是运行在后台的一个守护进程,在我们启动它之后,我们就可以通过Doc ...
- Ubuntu 16.04 安装和配置 Redis
因为发现之前手动安装的 redis 与现有的教程不一样,所以总结统一一下安装的标准步骤. 安装依赖项 为了获取最新版本的 Redis,我们将从源代码进行编译和安装.下载源代码之前,需要先安装一些编译所 ...
- Ubuntu 16.04上thunderbird配置163邮箱出现“配置无法被验证-请查看用户名或密码是否正确?”
在Ubuntu 16.04 上用thunderbird配置163免费邮箱时出现的提示信息如图1: 图1 提示信息 网上有不少方法都说是将接收和发出的主机名分别改为 imap.ym.163.com 和 ...
随机推荐
- react的3种组件
推荐阅读:https://www.jianshu.com/p/2726b8654989 1. createClass 已不推荐使用,这里不再多讲.但你仍需要了解它,因为你可能会接触到一些旧项目,或者一 ...
- Gradle入门系列
http://blog.jobbole.com/71999/ 版权声明:本文为博主原创文章,未经博主允许不得转载.
- SSM项目实战 之 Shiro
目录 Shiro 概述 shiro核心概念 核心类 整体类图 主要概念 Shiro架构 认证 什么是认证 关键对象 使用ini完成认证 认证流程 自定义realm 散列密码 授权 什么是授权 使用in ...
- Unity3d客户端与Photon服务器数据通信
今天先介绍一下Photon服务器是什么,可以做什么,为什么要使用它? Photon:开发多人联网游戏最轻松的方案!可以迅速简单实现多人实时在线网络游戏(pvp). Photon:透过位于各地的Phot ...
- c#修改webservice 的地址和端口(修改配置文件)
修改服务引用的地址和端口有两种方法: 1.直接修改配置文件web.config 2.动态修改: 右击转到实现 发现五个构造方法,通过第三个构造方法即可进行URL的初始化 IIS修改IP地址后 直接在初 ...
- python限定方法参数类型、返回值类型、变量类型等
typing模块的作用 自python3.5开始,PEP484为python引入了类型注解(type hints) 类型检查,防止运行时出现参数和返回值类型.变量类型不符合. 作为开发文档附加说明,方 ...
- Mysql关键字之Group By(一)
原文地址,优先更新https://hhe0.github.io group by 是一个我们在日常工作学习过程中经常遇到的一个Mysql关键字.现总结其用法如下,内容会不断补充,出现错误欢迎批评指正. ...
- django项目模型字段
一个模型(model)就是一个单独的.确定的数据的信息源,包含了数据的字段和操作方法.通常,每个模型映射为一张数据库中的表. 基本的原则如下: 每个模型在Django中的存在形式为一个Python类 ...
- [LeetCode] 225. Implement Stack using Queues 用队列来实现栈
Implement the following operations of a stack using queues. push(x) -- Push element x onto stack. po ...
- Procedural Mesh Component in C++:Getting Started
转自:https://wiki.unrealengine.com/Procedural_Mesh_Component_in_C++:Getting_Started I create a simple ...