170706、springboot编程之文件上传
使用thymleaf模板,自行导入依赖!
一、单文件上传
1、编写单文件上传页面singleFile.html
<!DOCTYPE html>

<html xmlns="http://www.w3.org/1999/xhtml" xmlns:th="http://www.thymeleaf.org"

      xmlns:sec="http://www.thymeleaf.org/thymeleaf-extras-springsecurity3">

<head>

    <title>单文件上传</title>

</head>

<body>

    <form method="post" enctype="multipart/form-data" action="/singleUpload">

        <p>选择文件:<input type="file" name="file"/></p>

        <p><input type="submit" th:value="上传"/></p>

    </form>

</body>

</html>
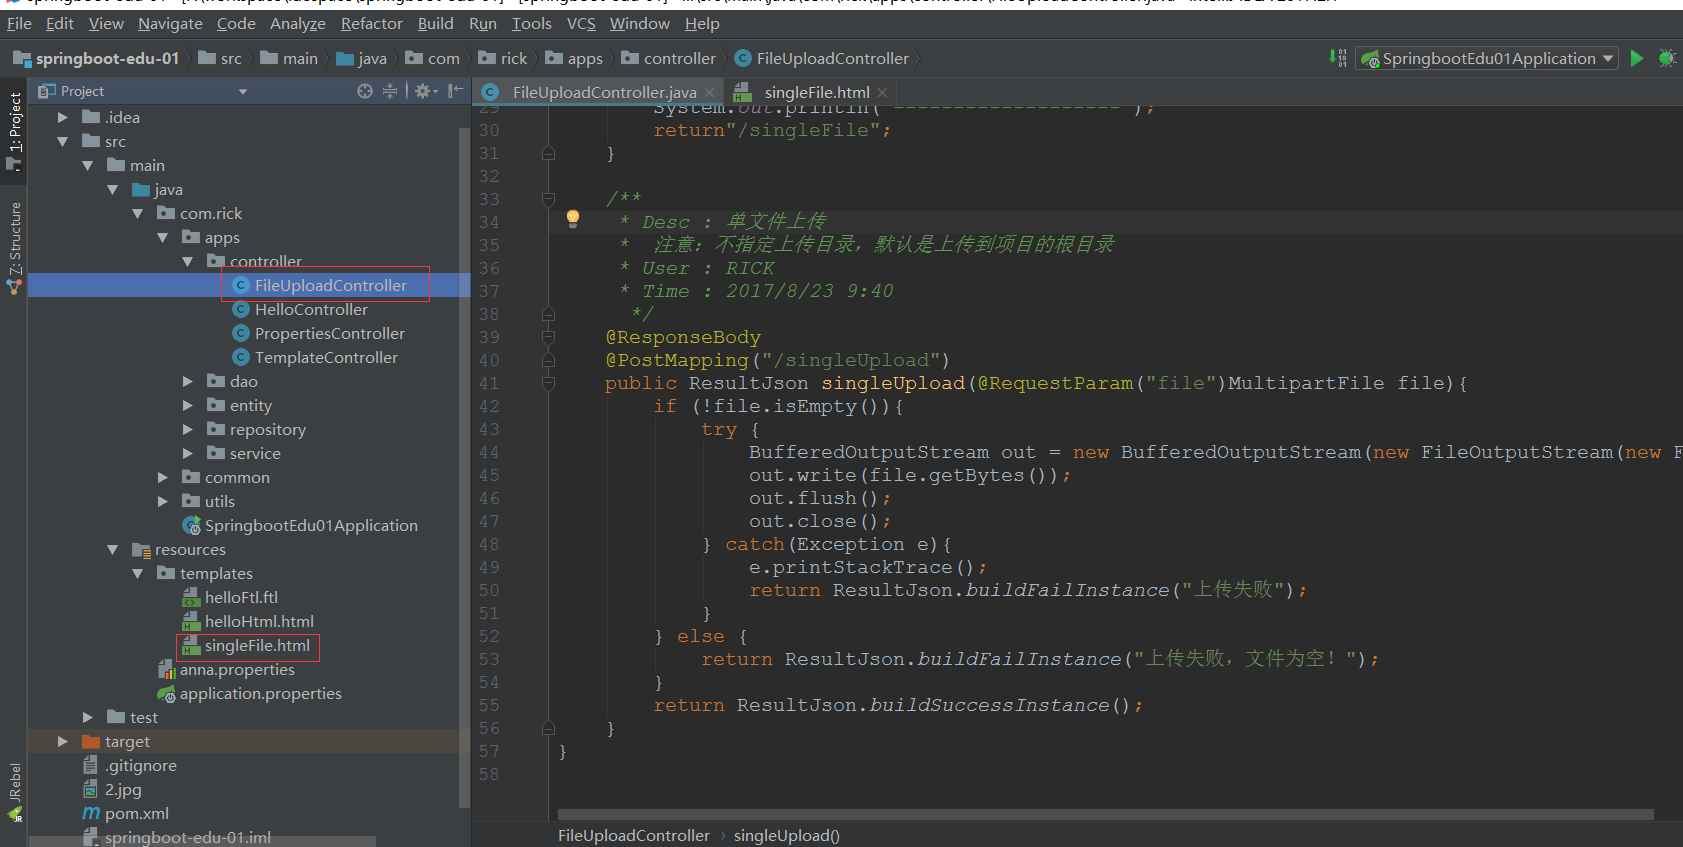
2、编写FileUploadController.java
package com.rick.apps.controller;

import com.rick.common.ResultJson;

import org.springframework.stereotype.Controller;

import org.springframework.web.bind.annotation.*;

import org.springframework.web.multipart.MultipartFile;

import java.io.BufferedOutputStream;

import java.io.File;

import java.io.FileOutputStream;

/**

 * Desc :  文件上传

 * User : RICK

 * Time : 2017/8/23 9:36

  */

@Controller

public class FileUploadController {

    /**

     * Desc :  跳转单文件上传页面

     * User : RICK

     * Time : 2017/8/23 9:37

      */

    @RequestMapping("/singleFile")

    public String singleFile(){

        System.out.println("-------------------");

        return"/singleFile";

    }

    /**

     * Desc : 单文件上传

     *  注意:不指定上传目录,默认是上传到项目的根目录

     * User : RICK

     * Time : 2017/8/23 9:40

      */

    @ResponseBody

    @PostMapping("/singleUpload")

    public ResultJson singleUpload(@RequestParam("file")MultipartFile file){

        if (!file.isEmpty()){

            try {

                BufferedOutputStream out = new BufferedOutputStream(new FileOutputStream(new File(file.getOriginalFilename())));

                out.write(file.getBytes());

                out.flush();

                out.close();

            } catch(Exception e){

                e.printStackTrace();

                return ResultJson.buildFailInstance("上传失败");

            }

        } else {

            return ResultJson.buildFailInstance("上传失败,文件为空!");

        }

        return ResultJson.buildSuccessInstance();

    }

}
3、编写文件上传的设置
package com.rick;

import org.springframework.boot.SpringApplication;

import org.springframework.boot.autoconfigure.SpringBootApplication;

import org.springframework.boot.context.properties.EnableConfigurationProperties;

import org.springframework.boot.web.servlet.MultipartConfigFactory;

import org.springframework.boot.web.servlet.ServletComponentScan;

import org.springframework.context.annotation.Bean;

import javax.servlet.MultipartConfigElement;

@SpringBootApplication

@EnableConfigurationProperties

@ServletComponentScan

public class SpringbootEdu01Application {

    public static void main(String[] args) {

        SpringApplication.run(SpringbootEdu01Application.class, args);

    }

    /**

     * Desc :  设置文件上传的基本配置

     * User : RICK

     * Time : 2017/8/23 10:11

      */

    @Bean

    public MultipartConfigElement multipartConfigElement(){

        MultipartConfigFactory factory = new MultipartConfigFactory();

        //设置文件大小限制 ,超了,页面会抛出异常信息,这时候就需要进行异常信息的处理了;

        factory.setMaxFileSize("1MB");//KB,MB

        //设置总上传数据总大小

        factory.setMaxRequestSize("10MB");////KB,MB

        //设置文件存放位置

//        factory.setLocation("d:\\files");

        return factory.createMultipartConfig();

    }

}
4、启动项目测试
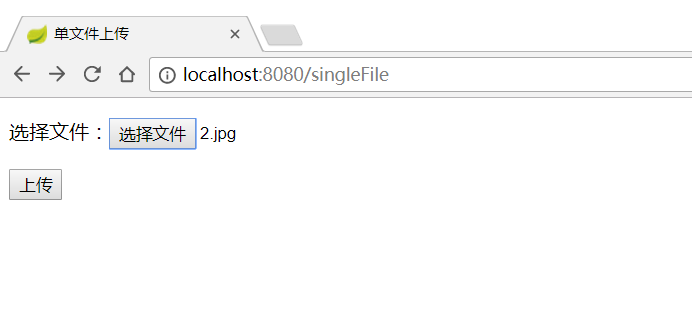
访问http://localhost:8080/singleFile出现文件上传页面

选择要上传的文件,点击上传

上传成功,到项目根目录下查看文件是否存在

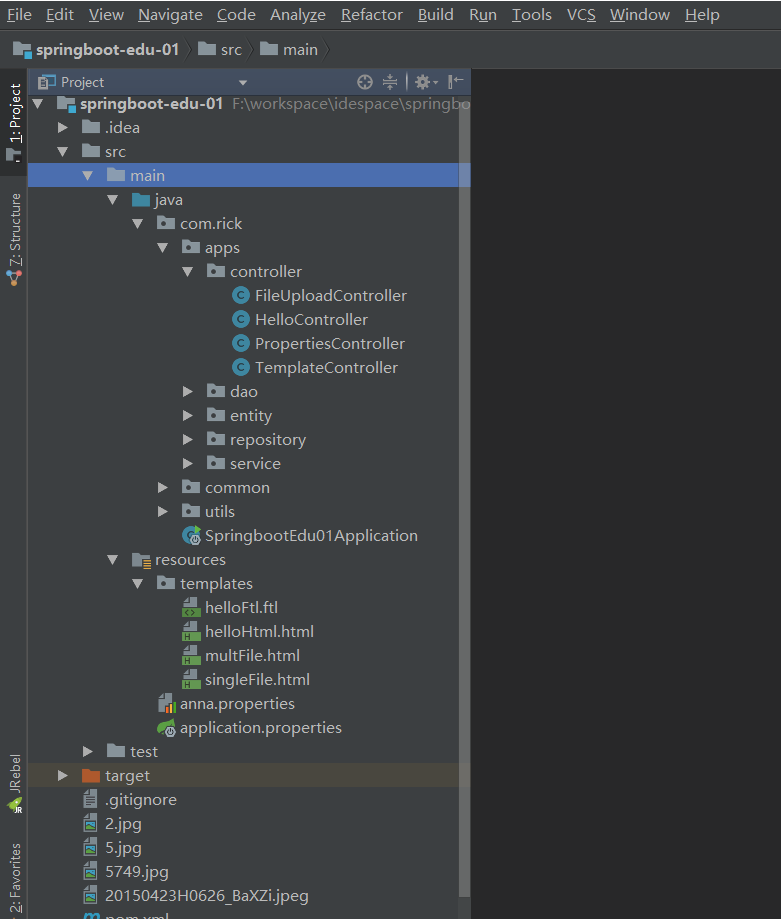
项目清单:
二、多文件上传
1、编写多文件上传页面multFile.html
<!DOCTYPE html>

<html lang="en">

<head>

    <title>多文件上传</title>

</head>

<body>

    <form method="post" enctype="multipart/form-data" action="/multUpload">

        <p>文件1:<input type="file" name="file" /></p>

        <p>文件2:<input type="file" name="file" /></p>

        <p>文件3:<input type="file" name="file" /></p>

        <p><input type="submit" value="上传" /></p>

    </form>

</body>

</html>
2、编写多文件上传后台代码FileUploadController.java
package com.rick.apps.controller;

import com.rick.common.ResultJson;

import org.springframework.stereotype.Controller;

import org.springframework.web.bind.annotation.*;

import org.springframework.web.multipart.MultipartFile;

import org.springframework.web.multipart.MultipartHttpServletRequest;

import javax.servlet.http.HttpServletRequest;

import java.io.BufferedOutputStream;

import java.io.File;

import java.io.FileOutputStream;

import java.util.List;

/**

 * Desc :  文件上传

 * User : RICK

 * Time : 2017/8/23 9:36

  */

@Controller

public class FileUploadController {

    /**

     * Desc :  跳转单文件上传页面

     * User : RICK

     * Time : 2017/8/23 9:37

      */

    @RequestMapping("/singleFile")

    public String singleFile(){

        return"/singleFile";

    }

    /**

     * Desc : 单文件上传

     *  注意:不指定上传目录,默认是上传到项目的根目录

     * User : RICK

     * Time : 2017/8/23 9:40

      */

    @ResponseBody

    @PostMapping("/singleUpload")

    public ResultJson singleUpload(@RequestParam("file")MultipartFile file){

        if (!file.isEmpty()){

            try {

                BufferedOutputStream out = new BufferedOutputStream(new FileOutputStream(new File(file.getOriginalFilename())));

                out.write(file.getBytes());

                out.flush();

                out.close();

            } catch(Exception e){

                e.printStackTrace();

                return ResultJson.buildFailInstance("上传失败");

            }

        } else {

            return ResultJson.buildFailInstance("上传失败,文件为空!");

        }

        return ResultJson.buildSuccessInstance();

    }

    /**

     * Desc :  跳转多文件上传页面

     * User : RICK

     * Time : 2017/8/23 9:37

     */

    @RequestMapping("/multFile")

    public String multFile(){

        return"/multFile";

    }

    /**

     * Desc :  多文件上传

     *  主要是使用了MultipartHttpServletRequest和MultipartFile

     * User : RICK

     * Time : 2017/8/23 10:17

      */

    @ResponseBody

    @PostMapping("/multUpload")

    public ResultJson multUpload(HttpServletRequest request){

        try {

            List<MultipartFile> files = ((MultipartHttpServletRequest)request).getFiles("file");

            MultipartFile file = null;

            BufferedOutputStream stream = null;

            for (int i=0;i<files.size();i++){

                file = files.get(i);

                if(!file.isEmpty()){

                    byte[] bytes = file.getBytes();

                    stream = new BufferedOutputStream(new FileOutputStream(new File(file.getOriginalFilename())));

                    stream.write(bytes);

                    stream.flush();

                    stream.close();

                }

            }

        } catch(Exception e){

            e.printStackTrace();

            return ResultJson.buildFailInstance("上传失败");

        }

        return ResultJson.buildSuccessInstance();

    }

}
3、启动项目测试,http://localhost:8080/multFile
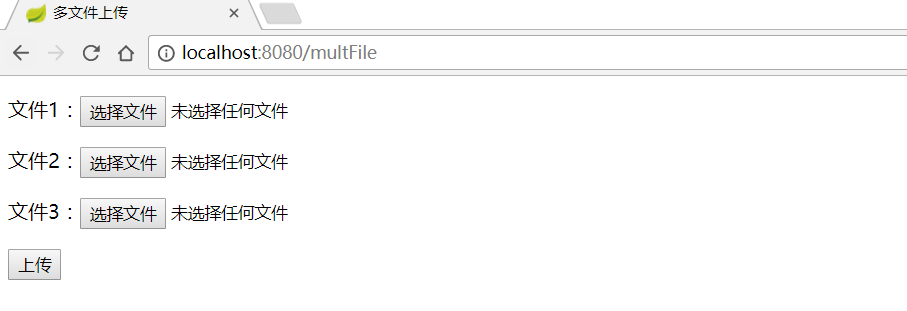
选择文件
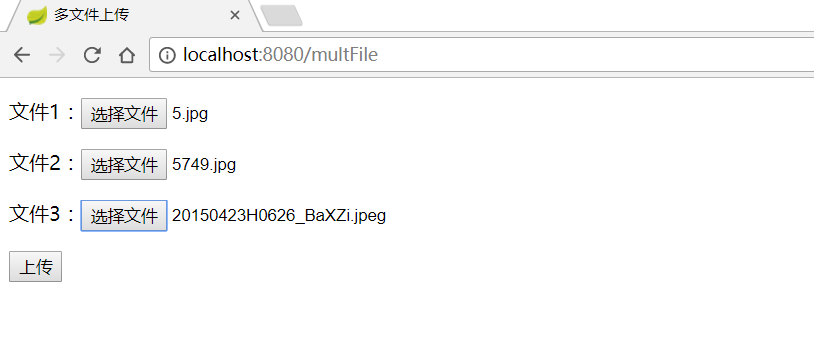
点击上传
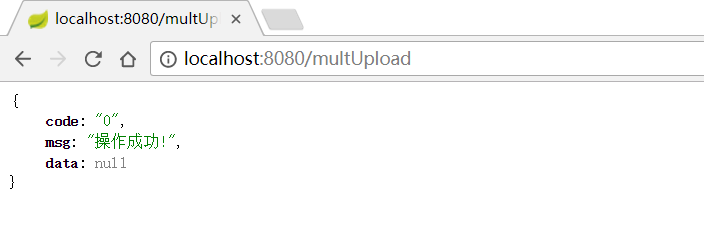
到项目根目录下查看文件是否上传成功
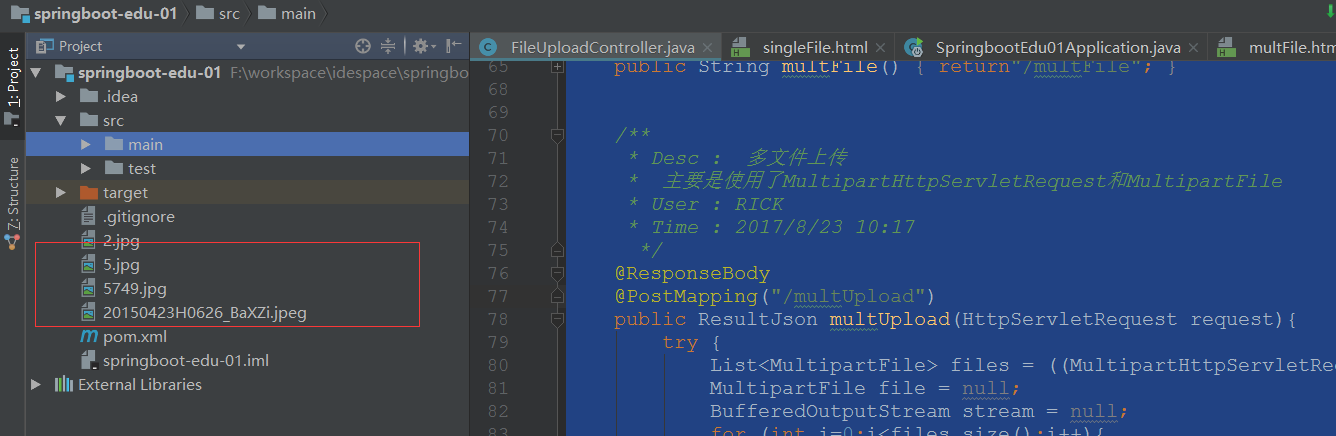
项目清单:
170706、springboot编程之文件上传的更多相关文章
- Windows环境下用C#编程将文件上传至阿里云OSS笔记
Windows环境下用C#编程将文件上传至阿里云OSS笔记 本系列文章由ex_net(张建波)编写,转载请注明出处. http://blog.csdn.net/ex_net/article/detai ...
- SpringBoot项目实现文件上传和邮件发送
前言 本篇文章主要介绍的是SpringBoot项目实现文件上传和邮件发送的功能. SpringBoot 文件上传 说明:如果想直接获取工程那么可以直接跳到底部,通过链接下载工程代码. 开发准备 环境要 ...
- Springboot如何启用文件上传功能
网上的文章在写 "springboot文件上传" 时,都让你加上模版引擎,我只想说,我用不上,加模版引擎,你是觉得我脑子坏了,还是觉得我拿不动刀了. springboot如何启用文 ...
- iOS-网络编程(二)文件上传和断点离线下载
一. iOS中发送HTTP请求的方案 在iOS中,我们常用发送HTTP请求的方案有苹果原生(自带)NSURLConnection:用法简单,最古老最经典最直接的一种方案 (iOS 9.0弃用)NSUR ...
- SpringBoot+BootStrap多文件上传到本地
1.application.yml文件配置 # 文件大小 MB必须大写 # maxFileSize 是单个文件大小 # maxRequestSize是设置总上传的数据大小 spring: servle ...
- SpringBoot之KindEditor文件上传
后端核心代码如下: package com.blog.springboot.controller; import java.io.BufferedOutputStream; import java.i ...
- springboot+vue实现文件上传
https://blog.csdn.net/mqingo/article/details/84869841 技术: 后端:springboot 前端框架:vue 数据库:mysql pom.xml: ...
- SpringBoot: 6.文件上传(转)
1.编写页面uploadFile.html <!DOCTYPE html> <html lang="en"> <head> <meta c ...
- Springboot(九).多文件上传下载文件(并将url存入数据库表中)
一. 文件上传 这里我们使用request.getSession().getServletContext().getRealPath("/static")的方式来设置文件的存储 ...
随机推荐
- 《FPGA全程进阶---实战演练》第二章之焊接板子及调试注意事项
1.若是读者第一次做板子,强烈建议画完PCB板后将PCB图打印出来,然后对照你买的芯片将芯片放置对 应的位置,然后查看所有的封装格式适不适合,否则等你做出板子来后再试,为时晚矣.笔者虽然知道要这么 做 ...
- 【转】【MFC】 StretchBlt绘图图像失真
MFC中位图伸缩函数StretchBlt在对图片进行缩放时会造成严重的图片失真. 在了解解决方法前先巩固下StretchBlt的用法: StretchBlt 函数功能:函数从源矩形中复制一个位图到目标 ...
- e671. 在缓冲图像中存取像素
// Get a pixel int rgb = bufferedImage.getRGB(x, y); // Get all the pixels int w = bufferedImage.get ...
- 关于HTTP keep-alive的实验(转至 http://my.oschina.net/flashsword/blog/80037)
前面一篇文章提到,HTTP1.1中持久连接已经是默认配置,除非设置Connection为close,否则默认都会进行持久连接.但是我们知道事实标准跟教科书还是可能会有一定差距的,所以不妨自己尝试一下. ...
- C++多线程环境下注意共享资源的释放顺序
比如我现在写一个多线程下载程序,包含DownloadTask.HttpDownload两个类. class DownloadTask { //省略n行代码 public: int m_threads; ...
- HBase源代码分析之MemStore的flush发起时机、推断条件等详情
前面的几篇文章.我们具体介绍了HBase中HRegion上MemStore的flsuh流程,以及HRegionServer上MemStore的flush处理流程.那么,flush究竟是在什么情况下触发 ...
- Linux配置防火墙,开启80port、3306port 可能会遇到的小问题
vi /etc/sysconfig/iptables -A INPUT -m state –state NEW -m tcp -p tcp –dport 80 -j ACCEPT(同意80端口通 ...
- 做BS开发,你应该知道的一些东西
界面和用户体验(Interface and User Experience) 知道各大浏览器执行Web标准的情况,保证你的站点在主要浏览器上都能正常运行.你至少要测试以下引擎:Gecko(用于Fire ...
- spring配置文件中bean标签
<bean id="beanId"(1) name="beanName"(2) class="beanClass"(3) parent ...
- MFC 小知识总结五
1 移动无标题对话框 响应WM_NCHITTEST 消息 [cpp] view plaincopy LRESULT CTimeJishiDlg::OnNcHitTest(CPoint point) ...