使用UIPageControl UIScrollView制作APP引导界面
1. 新建两个视图控制器类(继承自UIViewController), 在AppDelegate.m中指定根视图控制器
- #import "AppDelegate.h"
- #import "RootViewController.h"
- #import "LeadViewController.h"
- @interface AppDelegate ()
- @end
- @implementation AppDelegate
- - (void)dealloc
- {
- self.window = nil;
- [super dealloc];
- }
- - (BOOL)application:(UIApplication *)application didFinishLaunchingWithOptions:(NSDictionary *)launchOptions {
- self.window = [[[UIWindow alloc] initWithFrame:[[UIScreen mainScreen] bounds]] autorelease];
- // Override point for customization after application launch.
- self.window.backgroundColor = [UIColor whiteColor];
- [self.window makeKeyAndVisible];
- // 在用户的偏好设置中做标记,判断用户是否是第一次打开应用
- // [NSUserDefaults standardUserDefaults]; // 获取用户的偏好设置选项
- BOOL isFirst = [[NSUserDefaults standardUserDefaults] boolForKey:@"NB"];
- NSLog(@"isFirst = %d", isFirst); // 第一次打印为0 ,第二次打印为1
- if (isFirst) {// 若为真,直接进入应用
- RootViewController *rootVC = [[RootViewController alloc] init];
- self.window.rootViewController = rootVC;
- [rootVC release];
- } else { // 若为假,启动引导页
- LeadViewController *leadVC = [[LeadViewController alloc] init];
- self.window.rootViewController = leadVC;
- [leadVC release];
- }
- return YES;
- }
2. 在LeadViewController中写主要代码
- //
- // LeadViewController.m
- /**
- * 引导页面制作
- *
- */
- #import "LeadViewController.h"
- #import "RootViewController.h"
- #define kScreenWidth [UIScreen mainScreen].bounds.size.width
- #define kScreenHeight [UIScreen mainScreen].bounds.size.height
- #define kImageCount 6
- @interface LeadViewController ()<UIScrollViewDelegate>
- @property (nonatomic, retain) UIPageControl *pageControl;
- @property (nonatomic, retain) UIScrollView *scrollView;
- @end
- @implementation LeadViewController
- - (void)dealloc
- {
- self.pageControl = nil;
- self.scrollView = nil;
- [super dealloc];
- }
- - (void)viewDidLoad {
- [super viewDidLoad];
- //self.view.backgroundColor = [UIColor redColor];
- [self configureScrollView];
- [self configurePageControl]; //! 先调用这个方法的话,后来的scrollView就会把pageControl给盖住
- }
- // 配置滚动视图
- - (void)configureScrollView {
- self.scrollView = [[UIScrollView alloc] initWithFrame:[UIScreen mainScreen].bounds];
- _scrollView.backgroundColor = [UIColor yellowColor];
- // 内容区域大小
- _scrollView.contentSize = CGSizeMake(kImageCount * kScreenWidth, kScreenHeight); // 内容区域宽度为图片个数*屏幕宽度
- [self.view addSubview:_scrollView];
- [_scrollView release];
- // 向_scrollView上添加imageView对象
- for (int i = 0; i < kImageCount; i++) {
- // 准备图片
- UIImage *image = [UIImage imageNamed:[NSString stringWithFormat:@"v6_guide_%d", i+1]];
- // 创建UIImageView对象
- UIImageView *imageView = [[UIImageView alloc] initWithImage:image];
- // 设置frame
- imageView.frame = CGRectMake(kScreenWidth * i, 0, kScreenWidth, kScreenHeight); //!
- //! 让_scrollView整页滑动
- _scrollView.pagingEnabled = YES;
- //! 关闭弹簧效果
- _scrollView.bounces = NO;
- _scrollView.delegate = self; // 添加代理,处理事件
- [_scrollView addSubview:imageView];
- [imageView release];
- // 最后一张图片添加轻拍手势
- if (5 == i) {
- imageView.userInteractionEnabled = YES; //!UIlabel和UIimageView的默认交互是关的
- UITapGestureRecognizer *tap = [[UITapGestureRecognizer alloc] initWithTarget:self action:@selector(handleTap:)];
- [imageView addGestureRecognizer:tap];// 手势添加到imageView上
- [tap release];
- }
- }
- }
- // 实现手势关联的事件
- - (void)handleTap:(UITapGestureRecognizer *)tap {
- // 设置用户的偏好设置
- [[NSUserDefaults standardUserDefaults] setBool:YES forKey:@"NB"];
- // 更改应用window的根视图控制器
- // [UIApplication sharedApplication] 取出当前应用对象
- RootViewController *rootVC = [[RootViewController alloc]init];
- [UIApplication sharedApplication].keyWindow.rootViewController = rootVC; // 这个window和AppDelegate.m中的window是一个window
- [rootVC release];
- }
- // 配置分页控制器
- - (void)configurePageControl {
- self.pageControl = [[UIPageControl alloc] initWithFrame:(CGRectMake(0, kScreenHeight - 40, kScreenWidth, 30))];// 在屏幕下方添加pageContro
- //_pageControl.backgroundColor = [UIColor blackColor];
- // 分页个数
- _pageControl.numberOfPages = kImageCount;
- // 当前点的颜色
- _pageControl.currentPageIndicatorTintColor = [UIColor greenColor];
- // 其他点的颜色
- _pageControl.pageIndicatorTintColor = [UIColor yellowColor];
- // 添加关联事件
- [_pageControl addTarget:self action:@selector(handlePageControl:) forControlEvents:(UIControlEventValueChanged)];
- // 添加到视图控制器上
- [self.view addSubview:_pageControl];
- [_pageControl release];
- }
- #pragma maek - 实现代理方法(协议中的方法)
- - (void)scrollViewDidEndDecelerating:(UIScrollView *)scrollView {
- // 减速结束时取出偏移量
- CGPoint offSet = scrollView.contentOffset;
- CGFloat number = offSet.x / kScreenWidth;
- _pageControl.currentPage = (NSInteger)number; // image与点关联 scrollView 与 pageControl关联
- }
- // 实现分页控制器关联的方法
- - (void)handlePageControl:(UIPageControl *)sender {
- // 取出当前分页
- NSInteger number = sender.currentPage;
- // 通过分页控制scrollView的偏移量
- _scrollView.contentOffset = CGPointMake(number * kScreenWidth, 0); // 点与image关联 pageControl 与 scrollView关联
- }
- - (void)didReceiveMemoryWarning {
- [super didReceiveMemoryWarning];
- // Dispose of any resources that can be recreated.
- }
- @end
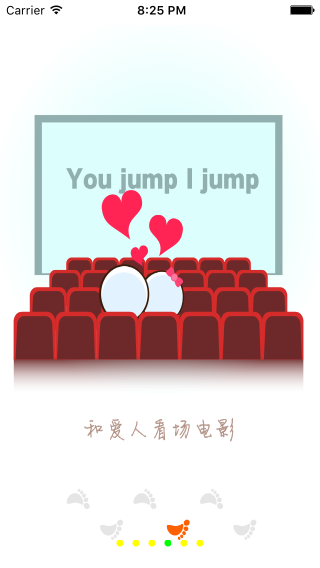
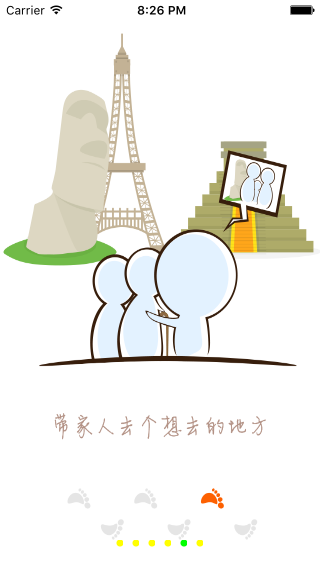
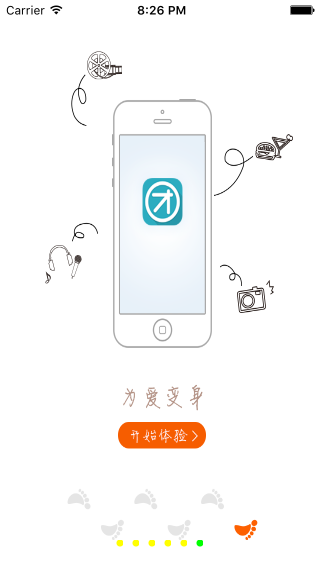
UIPageControl和UIScrollView这两种UI控件的结合使用,很常见,APP第一次打开时的引导界面用这两个控件就可以完成了~
使用UIPageControl UIScrollView制作APP引导界面的更多相关文章
- App 引导界面
App 引导界面 1.前言 最近在学习实现App的引导界面,本篇文章对设计流程及需要注意的地方做一个浅显的总结. 附上项目链接,供和我水平类似的初学者参考——http://files.cnblogs. ...
- App引导界面,可以这么玩
什么是ViewPager,刚一听到这个词,我们可能感觉很奇怪,但是我相信我们大部分人都曾见到过这些界面的.其实它就是我们在安装好一个app之后第一次使用时的那些引导界面的效果.这就是通过ViewPag ...
- 用PS制作APP的界面图片
今天就教大家怎么做出这种厚度的地方还不是白色的,而是根据界面内容交相呼应的图案的APP界面展示图片. 以苹果5S的尺寸为例. 步骤: 1.新建一个画布尺寸为:640*1136,然后保存,命名如:5S效 ...
- Android--ViewPager制作APP引导页
ViewPager使用FragmentStatePagerAdapter做Adapter,引导页使用多Fragment形式. FragmentStatePagerAdapter代码如下: public ...
- ViewPager制作APP引导页+若干动画效果
ViewPager使用FragmentStatePagerAdapter做Adapter,引导页使用多Fragment形式. 见http://www.cnblogs.com/bmbh/p/567276 ...
- Xamarin.iOS - 利用Settings插件与EAIntroView制作App的欢迎界面
Xamarin.iOS - 利用Settings插件与EAIntroView制作App的欢迎界面 关于欢迎界面 很多App第一次启动都会有一个欢迎界面,欢迎界面往往决定这用户对App的第一映像,所以欢 ...
- IOS炫酷的引导界面
代码地址如下:http://www.demodashi.com/demo/11246.html 一.准备工作 1.先用时ps工具制作好图片 2.然后计算好每张图片通过滑动视图的偏移量来改变图片的位置 ...
- Hybrid App技术批量制作APP应用与跨平台解决方案
前言 简单的聊一聊我开发了4年之久的Hybrid App(混合模式移动应用)平台开发,目前一直在持续开发与维护,支持无编程快速开发! 其本意也不是要吹捧前端有多么强大,只是用自己的实际项目阐述下对于前 ...
- 【笔记】WPF实现ViewPager引导界面效果及问题汇总
最近在开发项目的首次使用引导界面时,遇到了问题,引导界面类似于安卓手机ViewPager那样的效果,希望通过左右滑动手指来实现切换不同页面,其间伴随动画. 实现思路: 1.界面布局:新建一个UserC ...
随机推荐
- Oracle错误问题---- 《ora-12638:身份证明检索失败》
使用客户端可以连接,但只有一个站点出现此问题,非常郁闷,网上查了一下,发现是用户认证问题,解决办法如下: 在ORACLE客户端目录下 NETWORK/ADMIN下的sqlnet.ora,使用记事本打开 ...
- 设置CentOS里的Mysql开启客户端远程连接
CentOS系统安装好MySQL后,默认情况下不支持用户通过非本机连接上数据库服务器,下面是解决方法: 1.在控制台执行 mysql -u root -p mysql,系统提示输入数据库root用户的 ...
- JS函数定义与匿名函数的调用
一.函数声明.函数表达式.匿名函数 函数声明:function fnName () {…};使用function关键字 声明一个函数,再指定一个函数名,叫函数声明. 函数表达式 var fnName ...
- NGUI类之间的关系和架构
NGUI Drawcall 1.使用同一个altals的元素尽量放在同一个UIPanel下面,在NGUI中,它消耗的drawcall是以每个Panel为独立计算单位进行计算的. 2.如果一个UIPan ...
- 一个坑:java.sql.ResultSet.getInt==》the column value; if the value is SQL NULL, the value returned is 0
Retrieves the value of the designated column in the current row of this ResultSet object as a String ...
- buffer busy wait
什么是buffer busy wait? A session that reads or modifies a buffer in the SGA must first acquire the cac ...
- 【HDOJ】3184 All Can Do
简单数学题. #include <cstdio> #include <cstring> #include <cstdlib> int main() { int t; ...
- Android中ListView通过BaseAdapter实现数据的绑定
1. public class ListFiles extends Activity { ListView Listview=null; protected void onCreate(Bundle ...
- HDU_2047——EOF字符串排序排列问题,递推
Problem Description 今年的ACM暑期集训队一共有18人,分为6支队伍.其中有一个叫做EOF的队伍,由04级的阿牛.XC以及05级的COY组成.在共同的集训生活中,大家建立了深厚的友 ...
- URAL 2034 : Caravans
Description Student Ilya often skips his classes at the university. His friends criticize him for ...