PC端的鼠标拖拽滑动
1、滑块拖拽
html:
<div id="div1">
js:
<script>

var oDiv=null;

var disX=;

var disY=;

window.onload=function ()

{

    oDiv=document.getElementById('div1');

    oDiv.onmousedown=fnDown;

};

function fnDown(ev)

{

    var oEvent=ev||event;

    disX=oEvent.clientX-oDiv.offsetLeft;

    disY=oEvent.clientY-oDiv.offsetTop;

    document.onmousemove=fnMove;

    document.onmouseup=fnUp;

}

function fnMove(ev)

{

    var oEvent=ev||event;

    oDiv.style.left=oEvent.clientX-disX+'px';

    oDiv.style.top=oEvent.clientY-disY+'px';

}

function fnUp()

{

    document.onmousemove=null;

    document.onmouseup=null;

}

</script>
2、鼠标滑动滑块
html
<div class="box">

    <ul class="drag">

        <li></li>

        <li></li>

        <li></li>

        <li></li>

        <li></li>

        <li></li>

        <li></li>

        <li></li>

        <li></li>

        <li></li>

        <li></li>

        <li></li>

    </ul>

</div>
css
    *{

        padding:;

        margin: ;

    }

    .box {

        position: absolute;

        top:100px;

        width:%;

         height:100px;

        overflow: hidden;

        left: ;

        font-size: ;

    }

.drag {

  position:absolute;

  top:;

  left:;

  padding:;

  height:100px;

  -webkit-user-select: none;

  user-select: none;

  -moz-user-select: none;

  -ms-user-select: none;

}

.drag li{

    display: inline-block;

    width: 300px;

    height: 100px;

    background: blue;

    border: 1px solid #ccc;

    box-sizing: border-box;

}
js
$(document).ready(function(){

  var move=false;

  var _x,_y;

  var item =$(".drag li");

  var len=;

  for(var i=;i<item.length;i++){

      len+=$(".drag li").eq(i).outerWidth(true);

  }

  $(".drag").css({"width":len});

  $(".drag").mousedown(function(e){

    move=true;

    _x=e.pageX-parseInt($(".drag").css("left"));

    // _y=e.pageY-parseInt($(".drag").css("top"));

  });

  $(document).mousemove(function(e){

    if(move){

      var x=e.pageX-_x;//控件左上角到屏幕左上角的相对位置

      var y=e.pageY-_y;

      var distansR=-($('.drag').width()-$(window).width());

      console.log($(window).width(),distansR)

    //   $(".drag").css({"top":y,"left":x});

        if(x>){

            $(".drag").css({"left":});

            return false;

        }

        console.log(x,distansR);

        if(x<distansR){

            $(".drag").css({"left":distansR});

            console.log("不能在右滑啦")

            return false;

        }

        $(".drag").css({"left":x});

    }

  }).mouseup(function(){

    move=false;

  });

})
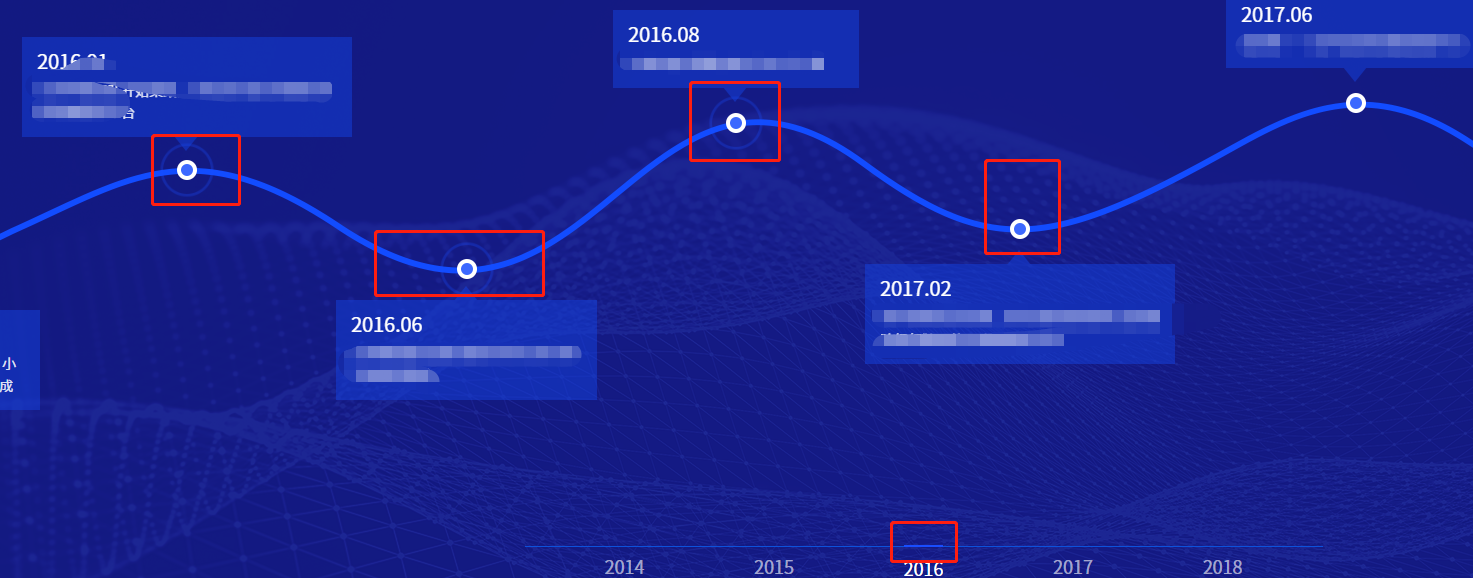
应用场景实现进度区域的滑动,下面时间轴跟着显示相应的时间点,点击时间轴,进度条跟着展示相应的区域!!
3、滑动滑块,切换页面
css:
*{

                margin:;

                padding: ;

            }

              .lineDiv {

                position: relative;

                height: 5px;

                background: red;

                width: 500px;

                margin: 50px auto;

            }

            .lineDiv .minDiv {

                position: absolute;

                top: -5px;

                left: ;

                width: 15px;

                height: 15px;

                background: green;

                cursor: pointer

            }

            .lineDiv .minDiv .vals {

                position: absolute;

                font-size: 20px;

                top: -45px;

                left: -10px;

                width: 35px;

                height: 35px;

                line-height: 35px;

                text-align: center;

                background: blue;

            }

            .lineDiv .minDiv .vals:after {

                content: "";

                width: 0px;

                height: 0px;

                border-top: 6px solid blue;

                border-left: 6px solid transparent;

                border-right: 6px solid transparent;

                border-bottom: 6px solid transparent;

                display: block;

                margin-left: 11px;

            }

            .scroll-box{

                position: absolute;

                top: 291px;

                left: ;

                height: 280px;

                width: %;

                overflow: hidden;

            }

            .scroll-box ul {

                position: absolute;

                left:;

                width: 5000px;

                user-select: none;

                font-size: ;

            }

            .scroll-box li {

                display: inline-block;

                width: 500px;

                background-color: red;

                height: 200px;

                border:1px solid #ccc;

                    box-sizing: border-box;

            }
html:
<div class="scroll-box" id="scroll-box">

            <ul id="contain" class="drag">

                <li></li>

                <li></li>

                <li></li>

                <li></li>

                <li></li>

                <li></li>

                <li></li>

                <li></li>

                <li></li>

                <li></li>

            </ul>

        </div>

        <center>

        <h3>用鼠标拖动小方块<span id="msg"></span>%</h3>

        </center>

        <div id="lineDiv" class="lineDiv">

            <div id="minDiv" class="minDiv">

                <div id="vals" class="vals"></div>

            </div>

        </div>
js:
        <script>

            window.onload = function() {

                var contain = document.getElementById('contain');

                var lineDiv = document.getElementById('lineDiv'); //长线条

                var minDiv = document.getElementById('minDiv'); //小方块

                var msg = document.getElementById("msg");

                var vals = document.getElementById("vals");

                var ifBool = false; //判断鼠标是否按下

                //事件

                var start = function(e) {

                    e.stopPropagation();

                    ifBool = true;

                    console.log("鼠标按下")

                }

                var move = function(e) {

                    console.log("鼠标拖动")

                    if(ifBool) {

                        if(!e.touches) {    //兼容移动端

                            var x = e.clientX;

                        } else {     //兼容PC端

                            var x = e.touches[].pageX;

                        }

                        //var x = e.touches[0].pageX || e.clientX; //鼠标横坐标var x

                        var lineDiv_left = getPosition(lineDiv).left; //长线条的横坐标

                        var minDiv_left = x - lineDiv_left; //小方块相对于父元素(长线条)的left值

                        if(minDiv_left >= lineDiv.offsetWidth - ) {

                            minDiv_left = lineDiv.offsetWidth - ;

                        }

                        if(minDiv_left < ) {

                            minDiv_left = ;

                        }

                        //设置拖动后小方块的left值

                        minDiv.style.left = minDiv_left + "px";

                        msg.innerText = parseInt((minDiv_left / (lineDiv.offsetWidth - )) * );

                        vals.innerText = parseInt((minDiv_left / (lineDiv.offsetWidth - )) * );

                        abc((minDiv_left / (lineDiv.offsetWidth - )));

                    }

                }

                var end = function(e) {

                        console.log("鼠标弹起")

                        ifBool = false;

                    }

                    //鼠标按下方块

//              minDiv.addEventListener("touchstart", start);

                minDiv.addEventListener("mousedown", start);

                //拖动

//              window.addEventListener("touchmove", move);

                window.addEventListener("mousemove", move);

                //鼠标松开

//              window.addEventListener("touchend", end);

                window.addEventListener("mouseup", end);

                //获取元素的绝对位置

                function getPosition(node) {

                    var left = node.offsetLeft; //获取元素相对于其父元素的left值var left

                    var top = node.offsetTop;

                    current = node.offsetParent; // 取得元素的offsetParent

                      // 一直循环直到根元素


                    while(current != null) {

                        left += current.offsetLeft;

                        top += current.offsetTop;

                        current = current.offsetParent;

                    }

                    return {

                        "left": left,

                        "top": top

                    };

                }

            }

            function abc(percent){

                var distansR=($('.drag').width()-$(window).width()); //可以右滑的极限

                console.log(-parseInt(percent*distansR + "px"));

                var oLeft = (-parseInt(percent*distansR))+ "px";

                $("#contain").css("left",oLeft);

                $("#contain").addClass("ggg");

            }

        </script>
PC端的鼠标拖拽滑动的更多相关文章
- 一款基于jQuery的支持鼠标拖拽滑动焦点图
记得之前我们分享过一款jQuery全屏广告图片焦点图,图片切换效果还不错.今天我们要分享另外一款jQuery焦点图插件,它的特点是支持鼠标拖拽滑动,所以在移动设备上使用更加方便,你只要用手指滑动屏幕即 ...
- 适合pc端的移动拖拽,分享一下。
h5新加的特性拖拽事件,但是只适合PC端哦.不多说了上代码 <!DOCTYPE html> <html> <head> <title></titl ...
- 支持鼠标拖拽滑动的jQuery焦点图
在线演示 本地下载
- CSharpGL(20)用unProject和Project实现鼠标拖拽图元
CSharpGL(20)用unProject和Project实现鼠标拖拽图元 效果图 例如,你可以把Big Dipper这个模型拽成下面这个样子. 配合旋转,还可以继续拖拽成这样. 当然,能拖拽的不只 ...
- JavaScript鼠标拖拽特效及相关问题总结
#div1{width:200px;height:200px;background:red;position:absolute;} #div2{width:200px;height:200px;bac ...
- 【狼】unity 鼠标拖拽物体实现任意角度自旋转
主要涉及函数 Input.GetAxis(“Mouse x”) 可取得鼠标横向(x轴)移动增量 Input.GetAxis(“Mouse y”) 可取得鼠标竖向(y轴)移动增量 通过勾股定理获取拖拽长 ...
- NGUI对象跟随鼠标拖拽移动
public Camera WNGUICamera; Vector3 _WoldPosition;//指针的初始位置 // Vector3 _WoldAng; Vector3 WscreenSpace ...
- 鼠标拖拽定位和DOM各种尺寸详解
<!DOCTYPE html> <html> <head> <meta charset="UTF-8"> <title> ...
- Arcgis for qml - 鼠标拖拽移动
以实现鼠标拖拽文本图层为例 GitHub:ArcGIS拖拽文本 作者:狐狸家的鱼 目的是利用鼠标进行拖拽. 实现两种模式,一种是屏幕上的拖拽,第二种是地图上图层的挪动. 屏幕上的拖拽其实跟ArcGIS ...
随机推荐
- maven_常用命令
清理编译好的文件 mvn clean 编译文件(只是编译主目录文件) mvn compile 编译测试文件(也会编译主文件) mvn test 打包 mvn package 将项目发布到本地仓库 mv ...
- 1.单件模式(Singleton Pattern)
创建型模式---单件模式(Singleton Pattern)动机(Motivation): 在软件系统中,经常有这样一些特殊的类,必须保证它们在系统中只存在一个实例,才能确保它们的逻辑正确性. ...
- struct sock注释
针对 struct sock 的一些注释: struct sock { /* Socket demultiplex comparisons on incoming packets. */ __u32 ...
- BBS总结
表设计 from django.db import models from django.contrib.auth.models import AbstractUser # Create your m ...
- 解决pycharm启动慢
xms -xmx相关参数设置 打开pycharm的安装目录 D:\PyCharm\PyCharm 2018.2.3\bin下文件pycharm.exe.vmoptions修改默认(版本2016.2)的 ...
- c++进阶学习
以后可能要做c++开发了..记录要看的书和可能用的技术,让自己有个学习的方向... 1. 语言基础 2. 算法与数据结构基础 3. 多线程开发基础 4. 数据库 5. 网络编程 6. 内存数据库技 ...
- 【坑】zsh和oh-my-zsh卸载后导致无法登陆
apt-get remove zsh 然后断开终端,就再也连不上了,崩溃啊! 以下登陆为www用户登陆 各种找,到这里 https://www.cnblogs.com/EasonJim/p/78630 ...
- 解决浏览器跨域限制方案之JSONP
一.什么是JSONP JSONP即:JSON with Padding,是一种解决因浏览器跨域限制不允许访问跨域资源的方法. JSONP是一个非官方的协议,它允许在服务器端返回javascript标签 ...
- DevExpress Winform 常用控件
Ø 前言 DevExpress 控件的功能比较强大,是全球知名控件开发公司,对于开发 B/S 或 C/S 都非常出色,可以实现很炫且功能强大的效果. DevExpress Winform 常用控件是 ...
- ROI Pooling层详解
目标检测typical architecture 通常可以分为两个阶段: (1)region proposal:给定一张输入image找出objects可能存在的所有位置.这一阶段的输出应该是一系列o ...