Python爬虫 | IP池的使用
一、简介
- 爬虫中为什么需要使用代理
一些网站会有相应的反爬虫措施,例如很多网站会检测某一段时间某个IP的访问次数,如果访问频率太快以至于看起来不像正常访客,它可能就会禁止这个IP的访问。所以我们需要设置一些代理IP,每隔一段时间换一个代理IP,就算IP被禁止,依然可以换个IP继续爬取。
- 代理的分类:
正向代理:代理客户端获取数据。正向代理是为了保护客户端防止被追究责任。
反向代理:代理服务器提供数据。反向代理是为了保护服务器或负责负载均衡。
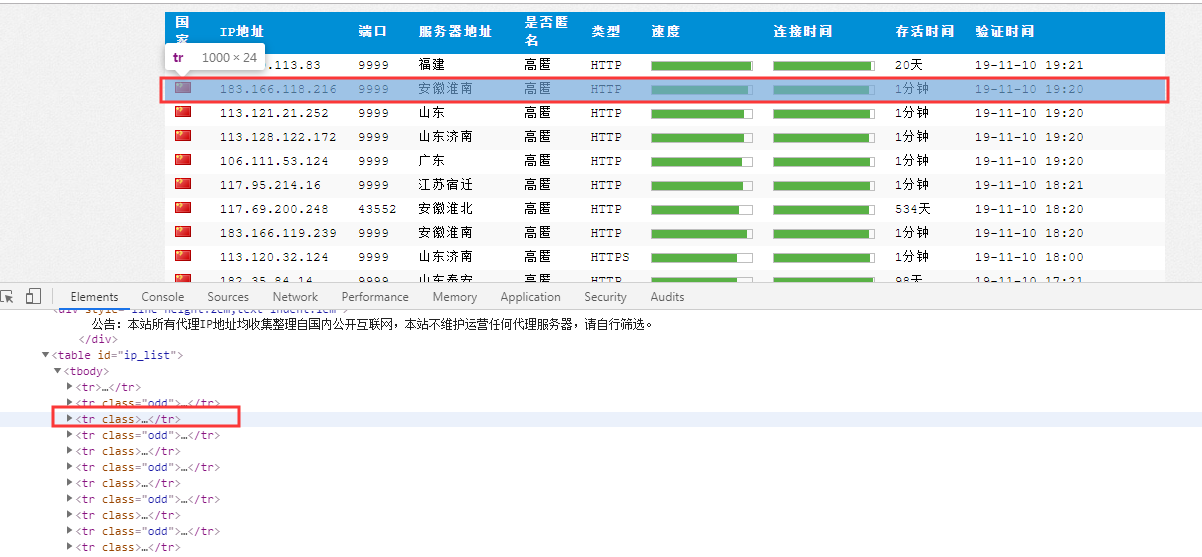
- 免费代理ip提供网站
http://www.goubanjia.com/
西刺代理
快代理
- 匿名度:
- 透明:知道是代理ip,也会知道你的真实ip
- 匿名:知道是代理ip,不会知道你的真实ip
- 高匿:不知道是代理ip,不会知道你的真实ip
- 类型:
- http:只能请求http开头的url
- https:只能请求https开头的url
示例
import requests

headers = {

     'User-Agent': 'Mozilla/5.0 (Windows NT 6.1; Win64; x64) AppleWebKit/537.36 (KHTML, like Gecko) Chrome/73.0.3683.103 Safari/537.36'

}

url = 'https://www.baidu.com/s?wd=ip'

# 不同的代理IP,代理ip的类型必须和请求url的协议头保持一致

proxy_list = [

     {"http": "112.115.57.20:3128"},

     {'http': '121.41.171.223:3128'}

]

# 随机获取代理IP

proxy = random.choice(proxy_list)

page_text = requests.get(url=url,headers=headers,proxies=proxy).text

with open('ip.html','w',encoding='utf-8') as fp:

    fp.write(page_text)

print('over!')
二、IP池
1、免费IP池
从西刺代理上面爬取IP,迭代测试能否使用,建立一个自己的代理IP池,随时更新用来抓取网站数据
import requests

from lxml import etree

import time

import random

from fake_useragent import UserAgent

class GetProxyIP(object):

    def __init__(self):

        self.url = 'https://www.xicidaili.com/nn/'

        self.proxies = {

            'http': 'http://163.204.247.219:9999',

            'https': 'http://163.204.247.219:9999'}

    # 随机生成User-Agent

    def get_random_ua(self):

        ua = UserAgent()        # 创建User-Agent对象

        useragent = ua.random

        return useragent

    # 从西刺代理网站上获取随机的代理IP

    def get_ip_file(self, url):

        headers = {'User-Agent': self.get_random_ua()}

        html = requests.get(url=url, proxies=self.proxies, headers=headers, timeout=5).content.decode('utf-8', 'ignore')

        parse_html = etree.HTML(html)

        tr_list = parse_html.xpath('//tr')              # 基准xpath,匹配每个代理IP的节点对象列表

        for tr in tr_list[1:]:

            ip = tr.xpath('./td[2]/text()')[0]

            port = tr.xpath('./td[3]/text()')[0]

            self.test_proxy_ip(ip, port)                # 测试ip:port是否可用

    # 测试抓取的代理IP是否可用

    def test_proxy_ip(self, ip, port):

        proxies = {

            'http': 'http://{}:{}'.format(ip, port),

            'https': 'https://{}:{}'.format(ip, port), }

        test_url = 'http://www.baidu.com/'

        try:

            res = requests.get(url=test_url, proxies=proxies, timeout=8)

            if res.status_code == 200:

                print(ip, ":", port, 'Success')

                with open('proxies.txt', 'a') as f:

                    f.write(ip + ':' + port + '\n')

        except Exception as e:

            print(ip, port, 'Failed')

    def main(self):

        for i in range(1, 1001):

            url = self.url.format(i)

            self.get_ip_file(url)

            time.sleep(random.randint(5, 10))

if __name__ == '__main__':

    spider = GetProxyIP()

    spider.main()
从IP池中取IP,也就是在爬虫程序中从文件随机获取代理IP
import random

import requests

class BaiduSpider(object):

    def __init__(self):

        self.url = 'http://www.baidu.com/'

        self.headers = {'User-Agent': 'Mozilla/5.0'}

        self.flag = 1

    def get_proxies(self):

        with open('proxies.txt', 'r') as f:

            result = f.readlines()                  # 读取所有行并返回列表

        proxy_ip = random.choice(result)[:-1]       # 获取了所有代理IP

        L = proxy_ip.split(':')

        proxy_ip = {

            'http': 'http://{}:{}'.format(L[0], L[1]),

            'https': 'https://{}:{}'.format(L[0], L[1])

        }

        return proxy_ip

    def get_html(self):

        proxies = self.get_proxies()

        if self.flag <= 3:

            try:

                html = requests.get(url=self.url, proxies=proxies, headers=self.headers, timeout=5).text

                print(html)

            except Exception as e:

                print('Retry')

                self.flag += 1

                self.get_html()

if __name__ == '__main__':

    spider = BaiduSpider()

    spider.get_html()
2.收费代理API
写一个获取收费开放API代理的接口
import requests

from fake_useragent import UserAgent

ua = UserAgent()                        # 创建User-Agent对象

useragent = ua.random

headers = {'User-Agent': useragent}

def ip_test(ip):

    url = 'http://www.baidu.com/'

    ip_port = ip.split(':')

    proxies = {

        'http': 'http://{}:{}'.format(ip_port[0], ip_port[1]),

        'https': 'https://{}:{}'.format(ip_port[0], ip_port[1]),

    }

    res = requests.get(url=url, headers=headers, proxies=proxies, timeout=5)

    if res.status_code == 200:

        return True

    else:

        return False

# 提取代理IP

def get_ip_list():

    # 快代理:https://www.kuaidaili.com/doc/product/dps/

    api_url = 'http://dev.kdlapi.com/api/getproxy/?orderid=946562662041898&num=100&protocol=1&method=2&an_an=1&an_ha=1&sep=2'

    html = requests.get(api_url).content.decode('utf-8', 'ignore')

    ip_port_list = html.split('\n')

    for ip in ip_port_list:

        with open('proxy_ip.txt', 'a') as f:

            if ip_test(ip):

                f.write(ip + '\n')

if __name__ == '__main__':

    get_ip_list()
3.私密代理
1、语法结构
用户名和密码会在给API_URL的时候给。不是自己的账号和账号密码。
proxies = {

'协议':'协议://用户名:密码@IP:端口号'

}

proxies = {

    'http':'http://用户名:密码@IP:端口号',

    'https':'https://用户名:密码@IP:端口号'

}

proxies = {

    'http': 'http://309435365:szayclhp@106.75.71.140:16816',

    'https':'https://309435365:szayclhp@106.75.71.140:16816',

}
# 获取开放代理的接口

import requests

from fake_useragent import UserAgent

ua = UserAgent()  # 创建User-Agent对象

useragent = ua.random

headers = {'User-Agent': useragent}

def ip_test(ip):

    url = 'https://blog.csdn.net/qq_34218078/article/details/90901602/'

    ip_port = ip.split(':')

    proxies = {

        'http': 'http://1786088386:b95djiha@{}:{}'.format(ip_port[0], ip_port[1]),

        'https': 'http://1786088386:b95djiha@{}:{}'.format(ip_port[0], ip_port[1]),

    }

    res = requests.get(url=url, headers=headers, proxies=proxies, timeout=5)

    if res.status_code == 200:

        print("OK")

        return True

    else:

        print(res.status_code)

        print("错误")

        return False

# 提取代理IP

def get_ip_list():

    # 快代理:https://www.kuaidaili.com/doc/product/dps/

    api_url = 'http://dps.kdlapi.com/api/getdps/?orderid=986603271748760&num=1000&signature=z4a5b2rpt062iejd6h7wvox16si0f7ct&pt=1&sep=2'

    html = requests.get(api_url).content.decode('utf-8', 'ignore')

    ip_port_list = html.split('\n')

    for ip in ip_port_list:

        with open('proxy_ip.txt', 'a') as f:

            if ip_test(ip):

                f.write(ip + '\n')

if __name__ == '__main__':

    get_ip_list()
思路:
- 写一个类;
- get_ip() requests请求接口,得到ip和port;
- test_ip() 请求某一网站,根据状态码或in判断是否有某一内容来判断此ip是否可用,返回Ture和False即可;
- save_ip()测试成功后保存;
Python爬虫 | IP池的使用的更多相关文章
- Python爬虫代理池
爬虫代理IP池 在公司做分布式深网爬虫,搭建了一套稳定的代理池服务,为上千个爬虫提供有效的代理,保证各个爬虫拿到的都是对应网站有效的代理IP,从而保证爬虫快速稳定的运行,当然在公司做的东西不能开源出来 ...
- Python爬虫-代理池-爬取代理入库并测试代理可用性
目的:建立自己的代理池.可以添加新的代理网站爬虫,可以测试代理对某一网址的适用性,可以提供获取代理的 API. 整个流程:爬取代理 ----> 将代理存入数据库并设置分数 ----> 从数 ...
- 设置python爬虫IP代理(urllib/requests模块)
urllib模块设置代理 如果我们频繁用一个IP去爬取同一个网站的内容,很可能会被网站封杀IP.其中一种比较常见的方式就是设置代理IP from urllib import request proxy ...
- Python爬虫代理IP池
目录[-] 1.问题 2.代理池设计 3.代码模块 4.安装 5.使用 6.最后 在公司做分布式深网爬虫,搭建了一套稳定的代理池服务,为上千个爬虫提供有效的代理,保证各个爬虫拿到的都是对应网站有效的代 ...
- python爬虫18 | 就算你被封了也能继续爬,使用IP代理池伪装你的IP地址,让IP飘一会
我们上次说了伪装头部 ↓ python爬虫17 | 听说你又被封 ip 了,你要学会伪装好自己,这次说说伪装你的头部 让自己的 python 爬虫假装是浏览器 小帅b主要是想让你知道 在爬取网站的时候 ...
- python爬虫构建代理ip池抓取数据库的示例代码
爬虫的小伙伴,肯定经常遇到ip被封的情况,而现在网络上的代理ip免费的已经很难找了,那么现在就用python的requests库从爬取代理ip,创建一个ip代理池,以备使用. 本代码包括ip的爬取,检 ...
- Python爬虫之ip代理池
可能在学习爬虫的时候,遇到很多的反爬的手段,封ip 就是其中之一. 对于封IP的网站.需要很多的代理IP,去买代理IP,对于初学者觉得没有必要,每个卖代理IP的网站有的提供了免费IP,可是又很少,写了 ...
- python开源IP代理池--IPProxys
今天博客开始继续更新,谢谢大家对我的关注和支持.这几天一直是在写一个ip代理池的开源项目.通过前几篇的博客,我们可以了解到突破反爬虫机制的一个重要举措就是代理ip.拥有庞大稳定的ip代理,在爬虫工作中 ...
- Python 爬虫的代理 IP 设置方法汇总
本文转载自:Python 爬虫的代理 IP 设置方法汇总 https://www.makcyun.top/web_scraping_withpython15.html 需要学习的地方:如何在爬虫中使用 ...
随机推荐
- 【LEETCODE】64、链表分类,medium&hard级别,题目:2,138,142,23
package y2019.Algorithm.LinkedList.medium; import y2019.Algorithm.LinkedList.ListNode; /** * @Projec ...
- nginx静态文件不设置缓存
找到nginx安装目录下的nginx.conf文件,再nginx里面添加如下的内容 location / { add_header Cache-Control no-cache; add_header ...
- python 2种创建多线程的方法
多个线程是可以操作同一个全局变量的,因此,可以通过这种方式来判断所有线程的执行进度 # 第一种方法:将要执行的方法作为参数传给Thread的构造方法 import threading import t ...
- nginx通过自定义header属性来转发不同的服务
一.背景 因为需要上线灰度发布,只要nginx接收到头部为: wx_unionid: 就会跳转到另外一个url,比如: 通过配置nginx 匹配请求头wx_unionid 来转发到灰度环境.核心:客户 ...
- word表格中怎么添加递增的序号
word2013表格中怎么添加递增的序号?word2013表格中想要让第一类自动显示递增序号,该怎么操作呢?下面我们就来分享两种方法,需要的朋友可以参考下 工具/原料 word2013 通过项目编 ...
- bat命令复制文件
del HDT675.applicationdel setup.exedel publish.htmRD /S /Q "Application Files"xcopy /E \\1 ...
- JavaScript之定时器
(1)单次定时器 setTimeout(function(){执行的动作},时间:ms) 单次定时器,一般用于函数节流 案例: var timer=setTimeout(function(){ doc ...
- WPF DataGrid 服务端排序
转载:http://www.kecq.com/artic-10322303.html 以前做了一个数据客户端,不过是直接连数据库的,现在认为这种方式不太好,于是改成服务端RESTful API+客户端 ...
- 缓存注解@Cacheable、@CacheEvict、@CachePut使用及注解失效时间
从3.1开始,Spring引入了对Cache的支持.其使用方法和原理都类似于Spring对事务管理的支持.Spring Cache是作用在方法上的,其核心思想是这样的:当我们在调用一个缓存方法时会把该 ...
- iptable千万不要yum remove iptables
iptable千万不要运行yum remove iptables,进行卸载打开linux后发现没有firewalld和iptables,建议安装firewall 命令: yum install fir ...