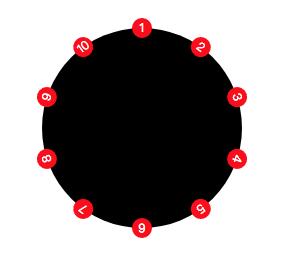
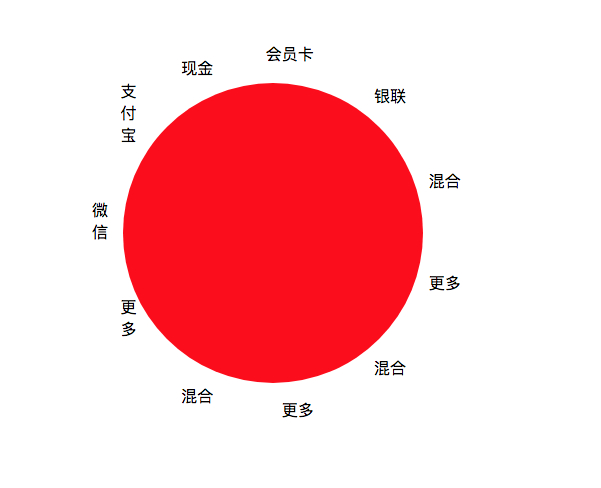
1.  css3


    ul{
                width: 200px;
                height: 200px;
                background-color:black;
                border-radius: 50%;
                position: relative;
      margin: 100px;
            }
            li{
                width: 20px;
                height: 20px;
                position: absolute;
                background-color:red;
                border-radius: 50%;
                line-height: 40px;
                text-align: center;
                left: 50%;
                margin-left: -10px;
                margin-top: -10px;
      font-size: 12px;
            }
            li:nth-of-type(2){
                transform: rotate(36deg);
                transform-origin:10px 110px;
            }
            li:nth-of-type(3){
                transform: rotate(72deg);
                transform-origin:10px 110px;
            }
            li:nth-of-type(4){
                transform: rotate(108deg);
                transform-origin:10px 110px;
            }
            li:nth-of-type(5){
                transform: rotate(144deg);
                transform-origin:10px 110px;
            }
            li:nth-of-type(6){
                transform: rotate(180deg);
                transform-origin:10px 110px;
            }
            li:nth-of-type(7){
                transform: rotate(216deg);
                transform-origin:10px 110px;
            }
            li:nth-of-type(8){
                transform: rotate(252deg);
                transform-origin:10px 110px;
            }
            li:nth-of-type(9){
                transform: rotate(288deg);
                transform-origin:10px 110px;
            }
            li:nth-of-type(10){
                transform: rotate(324deg);
                transform-origin:10px 110px;
            }
    <ul>
      <li>1</li>
      <li>2</li>
      <li>3</li>
      <li>4</li>
      <li>5</li>
      <li>6</li>
      <li>7</li>
      <li>8</li>
      <li>9</li>
      <li>10</li>
    </ul>


2. js计算+position定位实现
 
  *{ margin: 0; padding: 0;}
  .modepayment-content{
    width: 300px;
    height: 300px;
    background: red;
    border-radius: 100%;
    position: relative;
    left: 300px;
    top: 300px;
  }
  .modepayment-content div{
    position: absolute;
  }
 
 
  <div class="modepayment-content">
    <div class="modepayment-wx">微信</div>
    <div class="modepayment-zfb">支付宝</div>
    <div class="modepayment-xj">现金</div>
    <div class="modepayment-hyk">会员卡</div>
    <div class="modepayment-yl">银联</div>
    <div class="modepayment-hh">混合</div>
    <div class="modepayment-gd">更多</div>
    <div class="modepayment-hh">混合</div>
    <div class="modepayment-gd">更多</div>
    <div class="modepayment-hh">混合</div>
    <div class="modepayment-gd">更多</div>
  </div>


  $(function(){
    var radius =180;
    var avd = 360/$(".modepayment-content div").length;
    var ahd = avd*Math.PI/180;
    $(".modepayment-content").css({"left":800,"top":200});
    $(".modepayment-content div").each(function(index, element){
      $(this).css({"bottom": Math.sin((ahd*index))*radius+140,"right":Math.cos((ahd*index))*radius+135});
    });
  })


div成圆形分布的更多相关文章

  1. (Android)处理图片成圆形

    Android将一张Bitmap处理成圆形是十分常见的,经常见的场合就是作为用户头像,我们可以Canvas来辅助实现这个功能,代码如下 public static Bitmap toRoundCorn ...

  2. Glide的加载图片的帮助类,用来把图片圆角或者改成圆形图片

    Glide虽然非常好用但是没找到把图片圆角的方法,所以百度了一个非常不错的加载类自己实现圆角图 感谢原文章作者:http://blog.csdn.net/weidongjian/article/det ...

  3. 不涉及框架纯java实现将图片裁成圆形

    package com.wtsrui.utils;import java.awt.Color;  import sun.misc.BASE64Encoder;import java.awt.Graph ...

  4. 微信小程序裁剪图片成圆形

    代码地址如下:http://www.demodashi.com/demo/14453.html 前言 最近在开发小程序,产品经理提了一个需求,要求微信小程序换头像,用户剪裁图片必须是圆形,也在gith ...

  5. WPF 中使用附加属性,将任意 UI 元素或控件裁剪成圆形(椭圆)

    不知从什么时候开始,头像流行使用圆形了,于是各个平台开始追逐显示圆形裁剪图像的技术.WPF 作为一个优秀的 UI 框架,当然有其内建的机制支持这种圆形裁剪. 不过,内建的机制仅支持画刷,而如果被裁剪的 ...

  6. 微信小程序之裁剪图片成圆形

    前言 最近在开发小程序,产品经理提了一个需求,要求微信小程序换头像,用户剪裁图片必须是圆形,也在github上看了一些例子,一般剪裁图片用的都是方形,所以自己打算写一个小组件,可以把图片剪裁成圆形,主 ...

  7. android 开发 View _15 导入一张图片将它裁剪成圆形 与 paint图层叠加处理详解

    方法一: /* 实现思维是这样的: 1.首先拿到bitmap图片 2.得到bitmap图片的高度 宽度,并且计算好各个画图尺寸 3.创建一个空白的 bitmap图片: Bitmap output = ...

  8. 将UIImage转换成圆形图片image

    建议写成UIImage分类,如下: .h //变成圆形图片 - (UIImage *)circleImage; .m //变成圆形图片 - (UIImage *)circleImage { // NO ...

  9. GDI+ 如何将图片绘制成圆形的图片

    大概意思就是不生成新的图片,而是将图片转换为圆形图片. 实现代码如下: private Image CutEllipse(Image img, Rectangle rec, Size size) { ...

随机推荐

  1. 论文阅读:Videos as Space-Time Region Graphs

    Videos as Space-Time Region Graphs ECCV 2018 Xiaolong Wang 2018-08-03 11:16:01 Paper:arXiv 本文利用视频中时空 ...

  2. kubernetes 实战5_命令_Assign Pods to Nodes&Configure a Pod to Use a ConfigMap

    Assign Pods to Nodes how to assign a Kubernetes Pod to a particular node in a Kubernetes cluster. Ad ...

  3. HDU 5245 Joyful(期望)

    http://acm.hdu.edu.cn/showproblem.php?pid=5245 题意: 给出一个n*m的矩阵格子,现在有k次操作,每次操作随机选择两个格子作为矩形的对角,然后将这范围内的 ...

  4. HDU 4323 Magic Number(编辑距离DP)

    http://acm.hdu.edu.cn/showproblem.php?pid=4323 题意: 给出n个串和m次询问,每个询问给出一个串和改变次数上限,在不超过这个上限的情况下,n个串中有多少个 ...

  5. python学习 day017打卡 类与类之间的关系

    本节主要的内容: 1.依赖关系 2.关联关系,组合关系,聚合关系 3.继承关系,self到底是什么? 4.类中的特殊成员 一.类与类之间的依赖关系 在面向对象的世界中,类与类中存在以下关系: 1.依赖 ...

  6. PHP feof()函数

    feof()函数检查是否已经到达文件末尾(EOF) EOF == end  of  file 如果出错或者文件指针到了文件末尾(EOF)则返回true,否则返回false 语法: feof(file) ...

  7. 初步:jenkins自动构建安卓Apk

    1:本地搭建jenkins 2:下载插件 3:配置相关信息(git,sdk等等) 3:拉取git仓库代码 4:编译执行 参考文章:http://www.cnblogs.com/reblue520/p/ ...

  8. Thymeleaf的基本语法总结

    最近用Spring boot开发一些测试平台和工具,用到页面展示的部分, 选择的是thymeleaf模版引擎. 页面开发的7788快结束了,下面来总结下此过程中对thymeleaf的使用总结. 什么是 ...

  9. Eclipse调试DEBUG时快速查看某个变量的值的快捷键、快速跳转到某行的快捷键

    Eclipse调试DEBUG时快速查看某个变量的值的快捷键 Ctrl + Shift + i

  10. PostgreSQL安装及使用教程二(zip解压方式)

    下载postgre包  下载地址:https://www.postgresql.org/download/ 选DOWNLOADS--Windows--zip archive--version10.6- ...