【Python】百度贴吧-中国好声音评论爬爬【自练OK-csv提取格式及评论提取空格等问题待改进】
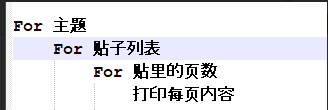
代码编写思路:

学习知识点:
1.class=a b(a假设是字体-宋体,b是颜色-蓝色;class中可以同时有两个参数a,b(宋体+蓝色),两者用空格隔开即可)
2.拓展1:想要soup到某个元素,且该元素对应class中含有多个值,我们可以根据class中元素出现的规律,找到共性出现的元素去编写soup中内容。
例如 想soup 中的class可以找到相关规律,发现想找的元素对应class中都含有“l_post_bright”那么写成以下形式即可找到相关的元素对应内容。
soup.find_all('div', class_="l_post_bright") 即可。
百度贴吧-中国好声音评论爬爬
 # coding=utf-8

 import csv

 import random

 import io

 from urllib import request,parse,error

 import http.cookiejar

 import urllib

 import re

 from bs4 import BeautifulSoup

 # 爬爬网址

 #homeUrl ="http://tieba.baidu.com" #贴吧首页

 subUrl = "http://tieba.baidu.com/f?kw=%E4%B8%AD%E5%9B%BD%E5%A5%BD%E5%A3%B0%E9%9F%B3&ie=utf-8&pn=0" #中国好声音贴吧页面

 #childUrl="http://tieba.baidu.com/p/5825125387" #中国好声音贴吧第一条

 #存储csv文件路径

 outputFilePath = "E:\script\python-script\laidutiebapapa\csvfile_output.csv"

 def GetWebPageSource(url):

     values = {}

     data = parse.urlencode(values).encode('utf-8')

     # header

     user_agent = ""

     headers = {'User-Agent':user_agent,'Connection':'keep-alive'}

     # 声明cookie 声明opener

     cookie_filename = 'cookie.txt'

     cookie = http.cookiejar.MozillaCookieJar(cookie_filename)

     handler = urllib.request.HTTPCookieProcessor(cookie)

     opener = urllib.request.build_opener(handler)

     # 声明request

     request=urllib.request.Request(url, data, headers)

     # 得到响应

     response = opener.open(request)

     html=response.read().decode('utf-8')

     # 保存cookie

     cookie.save(ignore_discard=True,ignore_expires=True)

     return  html

     # 将读取的内容写入一个新的csv文档

 # 主函数

 if __name__ == "__main__":

     #outputString = []

     maxSubPage=2 #中国好声音贴吧翻几页设置?

     m=0#起始页数

     with open("E:\script\python-script\laidutiebapapa\csvfile_output.csv", "w", newline="", encoding='utf-8') as datacsv:

         headers = ['title', 'url', 'comment']

         csvwriter = csv.writer(datacsv, headers)

         for n in range(1, int(maxSubPage)):

             subUrl = "http://tieba.baidu.com/f?kw=%E4%B8%AD%E5%9B%BD%E5%A5%BD%E5%A3%B0%E9%9F%B3&ie=utf-8&pn=" + str(m) + ".html"

             print(subUrl)

             subhtml = GetWebPageSource(subUrl)

             #print(html)

             # 利用BeatifulSoup获取想要的元素

             subsoup = BeautifulSoup(subhtml, "lxml")

             #打印中国好声音贴吧页标题

             print(subsoup.title)

             #打印中国好声音第一页贴吧标题

             all_titles = subsoup.find_all('div', class_="threadlist_title pull_left j_th_tit ")  # 提取有关与标题

             for title in all_titles:

                 print('--------------------------------------------------')

                 print("贴吧标题:"+title.get_text())#贴吧各标题题目

                 commentUrl = str(title.a['href'])

                 #print(commitment)

                 #评论页循环需要改改,maxchildpage

                 childPage = 1#评论页翻页变量

                 maxChildPage = 6#【变量】几页就翻几页设置?

                 for n in range(1, int(maxChildPage)):

                     childUrl = "http://tieba.baidu.com" + commentUrl +"?pn=" + str(childPage)

                     print("贴吧Url:"+childUrl)

                     childhtml = GetWebPageSource(childUrl)

                     childsoup = BeautifulSoup(childhtml, "lxml")

                     all_comments = childsoup.find_all('div', class_="d_post_content_main")  # 提取有关与评论

                     for comment in all_comments:

                         print("用户评论:" + comment.get_text())  # 贴吧各标题题目

                         #outputString.append([title.get_text(), childUrl, comment.get_text()])

                         csvwriter.writerow([title.get_text(), childUrl, comment.get_text()])

                     print('--------------------------------------------------')

                     childPage = childPage + 1

                 m = m + 50  # 翻页控制,通过观察发现,每页相差50
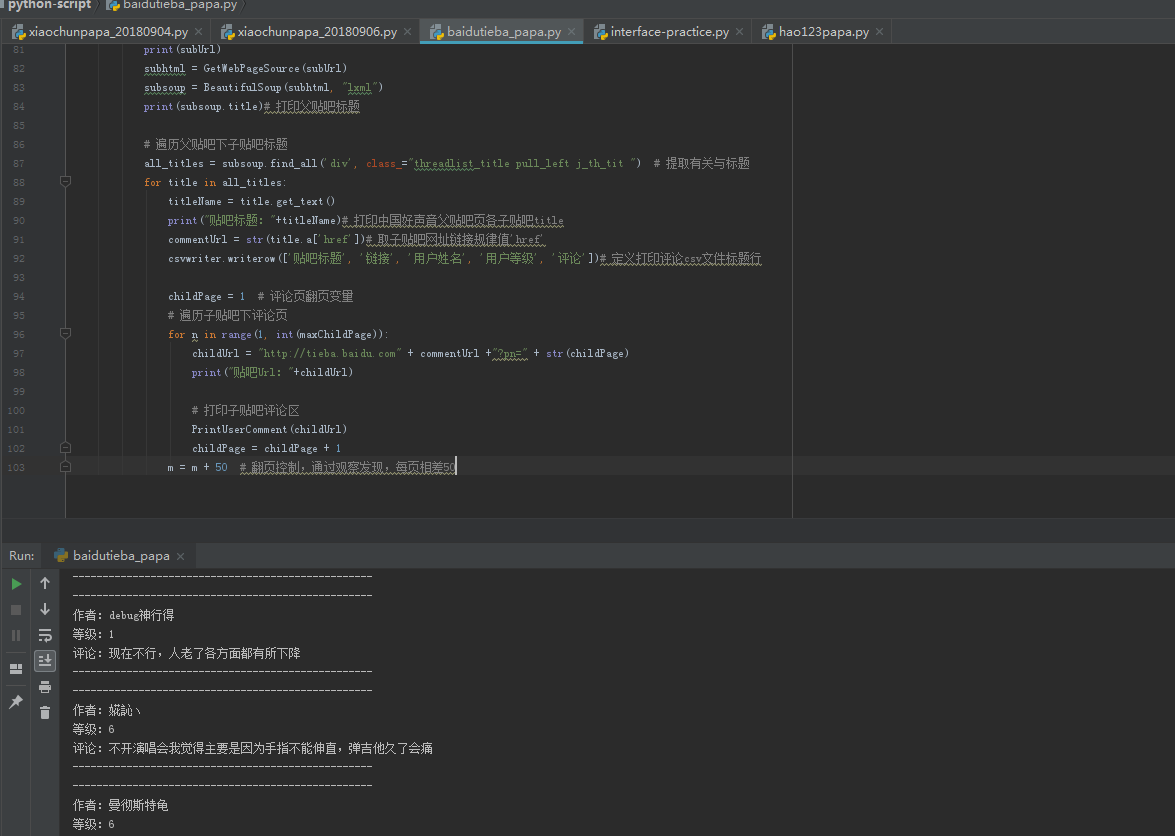
跑完了成果图

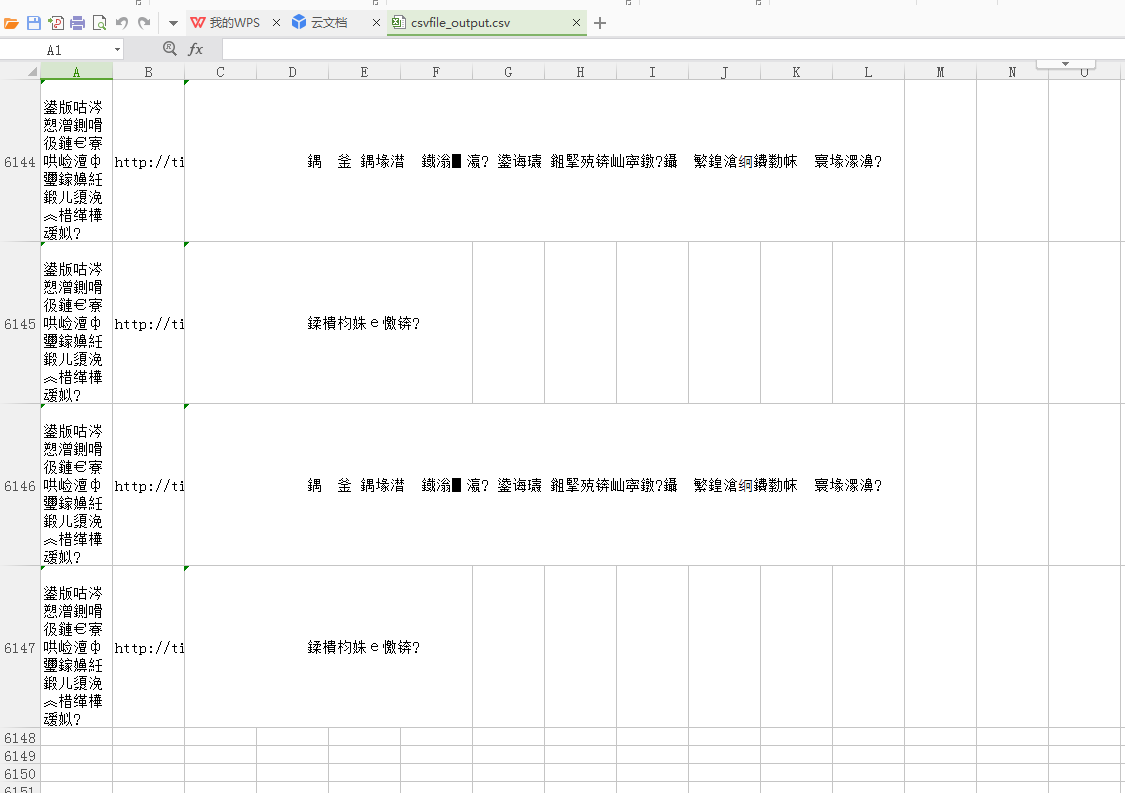
csv文档中效果


上方生成的csv文件通过txt记事本打开另存为ANIS编码方式,然后在通过csv打开就不会再乱码了,解决csv打开乱码问题相关可以参考博文:https://www.cnblogs.com/zhuzhubaoya/p/9675203.html
----------------------------------------------------------------------------------------
升级版-待完善代码:
# coding=utf-8

import csv

import random

import io

from urllib import request,parse,error

import http.cookiejar

import urllib

import re

from bs4 import BeautifulSoup

# 爬爬网址

#homeUrl ="http://tieba.baidu.com" #贴吧首页

subUrl = "http://tieba.baidu.com/f?kw=%E4%B8%AD%E5%9B%BD%E5%A5%BD%E5%A3%B0%E9%9F%B3&ie=utf-8&pn=0" #中国好声音贴吧页面

#childUrl="http://tieba.baidu.com/p/5825125387" #中国好声音贴吧第一条

#存储csv文件路径

outputFilePath = "F:\Python\scripts\pestpapa\csvfile_output.csv"

def GetWebPageSource(url):

    values = {}

    data = parse.urlencode(values).encode('utf-8')

    # header

    user_agent = ""

    headers = {'User-Agent':user_agent,'Connection':'keep-alive'}

    # 声明cookie 声明opener

    cookie_filename = 'cookie.txt'

    cookie = http.cookiejar.MozillaCookieJar(cookie_filename)

    handler = urllib.request.HTTPCookieProcessor(cookie)

    opener = urllib.request.build_opener(handler)

    # 声明request

    request=urllib.request.Request(url, data, headers)

    # 得到响应

    response = opener.open(request)

    html=response.read().decode('utf-8')

    # 保存cookie

    cookie.save(ignore_discard=True,ignore_expires=True)

    return  html

    # 将读取的内容写入一个新的csv文档

# 主函数

if __name__ == "__main__":

    #outputString = []

    maxSubPage=2 #中国好声音贴吧翻几页设置?

    m=0#起始页数

    with open("F:\Python\scripts\pestpapa\csvfile_output.csv", "w", newline="", encoding='utf-8') as datacsv:

        headers = ['title', 'url', 'comment']

        csvwriter = csv.writer(datacsv, headers)

        for n in range(1, int(maxSubPage)):

            subUrl = "http://tieba.baidu.com/f?kw=%E4%B8%AD%E5%9B%BD%E5%A5%BD%E5%A3%B0%E9%9F%B3&ie=utf-8&pn=" + str(m) + ".html"

            print(subUrl)

            subhtml = GetWebPageSource(subUrl)

            #print(html)

            # 利用BeatifulSoup获取想要的元素

            subsoup = BeautifulSoup(subhtml, "lxml")

            #打印中国好声音贴吧页标题

            print(subsoup.title)

            #打印中国好声音第一页贴吧标题

            all_titles = subsoup.find_all('div', class_="threadlist_title pull_left j_th_tit ")  # 提取有关与标题

            for title in all_titles:

                print('--------------------------------------------------')

                print("贴吧标题:"+title.get_text())#贴吧各标题题目

                commentUrl = str(title.a['href'])

                #print(commitment)

                #评论页循环需要改改,maxchildpage

                childPage = 1#评论页翻页变量

                maxChildPage = 6#【变量】几页就翻几页设置?

                csvwriter.writerow(['title', 'url', 'comment'])

                for n in range(1, int(maxChildPage)):

                    childUrl = "http://tieba.baidu.com" + commentUrl +"?pn=" + str(childPage)

                    print("贴吧Url:"+childUrl)

                    childhtml = GetWebPageSource(childUrl)

                    childsoup = BeautifulSoup(childhtml, "lxml")

                    #all_comments = childsoup.find_all('div', class_="d_post_content_main")  # 提取有关与评论

                    allCommentList = childsoup.find_all('div', class_="l_post_bright")

                    for n in allCommentList:

                        authorName = n.find_all('li', class_="d_name")

                        for i in authorName:#写成for循环可以规避报错,如果有,走0条,不会报错。

                            print("作者:" + i.get_text().strip())

                        authorLev = n.find_all('div', class_="d_badge_lv")

                        for i in authorLev:

                            print("等级:" + i.get_text().strip())

                        all_comments = n.find_all('div', class_="d_post_content_main")

                        for comment in all_comments:

                            print("评论:" + comment.get_text().strip())

                            csvwriter.writerow([title.get_text(), childUrl, comment.get_text()])

                        print('--------------------------------------------------')

                    childPage = childPage + 1

                m = m + 50  # 翻页控制,通过观察发现,每页相差50
————————————————————————————————————————————————————————————————————————————
完善后代码:
# coding=utf-8

import csv

from urllib import request,parse

import http.cookiejar

import urllib

from bs4 import BeautifulSoup

# 爬爬网址

#homeUrl ="http://tieba.baidu.com" #贴吧首页

subUrl = "http://tieba.baidu.com/f?kw=%E4%B8%AD%E5%9B%BD%E5%A5%BD%E5%A3%B0%E9%9F%B3&ie=utf-8&pn=0" #中国好声音贴吧页面

#childUrl="http://tieba.baidu.com/p/5825125387" #中国好声音贴吧第一条

#存储csv文件路径

outputFilePath = "E:\script\python-script\laidutiebapapa\csvfile_output.csv"

def GetWebPageSource(url):

    values = {}

    data = parse.urlencode(values).encode('utf-8')

    # header

    user_agent = ""

    headers = {'User-Agent':user_agent,'Connection':'keep-alive'}

    # 声明cookie 声明opener

    cookie_filename = 'cookie.txt'

    cookie = http.cookiejar.MozillaCookieJar(cookie_filename)

    handler = urllib.request.HTTPCookieProcessor(cookie)

    opener = urllib.request.build_opener(handler)

    # 声明request

    request=urllib.request.Request(url, data, headers)

    # 得到响应

    response = opener.open(request)

    html=response.read().decode('utf-8')

    # 保存cookie

    cookie.save(ignore_discard=True,ignore_expires=True)

    return  html

#打印子贴吧评论区

def PrintUserComment(childUrl):

    childhtml = GetWebPageSource(childUrl)

    childsoup = BeautifulSoup(childhtml, "lxml")

    allCommentList = childsoup.find_all('div', class_="l_post_bright")

    for n in allCommentList:

        print('--------------------------------------------------')

        authorName = n.find_all('li', class_="d_name")

        for i in authorName:  # 写成for循环可以规避报错,如果有,走0条,不会报错。

            authorName = i.get_text().strip()

            print("作者:" + authorName)

        authorLev = n.find_all('div', class_="d_badge_lv")

        for i in authorLev:

            authorLev = i.get_text().strip()

            print("等级:" + authorLev)

        all_comments = n.find_all('div', class_="d_post_content_main")

        for comment in all_comments:

            commentRes = comment.get_text()

            print("评论:" + comment.get_text().strip())

            csvwriter.writerow([titleName, childUrl, authorName, authorLev, commentRes])

        print('--------------------------------------------------')

# 主函数

if __name__ == "__main__":

    # 几个控制变量初值定义

    m = 0  # 起始页数

    maxSubPage = 2  # 中国好声音贴吧翻几页设置?

    maxChildPage = 6  # 【变量】几页就翻几页设置?

    # 开始遍历贴吧内容,顺序:父贴吧-子贴吧-评论区,并将以下子贴吧评论内容写入csv文件

    with open("E:\script\python-script\laidutiebapapa\csvfile_output.csv", "w", newline="", encoding='utf-8') as datacsv:

        headers = []

        csvwriter = csv.writer(datacsv, headers)

        # 父贴吧页面处理

        for n in range(1, int(maxSubPage)):

            subUrl = "http://tieba.baidu.com/f?kw=%E4%B8%AD%E5%9B%BD%E5%A5%BD%E5%A3%B0%E9%9F%B3&ie=utf-8&pn=" + str(m) + ".html"# 父贴吧链接

            print(subUrl)

            subhtml = GetWebPageSource(subUrl)

            subsoup = BeautifulSoup(subhtml, "lxml")

            print(subsoup.title)# 打印父贴吧标题

            # 遍历父贴吧下子贴吧标题

            all_titles = subsoup.find_all('div', class_="threadlist_title pull_left j_th_tit ")  # 提取有关与标题

            for title in all_titles:

                titleName = title.get_text()

                print("贴吧标题:"+titleName)# 打印中国好声音父贴吧页各子贴吧title

                commentUrl = str(title.a['href'])# 取子贴吧网址链接规律值'href'

                csvwriter.writerow(['贴吧标题', '链接', '用户姓名', '用户等级', '评论'])# 定义打印评论csv文件标题行

                childPage = 1  # 评论页翻页变量

                # 遍历子贴吧下评论页

                for n in range(1, int(maxChildPage)):

                    childUrl = "http://tieba.baidu.com" + commentUrl +"?pn=" + str(childPage)

                    print("贴吧Url:"+childUrl)

                    # 打印子贴吧评论区

                    PrintUserComment(childUrl)

                    childPage = childPage + 1

                m = m + 50  # 翻页控制,通过观察发现,每页相差50
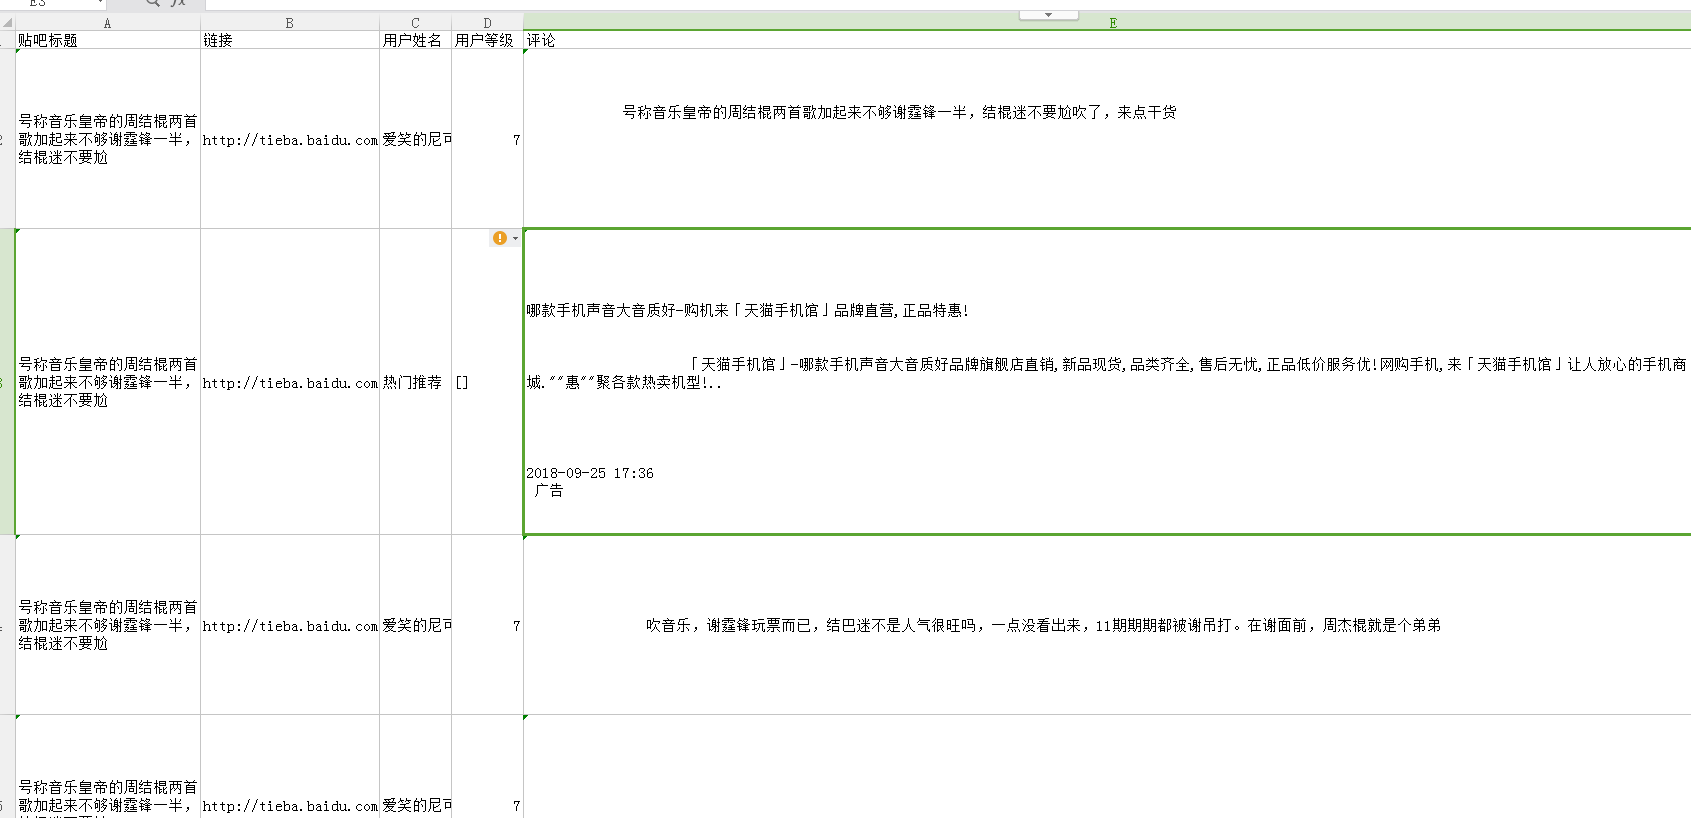
运行后效果:

自动生成csv效果(如果乱码需要按照上面的方法进行转码后再打开就OK了):

【Python】百度贴吧-中国好声音评论爬爬【自练OK-csv提取格式及评论提取空格等问题待改进】的更多相关文章
- python读取与写入csv,txt格式文件
python读取与写入csv,txt格式文件 在数据分析中经常需要从csv格式的文件中存取数据以及将数据写书到csv文件中.将csv文件中的数据直接读取为dict类型和DataFrame是非常方便也很 ...
- python base64 编解码,转换成Opencv,PIL.Image图片格式
二进制打开图片文件,base64编解码,转成Opencv格式: # coding: utf-8 import base64 import numpy as np import cv2 img_file ...
- [python]百度语音rest api
百度语音识别提供的api范例只有java, c, php. 如果使用Python, 需要注意: 语音文件长度是指bytes大小 可以通过len(file.read())获得 使用requests.po ...
- Python开发爬虫之动态网页抓取篇:爬取博客评论数据——通过Selenium模拟浏览器抓取
区别于上篇动态网页抓取,这里介绍另一种方法,即使用浏览器渲染引擎.直接用浏览器在显示网页时解析 HTML.应用 CSS 样式并执行 JavaScript 的语句. 这个方法在爬虫过程中会打开一个浏览器 ...
- python +百度语音识别+图灵对话
https://github.com/Dongvdong/python_Smartvoice 上电后,只要周围声音超过 2000,开始录音5S 录音上传百度识别,并返回结果文字输出 继续等待,周围声音 ...
- Python 百度语音识别与合成REST API及ffmpeg使用
操作系统:Windows Python:3.5 欢迎加入学习交流QQ群:657341423 百度语音识别官方文档 百度语音合成官方文档 注意事项:接口支持 POST 和 GET两种方式,个人支持用po ...
- Python + 百度Api 通过地址关键字获得格式化的地址信息
由于用户输入是千奇百怪的,除了格式语法不合要求之外的,即便是所谓的合法数据也是五花八门.尤其是地址,所有才由此文. 百度Api注册一个账号,创建一个应用后就会有一个`ak`的参数,就够了. Pytho ...
- Python调用百度接口(情感倾向分析)和讯飞接口(语音识别、关键词提取)处理音频文件
本示例的过程是: 1. 音频转文本 2. 利用文本获取情感倾向分析结果 3. 利用文本获取关键词提取 首先是讯飞的语音识别模块.在这里可以找到非实时语音转写的相关文档以及 Python 示例.我略作了 ...
- Python之手把手教你用JS逆向爬取网易云40万+评论并用stylecloud炫酷词云进行情感分析
本文借鉴了@平胸小仙女的知乎回复 https://www.zhihu.com/question/36081767 写在前面: 文章有点长,操作有点复杂,需要代码的直接去文末即可.想要学习的需要有点耐心 ...
随机推荐
- RAC的搭建(一)--安装环境准备
软硬件环境准备: 1.1 虚拟环境: VirtualBox上两个虚拟机,3G内存1核 1.2 软件环境: 数据库安装软件:p10404530_112030_LINUX_1of7.zip p10404 ...
- [C/E] 等差数列求和
题目:要求给定一个整数 N,求从 0 到 N 之间所有整数相加之和. 解1:使用 for 循环依次递加. #include <stdio.h> int main(void){ int x; ...
- mac 下搭建Elasticsearch 5.4.3分布式集群
一.集群角色 多机集群中的节点可以分为master nodes和data nodes,在配置文件中使用Zen发现(Zen discovery)机制来管理不同节点.Zen发现是ES自带的默认发现机制,使 ...
- GLIBC_2.14报错
[linux]提示"libc.so.6: version `GLIBC_2.14' not found",系统的glibc版本太低 0.以下在系统CentOS 6.3 x86_64 ...
- 详解SQL中的GROUP BY语句
下面为您介绍SQL语句中GROUP BY 语句,GROUP BY 语句用于结合合计函数,根据一个或多个列对结果集进行分组. 希望对您学习SQL语句有所帮助. SQL GROUP BY 语法 SELEC ...
- 三.jquery.datatables.js表格编辑与删除
1.为了使用如图效果(即将按钮放入行内http://www.datatables.net/examples/ajax/null_data_source.html) 采用了另一个数据格式 2.后台php ...
- liunx trac 邮件提示功能
http://trac.edgewall.org/wiki/TracNotification官网上提供的方法.个人觉得不是清楚,不过还是有参考价值的.以下写下自己的添加过程,以作记录. 1.the [ ...
- 【linux系列】centos安装vsftp
一.检查vsftpd软件 如果发现上不了网可以修改配置文件中的ONBOOT=no改为yes,然后重启服务试试
- java(2) 面向对象
1.类的封装 *在定义一个类时,将类中的属性私有化,即使用prviate关键字来修饰,私有属性只能在它所在的类中被访问.为了能让外界访问私有属性,需要提供一些使用public修饰的公有方法,其中包括用 ...
- 23种设计模式之模板方法(Template Method)
模板方法模式是一种类的行为型模式,用于定义一个操作中算法的骨架,而将一些步骤延迟到子类中.模板方法模式使得子类可以不改变一个算法的结构即可重定义该算法的某些特定步骤,其缺点是对于不同的实现,都需要定义 ...
