安装Gitlab到Ubuntu(APT)
运行环境
系统版本:Ubuntu 16.04.6 LTS
软件版本:Gitlab-ce-11.10.1
硬件要求:最低2核4GB,建议4核8GB
安装过程
1、安装依赖
root@localhost:~# sudo apt-get install -y curl openssh-server ca-certificates
2、安装APT-Gitlab存储库
APT-Gitlab存储库由Gitlab官网提供。
root@localhost:~# curl -sS https://packages.gitlab.com/install/repositories/gitlab/gitlab-ce/script.deb.sh | sudo bash
3、安装Gitlab
root@localhost:~# apt-get install gitlab-ce
4、配置Gitlab
建议使用HTTPS。
root@localhost:~# vim /etc/gitlab/gitlab.rb

### 基础配置 ###

external_url 'https://gitlab.xxx.cn'

gitlab_rails['time_zone'] = 'Asia/Shanghai'

### SSH配置 ###

gitlab_rails['gitlab_shell_ssh_port'] = 10222

### 邮箱配置 ###

gitlab_rails['smtp_enable'] = true

gitlab_rails['smtp_address'] = "smtp.exmail.qq.com"

gitlab_rails['smtp_port'] = 465

gitlab_rails['smtp_user_name'] = "xxx@xxx.cn"

gitlab_rails['smtp_password'] = "xxx"

gitlab_rails['smtp_authentication'] = "login"

gitlab_rails['smtp_enable_starttls_auto'] = true

gitlab_rails['smtp_tls'] = true

gitlab_rails['gitlab_email_from'] = 'xxx@xxx.cn'

### WEB配置 ###

nginx['enable'] = true

nginx['client_max_body_size'] = '250m'

nginx['redirect_http_to_https'] = true

nginx['ssl_certificate'] = "/etc/gitlab/ssl/gitlab.xxx.cn.pem"

nginx['ssl_certificate_key'] = "/etc/gitlab/ssl/gitlab.xxx.cn.key"

nginx['ssl_protocols'] = "TLSv1.1 TLSv1.2"

nginx['ssl_session_cache'] = "builtin:1000  shared:SSL:10m"

nginx['ssl_session_timeout'] = "5m"

nginx['listen_addresses'] = ['*', '[::]']

nginx['gzip_enabled'] = true
5、上传SSL证书到指定目录
root@localhost:~# ll /etc/gitlab/ssl/

total 28

drwxr-xr-x 2 root root 4096 Apr 25 11:48 ./

drwxrwxr-x 4 root root 4096 Apr 25 12:50 ../

-rw-r--r-- 1 root root 1675 Apr 25 11:45 gitlab.xxx.cn.key

-rw-r--r-- 1 root root 3671 Apr 25 11:45 gitlab.xxx.cn.pem
6、重启加载配置
root@localhost:~# gitlab-ctl reconfigure
7、启动Gitlab服务
root@localhost:~# gitlab-ctl restart

root@localhost:~# gitlab-ctl status

run: alertmanager: (pid 13541) 2171s; run: log: (pid 13221) 2192s

run: gitaly: (pid 13557) 2170s; run: log: (pid 12463) 2266s

run: gitlab-monitor: (pid 13580) 2169s; run: log: (pid 13103) 2208s

run: gitlab-workhorse: (pid 13602) 2169s; run: log: (pid 12887) 2226s

run: logrotate: (pid 13617) 2168s; run: log: (pid 12959) 2218s

run: nginx: (pid 13628) 2168s; run: log: (pid 12927) 2222s

run: node-exporter: (pid 13714) 2168s; run: log: (pid 13002) 2214s

run: postgres-exporter: (pid 13720) 2167s; run: log: (pid 13270) 2188s

run: postgresql: (pid 13740) 2167s; run: log: (pid 12669) 2258s

run: prometheus: (pid 13748) 2166s; run: log: (pid 13181) 2198s

run: redis: (pid 13761) 2166s; run: log: (pid 11907) 2293s

run: redis-exporter: (pid 13800) 2165s; run: log: (pid 13143) 2202s

run: sidekiq: (pid 13821) 2163s; run: log: (pid 12872) 2227s

run: unicorn: (pid 13833) 2162s; run: log: (pid 12832) 2233s
8、测试邮件发送
我们在启动完成后测试一下邮件发送功能是否正常工作。
root@localhost:~# gitlab-rails console

irb(main):001:0> Notify.test_email('邮箱地址', '标题', '内容').deliver_now

irb(main):002:0> exit
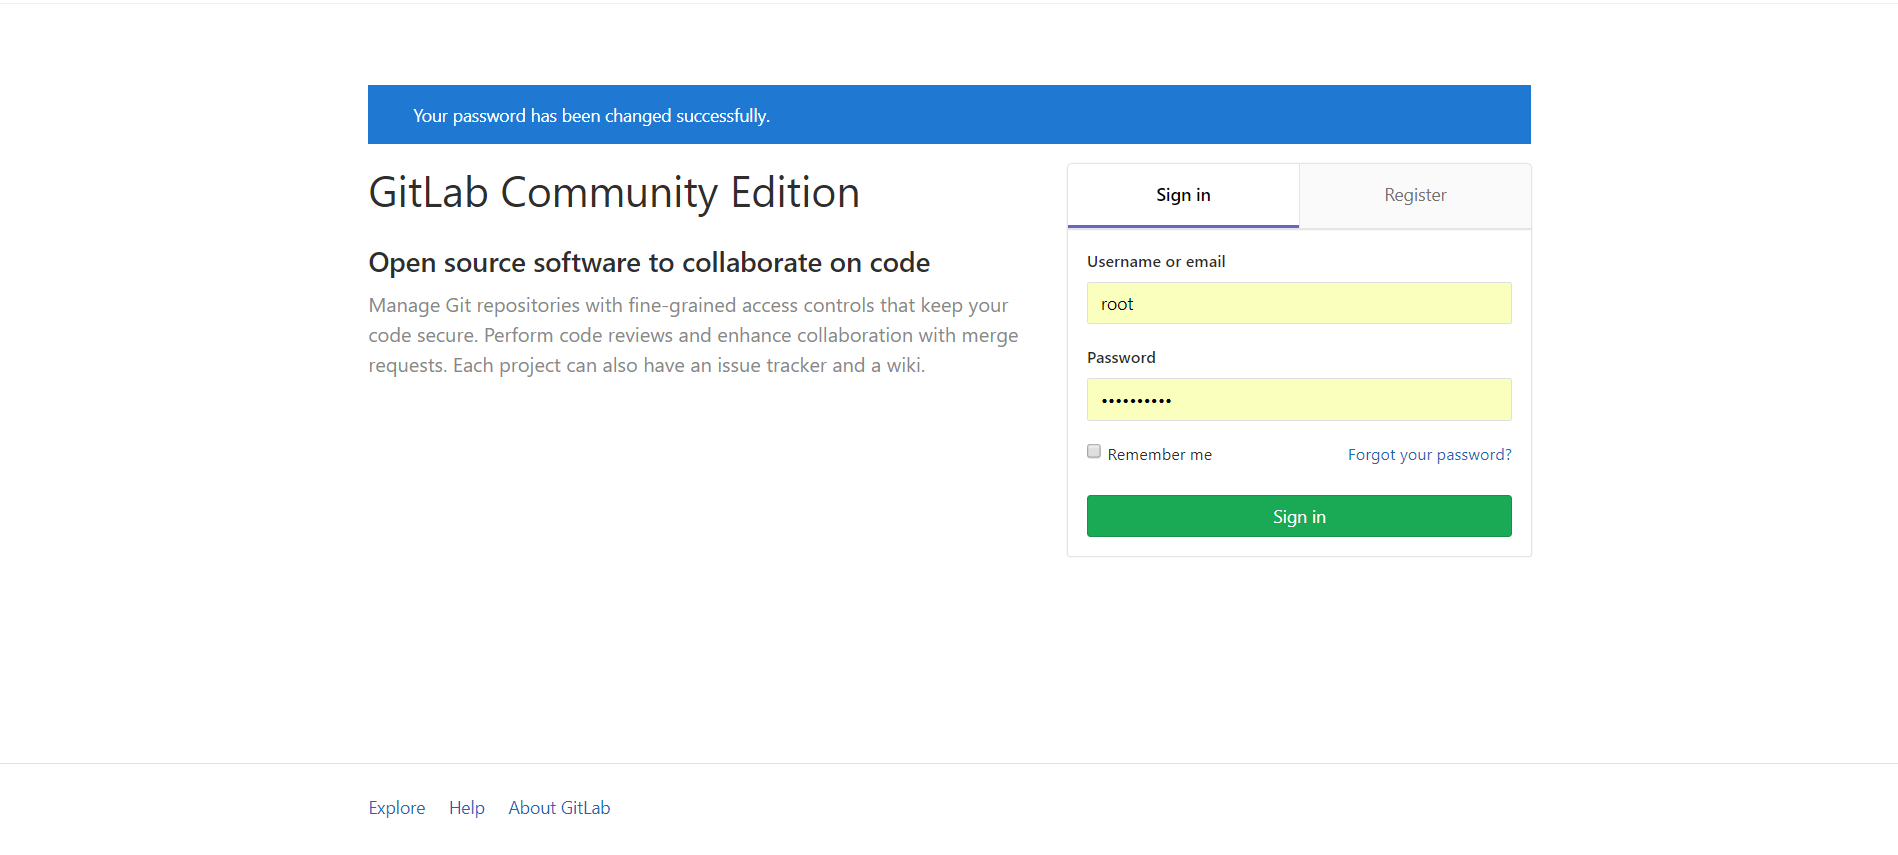
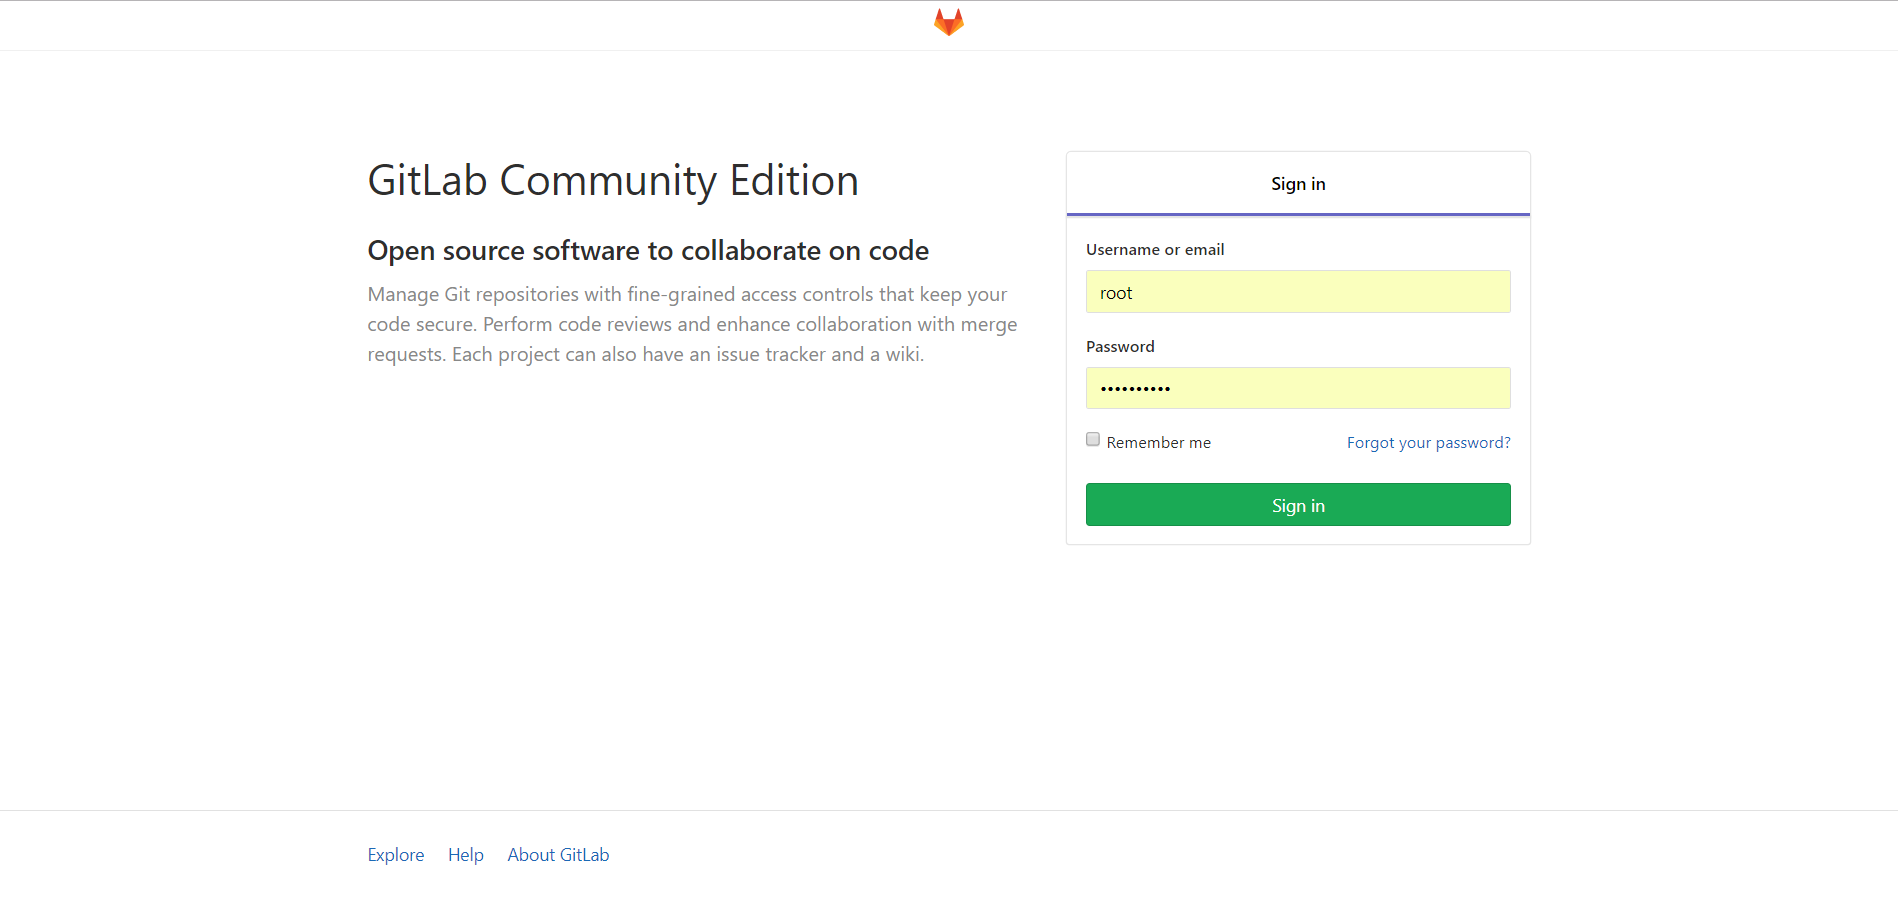
9、第一次访问登陆
第一次需要输入新的超级管理员(root)密码。
修改成功后,我们使用超级管理员用户“root”账号登录Gitlab管理平台。

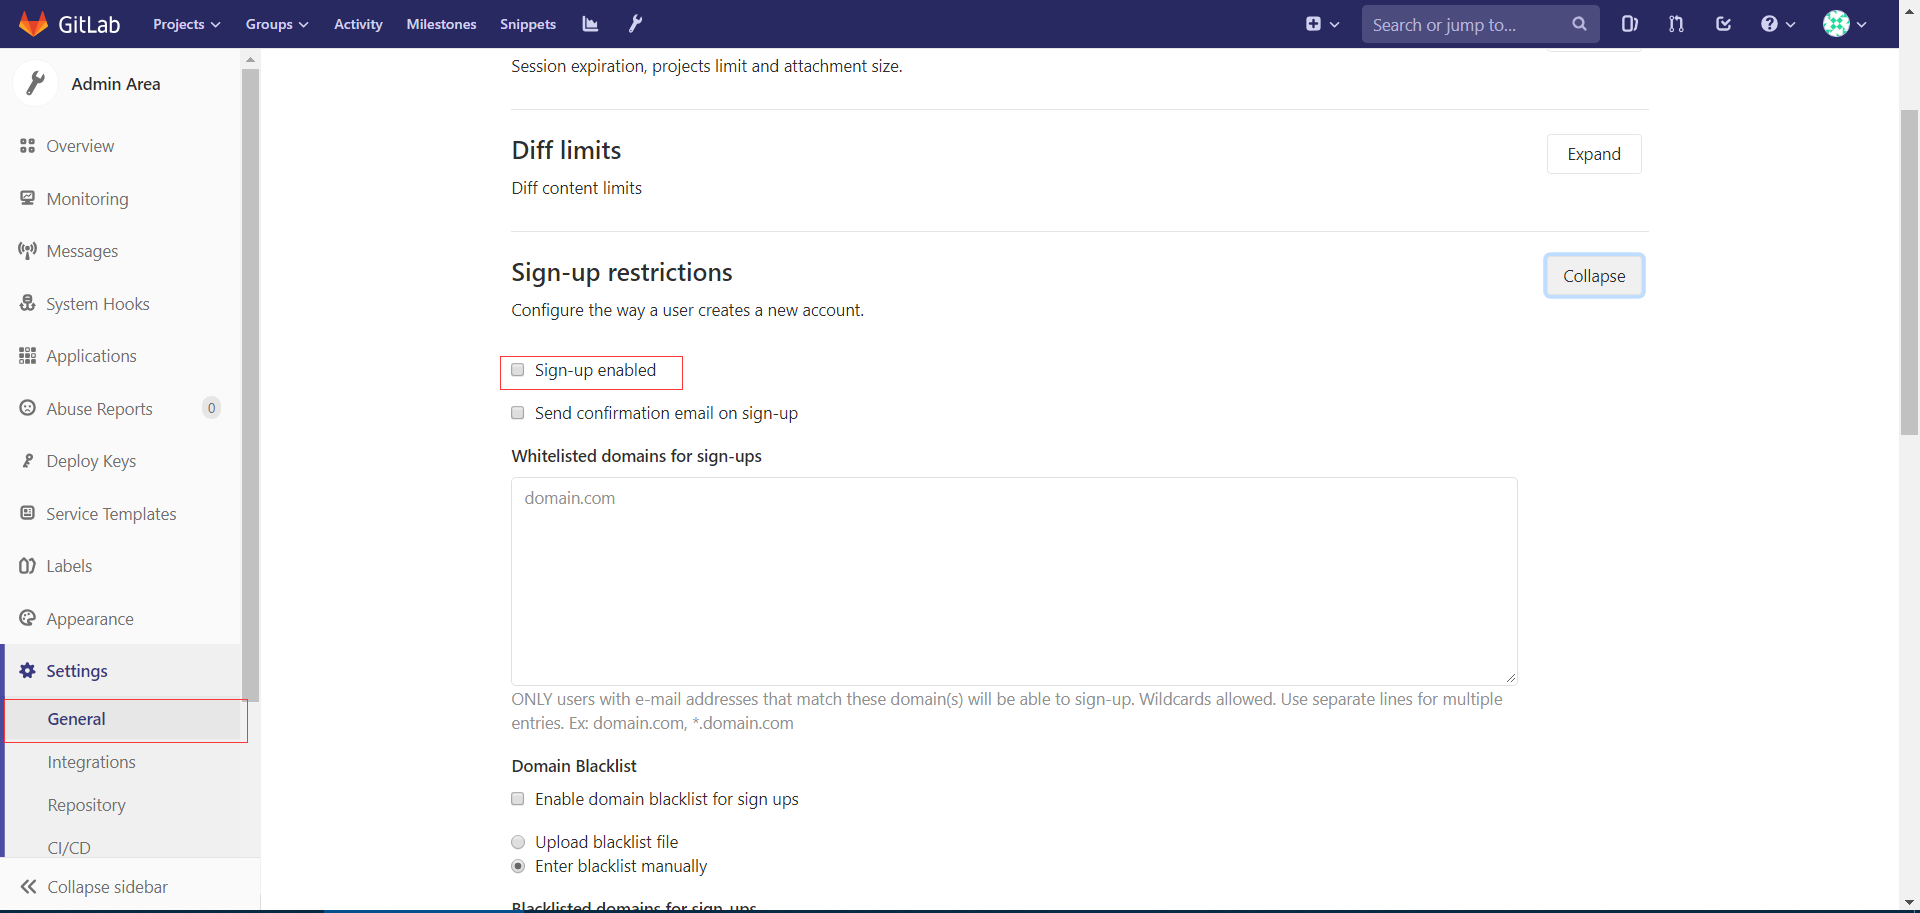
10、关闭用户注册功能
为了避免用户随便注册账号,我们将注册功能关闭。
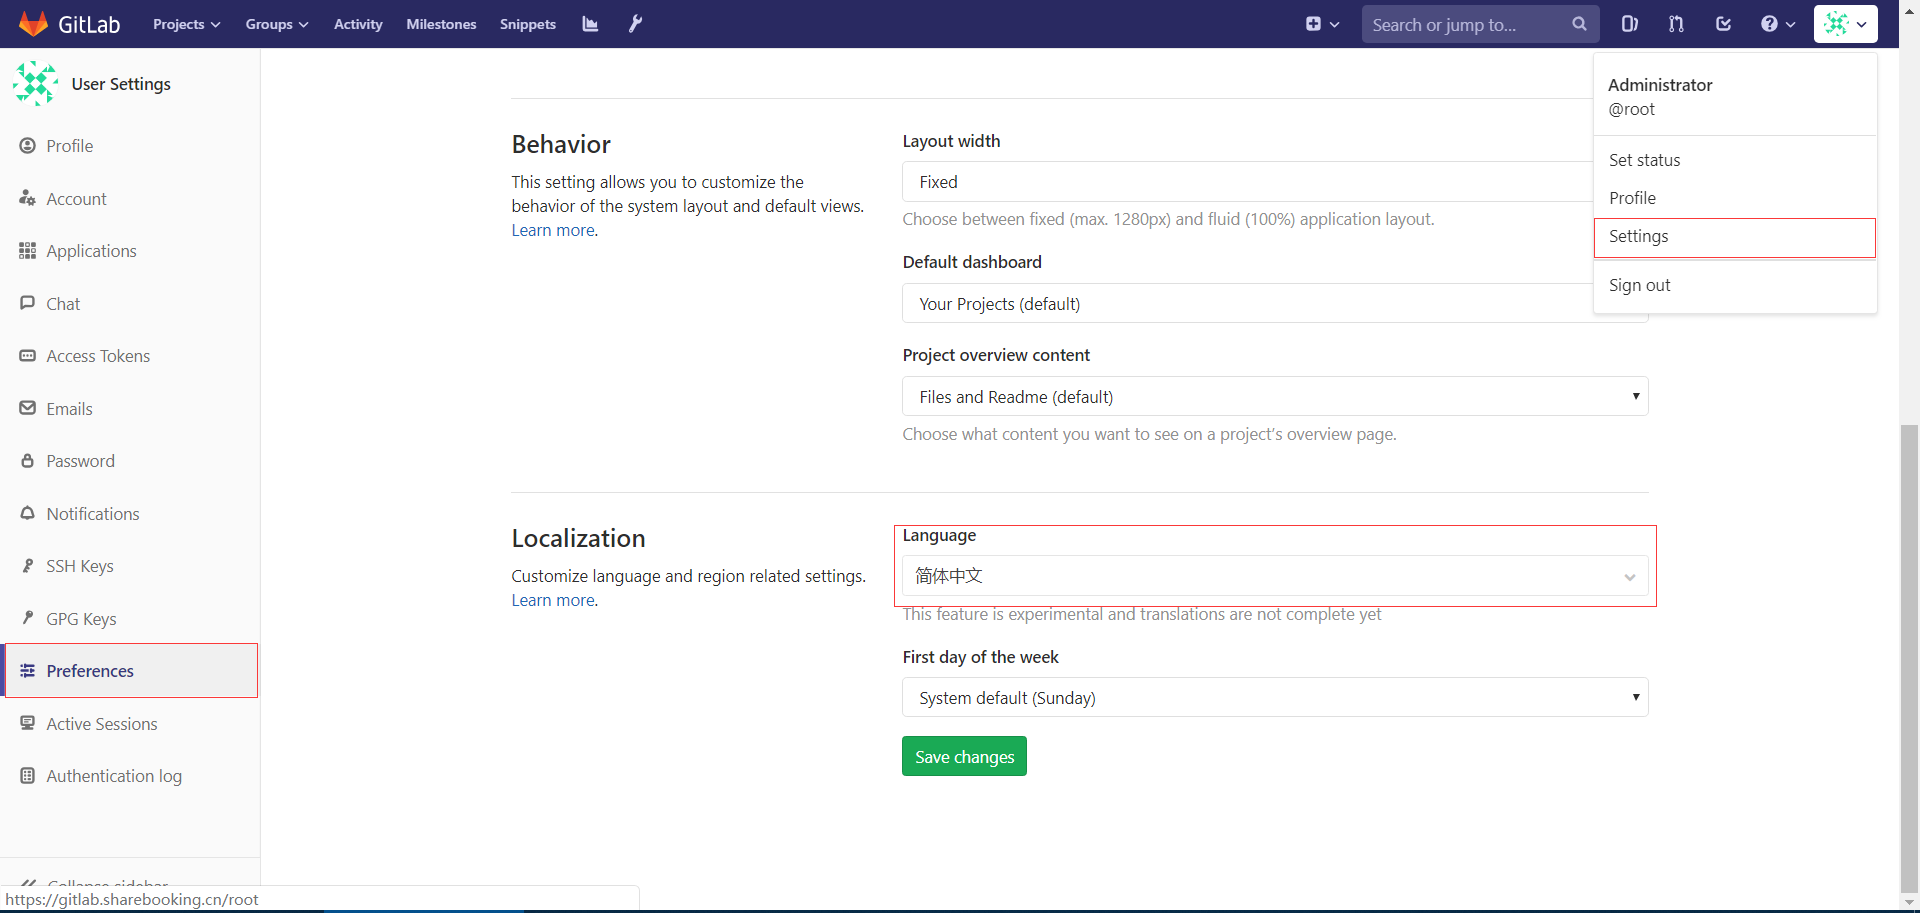
11、设置语言为"简体中文"
保存后重启登陆即可。
安装Gitlab到Ubuntu(APT)的更多相关文章
- Ubuntu 16.04 安装Gitlab
这里选用Ubuntu16.04系统 安装Gig sudo apt-get install git 安装gitlab 1,安装依赖包,运行如下命令 sudo apt-get install curl o ...
- Ubuntu 14.04下安装GitLab指南
摘要 GitLab 是一个用于仓库管理系统的开源项目.使用Git作为代码管理工具,并在此基础上搭建起来的web服务. 在GitLab的官方网站上面对Ubuntu的支持也是很好的,有比较详尽的安装指南. ...
- ubuntu 16.04.2 源码安装gitlab并且利用runner持续集成
参考原档:https://gitlab.com/gitlab-org/gitlab-ce/blob/master/doc/install/installation.md#using-https 本章只 ...
- Ubuntu Docker 简单安装 GitLab
相关博文: Ubuntu 简单安装 Docker Ubuntu 简单安装和配置 GitLab 服务器版本 Ubuntu 16.04 LTS. 1. 安装和配置 安装命令: sudo docker ru ...
- Linux环境Ubuntu上安装GitLab
本文主要介绍在Ubuntu[Ubuntu 18.04.3]上安装最新的GitLab版本控制工具. 一.安装更新GitLab所需要的依赖项 sudo apt-get update 下载过程中,网络要有所 ...
- 安装Docker到Ubuntu(APT)
运行环境 系统版本:Ubuntu 16.04.5 LTS 软件版本:Docker-CE-18.09.5 硬件配置:无 安装过程 1.卸载旧版本 root@ubuntu:~# sudo apt-get ...
- Centos6安装Gitlab
安装参考 https://about.gitlab.com/downloads/ 可以从清华的镜像下载安装包, 注意区分自己用的是哪个发行版 https://mirror.tuna.tsinghua. ...
- Ubuntu14.04 安装Gitlab
安装ubuntu 操作系统 除了 openssh server 其它都不需要 配置软件源 root@gitlab:~# cat /etc/apt/sources.list deb http://mir ...
- Docker安装Gitlab
一.Ubuntu16.4上Docker安装Gitlab 1.安装docker 参见:https://docs.docker.com/engine/installation/linux/ubuntuli ...
随机推荐
- 全卷积网络FCN
全卷积网络FCN fcn是深度学习用于图像分割的鼻祖.后续的很多网络结构都是在此基础上演进而来. 图像分割即像素级别的分类. 语义分割的基本框架: 前端fcn(以及在此基础上的segnet,decon ...
- python中常见的报错信息
python中常见的报错信息 在运行程序时常会遇到报错提示,报错的信息会提示是哪个方向错的,从而帮助你定位问题: 搜集了一些python最重要的内建异常类名: AttributeError:属性错误, ...
- Educational Codeforces Round 57
2018.12.28 22:30 看着CF升高的曲线,摸了摸自己的头发,我以为我变强了,直到这一场Edu搞醒了我.. 从即将进入2018年末开始,开启自闭场集合,以纪念(dian)那些丢掉的头发 留 ...
- Why all application lack a kind of most really charm ?
Website and APP we used now are mostly web2.0 applications. While people practise in use, they can n ...
- Spring IOC容器源码分析
注:本文转自https://javadoop.com/post/spring-ioc Spring 最重要的概念是 IOC 和 AOP,本篇文章其实就是要带领大家来分析下 Spring 的 IOC 容 ...
- 图像数组运算相关问题(nan/inf)
新年第一更!祝愿新的一年技术长足进步哈! 最近在用sklearn的回归分析模型拟合预测遥感图像,遇到了一些问题,好在一一解决,现在总结一下. 1.首先输入sklearn的数据必须reshape(-1, ...
- 向C++之父Bjarne Stroustrup致敬
2013-04-25 21:30 (分类:社会人生) 非常好的文章 C ++ 的 背 影 ——C++之父Bjarne Strou ...
- Navicat 导入数据时报Incorrect datetime value: '0000-00-00 00:00:00.000000' 错误
今天重装了个系统,装好MySQL和Navicat之后导入SQL时报了Incorrect datetime value: '0000-00-00 00:00:00.000000' 错误, 查了资料说是m ...
- Apache 的多站点配置
1.修改httpd.conf 文件 Apache的主配置文件路径: D:\phpTools\Apache24\conf 用编辑器打开 httpd.conf 文件,查找 #Include conf/ex ...
- REDTEAM 指南---第四章 外部侦察
第四章 外部侦察 贡献者:Haythem Arfaoui 翻译BugMan 主动侦察 介绍 主动足迹涉及使用可以帮助您收集更多信息的工具和技术 有关目标的信息.与被动足迹不同的是,过程永远不会“触及” ...