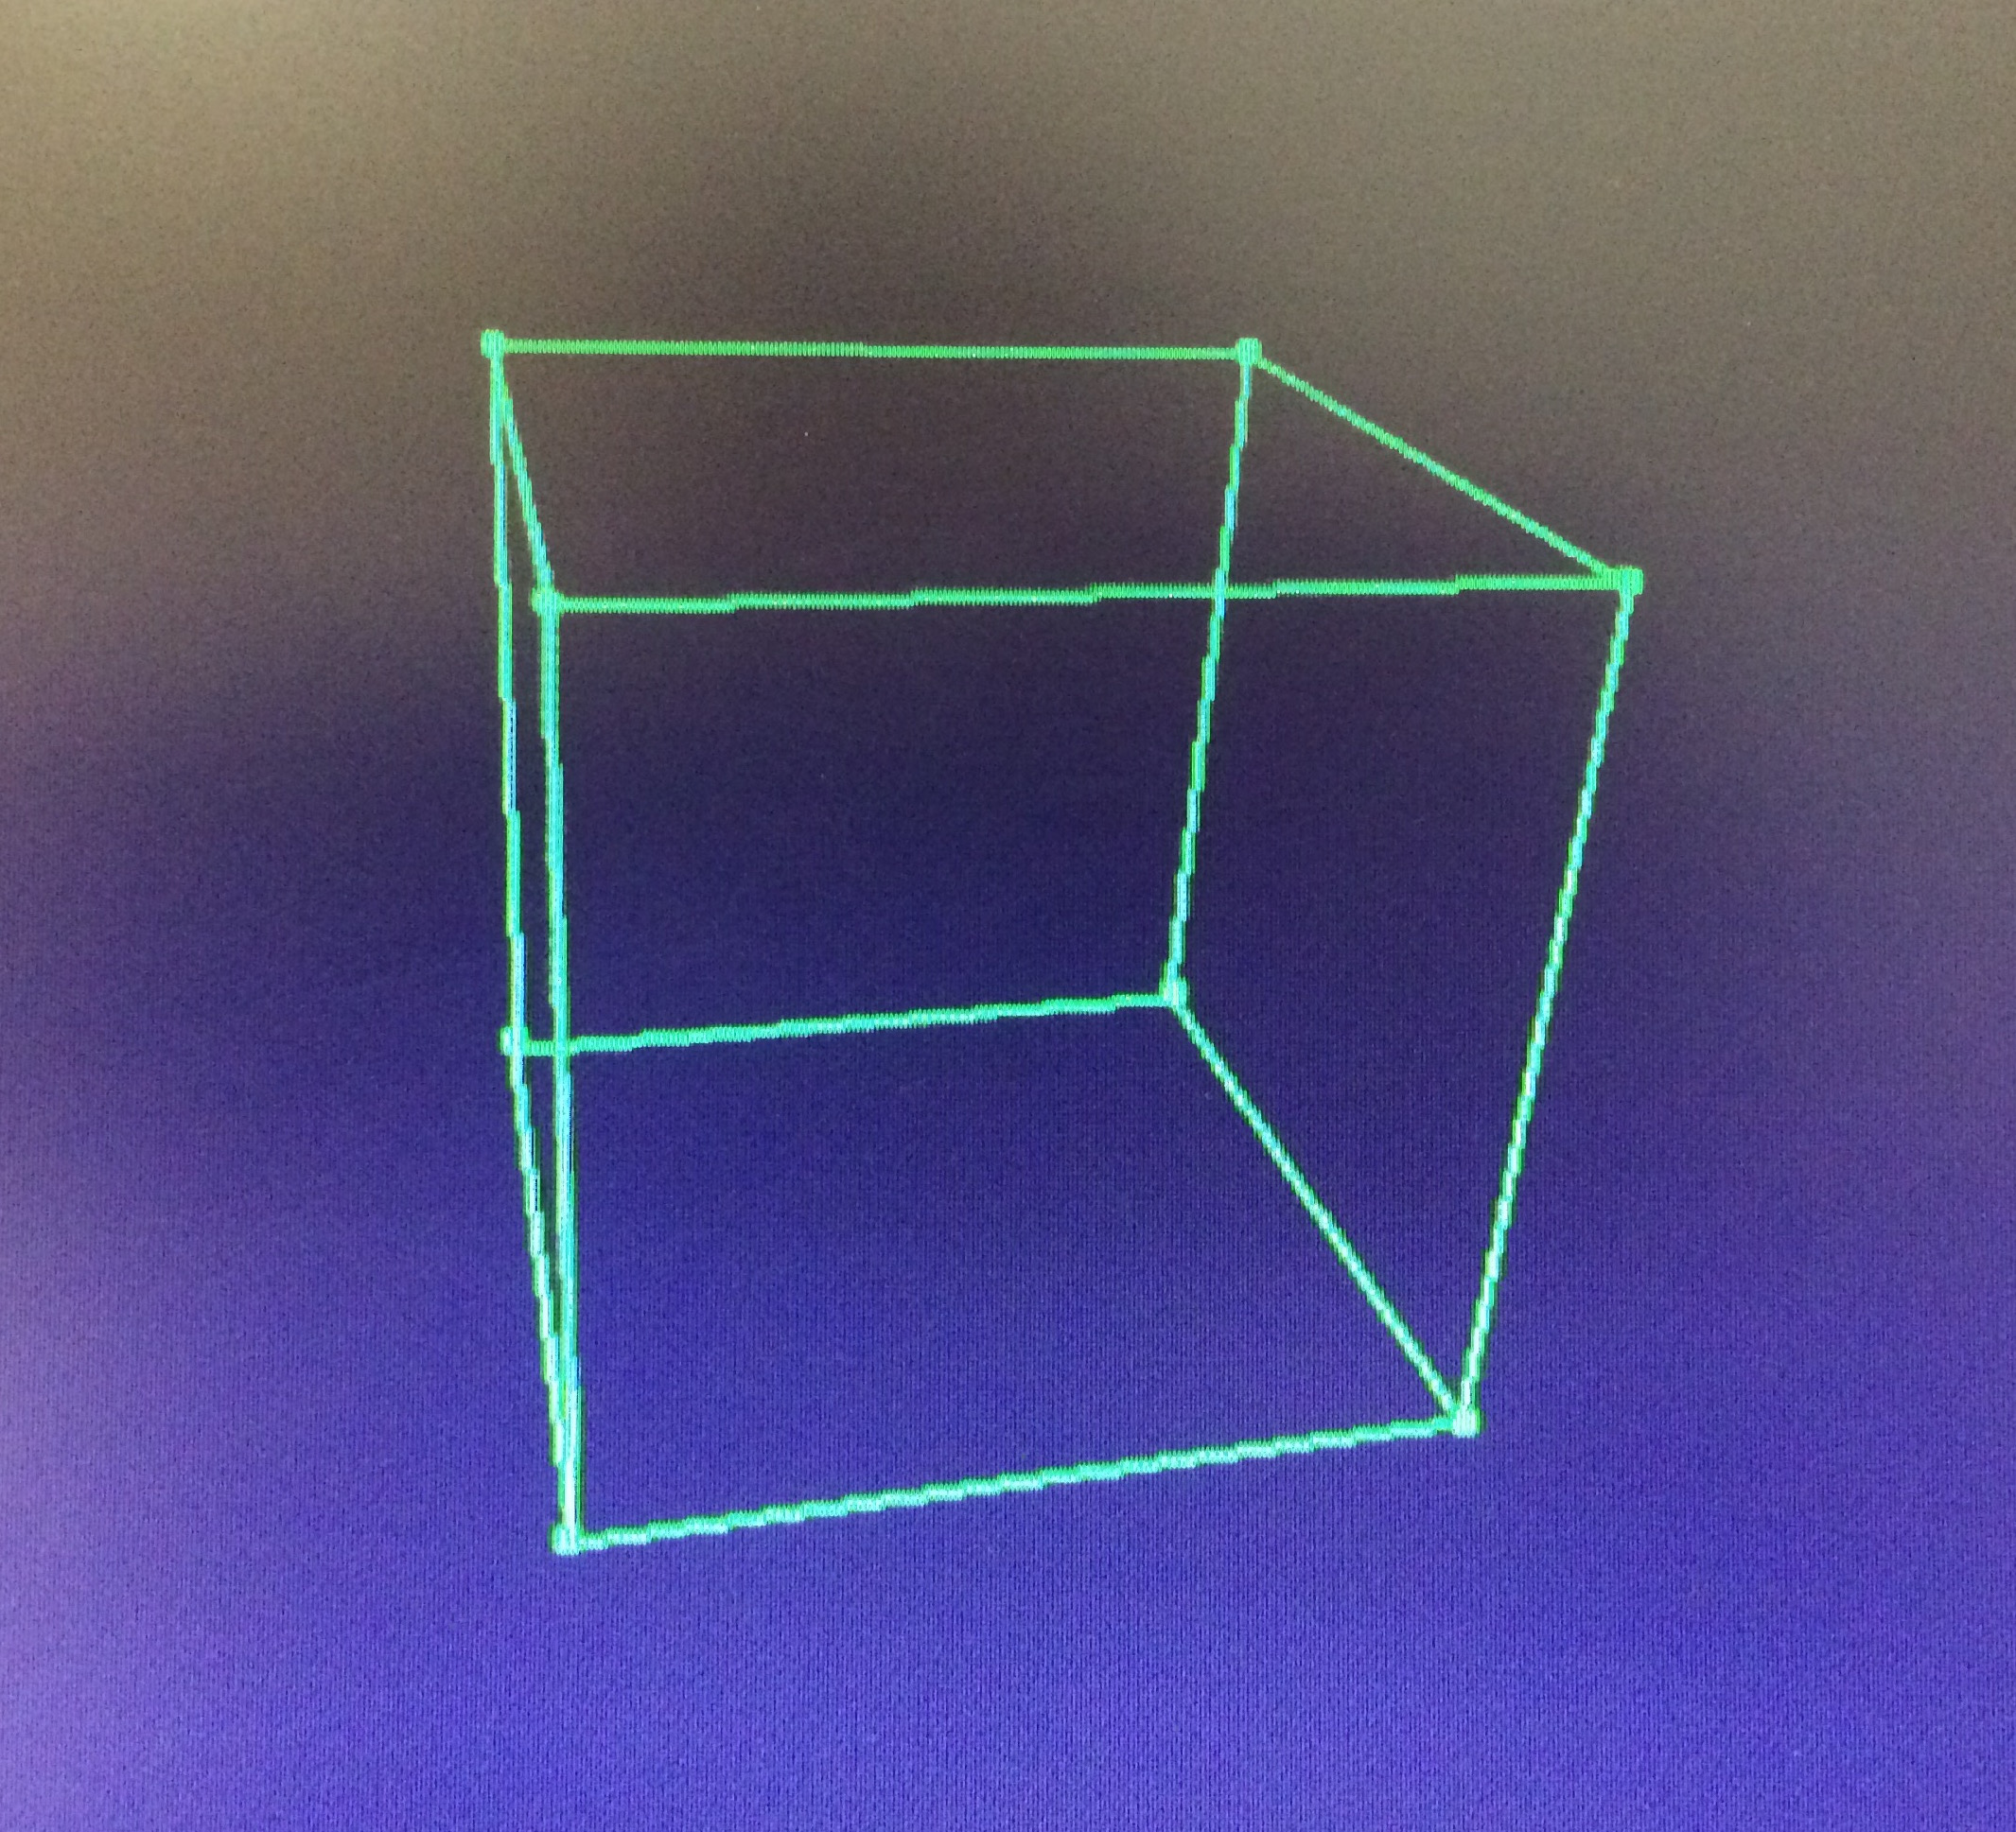
BrightScript 3D test - Roku (4)
My initial attempt to port over an old Actionscript program, here it goes in main.brs.
Library "v30/bslDefender.brs"

'''''''''''''''''''''''''''''''''''''''''''''''''''

'

function Main() as void

    screen = CreateObject("roScreen")

    port = CreateObject("roMessagePort")

    screen.SetMessagePort(port)

    screen.SetAlphaEnable(true)

    m.PI = 3.14159265358979323846264338327958209749445923078164

    m.origin = { x:/, y:/, z: }

    m.focal_length =

    m.scene = { x:m.origin.x, y:m.origin.y }

    m.axis_rotation = { x:, y:, z: }

    m.camera = { x:, y:, z: }

    LINE_COLOR = &h00ee00ff

    VERTEX_COLOR = &h00dd00ff

    m.len =

    m.points = [

        '

        vertex3d(-m.len, -m.len, -m.len),

        vertex3d(m.len, -m.len, -m.len),

        vertex3d(m.len, -m.len, m.len),

        vertex3d(-m.len, -m.len, m.len),

        '

        vertex3d(-m.len, m.len, -m.len),

        vertex3d(m.len, m.len, -m.len),

        vertex3d(m.len, m.len, m.len),

        vertex3d(-m.len, m.len, m.len),

                ]

    ' Initialize drawing points, skip

'    screen.Clear(&h000000ff)

'    for i=0 to m.points.count()-1 step 1

'        screen.DrawPoint(m.points[i].x, m.points[i].y, 4, &h00ff00ff)

'    end for

'    screen.finish()

    timer = CreateObject("roTimespan")

    start_time = timer.TotalMilliseconds()

    while(true)

        current_time = timer.TotalMilliseconds()

        if (current_time - start_time > /)

            screen.Clear(&h000000ff)

            ' Rotation

            m.axis_rotation.x = m.axis_rotation.x + 0.001

            m.axis_rotation.y = m.axis_rotation.y + 0.001

            m.axis_rotation.z = m.axis_rotation.z + 0.001

            ' 3D translation simulated

            projected = project_pts(m.points)

            ' Top face

            screen.drawLine(projected[].x, projected[].y, projected[].x, projected[].y, line_color)

            screen.drawLine(projected[].x, projected[].y, projected[].x, projected[].y, line_color)

            screen.drawLine(projected[].x, projected[].y, projected[].x, projected[].y, line_color)

            screen.drawLine(projected[].x, projected[].y, projected[].x, projected[].y, line_color)

            ' Bottom face

            screen.drawLine(projected[].x, projected[].y, projected[].x, projected[].y, line_color)

            screen.drawLine(projected[].x, projected[].y, projected[].x, projected[].y, line_color)

            screen.drawLine(projected[].x, projected[].y, projected[].x, projected[].y, line_color)

            screen.drawLine(projected[].x, projected[].y, projected[].x, projected[].y, line_color)

            ' Vertices

            screen.drawLine(projected[].x, projected[].y, projected[].x, projected[].y, line_color)

            screen.drawLine(projected[].x, projected[].y, projected[].x, projected[].y, line_color)

            screen.drawLine(projected[].x, projected[].y, projected[].x, projected[].y, line_color)

            screen.drawLine(projected[].x, projected[].y, projected[].x, projected[].y, line_color)

            ' Vertex

            for i= to projected.count()- step

                screen.DrawPoint(projected[i].x, projected[i].y, , vertex_color)

            end for

            screen.finish()

        end if

    end while

End Function

'''''''''''''''''''''''''''''''''''''''''''''''''''

' 3D translation simulated

function project_pts(points as Object) as Object

    projected = []

    sin_x = sin(m.axis_rotation.x)

    cos_x = cos(m.axis_rotation.x)

    sin_y = sin(m.axis_rotation.y)

    cos_y = cos(m.axis_rotation.y)

    sin_z = sin(m.axis_rotation.z)

    cos_z = cos(m.axis_rotation.z)

    for i= to m.points.count()- step

        x = m.points[i].x

        y = m.points[i].y

        z = m.points[i].z

        ' rotate about x axis

        xy = cos_x*y - sin_x*z

        xz = sin_x*y + cos_x*z

        ' rotate about y axis

        yz = cos_y*xz - sin_y*x

        yx = sin_y*xz + cos_y*x

        ' rotate about z axis

        zx = cos_z*yx - sin_z*xy

        zy = sin_z*yx + cos_z*xy

        scale = m.focal_length/(m.focal_length+yz-m.camera.z)

        x = zx*scale - m.camera.x         'get x position in the view of camera

        y = zy*scale - m.camera.y         'get y position in the view of camera

        projected[i] = vertex3d(x+m.scene.x, y+m.scene.y, yz, scale)

    end for

    return projected

end function

'''''''''''''''''''''''''''''''''''''''''''''''''''

' Return a vector point

function vertex3d(x as Integer, y as Integer, z as Integer, scale =  as Integer) as Object

    return { x:x, y:y, z:z, scale:scale }

end function
And a screen shot:

-- Regards
BrightScript 3D test - Roku (4)的更多相关文章
- 在eclipse上搭建Roku开发环境
环境:Oracle VM virtualBox+Ubuntu server 12.0.4.2 LTS+xfce+ Eclipse IDE for C/C++ Developers 4.3.2 参考:h ...
- 2D、3D形变
p.p1 { margin: 0.0px 0.0px 0.0px 0.0px; font: 17.0px Monaco; color: #a5b2b9 } span.Apple-tab-span { ...
- CSS3 3D立方体效果-transform也不过如此
CSS3系列已经学习了一段时间了,第一篇文章写了一些css3的奇技淫巧,原文戳这里,还获得了较多网友的支持,在此谢过各位,你们的支持是我写文章最大的动力^_^. 那么这一篇文章呢,主要是通过一个3D立 ...
- 三分钟学会用 js + css3 打造酷炫3D相册
之前发过该文,后来不知怎么回事不见了,现在重新发一下. 中秋主题的3D旋转相册 如图,这是通过Javascript和css3来实现的.整个案例只有不到80行代码,我希望通过这个案例,让正处于迷茫期的j ...
- 使用CSS3实现一个3D相册
CSS3系列我已经写过两篇文章,感兴趣的同学可以先看一下CSS3初体验之奇技淫巧,CSS3 3D立方体效果-transform也不过如此 第一篇主要列出了一些常用或经典的CSS3技巧和方法:第二篇是一 ...
- Android ViewPager打造3D画廊
本文已授权微信公众号:鸿洋(hongyangAndroid)在微信公众号平台原创首发. 网上有很多关于使用Gallery来打造3D画廊的博客,但是在关于Gallery的官方说法中表明: This cl ...
- 如何在ASP.Net创建各种3D图表
我们都知道,图表在ASP.NET技术中是一种特别受欢迎而又很重要的工具.图表是表示数据的图形,一般含有X和Y两个坐标轴.我们可以用折线,柱状,块状来表示数据.通过图表控件,我们即能表示数据又能比较各种 ...
- 现代3D图形编程学习-基础简介(3)-什么是opengl (译)
本书系列 现代3D图形编程学习 OpenGL是什么 在我们编写openGL程序之前,我们首先需要知道什么是OpenGL. 将OpenGL作为一个API OpenGL 通常被认为是应用程序接口(API) ...
- CSS 3 学习——transform 3D转换渲染
以下内容根据官方规范翻译,没有翻译关于SVG变换的内容和关于矩阵计算的内容. 一般情况下,元素在一个无景深无立体感的平面(flat plane)上渲染,这个平面就是其包含块所处的平面.同时,页面上的其 ...
随机推荐
- Source InSight context 窗口丢失的解决办法
我没关si的情况下强制关机导致的 Source InSight context 窗口丢失的解决办法 (2010-09-03 13:35:45) 转载▼ 今天早晨改改CLI,上了趟WC,回来发现 ...
- 修复xcode6.2 插件不能使用问题
在终端输入以下命令即可: find ~/Library/Application\ Support/Developer/Shared/Xcode/Plug-ins -name Info.plist -m ...
- ctf经典好题复习
WEB200-2 这是swpu-ctf的一道题. <?php if(isset($_GET['user'])){ $login = @unserialize(base64_decode($_GE ...
- 【node.js】回调函数
学习链接:http://www.runoob.com/nodejs/nodejs-callback.html Node.js 异步编程的直接体现就是回调. 异步编程依托于回调来实现,但不能说使用了回调 ...
- 【bootstrap】.container与.container_fluid
.container与.container_fluid是bootstrap中的两种不同类型的外层容器,区别是: .container 类用于固定宽度并支持响应式布局的容器.不用你自己设宽度,通过< ...
- spring boot实战(第二篇)事件监听
http://blog.csdn.net/liaokailin/article/details/48186331 前言 spring boot在启动过程中增加事件监听机制,为用户功能拓展提供极大的便利 ...
- 算法——(4)哈希、hashmap、hashtable
1. Hash 把任意长度的输入通过散列算法,变换成固定长度的输出,该输出就是散列值.拥有四个特性: 1. 拥有无限的输入域和固定大小的输出域 2. 如果输入值相同,返回值一样 3. 如果输入值不相同 ...
- PAT——1055. 集体照
拍集体照时队形很重要,这里对给定的N个人K排的队形设计排队规则如下: 每排人数为N/K(向下取整),多出来的人全部站在最后一排: 后排所有人的个子都不比前排任何人矮: 每排中最高者站中间(中间位置为m ...
- PAT——1048. 数字加密
本题要求实现一种数字加密方法.首先固定一个加密用正整数A,对任一正整数B,将其每1位数字与A的对应位置上的数字进行以下运算:对奇数位,对应位的数字相加后对13取余——这里用J代表10.Q代表11.K代 ...
- Vue学习—Vue写一个图片轮播组件
1.先看效果: 熟悉的图片轮播,只要是个网站,百分之90以上会有个图片轮播.我认为使用图片轮播. 第一可以给人以一种美观的感受,而不会显得网站那么呆板, 第二可以增加显示内容,同样的区域可以显示更多内 ...
