Spring Boot整合Thymeleaf视图层
Spring Boot整合Thymeleaf
Spring Boot整合Thymeleaf(Spring Boot官方推荐的视图层技术)
Thymeleaf特点:thymeleaf通过特定的语法对html的标记进行渲染。
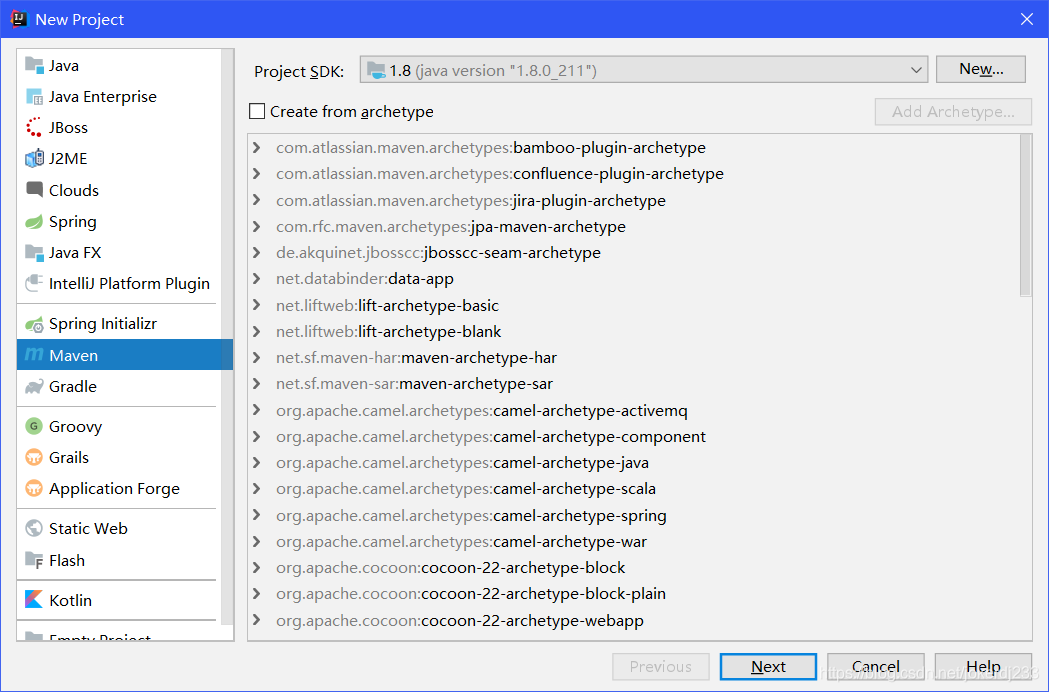
Spring Boot整合Thymeleaf 的项目步骤
- 创建Thymeleaf的项目(maven project的jar类型的spring boot项目)
- 打开pom.xml文件,添加启动器坐标
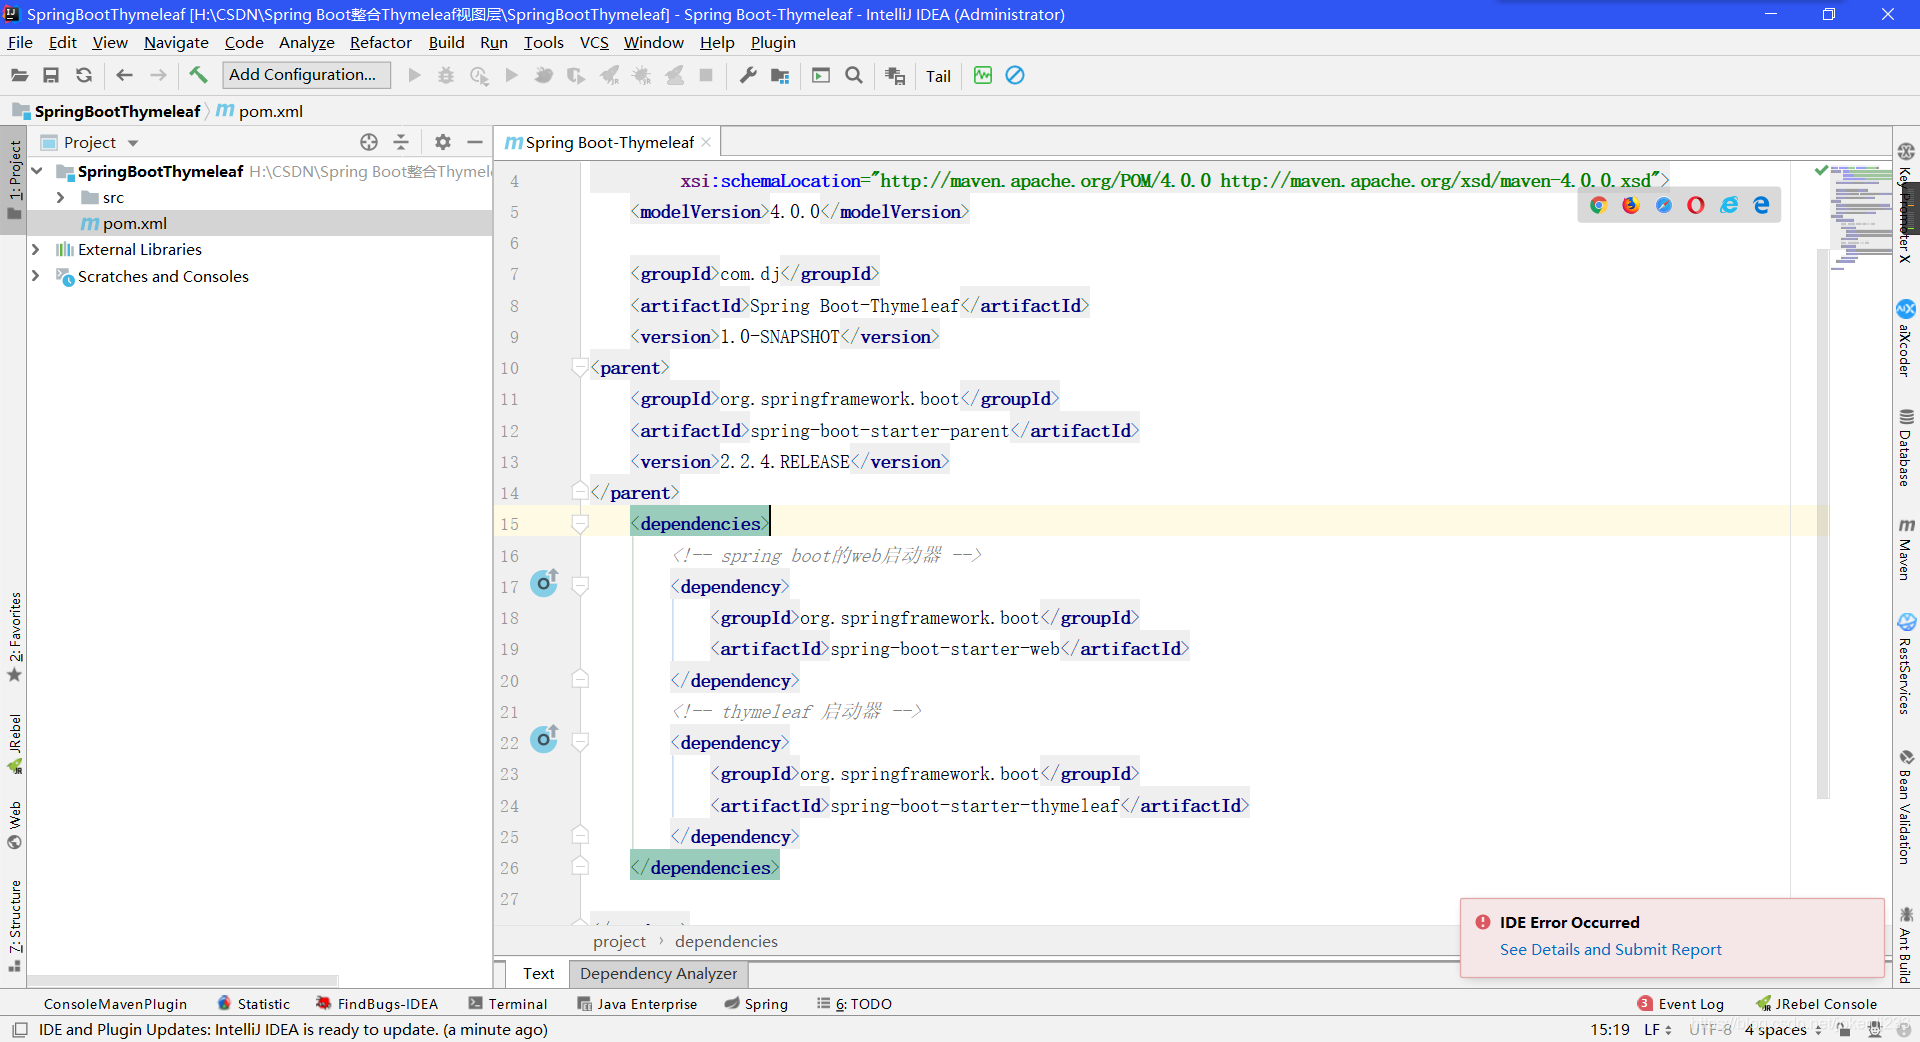
代码:
<parent>

    <groupId>org.springframework.boot</groupId>

    <artifactId>spring-boot-starter-parent</artifactId>

    <version>2.2.4.RELEASE</version>

</parent>

    <dependencies>

        <!-- spring boot的web启动器 -->

        <dependency>

            <groupId>org.springframework.boot</groupId>

            <artifactId>spring-boot-starter-web</artifactId>

        </dependency>

        <!-- thymeleaf 启动器 -->

        <dependency>

            <groupId>org.springframework.boot</groupId>

            <artifactId>spring-boot-starter-thymeleaf</artifactId>

        </dependency>

    </dependencies>
- 编写Controller控制器

代码:
@Controller

public class UserController {

	/**

	 * 返回一个String的返回值(恒跳转),并且不是一个异步的ResponseBoby响应

	 * 框架会自动在templates目录下查找与之对应的html页面,

	 * 由Thymeleaf渲染出来。

	 * 前缀:classpath:/templates  后缀:.html

	 * 如果想要跳转到控制器,必须要让前缀和后缀失效,加上forward或redirect

	 */

	@RequestMapping("/show")

	public String  showInfo(Model model) {

		//存储用户名字符串,显示到页面

		model.addAttribute("username","翠花");

		//前缀:classpath:/templates  后缀:.html

		return "index";

	}

}
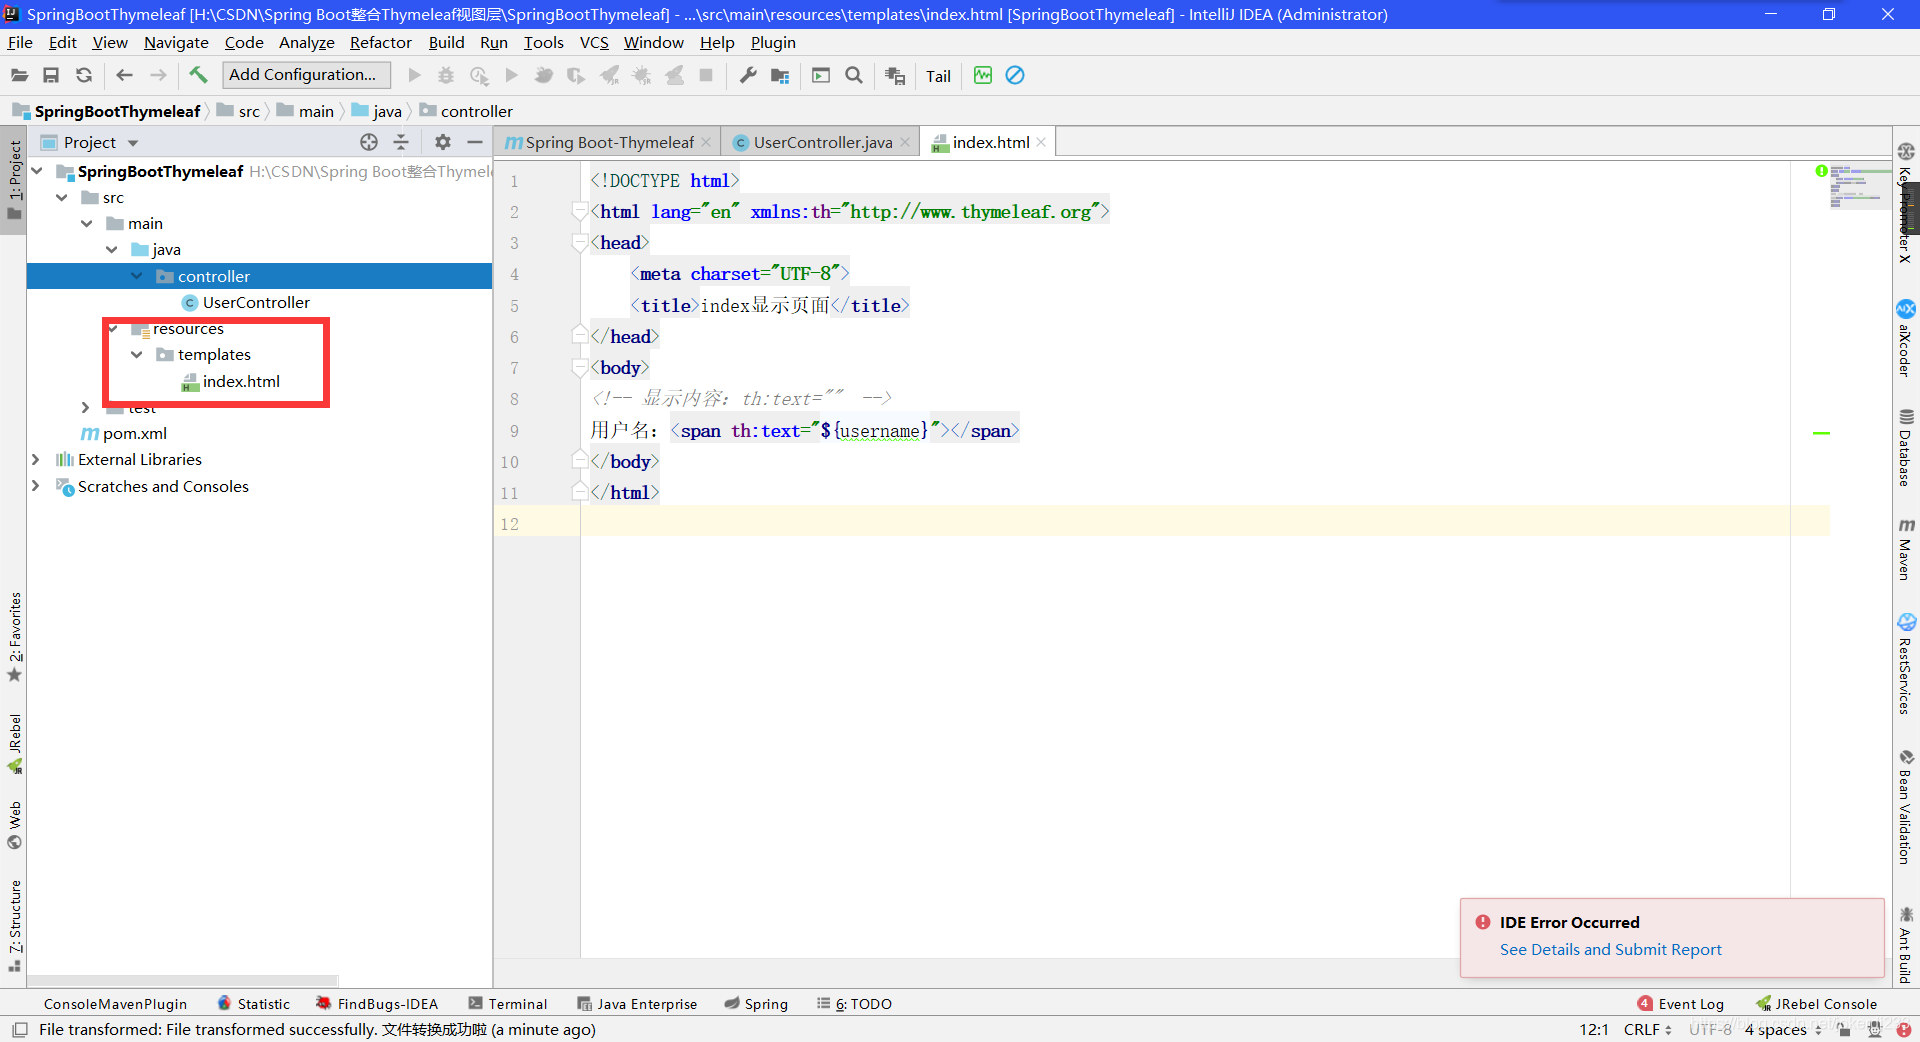
- 编写Thymeleaf视图层页面 (负责数据的展示)
Thymeleaf页面必须要放在src/main/resources/templates下
templates:该目录是安全.意味着目录下的内容不允许外界直接访问。
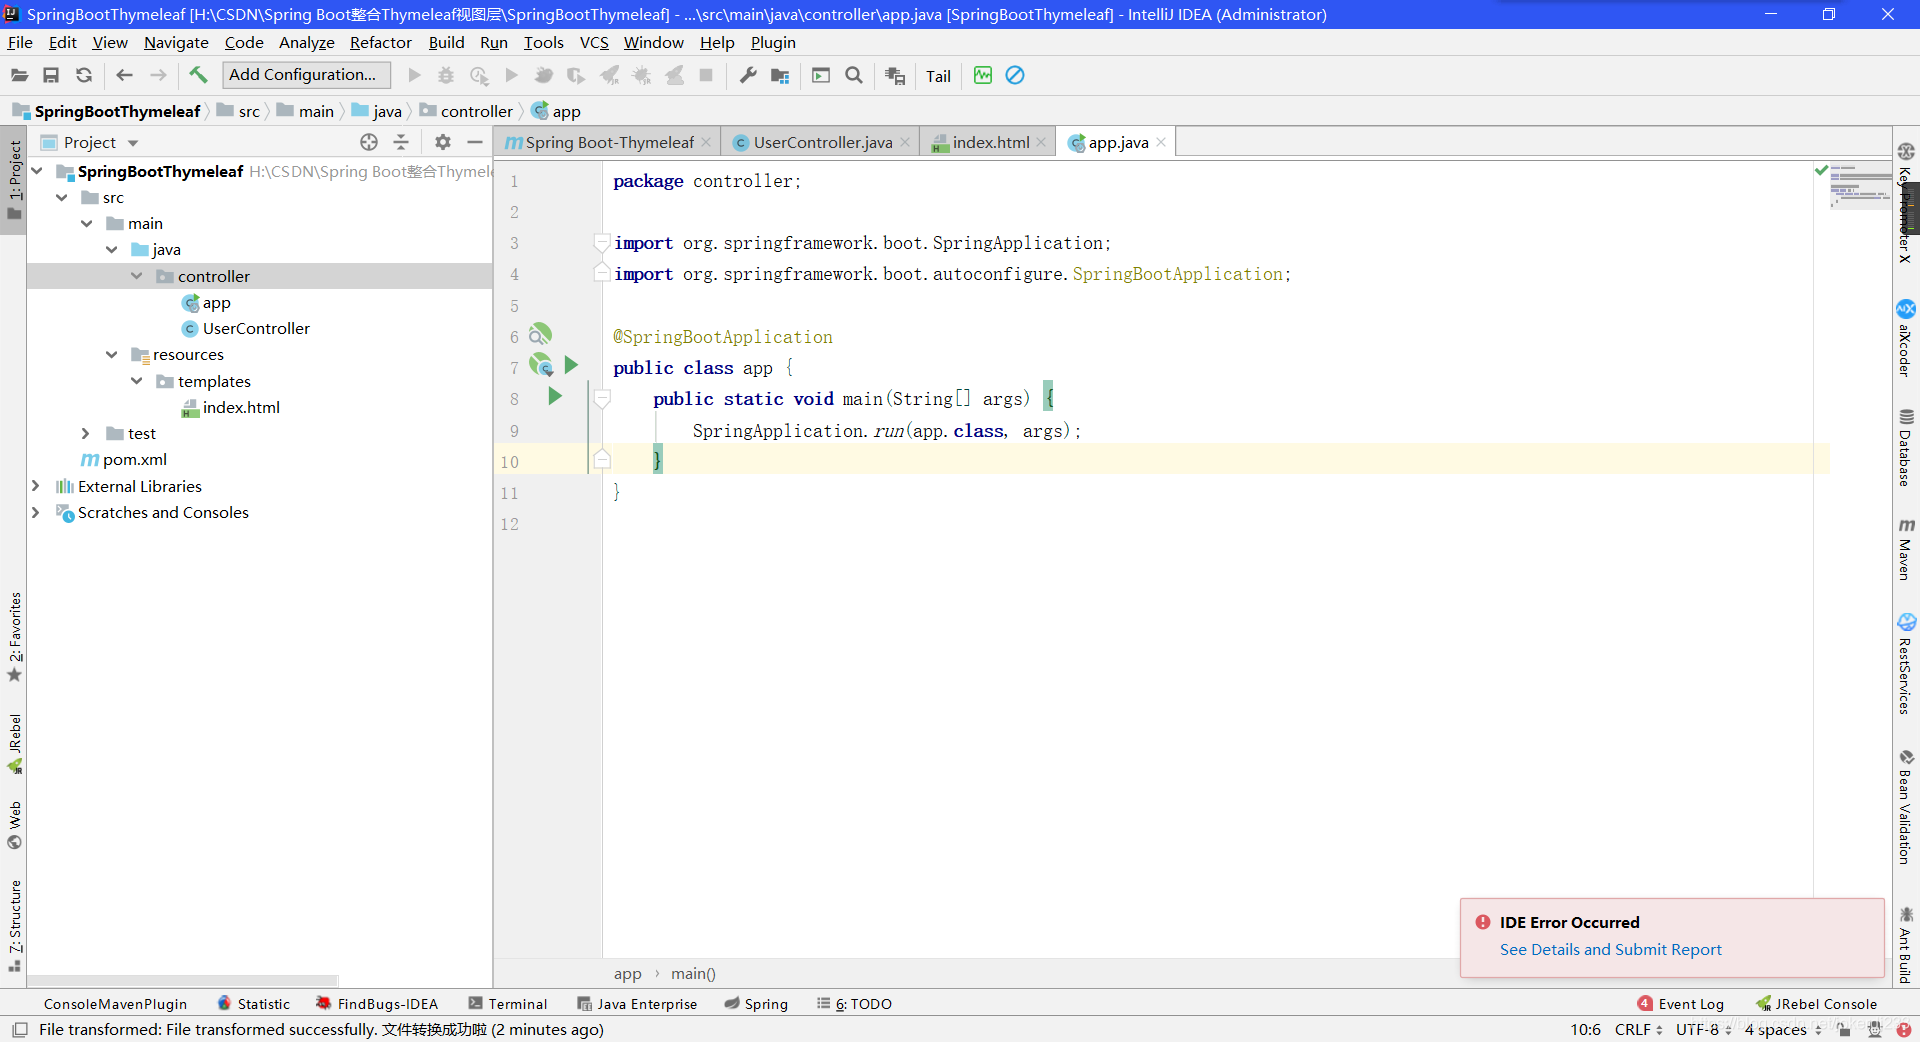
- 启动类
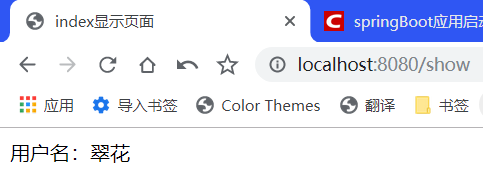
- 浏览器输入: localhost:8080/show
Thymeleaf 语法详解
- 变量输出
th:text :在页面中输出值
th:value : 将值放入input标签的value属性中
用户名:<span th:text="${username}"></span>

<hr/>

用户名: <input th:value="${username}"/>
- Thymeleaf内置对象 (内置对象一定用#)
1:字符串操作 strings
strings.isEmpty() : 判断字符串是否为空。True,false
strings.startsWith() : 判断字符串是否已什么开头。True,false
strings.endsWith() : 判断字符串是否已什么结尾。True,false
strings.length() : 返回字符串的长度
strings.indexOf() : 查找子字符串出现的位置
strings.toUpperCase():转大写
strings.tolowerCase():转小写
Strings.substring() :截取子字符串
用户名的长度:<span th:text="${#strings.length(username)}"></span>

  <hr/>

  获取用户名的姓:<span th:text="${#strings.substring(username,0,1)}"></span>
- 日期格式化处理 dates
dates.format():默认以浏览器作为格式化标签
dates.format(time,’yyyy-MM-dd hh:mm:ss ’): 按照自定义的格式进行转换
dates.year():获取年
dates.month():获取月
dates.day():获取日
当前时间:<span th:text="${time}"></span>

 <hr/>

 格式化日期:<span th:text="${#dates.format(time,'yyyy-MM-dd HH:mm:ss')}"></span>
- 条件判断
1:th: if
controller:
model.addAttribute("sex", "男");
html:
您可能喜欢:<span th:if="${sex}=='男'">篮球,动漫</span>
th:switch
th:case循环迭代遍历
th:each
	1:迭代遍历list

		<table border="1" width="50%">

     <tr>

        <td>序号</td>

        <td>编号</td>

        <td>姓名</td>

        <td>年龄</td>

     </tr>

     <!--var:状态变量  index ,count,first last size  even odd-->

     <tr th:each="user,var:${list}">

        <td th:text="${var.count}"></td>

        <td th:text="${user.id}"></td>

        <td th:text="${user.name}"></td>

        <td th:text="${user.age}"></td>

     </tr>

 </table>
2:迭代遍历map
...
- 作用域的对象数据的获取操作
	//作用域  request,session  application

request.setAttribute("req", "HttpServletRequest");

request.getSession().setAttribute("sess", "HttpSession");

request.getSession().getServletContext().setAttribute("app", "ServletContext");

<!--页面部分-->

Request数据:<span th:text="${#httpServletRequest.getAttribute('req')}"></span><br/>

Session数据:<span th:text="${session.sess}"></span><br/>

Application数据:<span th:text="${application.app}"></span><br/>
- Url表达式
th:href
th:src
th:action
1:表达式语法 @{}
2: 路径类型绝对路径
相对路径
1:相对于当前项目的根目录  /

      <a th:href=”@{/index}”></a>

2: 相对于服务器路径的根目录 ~

      <a th:href=”@{~/项目名/资源}”></a>

<!-- 连接 url表达式 -->

 <a href="http://www.baidu.com">百度一下</a>

 <a th:href="@{http://www.baidu.com}">百度一下</a>

 <a th:href="@{/show}">show</a>

 <hr/>

 <img src="images/3.jpg" />

 <img th:src="@{${img}}"  />
Spring Boot整合Thymeleaf视图层的更多相关文章
- Spring Boot2 系列教程(九)Spring Boot 整合 Thymeleaf
虽然现在慢慢在流行前后端分离开发,但是据松哥所了解到的,还是有一些公司在做前后端不分的开发,而在前后端不分的开发中,我们就会需要后端页面模板(实际上,即使前后端分离,也会在一些场景下需要使用页面模板, ...
- 极简 Spring Boot 整合 Thymeleaf 页面模板
虽然现在慢慢在流行前后端分离开发,但是据松哥所了解到的,还是有一些公司在做前后端不分的开发,而在前后端不分的开发中,我们就会需要后端页面模板(实际上,即使前后端分离,也会在一些场景下需要使用页面模板, ...
- 从零开始的Spring Boot(5、Spring Boot整合Thymeleaf)
Spring Boot整合Thymeleaf 写在前面 从零开始的Spring Boot(4.Spring Boot整合JSP和Freemarker) https://www.cnblogs.com/ ...
- Spring Boot整合 Thymeleaf 模板引擎
什么是Thymeleaf Thymeleaf是一款用于渲染XML.XHTML.HTML5内容的模板引擎.类似Velocity,FreeMaker模板引擎,它也可以轻易的与Spring MVC等Web框 ...
- Spring Boot整合Thymeleaf模板引擎
什么是Thymeleaf Thymeleaf是一款用于渲染XML.XHTML.HTML5内容的模板引擎.类似Velocity,FreeMaker模板引擎,它也可以轻易的与Spring MVC等Web框 ...
- Spring Boot 整合 Thymeleaf 完整 Web 案例
Thymeleaf 是一种模板语言.那模板语言或模板引擎是什么?常见的模板语言都包含以下几个概念:数据(Data).模板(Template).模板引擎(Template Engine)和结果文档(Re ...
- spring boot整合Thymeleaf的那些坑(spring boot 学习笔记之四)
这里简单记录一下Thymeleaf配置和使用的步骤 1.修改pom文件,添加依赖 <dependency> <groupId>org.springframework.boot& ...
- spring boot整合Thymeleaf
1.引入thymeleaf: <dependency> <groupId>org.springframework.boot</groupId> <artifa ...
- spring boot 整合Thymeleaf模板
SpringBoot 是为了简化 Spring 应用的创建.运行.调试.部署等一系列问题而诞生的产物,自动装配的特性让我们可以更好的关注业务本身而不是外部的XML配置,我们只需遵循规范,引入相关的依赖 ...
随机推荐
- GitHub 热点速览 vol.10:疫情下的 GitHub
作者:HelloGitHub-小鱼干 摘要:如果说上周的 GitHub 是股市附体 star 低迷不振,那么本周的 GitHub 像极了受到疫情影响而未开学的高校们,新生 GitHub 项少,能上 G ...
- AOP和spring AOP学习记录
AOP基本概念的理解 面向切面AOP主要是在编译期或运行时,对程序进行织入,实现代理, 对原代码毫无侵入性,不破坏主要业务逻辑,减少程序的耦合度. 主要应用范围: 日志记录,性能统计,安全控制,事务处 ...
- 自定义添加$_SERVER中的变量
如何根据自己项目中的需求自定义$_SERVER中的变量呢?比如$_SERVER['XU_TEXT_PARAM'],这个超全局变量输出肯定是会报错的.那如何自定义它,让它输出我们想要输出的值呢? 1.在 ...
- C++ 判断两个圆是否有交集
#define _CRT_SECURE_NO_WARNINGS #include<stdio.h> #include <math.h> #include <easyx.h ...
- element中的树形组件,如何获取父级菜单的id
一般多选的树形组件,使用getCheckedNodes()方法只能获取到本级的菜单id,只有在子菜单全部选中的情况下才会选中上级.但我们想要不全选中子级的情况下也要获取它的上级,甚至上上级等,怎么办呢 ...
- 仿flash实现图片轮换播放
<!DOCTYPE html PUBLIC "-//W3C//DTD XHTML 1.0 Transitional//EN" "http://www.w3.org/ ...
- tersserorc的简单使用
tesserocr 是 python 的一个 OCR 库,它是对 tesseract 做的一层 Python API 封装,所以他的核心是tesseract. tesseract 的安装见 https ...
- (转)嵌入式linux系统开发过程中遇到的——volatile
原文地址:http://blog.csdn.net/HumorRat/article/details/5631023 对于不同的计算机体系结构,设备可能是端口映射,也可能是内存映射的.如果系统结构支持 ...
- python code practice(二):KMP算法、二分搜索的实现、哈希表
1.替换空格 题目描述:请实现一个函数,将一个字符串中的每个空格替换成“%20”.例如,当字符串为We Are Happy.则经过替换之后的字符串为We%20Are%20Happy. 分析: 将长度为 ...
- Jenkins的凭证管理
Jenkins的凭证管理 什么是凭证? 凭证(cridential)是Jenkins进行受限操作时的凭据.比如使用SSH登录远程机器时,用户名和密码或SSH key就是凭证.而这些凭证不可能以明文写在 ...