openshift 容器云从入门到崩溃之五《部署应用》
1、配置部署模板
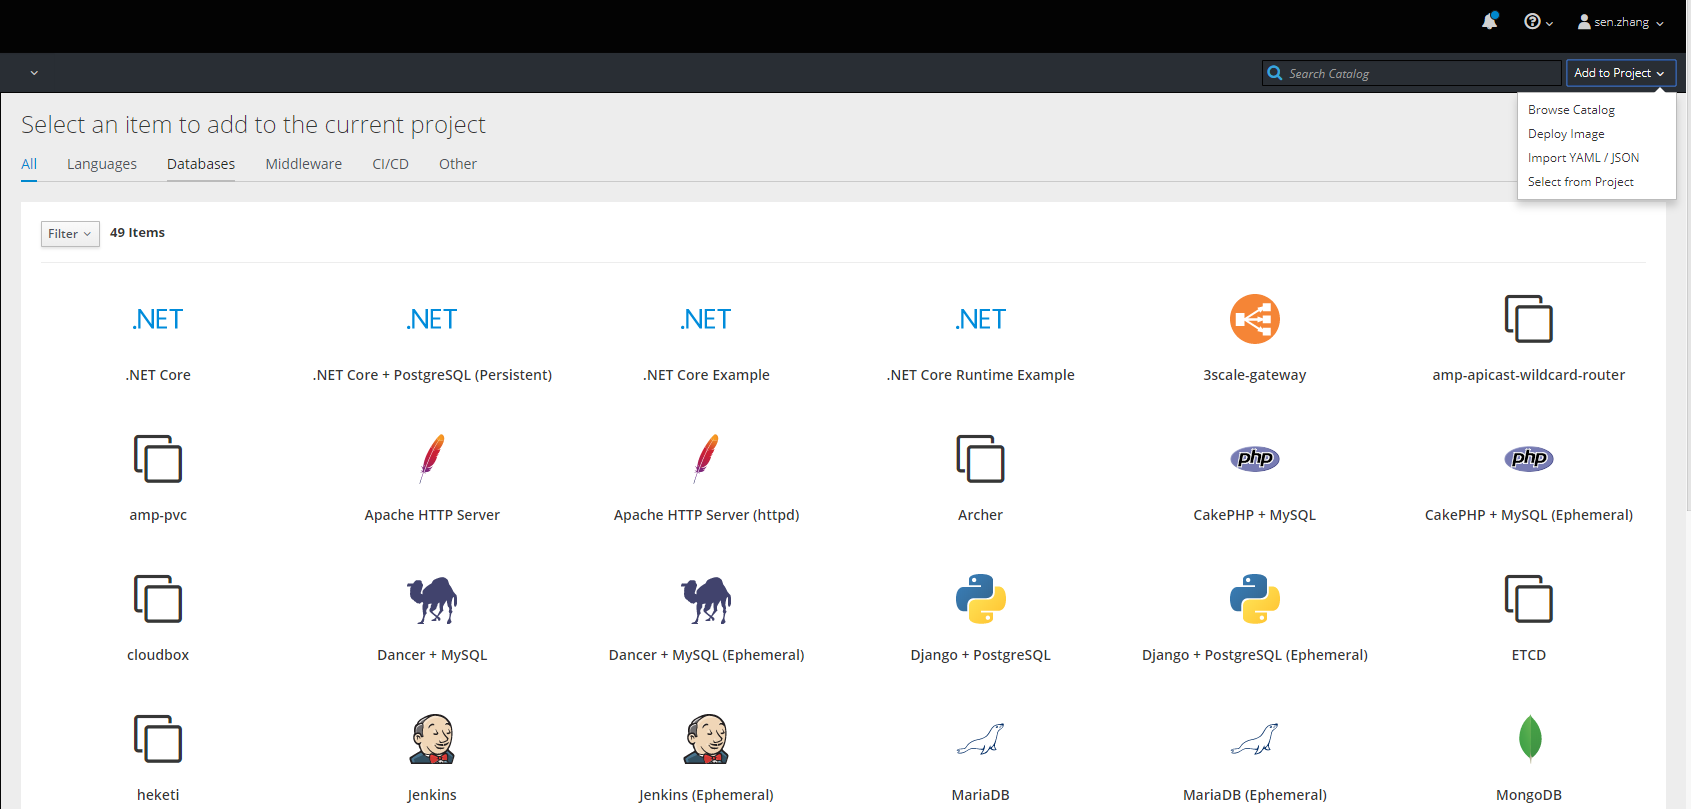
配置好用户权限之后就可以部署应用了oc常用的两种部署方式:
Deploy Image方式
优点:这种方式是最简单的部署方式,你只需要有一个容器镜像就行了或者公开的docker hub 镜像
缺点:但是这种方式的确定是不能随时变更,也不能提前定义其他配置
比较适合部署那些不经常变更的第三方服务
catalog方式(template)
优点:可以基于模板提前定义各种配置包括build、service、deployments等
缺点:一个类型的应用需要独立的模板
比较适合自己开发的应用使用,使用template可以省去上线新应用的时间
oc的catalog里面包括大量的模板常用的一些数据库一些开发环境都有
下面主要说一下自定义个模板怎么创建
# vim nginx-openresty.yaml

apiVersion: template.openshift.io/v1

kind: Template

metadata:

  annotations:

    description: OpenResty(又称:ngx_openresty) 是一个基于 NGINX 的可伸缩的 Web 平台,由中国人章亦春发起,提供了很多高质量的第三方模块。

    tags: nodejs

  creationTimestamp: --10T07::57Z

  name: nginx-openresty

  namespace: openshift

  resourceVersion: ""

  selfLink: /apis/template.openshift.io/v1/namespaces/openshift/templates/nginx-openresty

  uid: 9d1b5626-cc5c-11e8-a187-00163e0e008f

objects:

- apiVersion: v1

  kind: Route

  metadata:

    name: ${APP_NAME}

  spec:

    host: ${DOMAIN_NAME}

    to:

      kind: Service

      name: ${APP_NAME}

- apiVersion: v1

  kind: Service

  metadata:

    name: ${APP_NAME}

  spec:

    ports:

    - name: ${APP_NAME}

      port:

      targetPort:

    selector:

      name: ${APP_NAME}

    type: ClusterIP

- apiVersion: v1

  kind: ImageStream

  metadata:

    name: ${APP_NAME}

- apiVersion: v1

  kind: BuildConfig

  metadata:

    labels:

      name: ${APP_NAME}

    name: ${APP_NAME}

  spec:

    output:

      to:

        kind: ImageStreamTag

        name: ${APP_NAME}:latest

    postCommit: {}

    resources: {}

    runPolicy: Serial

    source:

      contextDir: /

      git:

        ref: ${APP_SOURCE_REPOSITORY_REF}

        uri: ${APP_SOURCE_REPOSITORY_URL}

      sourceSecret:

        name: gitlab-user

      type: Git

    strategy:

      sourceStrategy:

        env:

        - name: env

          value: ${ENV}

        - name: Project_Name

          value: ${APP_NAME}

        from:

          kind: ImageStreamTag

          name: ${APP_BUILDER_IMAGE}

          namespace: openshift

      type: Source

    triggers:

    - imageChange: {}

    - type: ImageChang

- apiVersion: v1

  kind: DeploymentConfig

  metadata:

    labels:

      name: ${APP_NAME}

    name: ${APP_NAME}

  spec:

    replicas:

    selector:

      name: ${APP_NAME}

    strategy:

      customParams:

        command:

        - /bin/sh

        - -c

        - sleep ; echo slept for ; /usr/bin/openshift-deploy

      type: Rolling

    template:

      metadata:

        labels:

          name: ${APP_NAME}

      spec:

        containers:

        - env:

          - name: ETCD_URL

            value: ${ETCD_URL}

          - name: env

            value: ${ENV}

          - name: NODE_ENV

            value: container

          image: ${APP_NAME}:latest

          livenessProbe:

            failureThreshold:

            httpGet:

              path: /status

              port:

              scheme: HTTP

            initialDelaySeconds:

            periodSeconds:

            successThreshold:

            timeoutSeconds:

          name: ${APP_NAME}

          ports:

          - containerPort:

            protocol: TCP

          readinessProbe:

            failureThreshold:

            httpGet:

              path: /status

              port:

              scheme: HTTP

            initialDelaySeconds:

            periodSeconds:

            successThreshold:

            timeoutSeconds:

          resources:

            limits:

              cpu: ${CPU_LIMIT}

              memory: ${MEMORY_LIMIT}

            requests:

              cpu: 50m

              memory: 64Mi

          volumeMounts:

          - mountPath: /opt/configration

            name: configration

          - mountPath: /etc/localtime

            name: localtime

          - mountPath: /etc/timezone

            name: timezone

        volumes:

        - configMap:

            defaultMode:

            name: configration

          name: configration

        - hostPath:

            path: /etc/localtime

          name: localtime

        - hostPath:

            path: /etc/timezone

          name: timezone

    test: false

    triggers:

    - imageChangeParams:

        automatic: true

        containerNames:

        - ${APP_NAME}

        from:

          kind: ImageStreamTag

          name: ${APP_NAME}:latest

      type: ImageChange

    - type: ConfigChange

parameters:

- description: 项目名

  displayName: Name

  name: APP_NAME

  required: true

- description: 对外暴露域名

  displayName: Project domain name

  name: DOMAIN_NAME

  required: true

- description: 请输入Git地址.仅支持HTTP方式.

  displayName: Source Repository URL

  name: APP_SOURCE_REPOSITORY_URL

  required: true

  value: http://git.xxx.cn/ops/nginx-config.git

- description: git仓库的默认分支或者版本号

  displayName: Git Reference

  name: APP_SOURCE_REPOSITORY_REF

  required: true

  value: config-a

- description: git仓库的路径

  displayName: Context Directory

  name: CONTEXT_DIR

  value: /

- description: 设定当前环境,比如test、bts

  displayName: ENV

  name: ENV

  required: true

- description: build 时使用的基础镜像

  displayName: Base builder image of your app

  name: APP_BUILDER_IMAGE

  required: true

  value: openresty:1.11.2.3

- description: 超过此请求额度会被强制重启.单位Mi/Gi.

  displayName: Memory Limits

  name: MEMORY_LIMIT

  required: true

  value: 64Mi

- description: 超过此请求额度会被强制重启.单位m/g.

  displayName: CPU Limits

  name: CPU_LIMIT

  required: true

  value: 50m
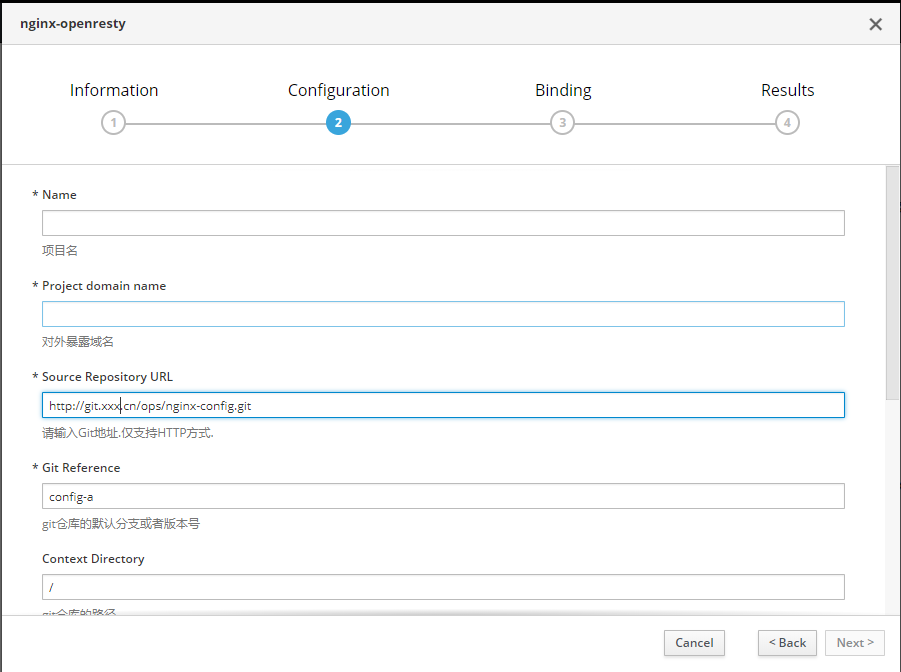
下一步导入到oc catalog里面
# oc project openshift

# oc oc create -f nginx-openresty.yaml
在登陆oc的web console 就可以使用nginx-openresty模板部署应用了
2、deployment策略
deployment顾名思义是最终部署应用的重要环节,包括了变更策略、最终POD的运行配置等关键信息
Deployment Strategy:
这个是部署应用是的变更策略一共有三种策略
Rolling(滚动升级)
spec:

  strategy:

    rollingParams:

      intervalSeconds:

      maxSurge: %

      maxUnavailable: %

      timeoutSeconds:

      updatePeriodSeconds:

    type: Rolling
Recreate(重新创建)
spec:

  strategy:

    type: Recreate
Custom(自定义)
不常用
Deployment Triggers:
这个配置决定了什么情况下Deployment 才会触发
ImageChange 镜像变更
ConfigChange Deployment 配置变更
spec:

   triggers:

    - imageChangeParams:

        automatic: true

        containerNames:

          - nginx-template

        from:

          kind: ImageStreamTag

          name: 'nginx-template:latest'

          namespace: test

      type: ImageChange

    - type: ConfigChange
  triggers:

    - imageChangeParams:

        automatic: true

        containerNames:

          - nginx-template

        from:

          kind: ImageStreamTag

          name: 'nginx-template:latest'

          namespace: test

      type: ImageChange   #镜像更新

    - type: ConfigChange   #Deployment 配置更新
openshift 容器云从入门到崩溃之五《部署应用》的更多相关文章
- openshift 容器云从入门到崩溃之八《日志聚合》
日志可以分为两部分 业务日志 业务日志一般是要长期保留的,以供以后有问题随时查询,elk是现在比较流行的日志方案,但是容器日志最好不要落地所以不能把logstash客户端包在容器里面 可以使用logs ...
- openshift 容器云从入门到崩溃之六《Source-to-Image》
上次说到了怎么在oc上面部署应用而且说道了怎么定义模板部署应用,也许你会奇怪那个我代码打包编译在哪一步,那就要说道oc的s2i流程了 下面是基本s2i流程 1.制作base-image镜像 要使用s2 ...
- openshift 容器云从入门到崩溃之二《准备环境》
openshift 从3.9开始就开始支持系统组件在容器里运行了,之前版本都是直接运行在操作系统上,名字也改了叫OKD 目前最新的稳定版本是3.11,所以就安装3.11版本 准备环境: 主机名 系统 ...
- openshift 容器云从入门到崩溃之一《容器能解决什么问题》
容器前时代 说到容器大多数人想到的就是docker,docker的迅速崛起使得使用容器的门槛大大降低了,我第一次接触docker还是14年,那时候作为一名运维部署应用还在大量使用虚拟化,从vmware ...
- openshift 容器云从入门到崩溃之九《容器监控-报警》
容器状态监控 主要是监控POD的状态包括重启.不健康等等这些k8s api 状态本身会报出来,在配合zabbix报警 导入zabbix模板关联上oc master主机 <?xml version ...
- openshift 容器云从入门到崩溃之七《数据持久化》
数据持久化常用的有两种: hostPath 挂载容器宿主机的本地文件夹,直接修改pod的配置 volumes: - hostPath: path: /data/logging-es type: '' ...
- openshift 容器云从入门到崩溃之三《安装openshift》
准备好环境,在安装之前请先了解openshift提供的ansible有大量的安装选项 文档地址:https://docs.okd.io/latest/install/configuring_inven ...
- openshift 容器云从入门到崩溃之十《容器监控-数据展示》
POD资源历史曲线(CPU.内存.网络) 监控方案heapster+hawkular-metrics+hawkular-cassandra heapster负责收集数据 hawkular-cassan ...
- openshift 容器云从入门到崩溃之四《配置用户验证》
1.配置本地用户 之前安装的时候选择了htpasswd验证方式 先创建用户 # htpasswd -c /etc/origin/master/htpasswd admin 授权为集群管理员 # oc ...
随机推荐
- 安全工具-Hydra
Hydra v8.2 (c) 2016 by van Hauser/THC - Please do not use in military or secret service organization ...
- 【原创 Hadoop&Spark 动手实践 7】Spark 计算引擎剖析与动手实践
[原创 Hadoop&Spark 动手实践 7]Spark计算引擎剖析与动手实践 目标: 1. 理解Spark计算引擎的理论知识 2. 动手实践更深入的理解Spark计算引擎的细节 3. 通过 ...
- 【OCR技术系列之六】文本检测CTPN的代码实现
这几天一直在用Pytorch来复现文本检测领域的CTPN论文,本文章将从数据处理.训练标签生成.神经网络搭建.损失函数设计.训练主过程编写等这几个方面来一步一步复现CTPN.CTPN算法理论可以参考这 ...
- 物联网系统与CoAP之Hello,World
物联网系统与CoAP Hello,World 关于CoAP与物联网系统我们在上一篇中(ps:CoAP与物联网系统)中做一个简单的介绍,接着我们便開始试试CoAP协议的应用 CoAP应用 開始之前我们须 ...
- PDFBOX详解
PDFBOX详解 摘要 自从Adobe公司1993年第一次发布公共PDF参考以来,支持各种语言和平台的PDF工具和类库就如雨后春笋般涌现.然而,Java应用开发中Adobe技术的支持相对滞后了. 自从 ...
- python内建时间模块 time和datetime
时间模块 UTC(Coordinated Universal Time,世界协调时)亦即格林威治天文时间,世界标准时间.在中国为UTC+8.DST(Daylight Saving Time)即夏令时. ...
- PHP读取文本文件(TXT)
<? header("content-type:text/html;charset=utf-8"); $file = "demo.txt"; ###判断该 ...
- Kafka 2.1.0压缩算法性能测试
Apache Kafka 2.1.0正式支持ZStandard —— ZStandard是Facebook开源的压缩算法,旨在提供超高的压缩比(compression ratio),具体细节参见htt ...
- HTML5+CSS3 loading 效果收集--转载
用gif图片来做loading的时代已经过去了,它显得太low了,而用HTML5/CSS3以及SVG和canvas来做加载动画显得既炫酷又逼格十足.这已经成为一种趋势. 这里收集了几十个用html5和 ...
- poj2342 Anniversary party
Anniversary party Time Limit: 1000MS Memory Limit: 65536K Total Submissions: 8028 Accepted: 4594 ...